
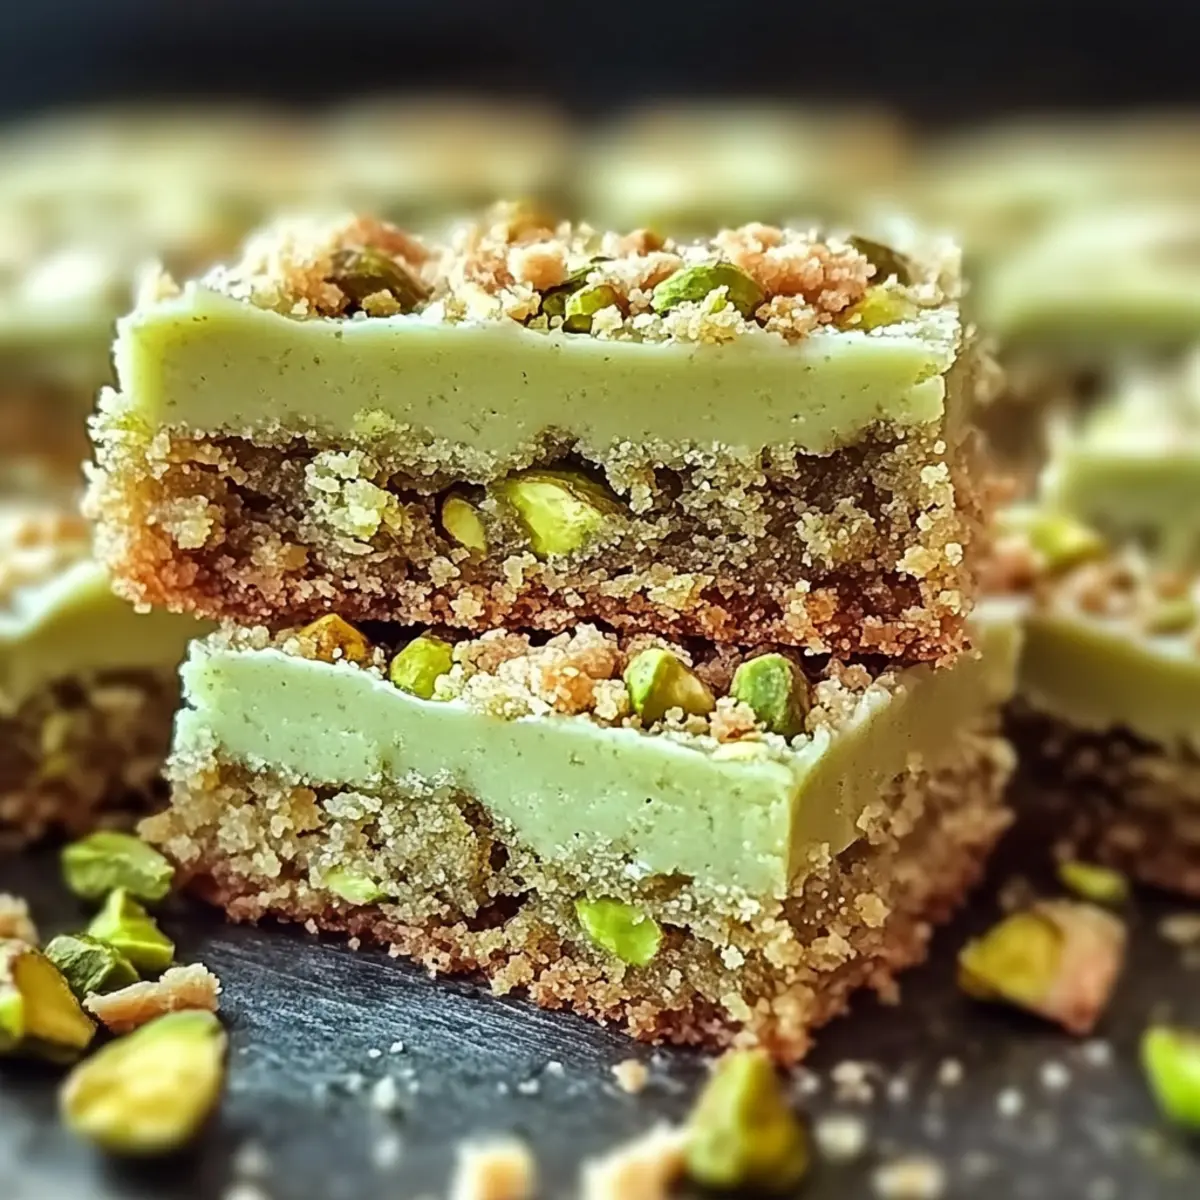
I’m standing in my cozy kitchen, the aroma of baked goodness swirling around me as I cut into a fresh batch of Pistachio Dream Cookie Bars. These bars aren’t just a treat; they are a colorful delight that adds a pop of green to any dessert table, blending the rich, nutty flavor of pistachios with a chewy cookie base. The best part? They are incredibly easy to whip up, making them perfect for both casual get-togethers and cozy nights in. With the ability to substitute ingredients for gluten-free options, these crowd-pleasers can cater to just about any dietary need. Who could resist a slice of this sweet nostalgia? Ready to impress your friends and family with a dessert that looks as amazing as it tastes? Let’s dive into this delightful recipe together!
Why Are These Cookie Bars So Irresistible?
Deliciously Unique: These Pistachio Dream Cookie Bars are unlike any traditional cookie, featuring a nutty twist that will have everyone asking for seconds.
Effortless Preparation: With just a few simple steps, you can whip up this crowd-pleaser in no time. Perfect for busy bakers seeking satisfaction without stress!
Colorful Presentation: The vibrant green hues from the pistachios create an eye-catching treat ideal for festive occasions or casual get-togethers.
Versatile Options: Easily customize your bars by adding white chocolate chips or substituting nuts based on your preference, making them truly unique.
Gluten-Free Friendly: Adapt this recipe to suit dietary needs with simple ingredient swaps, ensuring all your guests can enjoy a slice! For more sweet ideas, try making Biscoff Cookie Butter or Brownie Cheesecake Bars.
Pistachio Dream Cookie Bars Ingredients
Get ready to create a delightful treat everyone will love!
For the Cookie Base
- Unsalted Butter – Provides a rich, creamy flavor to the bars; substitute with dairy-free butter for a dairy-free version.
- Large Eggs (2) – Essential for moisture and binding the cookie dough; use flaxseed meal mixed with water for a vegan option.
- Pistachio Instant Pudding Mix (3.4 oz) – Adds a unique nutty flavor and vibrant color; look for natural flavors for the best taste.
- Sugar Cookie Mix (1 package) – Simplifies the process while ensuring a sweet base; choose gluten-free mix if needed.
For Baking
- Cooking Spray or Butter – For greasing the baking sheet, ensuring easy bar removal.
Embrace the joy of making these Pistachio Dream Cookie Bars, and watch as they become a new family favorite!
Step‑by‑Step Instructions for Pistachio Dream Cookie Bars
Step 1: Preheat Your Oven
Begin by preheating your oven to 375°F (190°C). This crucial first step ensures that your Pistachio Dream Cookie Bars will bake evenly and come out perfectly chewy. While the oven warms up, gather your mixing bowls and measuring tools to set the stage for creating these delicious bars.
Step 2: Cream the Ingredients
In a large mixing bowl, combine 1 cup of softened unsalted butter, 2 large eggs, and 1 package of pistachio pudding mix. Use a hand mixer or stand mixer on medium speed to cream these ingredients together until the mixture is smooth and creamy, about 2-3 minutes. This mixture creates the rich base flavor that will make your cookie bars irresistibly delightful.
Step 3: Incorporate the Cookie Mix
Gradually add 1 package of sugar cookie mix into the creamy mixture, stirring gently with a spatula or wooden spoon. Mix until a sticky dough forms, which should take just 1-2 minutes. Be mindful not to overmix; you want to maintain that soft texture characteristic of the Pistachio Dream Cookie Bars without extra gluten formation.
Step 4: Prepare the Baking Sheet
Grease a 10 x 15-inch baking sheet generously with cooking spray or butter. This step is essential to ensure easy removal of your cookies once baked. Once greased, evenly spread the sticky cookie dough into the pan, using a spatula to press it down. Aim for a uniform thickness so that all edges bake at the same rate.
Step 5: Bake and Observe
Place the baking sheet in the preheated oven and bake for 18-22 minutes. Keep an eye on those edges—they should turn a lovely light golden color while the center remains slightly soft. The aromatic scent of pistachios will fill your kitchen!
Step 6: Cool Down
After baking, remove the sheet from the oven and place it on a wire rack to cool completely. This process typically takes about 30-45 minutes. Allowing the bars to cool properly is crucial to achieving the perfect consistency, as cutting them while warm can lead to crumbling.
Step 7: Slice and Serve
Once cool, use a sharp knife to cut your Pistachio Dream Cookie Bars into squares. For an extra touch, drizzle melted chocolate over the top before serving. These delightful bars are now ready to impress your family and friends at any event or simply satisfy your sweet cravings!
What to Serve with Pistachio Dream Cookie Bars?
The perfect meal enhances the experience of these delightful treats, creating memorable moments for you and your loved ones.
- Vanilla Ice Cream: A scoop of creamy vanilla ice cream adds a cool contrast to the chewy cookie bars, enhancing flavors and textures.
- Fresh Berry Salad: Bright, tangy berries bring a refreshing element, balancing the richness of the cookies with a burst of juicy flavor. A sprinkle of mint only elevates the experience further!
- Whipped Cream: A dollop of freshly whipped cream creates a light and airy complement to the bar’s texture, inviting guests to take a second helping.
- Chocolate Drizzle: Elevate the presentation and flavor by drizzling melted chocolate over the bars, adding an extra layer of indulgence and visual appeal.
- Almond Milkshake: A creamy milkshake with a hint of almond flavor mirrors the nutty undertones of the pistachios, creating a nostalgic pairing that’s simply delightful.
- Coffee or Espresso: Serve these bars alongside a strong cup of coffee; its rich bitterness beautifully offsets the sweetness and nuttiness of the cookies.
- Coconut Macaroon Cookies: Pair with these chewy delights for a nutty-themed dessert platter that alludes to tropical flavors. A sweet ending that transports you to an island paradise!
- Lemonade: A glass of refreshing lemonade adds a zesty contrast, cleansing the palate and enhancing the sweet nostalgia of the cookies.
- Dark Chocolate Squares: Offer small squares of dark chocolate on the side; their rich taste complements the nutty sweetness while providing a gourmet touch.
Helpful Tricks for Pistachio Dream Cookie Bars
-
Room Temperature Ingredients: Ensure your butter and eggs are at room temperature; this helps create a smooth, creamy texture and improved flavor integration in your Pistachio Dream Cookie Bars.
-
Avoid Overmixing: Mix the dough just until combined to maintain the soft, chewy texture. Overmixing can lead to a denser final product that’s not as enjoyable.
-
Proper Cooling: Let the bars cool completely on a wire rack before slicing. This prevents crumbliness and helps maintain the delightful texture you want.
-
Add Crunch: For extra texture, fold in chopped pistachios or white chocolate chips. This step enhances the flavor and adds a fun crunch to your bars!
-
Baking Sheet Prep: Greasing the baking sheet thoroughly ensures your Pistachio Dream Cookie Bars come out easily without sticking. It’s a small step that pays off big!
Pistachio Dream Cookie Bars: Endless Possibilities
Feel free to customize your Pistachio Dream Cookie Bars to suit your taste and dietary needs with these fun variations!
-
Nutty Substitution: Swap chopped pistachios for walnuts or almonds to explore different nutty flavors that can brighten up your bars.
-
Chocolate Boost: Add white chocolate chips for an extra layer of sweetness that beautifully complements the pistachio flavor. Imagine each bite melting in your mouth with creamy goodness!
-
Almond Extract: Replace regular vanilla extract with almond extract to enhance that nutty aroma and elevate the flavor profile even further.
-
Fruit Twist: Toss in dried cranberries or cherries for a fruity touch that adds a delightful tartness, balancing the sweetness of the cookie bars perfectly.
-
Gluten-Free Mix: Use a gluten-free sugar cookie mix to make this recipe suitable for those with gluten sensitivities – guilt-free indulgence is the name of the game!
-
Coconut Flakes: Fold in unsweetened shredded coconut for a delightful tropical flair. The chewy texture of coconut adds a fun twist to this already fantastic dessert.
-
Spiced Variation: Mix in a pinch of cinnamon or nutmeg for a warm, comforting flavor that’s perfect for cozy nights in. It’s like a hug in cookie bar form!
-
Choco-Pistachio Swirl: Drizzle melted chocolate over the cooled bars and sprinkle with crushed pistachios for an added decorative flair and an irresistible taste.
These variations let you put your own spin on the delicious Pistachio Dream Cookie Bars. Want to try more sweet treats? Check out these amazing Brownie Cheesecake Bars or satisfy your cravings with some Chocolate Chip Cookies. Enjoy creating your unique version!
Storage Tips for Pistachio Dream Cookie Bars
-
Room Temperature: Store leftover Pistachio Dream Cookie Bars in an airtight container at room temperature for up to 5 days to maintain their chewy texture and flavor.
-
Fridge: For longer freshness, keep the bars in the refrigerator, where they can last up to 7 days. Allow them to come to room temperature for the best taste.
-
Freezer: Freeze your cookie bars for up to 3 months in a freezer-safe container. Just make sure to wrap them tightly to avoid freezer burn.
-
Reheating: To enjoy that fresh-baked taste, microwave the bars for about 15-20 seconds before serving. They’ll be just as delicious as when they were first made!
Make Ahead Options
These Pistachio Dream Cookie Bars are ideal for meal prep and can save you valuable time during busy weeks! You can prepare the dough up to 24 hours in advance by mixing the butter, eggs, and pistachio pudding together, then refrigerating it in an airtight container. Additionally, you can grease the baking sheet and even measure out the cookie mix ahead of time. When you’re ready to bake, simply let the dough sit at room temperature for about 15 minutes, spread it into the prepared pan, and bake as directed. This way, you’ll enjoy fresh, delicious cookie bars that are just as delightful as if you made them on the spot!
Pistachio Dream Cookie Bars Recipe FAQs
How do I select ripe pistachios?
When choosing pistachios, look for those that are mostly open and have a light color, which indicates freshness. Avoid pistachios with dark spots or those that are shriveled, as they may be old or spoiled. If you’re purchasing them in bulk, give them a good shake—fresh ones should move freely without rattling.
What’s the best way to store leftover Pistachio Dream Cookie Bars?
To keep your leftover bars fresh and chewy, store them in an airtight container at room temperature for up to 5 days. If you’d like to preserve them for a longer period, place them in the refrigerator for up to 7 days. Let them reach room temperature before serving for the best texture and taste!
Can I freeze these cookie bars? How?
Absolutely! To freeze your Pistachio Dream Cookie Bars, first, let them cool completely. Then, wrap each square in plastic wrap before placing them in a freezer-safe container or zip-top bag. They can last up to 3 months in the freezer. When you’re ready to enjoy, simply remove the desired number of bars and microwave them for 15-20 seconds for that fresh-baked flavor!
What should I do if my cookie bars turn out too crumbly?
If your bars are crumbly, it’s likely due to overbaking or insufficient moisture. To prevent this in the future, make sure to take them out of the oven as soon as the edges are lightly golden, while the center remains soft. Additionally, ensure your butter and eggs are at room temperature to provide the right moisture level in your dough.
Are there any dietary considerations for these cookie bars?
Yes! These Pistachio Dream Cookie Bars can easily accommodate different dietary needs. For a gluten-free version, simply opt for a gluten-free sugar cookie mix. You can also replace the eggs with a mixture of 1 tablespoon of flaxseed meal combined with 2.5 tablespoons of water for a vegan alternative. Just be sure all packaged ingredients, like the pudding mix, are free of gluten and safe for your dietary restrictions.
Can I customize the flavors beyond pistachio?
Of course! You can substitute chopped pistachios with other nuts like walnuts or almonds for a unique flavor profile. For a delightful twist, try adding white chocolate chips or even a splash of almond extract for a hint of nuttiness. The more creative you get, the more special each batch of Pistachio Dream Cookie Bars can become!
Irresistible Pistachio Dream Cookie Bars for Sweet Moments
Ingredients
Equipment
Method
- Preheat your oven to 375°F (190°C).
- In a large mixing bowl, cream together 1 cup of softened unsalted butter, 2 large eggs, and 1 package of pistachio pudding mix until smooth and creamy.
- Gradually incorporate 1 package of sugar cookie mix into the creamy mixture until a sticky dough forms.
- Grease a 10 x 15-inch baking sheet and evenly spread the sticky cookie dough into the pan.
- Bake for 18-22 minutes until the edges are golden and the center remains slightly soft.
- Remove from oven and cool on a wire rack for about 30-45 minutes.
- Once cool, slice into squares and optionally drizzle melted chocolate over the top before serving.
Leave a Reply