
On a sun-drenched afternoon in a bustling Thai market, I stumbled upon a charming stall where the sweet scent of coconut wafted through the air, drawing me in. Here, I discovered the exquisite Thai Coconut Custard, or Sangkaya, a dessert that captures the essence of tropical bliss. This silky treat combines creamy coconut milk with the gentle sweetness of palm sugar, resulting in a delightful dessert that’s both gluten-free and dairy-free. With just a few simple ingredients and quick preparation, it promises to impress guests at any gathering while satisfying your craving for something indulgent yet wholesome. Let’s embark on a flavorful journey and recreate this traditional favorite that transports us straight to a paradise of flavors. Ready to dive into this smooth, luscious delight?
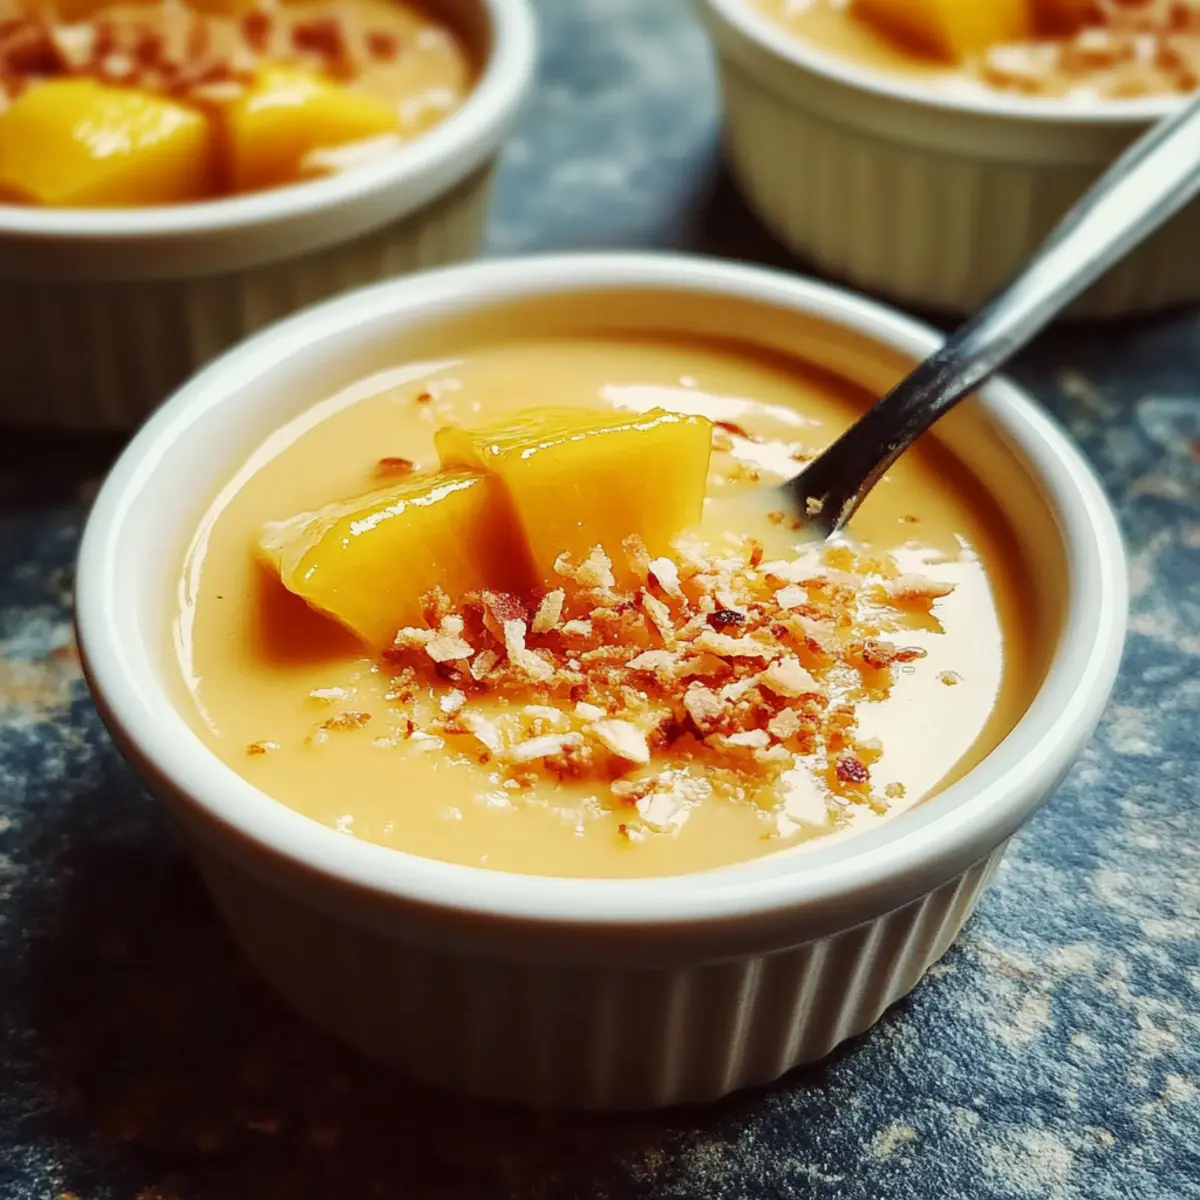
Why is Thai Coconut Custard irresistible?
Irresistible flavor: The combination of coconut milk and palm sugar creates a sweet, creamy dessert that tantalizes your taste buds. Quick preparation: With just a few steps, you can whip up this luscious treat in no time. Gluten-free & dairy-free: Enjoy a guilt-free indulgence that’s suitable for various dietary needs. Versatile variations: Elevate your custard with toppings or mix-ins, like fresh mango or toasted coconut. Perfect for gatherings: This dessert is sure to impress friends and family at any occasion, making it a delightful addition to your culinary repertoire! For more tropical flavors, consider pairing it with Coconut Chicken Rice.
Thai Coconut Custard Ingredients
For the Base
• Eggs – Provide structure and richness; consider using one less for a softer texture.
• Palm Sugar – Adds earthy sweetness; can be substituted with brown sugar for a similar flavor.
• Coconut Milk – Main flavor source, providing creaminess; coconut cream may be used for a richer texture but may require dilution with water.
• Salt – Balances the sweetness; use a small pinch to enhance flavor without overpowering.
For Flavor
• Jasmine Extract/Pandan Juice – Adds fragrant notes; substitute pandan for a unique green hue and natural vanilla-like aroma.
For Serving
• Toasted Coconut – Adds crunch and flavor when sprinkled on top.
• Fresh Fruit (e.g., Mango) – Offers a refreshing balance to the custard and enhances presentation.
• Sticky Rice – Complements the custard beautifully, enhancing texture contrast.
This delightful combination of ingredients is what makes the Thai Coconut Sago Pudding a guilt-free indulgence worth enjoying.
Step-by-Step Instructions for Thai Coconut Custard
Step 1: Preheat the Oven
Begin by preheating your oven to 300°F (150°C). This gentle baking temperature is crucial for achieving the creamy texture of our Thai Coconut Custard. While the oven warms up, gather your ramekins and prepare your workspace to make the process smooth and enjoyable.
Step 2: Whisk Eggs and Sugar
In a mixing bowl, crack the eggs and whisk them until they become pale and frothy. Gradually add the palm sugar, stirring until it completely dissolves. You’re looking for a smooth consistency that will serve as the base for the custard, infusing it with delightful sweetness.
Step 3: Incorporate Coconut Milk and Flavoring
Next, pour in the creamy coconut milk and your choice of jasmine extract or pandan juice. Use a whisk to mix everything together until well blended. The mixture should be smooth, fragrant, and ready to provide that signature tropical flavor of Thai Coconut Custard.
Step 4: Strain the Mixture (Optional)
For an ultra-smooth custard, strain the combined mixture through a fine sieve into a clean bowl. This step helps remove any egg bits that could disrupt the silky texture you’re aiming for. This results in a luxurious finish that enhances the overall experience of your dessert.
Step 5: Prepare Ramekins
Carefully fill your ramekins three-quarters full with the custard mixture. Ensure that they all have equal amounts to guarantee even baking. Place the filled ramekins on a baking tray, making your setup ready for the water bath that will help cook the custard gently.
Step 6: Create a Water Bath
To create a water bath, place the tray filled with ramekins into a larger pan. Pour boiling water into the larger pan, filling it halfway up the sides of the ramekins. This will help regulate the temperature while baking, ensuring your Thai Coconut Custard sets beautifully without curdling.
Step 7: Bake
Slide the tray into the preheated oven and bake for about 90 minutes. You’ll know the custard is done when it is set but slightly jiggly in the center. Keep an eye on it, as overbaking can toughen the texture, while underbaking can lead to a runny custard.
Step 8: Cool and Chill Before Serving
Once baked, remove the custards from the oven and let them cool at room temperature for a bit. Then transfer them to the refrigerator for at least 2 hours. Chilling the Thai Coconut Custard not only enhances the flavors but also ensures a refreshing experience when served.
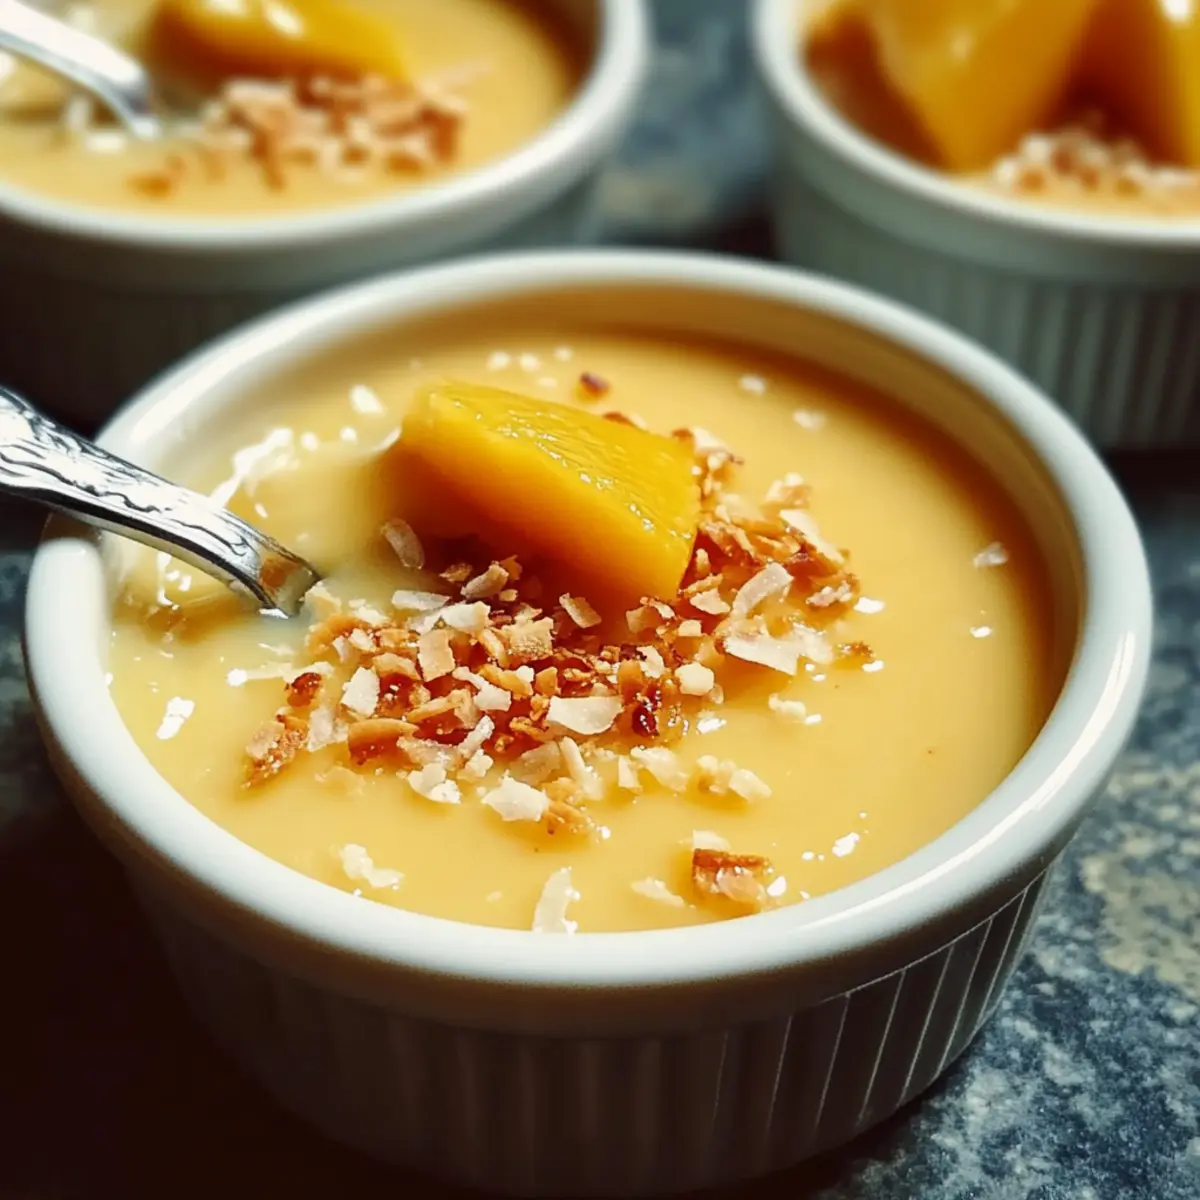
What to Serve with Thai Coconut Custard (Sangkaya)
Imagine indulging in a tropical dessert that perfectly complements the warm, inviting ambiance of your dining table.
- Sticky Rice: The chewy texture enhances the custard’s creaminess, creating a delightful contrast in each bite.
- Fresh Mango Slices: Juicy and sweet, these slices add a refreshing burst of flavor, balancing the richness of the custard.
- Toasted Coconut Flakes: Sprinkle these over the top for an added crunch that beautifully deepens the coconut flavor.
- Citrus Fruit Salad: A mix of vibrant citrus slices lightens the dessert experience, adding brightness with every forkful.
- Jasmine Tea: A fragrant brew that harmonizes well with the tropical notes, providing a soothing companion to your custard.
- Chocolate Drizzle: For a decadent twist, top the custard with a warm chocolate sauce for an irresistible fusion of flavors.
These serving suggestions create a delightful spread, turning your Thai Coconut Custard into a memorable culinary celebration.
Expert Tips for Thai Coconut Custard
• Egg Handling: Avoid overbeating the eggs during whisking. This prevents a bubbly custard texture and ensures a silky finish.
• Straining for Smoothness: Straining the custard mixture is highly recommended. It’ll give you a luxurious, velvety texture, making your Thai Coconut Sago Pudding even more delightful.
• Temperature Control: Ensure your oven temperature remains steady. High heat can curdle the custard, while too low may prevent it from setting properly.
• Keep Water Bath Full: Always monitor the water bath level during baking. A filled water bath ensures even cooking and helps maintain the desired creamy consistency.
• Cool and Chill: Allow the custards to cool before refrigerating. This step is crucial to enhancing flavors and achieving the perfect texture when serving.
How to Store and Freeze Thai Coconut Custard
Fridge: Store the Thai Coconut Custard covered in the refrigerator for up to 3 days; this keeps it fresh and ready to enjoy whenever you’re craving a sweet treat.
Freezer: For longer storage, freeze the custard for up to a month. Make sure to wrap each ramekin tightly to prevent freezer burn; thaw in the fridge overnight before gently reheating.
Airtight Guidance: Ensure the custard is completely cool before covering it to avoid condensation, which can affect texture. Use airtight containers for best results.
Reheating: To warm frozen custard, place it in the refrigerator to defrost, then reheat in a warm water bath or microwave briefly, stirring to maintain a creamy consistency.
Thai Coconut Custard Variations
Get ready to explore delightful twists on this classic dessert that awaken the senses and cater to your cravings!
-
Dairy-Free: Use coconut cream for an even richer flavor, but dilute it with water to achieve the right consistency.
-
Flavor Explosion: Incorporate a splash of vanilla extract for a warm, inviting aroma that complements the coconut beautifully.
-
Pandan Twist: For a vibrant green custard, swap jasmine extract for pandan juice, adding a unique flavor and stunning color.
-
Chocolate Surprise: Drizzle a luscious dark chocolate sauce over the top for a decadent touch that balances the sweetness perfectly.
-
Fruity Delight: Top with fresh mango or lychee to enhance the tropical theme and add a refreshing burst of flavor.
-
Nutty Crunch: Mix in some toasted coconut before baking for an added texture that will leave your guests craving more.
-
Citrus Zing: A sprinkle of lime or lemon zest brightens the custard and elevates the dessert to a whole new level.
For those who love a touch of comfort and nostalgia, consider serving this alongside a warm dish like Coconut Chicken Rice; the contrast of flavors will be simply delightful!
Make Ahead Options
These Thai Coconut Custard (Sangkaya) are perfect for busy home cooks looking to save time! You can prepare the custard mixture and refrigerate it in an airtight container for up to 24 hours before baking. Just whisk the eggs and palm sugar, incorporate the coconut milk and flavorings, and store it in the fridge. When you’re ready to enjoy this tropical delight, pour the mixture into ramekins and bake as directed. To maintain quality, be sure to keep the custard covered while refrigerating to prevent any odors from seeping in. You can also bake the custards fully and store them in the refrigerator for up to 3 days; just chill them completely before serving and enjoy the beloved flavors with minimal effort!
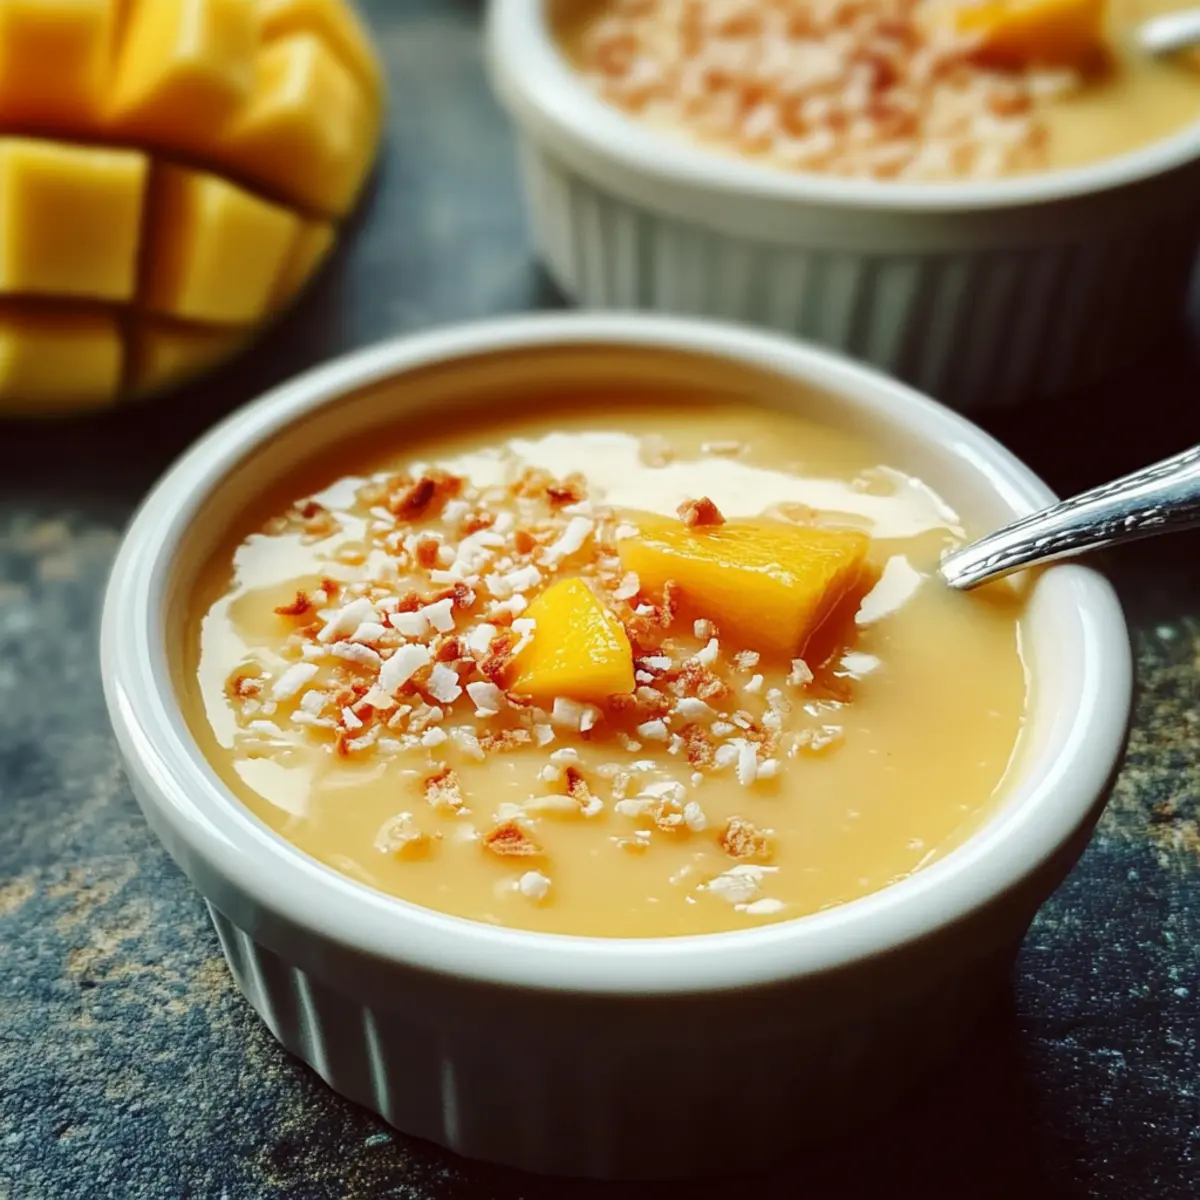
Thai Coconut Custard Recipe FAQs
How do I choose ripe ingredients for the Thai Coconut Custard?
Absolutely! For the best flavor, select high-quality coconut milk—it should be creamy and free of preservatives. Look for palm sugar that’s dark, firm, and fragrant, which indicates freshness. When using eggs, choose ones that are large and free-range for superior taste and richness.
What’s the best way to store leftover Thai Coconut Custard?
You can store the Thai Coconut Custard in the refrigerator, covered, for up to 3 days. This keeps it fresh and ready to enjoy when you crave a sweet treat. For longer storage, wrap each ramekin tightly and freeze for up to a month. Just remember to let it cool completely before wrapping to maintain texture!
Can I freeze the Thai Coconut Custard? If so, how?
Yes, you can freeze it! First, let the custard cool completely in the ramekins. Wrap each ramekin with foil or place it in an airtight container to prevent freezer burn. It can be frozen for up to a month. To enjoy, thaw it in the fridge overnight, then gently reheat in a water bath or microwave until warmed through.
What if my custard doesn’t set properly?
If your custard isn’t setting, it could be due to underbaking or incorrect oven temperature. Make sure to bake until it’s slightly jiggly in the center—this usually takes about 90 minutes at 300°F (150°C). Also, check that the water bath is filled properly to avoid uneven cooking. If this happens, pop the custard back in the oven for a few more minutes to firm it up!
Are there any dietary considerations for the Thai Coconut Custard?
Absolutely! The Thai Coconut Custard is not only gluten-free and dairy-free, but it’s also suitable for many dietary needs. However, if you’re preparing it for those with allergies, ensure to check the coconut milk label for added ingredients. As always, be cautious of how many eggs are used if there are any egg allergies in your group.
How should I serve my Thai Coconut Custard?
For an enticing presentation, serve chilled in ramekins topped with toasted coconut and fresh mango slices. This adds a lovely contrast to the custard’s texture and enhances the tropical experience! Enjoy with a glass of jasmine tea to elevate your dessert moment even further.
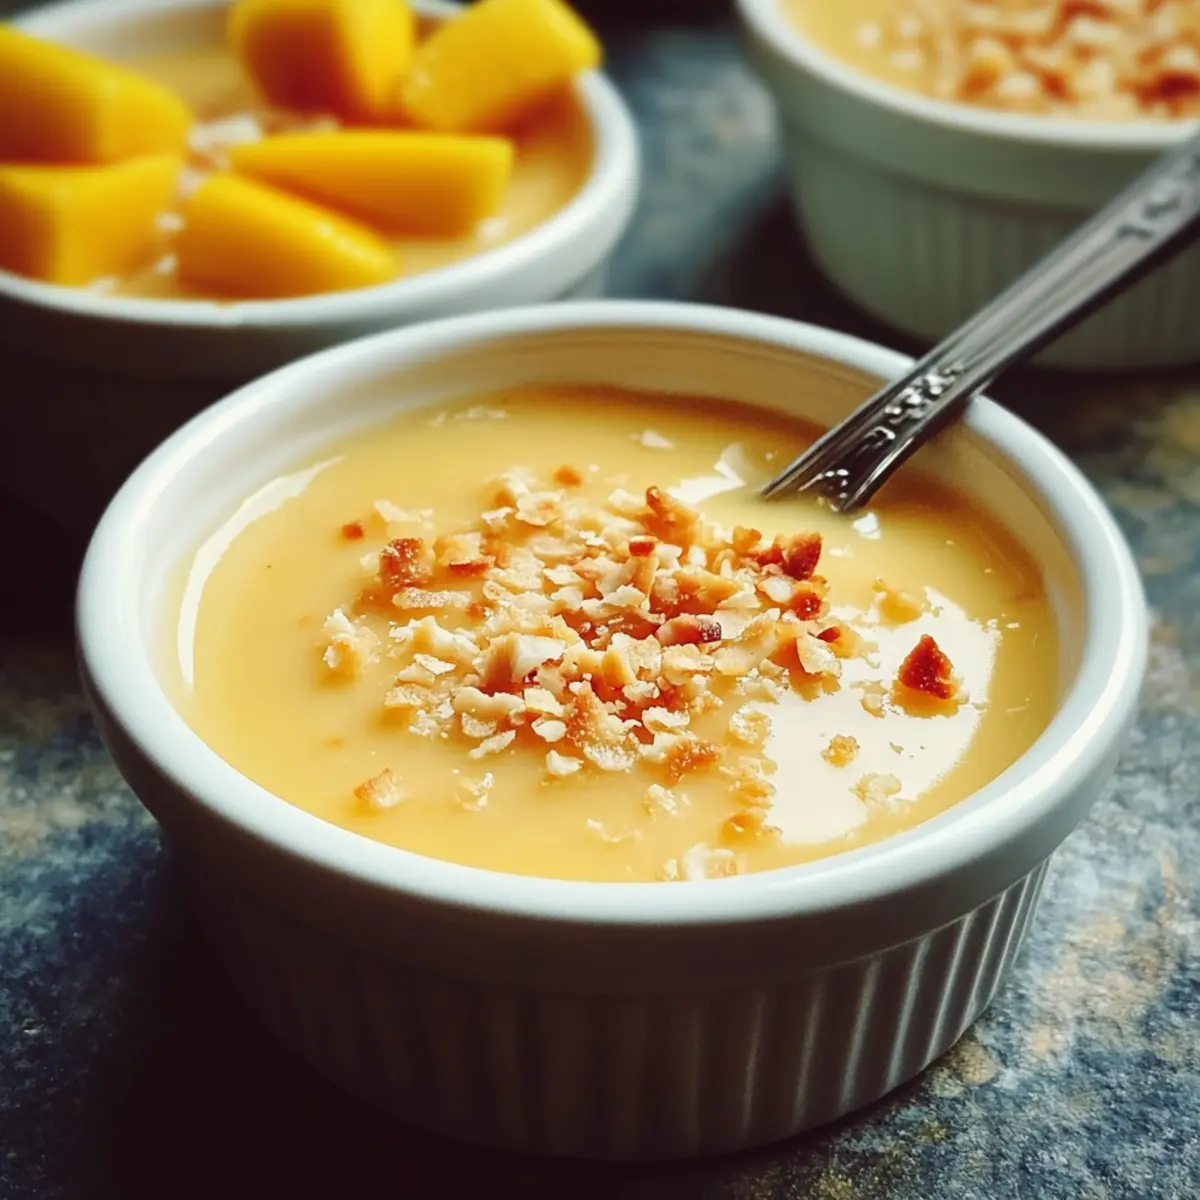
Thai Coconut Sago Pudding: A Creamy Tropical Delight
Ingredients
Equipment
Method
- Preheat the oven to 300°F (150°C). Gather your ramekins.
- Whisk the eggs until pale and frothy. Gradually add palm sugar, stirring until it dissolves.
- Incorporate coconut milk and jasmine extract or pandan juice. Mix until smooth and fragrant.
- Strain the mixture through a fine sieve for a smoother texture.
- Fill ramekins three-quarters full with the custard mixture. Ensure even amounts.
- Place ramekins in a larger pan and add boiling water halfway up the sides.
- Bake for about 90 minutes until set but slightly jiggly in the center.
- Cool at room temperature then refrigerate for at least 2 hours before serving.
Leave a Reply