
It all started when I decided to shake up dessert night and create something that would not only look stunning but also bring joy to the table—enter the Strawberry Earthquake Cake. This delightful dessert marries the sweetness of fresh strawberries with a creamy, luscious layer of cream cheese, all resting on a rich chocolaty base. What makes this cake truly special is how effortlessly it comes together, making it perfect for impressing family and friends without hours spent in the kitchen. Plus, it’s versatile enough to cater to different dietary needs with gluten-free options and healthy modifications! Are you ready to dive into this flavorful adventure? Let’s get baking!

Why is this cake a must-try?
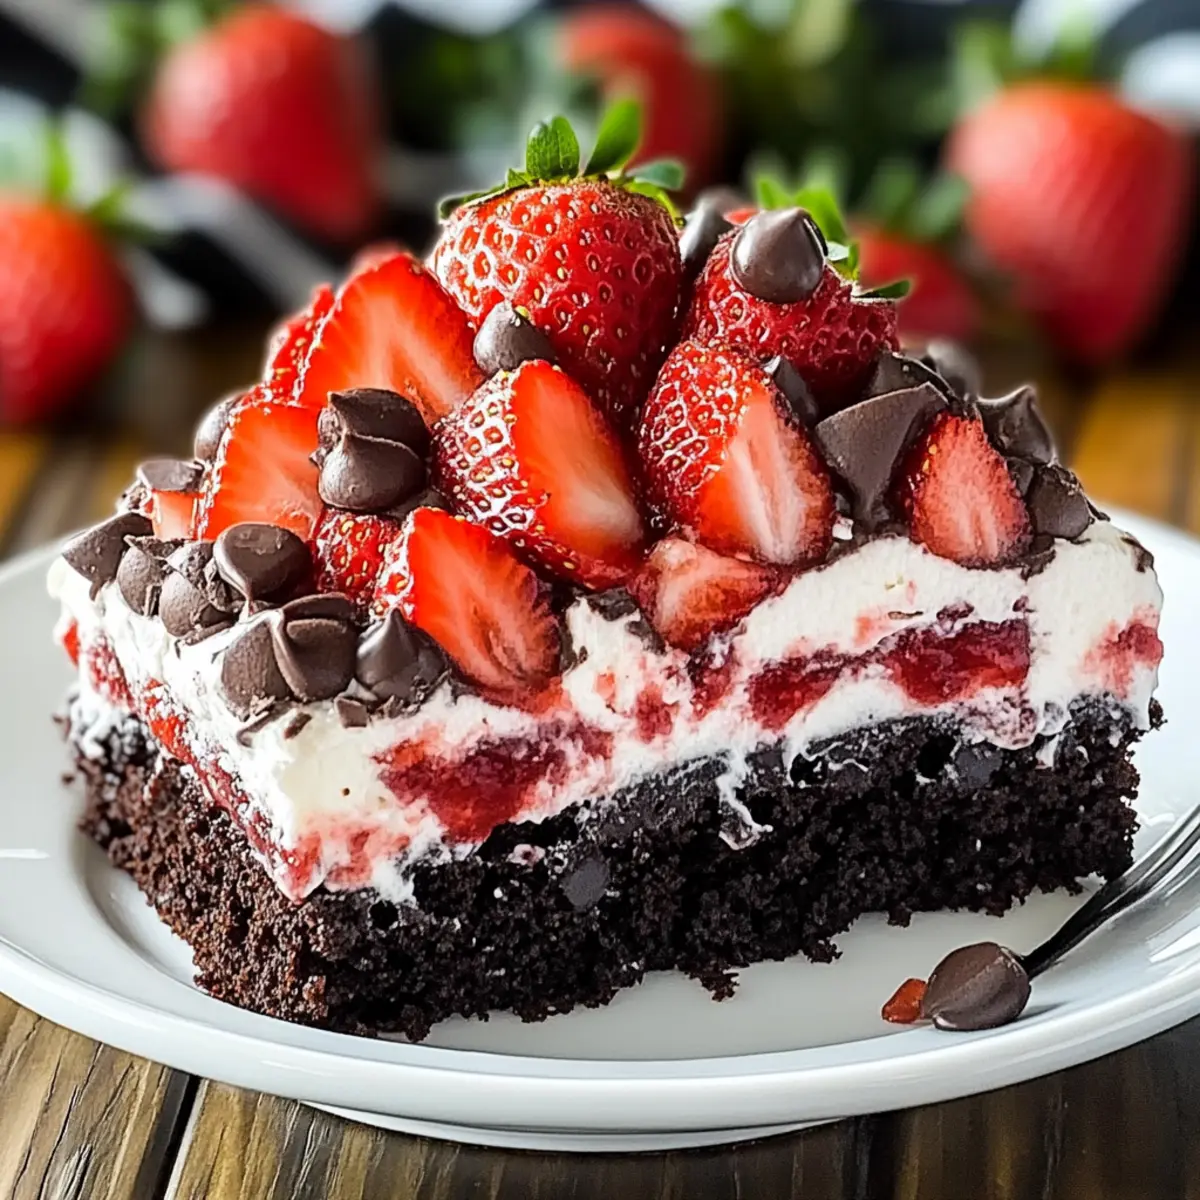
Unforgettable Flavor: The Strawberry Earthquake Cake delivers a tantalizing blend of chocolate and strawberry that leaves your taste buds dancing with delight.
Effortless Preparation: This dessert is a breeze to whip up, requiring minimal ingredients and simple steps—perfect for both novice and seasoned bakers.
Diet-Friendly Options: With gluten-free alternatives and health-conscious modifications available, everyone can enjoy a slice of this decadent treat.
Crowd-Pleasing Appeal: It’s the ideal centerpiece for gatherings, impressing guests with its stunning appearance and delightful flavors.
Make-ahead Convenience: Prepare it in advance for stress-free hosting—simply refrigerate overnight and serve chilled!
Combine it with a scoop of whipped cream for an elevated treat or pair it with a fresh fruit salad to brighten your table—just like you would with a Fried Strawberry Cheesecake or a Coffee Cake Cozy. Enjoy this sweet explosion and watch it disappear in no time!
Strawberry Earthquake Cake Ingredients
For the Cake
- Cake mix – This serves as the foundation; opt for a gluten-free chocolate cake mix if needed.
- Eggs – Beaten until pale yellow to ensure good structure and rise in your cake.
- Butter – Adds moisture; use unsalted butter for better control over the saltiness.
- Strawberries – Fresh and sweet, these fabulous fruits will be layered throughout and should be thoroughly thawed and drained if frozen.
For the Cream Cheese Layer
- Cream cheese – Offers a rich, creamy layer; you can substitute Greek yogurt for a lighter take.
- Powdered sugar – Sweetens the cream cheese topping; feel free to adjust the quantity to match your sweetness preference.
Get ready to create the perfect Strawberry Earthquake Cake that will certainly impress your loved ones!
Step‑by‑Step Instructions for Strawberry Earthquake Cake
Step 1: Prepare Ingredients
Begin by gathering all your ingredients for the Strawberry Earthquake Cake. Thaw the strawberries if using frozen ones, ensuring they’re properly drained to prevent excess moisture. Beat the eggs in a bowl until they become pale yellow and frothy. Preheat your oven to 350°F (175°C) while you prep to make the mixing process seamless.
Step 2: Mix Cake Batter
In a large mixing bowl, combine the cake mix, beaten eggs, and melted unsalted butter. Mix until just blended, ensuring not to overmix to keep the cake light and fluffy. Gently fold in half of the strawberries, creating a fruity essence throughout the batter. Pour the cake mixture into a greased 9×13 inch baking pan, spreading it evenly.
Step 3: Add Cream Cheese Layer
In a separate bowl, beat the cream cheese and powdered sugar until creamy and smooth. Gently spread this cream cheese mixture over the cake batter in the baking pan, aiming for an even layer. This rich layer adds a delightful creaminess to the Strawberry Earthquake Cake, creating a stunning contrast to the chocolaty base.
Step 4: Top with Remaining Strawberries
Sprinkle the remaining strawberries delicately over the cream cheese layer, ensuring they are evenly distributed. This not only enhances the flavor profile of the cake but also adds a vibrant touch. The bright reds of the strawberries against the creamy white layer will have your guests excited for a slice.
Step 5: Bake
Carefully place the baking pan in the preheated oven. Bake for 25 to 30 minutes, or until a toothpick inserted in the center comes out clean. Keep an eye on the cake as it bakes; it should rise beautifully and start to pull away from the sides of the pan, indicating it’s done.
Step 6: Cool
Once the baking time is complete, take the Strawberry Earthquake Cake out of the oven and let it cool in the pan for about 15 minutes. Then, transfer it to a wire rack to cool completely before serving. This cooling step helps the layers stabilize, ensuring each bite is as delightful as intended.

Strawberry Earthquake Cake Variations
Feel free to explore and customize your Strawberry Earthquake Cake experience with these fun twists to match your taste!
-
Gluten-Free: Use a gluten-free chocolate cake mix to enjoy this dessert without worry.
This substitution keeps the delicious flavors but makes it accessible for those with gluten sensitivities. -
Dairy-Free: Swap cream cheese for a dairy-free cream cheese alternative and use coconut oil instead of butter.
With these simple swaps, you can still indulge in a rich, creamy layer without dairy. -
Health-Conscious: Replace powdered sugar with a natural sweetener like agave or coconut sugar for a lighter option.
The flavor remains delightful, while the cake becomes a healthier treat you can feel great about! -
Texture Twist: Add chopped nuts, like walnuts or pecans, for a delightful crunch that complements the softness of the cake.
This addition brings another layer of texture and flavors that will surprise your guests. -
Fruity Flavor Boost: Mix in or top with other berries such as blueberries or raspberries for a mixed berry sensation.
These juicy fruits will enhance the freshness of your cake and create a lively presentation. -
Chocolate Lovers: Drizzle melted chocolate over the top before serving for an extra layer of decadence.
It elevates the cake to a whole new level, bringing gooey goodness with every bite. -
Spiced Options: Sprinkle in a teaspoon of cinnamon or nutmeg for a warm, comforting twist.
These spices will infuse your cake with cozy flavors that remind you of family gatherings and sweet memories.
For even more delightful dessert inspiration, you might want to check out our Dubai Chocolate Cake or whip up a vibrant Strawberry Shortcake Puppy for a fresh treat! Feel free to get creative with your own variations and make this cake truly your own!
How to Store and Freeze Strawberry Earthquake Cake
Fridge: Store your Strawberry Earthquake Cake in an airtight container in the refrigerator for up to 3 days, keeping its delightful flavors intact.
Freezer: For longer storage, freeze individual slices wrapped tightly in plastic wrap and then aluminum foil for up to 2 months; thaw overnight in the fridge before enjoying.
Reheating: To enjoy warm, preheat your oven to 350°F (175°C) and reheat slices for about 10 minutes, or microwave for 20-30 seconds on low, ensuring it’s heated through without drying out.
Make-ahead: This cake can be made a day in advance, just keep it chilled and covered to maintain freshness, making it a convenient option for gatherings!
What to Serve with Strawberry Earthquake Cake
Indulging in a slice of this dessert is just the beginning—let’s elevate your dining experience with delightful pairings!
-
Whipped Cream: A dollop of freshly whipped cream adds a fluffy texture that beautifully complements the rich, fudgy layers.
-
Fresh Mint: Sprigs of mint not only add a pop of color but also provide a refreshing contrast to the sweetness of the cake.
-
Chocolate Ice Cream: Rich chocolate ice cream mirrors the decadent fudgy base of the cake, creating a heavenly chocolate lover’s dream. Pairing these together is like tasting chocolate paradise on your palate.
-
Fruit Salad: A light fruit salad with seasonal berries brightens your plate and offers a refreshing burst of citrus that harmonizes perfectly with the strawberry flavors.
-
Iced Tea or Lemonade: Serve chilled iced tea or homemade lemonade for a delightful refreshment that balances the cake’s sweetness while offering a zesty kick.
-
Coffee: A steaming cup of coffee rounds out the dessert nicely, enhancing the overall flavor experience with its warm, comforting notes.
-
Vanilla Custard: Pouring some warm custard over the cake introduces an elegant twist and adds silky richness that enhances each bite.
Expert Tips for Strawberry Earthquake Cake
-
Avoid Overmixing: Overmixing can lead to a dense and tough cake; gently mix the batter until just combined for a lighter texture.
-
Proper Strawberry Prep: Ensure frozen strawberries are thoroughly thawed and drained, as excess moisture can make your cake soggy.
-
Cream Cheese Consistency: For the perfect cream cheese layer, beat the mixture until smooth and creamy, avoiding lumps for an appealing presentation.
-
Serving Suggestions: Enhance your Strawberry Earthquake Cake by serving with a dollop of whipped cream or a scoop of vanilla ice cream for a decadent treat.
-
Storage Tips: Keep leftovers in the refrigerator for up to 3 days, ensuring the cake remains fresh and moist for indulgent late-night snacks!
Make Ahead Options
The Strawberry Earthquake Cake is a fantastic dessert for busy home cooks who want to save time without sacrificing flavor! You can prepare the cake batter up to 24 hours in advance and store it in the refrigerator, ensuring the strawberries are well-drained to prevent moisture buildup. For even more convenience, the cream cheese layer can be made and refrigerated up to 3 days prior to serving. When you’re ready to bake, simply combine the two layers, top with the remaining strawberries, and bake as directed. This way, you can enjoy a delightful, freshly-baked Strawberry Earthquake Cake with minimal last-minute effort, keeping its vibrant flavors and textures just as delicious!

Strawberry Earthquake Cake Recipe FAQs
What type of cake mix should I use?
You can use your favorite chocolate cake mix as the base. If you’re looking for a gluten-free option, simply opt for a gluten-free chocolate cake mix to still enjoy the deliciousness of the Strawberry Earthquake Cake without gluten.
How should I store leftover Strawberry Earthquake Cake?
Store your Strawberry Earthquake Cake in an airtight container in the refrigerator for up to 3 days. This keeps the cake moist and the flavors fresh, allowing you to enjoy it as a delightful treat even days later.
Can I freeze Strawberry Earthquake Cake?
Absolutely! To freeze, wrap individual slices tightly in plastic wrap, followed by aluminum foil, to prevent freezer burn. You can store them for up to 2 months. When you’re ready to indulge again, thaw them overnight in the fridge before enjoying them!
What should I do if my cake is too dense?
If you find your cake to be dense, it may be due to overmixing the batter. Always mix until just combined and avoid vigorous stirring. Using the right amount of moisture, especially with thawed frozen strawberries, also helps, so ensure they’re well-drained to prevent sogginess.
Are there any dietary considerations for pets or allergies?
Yes! While the Strawberry Earthquake Cake is a delightful treat for humans, be cautious if you have pets. Ingredients like chocolate and sugary frostings can be harmful to dogs and cats. Additionally, check if anyone has allergies to dairy, gluten, or eggs when serving this cake. You can replace eggs with flaxseed for a vegan option and use dairy-free cream cheese for a lighter dessert!
Irresistibly Moist Strawberry Earthquake Cake Delight
Ingredients
Equipment
Method
- Gather all ingredients. Thaw and drain strawberries if frozen. Beat eggs until pale yellow. Preheat oven to 350°F (175°C).
- In a large bowl, combine chocolate cake mix, beaten eggs, and melted butter. Mix until just blended. Fold in half of the strawberries and pour into a greased 9x13 inch baking pan.
- In another bowl, beat cream cheese and powdered sugar until creamy. Spread evenly over the cake batter.
- Sprinkle remaining strawberries over the cream cheese layer.
- Bake in the preheated oven for 25 to 30 minutes, or until a toothpick comes out clean.
- Let the cake cool in the pan for about 15 minutes, then transfer to a wire rack to cool completely.
Leave a Reply