
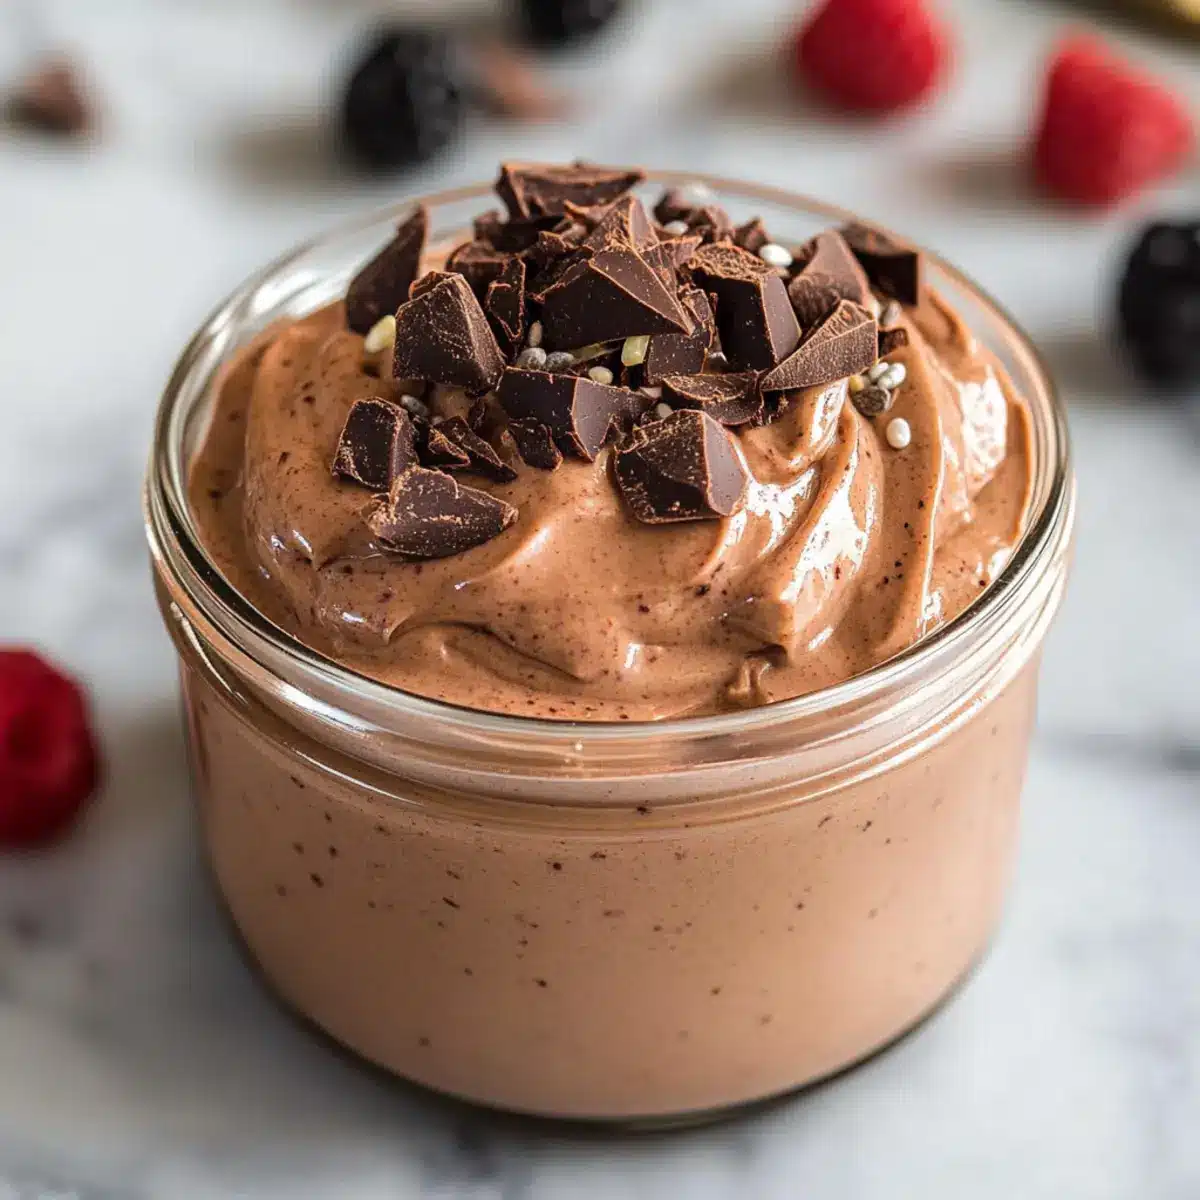
In a world where snacks often feel like a guilty pleasure, discovering something both indulgent and nutritious feels like a small victory. Enter my Creamy High-Protein Pudding—the answer to those cravings for a satisfying treat without the compromise! This protein pudding is not just a dream for fitness enthusiasts; it’s an incredibly easy treat to whip up with only a handful of ingredients. Whether you’re looking for a quick breakfast or a delightful dessert, this recipe has you covered. With its luxuriously creamy texture and the flexibility to mix and match flavors, it adapts to your taste and dietary needs effortlessly. Plus, it makes meal prep a breeze! Curious about how to elevate your snack game without the fuss? Let’s dive into this deliciously satisfying recipe!
Why is Protein Pudding a Game-Changer?
Simplicity is key: This pudding requires minimal effort, making it perfect for busy days or when you crave a hearty snack. Versatile Ingredients: Use whey protein or Greek yogurt to customize your pudding while keeping it healthy. Flavor Options: With endless variations ranging from chocolate to fruity delights, you’ll never get bored! Quick Meal Prep: Perfect for grabbing on the go, just prepare and store in airtight containers. Crowd-Pleasing: Whether at home or sharing with friends, everyone loves a creamy dessert that’s good for them! Why not explore more healthy snack ideas to keep your options fresh?
Protein Pudding Ingredients
Here’s everything you need to create your delectable protein pudding!
For the Base
- Whey Protein Powder – Your primary protein source that lends creaminess to this pudding; choose flavors like chocolate or vanilla for added variety.
- Greek Yogurt – A lower-calorie option that provides a creamy and tangy foundation; consider using full-fat for a richer taste.
- Milk (optional) – Enhances the overall creaminess; if going vegan, try almond or oat milk for a delightful touch.
For Flavoring
- Vanilla Extract (optional) – A must-add to elevate sweetness and depth; a little goes a long way!
- Chia Seeds (optional) – These little powerhouses boost fiber content while adding an enjoyable texture.
For Enhancement
- Sea Salt (optional) – Just a pinch balances the sweetness and brings out richer flavors in your protein pudding.
With these ingredients, you’re all set to whip up a nutritious and creamy protein pudding that satisfies your sweet tooth without the guilt!
Step‑by‑Step Instructions for Protein Pudding
Step 1: Combine Base Ingredients
In a mixing bowl, start by adding 1 scoop of whey protein powder and ½ cup of Greek yogurt if you’re using it. Use a whisk to stir the ingredients together until they form a uniform mixture. Look for a thick but smooth texture, which should take about 1 to 2 minutes of mixing. A rubber spatula works well for scraping down the sides to ensure everything is combined.
Step 2: Add Milk for Creaminess
Gradually pour in ½ cup of milk, or just enough to achieve your desired consistency, while continuing to stir. This step should take around 2 minutes; aim for a thick yet pourable mixture. If you’re using plant-based protein, opt for almond or oat milk to enhance the flavor. The final mix should be silky and free of lumps.
Step 3: Incorporate Flavor Enhancements
For an extra kick of flavor, blend in 1 teaspoon of vanilla extract, and if desired, add 1 tablespoon of chia seeds for added texture and nutritional benefits. Stir well for about another minute until everything is evenly incorporated. At this stage, the protein pudding should be creamy and fragrant, inviting you to take a taste!
Step 4: Balance the Sweetness
Taste the protein pudding and adjust the sweetness if necessary. You can add a touch of honey or a sugar substitute to suit your palate. Mix for an additional 30 seconds to ensure any sweetening agents are thoroughly combined. Your pudding should be thick, creamy, and perfectly balanced between sweet and tangy.
Step 5: Portion for Meal Prep
Once the mixture is ready, scoop the protein pudding into airtight containers or mason jars for easy storage. Aim for about ½ to 1 cup per portion, filling each container to the brim. This step not only allows for grab-and-go options but also makes serving easy for your busy week ahead.
Step 6: Refrigerate or Freeze
Refrigerate your protein pudding for at least 30 minutes before enjoying, allowing the flavors to meld together. You can store it in the fridge for up to 3 days or freeze for up to 2 months. If freezing, be sure to thaw your pudding in the refrigerator overnight for the best creamy consistency when ready to serve.
Protein Pudding Variations & Substitutions
Feel free to unleash your creativity and customize your protein pudding just the way you like it!
-
Dairy-Free: Substitute Greek yogurt with coconut or almond yogurt for a creamy, dairy-free treat.
Enjoy the tropical twist from coconut while maintaining that luscious texture you crave! -
Flavored Protein: Try swapping your standard whey protein with flavored varieties like chocolate or vanilla.
Each flavor adds a fun dimension to your pudding, making every bite an exciting surprise. -
Nut Butter Bliss: Stir in a tablespoon of almond or peanut butter for a rich, nutty flavor.
This adds creaminess and transforms your pudding into a truly indulgent snack! -
Fruity Delight: Top your pudding with fresh berries or banana slices for a burst of natural sweetness.
This not only enhances the texture but also lends each spoonful a refreshing zing. Check out my healthy snack ideas for more topping inspiration! -
Choco-Lover’s Dream: Mix in cocoa powder for a chocolate protein pudding experience.
A heavenly twist perfect for satisfying those chocolate cravings while staying guilt-free. -
Crunchy Texture: Add granola or crushed nuts for an unexpected crunch in every bite.
This delightful contrast of creamy and crunchy will keep your taste buds dancing with joy! -
Spicy Kick: For a unique twist, consider adding a hint of cinnamon or even cayenne pepper.
This unexpected spice elevates your pudding, creating an unforgettable flavor profile! -
Sweetener Swap: Replace honey with a sugar substitute or maple syrup to adjust sweetness to your liking.
This makes it perfect for those watching their sugar intake while still enjoying a sweet treat.
What to Serve With Creamy Protein Pudding?
Elevate your indulgent pudding experience with these delightful pairings that enhance flavor and texture for a full meal.
- Fresh Berries: Bursting with sweetness and acidity, fresh berries like strawberries or blueberries add a colorful, nutritious contrast to the rich pudding.
- Granola Crunch: A sprinkle of granola brings a satisfying crunch that complements the pudding’s creaminess, making every bite exciting.
- Sliced Bananas: Creamy bananas meld perfectly with the pudding’s texture, offering a classic combination that feels indulgent yet wholesome.
- Nuts & Seeds: Chopped almonds or walnuts introduce a delightful crunch and healthy fats, elevating the nutrient profile of your snack.
- Nut Butter Drizzle: A swirl of almond or peanut butter transforms your pudding into a decadent treat, providing additional protein and flavor complexity.
- Sweet Dark Chocolate Shavings: Bittersweet chocolate shavings add a luxurious touch, balancing the sweetness of the pudding with rich, bold notes.
- Coconut Flakes: Toasted coconut flakes enhance tropical vibes while offering a chewy texture that contrasts beautifully with the creamy pudding.
- Cinnamon Dusting: A light sprinkle of cinnamon can enhance the flavor, adding warmth and a hint of spice that makes the pudding even more comforting.
- Iced Coffee: Sip on a refreshing iced coffee for a perfect pick-me-up alongside your protein pudding, complementing its rich flavors with a caffeine boost.
Make Ahead Options
These Creamy Protein Pudding cups are perfect for meal prep enthusiasts! You can whip up the pudding mixture and store it in airtight containers up to 3 days in advance, making your busy week smooth and hassle-free. To prep, simply combine the whey protein powder, Greek yogurt, and milk, and mix in your desired flavorings. When you’re ready to enjoy, just give it a quick stir and it’s ready to serve—no extra effort required! If you plan to freeze, portion out the pudding and freeze for up to 2 months; just thaw it in the fridge overnight for a deliciously creamy texture that’s just as delightful as freshly made.
How to Store and Freeze Protein Pudding
Fridge: Store your protein pudding in airtight containers for up to 3 days to keep it fresh and creamy. This makes it a perfect ready-to-eat snack throughout the week.
Freezer: If you wish to keep it longer, you can freeze your protein pudding for up to 2 months. Just be sure to leave some space in the container to allow for expansion during freezing.
Thawing: When ready to enjoy, thaw your pudding in the refrigerator overnight for a smooth consistency. Avoid microwaving, as this can alter its texture.
Portion Control: Consider portioning your protein pudding into single-serving jars for easy meal prep and convenience, making healthy snacking effortless!
Expert Tips for Protein Pudding
- Quality Matters: Using a high-quality protein powder ensures a smooth, creamy texture. Cheaper brands can lead to a gritty feel in your pudding.
- Don’t Over-Mix: Once combined, avoid whisking too long. Over-mixing can introduce air, causing the pudding to become airy instead of thick and creamy.
- Flavor Experimentation: Feel free to get creative with mix-ins! Adding cocoa powder, fruit purees, or occasional spices like cinnamon can transform your protein pudding into various treats.
- Sweetness Control: Be sure to taste and adjust sweetness before storing. Adding too much sweetener can lead to a cloying flavor, especially after chilling.
- Meal Prep Smart: Portion out into containers after preparation. This not only saves time during the week but also allows for quick snack options on busy days.
Protein Pudding Recipe FAQs
What type of protein powder should I use?
Absolutely! When choosing a protein powder, opt for one that’s high-quality to ensure a smooth texture. Whey protein is a great choice for creaminess, but if you prefer a plant-based option, look for a vegan protein blend. Just be sure to mix in enough milk to achieve that luxurious consistency.
How should I store my protein pudding?
I recommend storing your protein pudding in airtight containers in the fridge for up to 3 days. This keeps it fresh and ready to grab whenever you need a quick snack. For longer storage, you can freeze it for up to 2 months, but make sure to leave a little room for expansion in the container.
Can I freeze protein pudding? How do I do it?
Definitely! To freeze your protein pudding, pour the mixture into single-serving airtight containers, leaving a small space at the top to account for expansion. It can be frozen for up to 2 months. When you’re ready to enjoy a serving, transfer the container to the refrigerator and let it thaw overnight for the creamiest texture.
What should I do if my pudding is too thick?
Very often, if your pudding turns out too thick, simply stir in a little more milk until you reach your desired consistency. It’s perfectly okay to adjust the thickness to fit your personal preference! Just remember to mix gently to keep it smooth and creamy.
Is this recipe suitable for everyone, including those with allergies?
Yes! Since this protein pudding recipe can easily be modified, it’s versatile for most dietary needs. Just be mindful of ingredient substitutions, especially if you’re cooking for someone with allergies. For gluten-free options, ensure you’re using gluten-free protein and adjust accordingly. Always check labels to be safe!
What are some creative mix-in ideas for flavor?
The more, the merrier! You can personalize your protein pudding by adding mix-ins such as cocoa powder for a chocolate twist, or stirring in fruit purees like banana or berry. Nuts, seeds, or granola on top provide a delightful crunch. Get creative and mix it up to keep every spoonful interesting!
Creamy Protein Pudding: Your Delicious High-Protein Snack
Ingredients
Equipment
Method
- Combine the base ingredients in a mixing bowl and whisk until a uniform mixture forms.
- Gradually add the milk while stirring to achieve your desired consistency.
- Blend in the vanilla extract and chia seeds, stirring until evenly combined.
- Adjust sweetness to taste and mix for 30 seconds.
- Portion the mixture into airtight containers for storage.
- Refrigerate for at least 30 minutes before enjoying.
Leave a Reply