
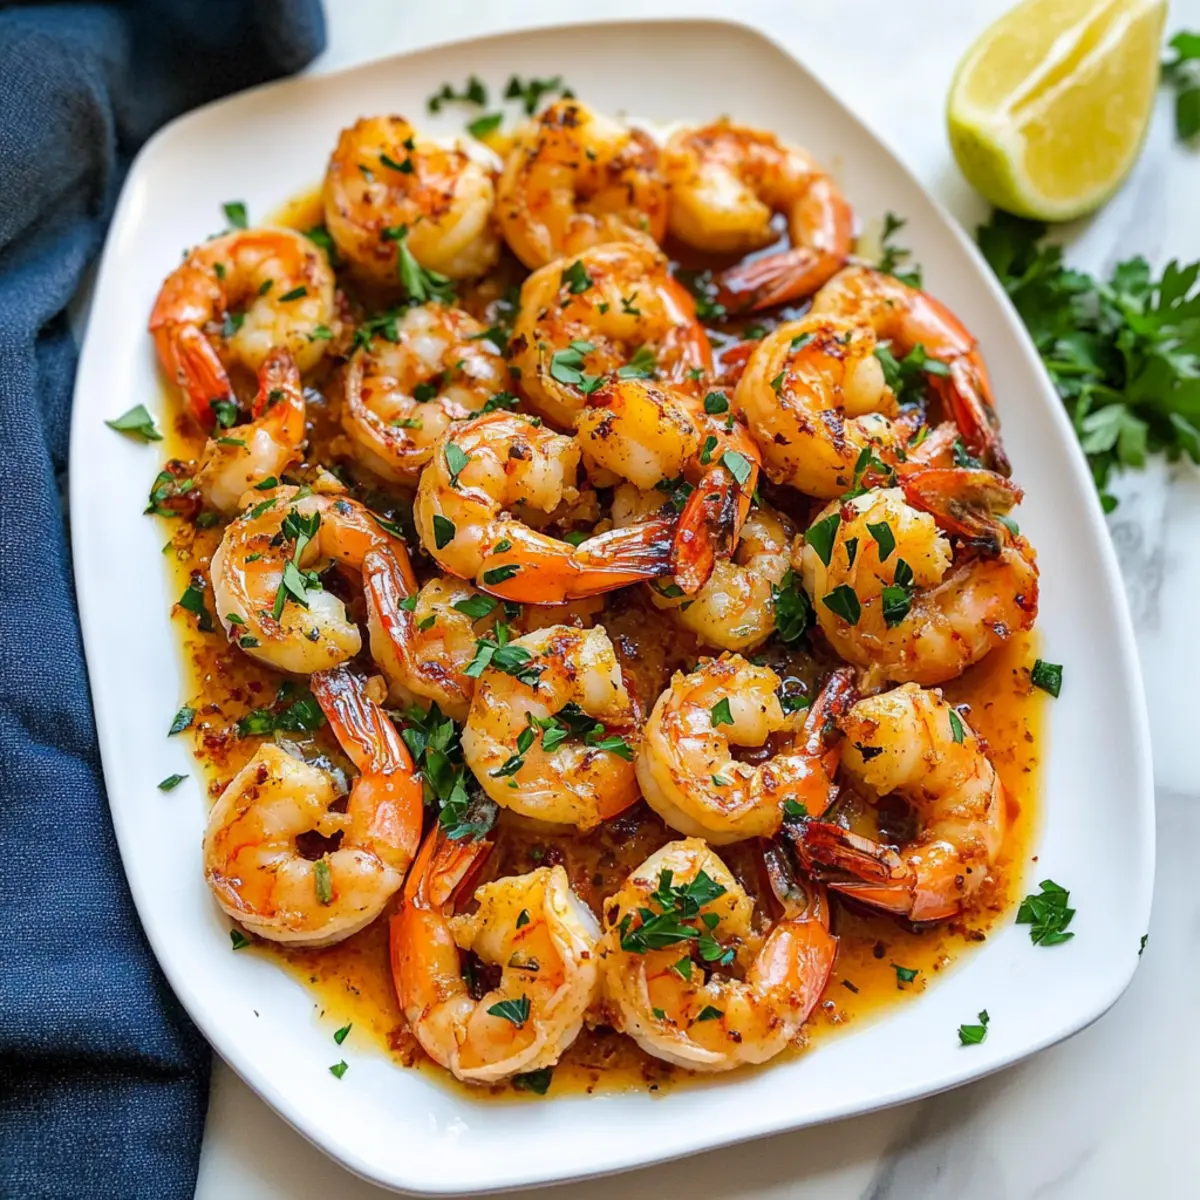
As I stood in my kitchen, inhaling the intoxicating aroma of sizzling garlic, I was instantly transported to the sunny shores of Hawaii. This quick Garlic Shrimp recipe brings a taste of that paradise straight to your dinner table, showcasing succulent shrimp enrobed in a buttery garlic sauce that will have even the busiest of home chefs feeling like culinary rock stars. What I love most about this dish is that it’s not only ready in just 20 minutes, but it also requires minimal ingredients, making it a go-to for those nights when time is tight, yet you still crave something truly special. Whether you’re hosting friends or just treating yourself to a tropical escape at home, this Hawaiian Garlic Shrimp promises to be a hit. Are you ready to dive into this flavorful journey?
Why Is Garlic Shrimp So Irresistible?
Simplicity at its Core: This Hawaiian Garlic Shrimp comes together in just 20 minutes, making it perfect for those busy nights when you want a delicious meal without the fuss.
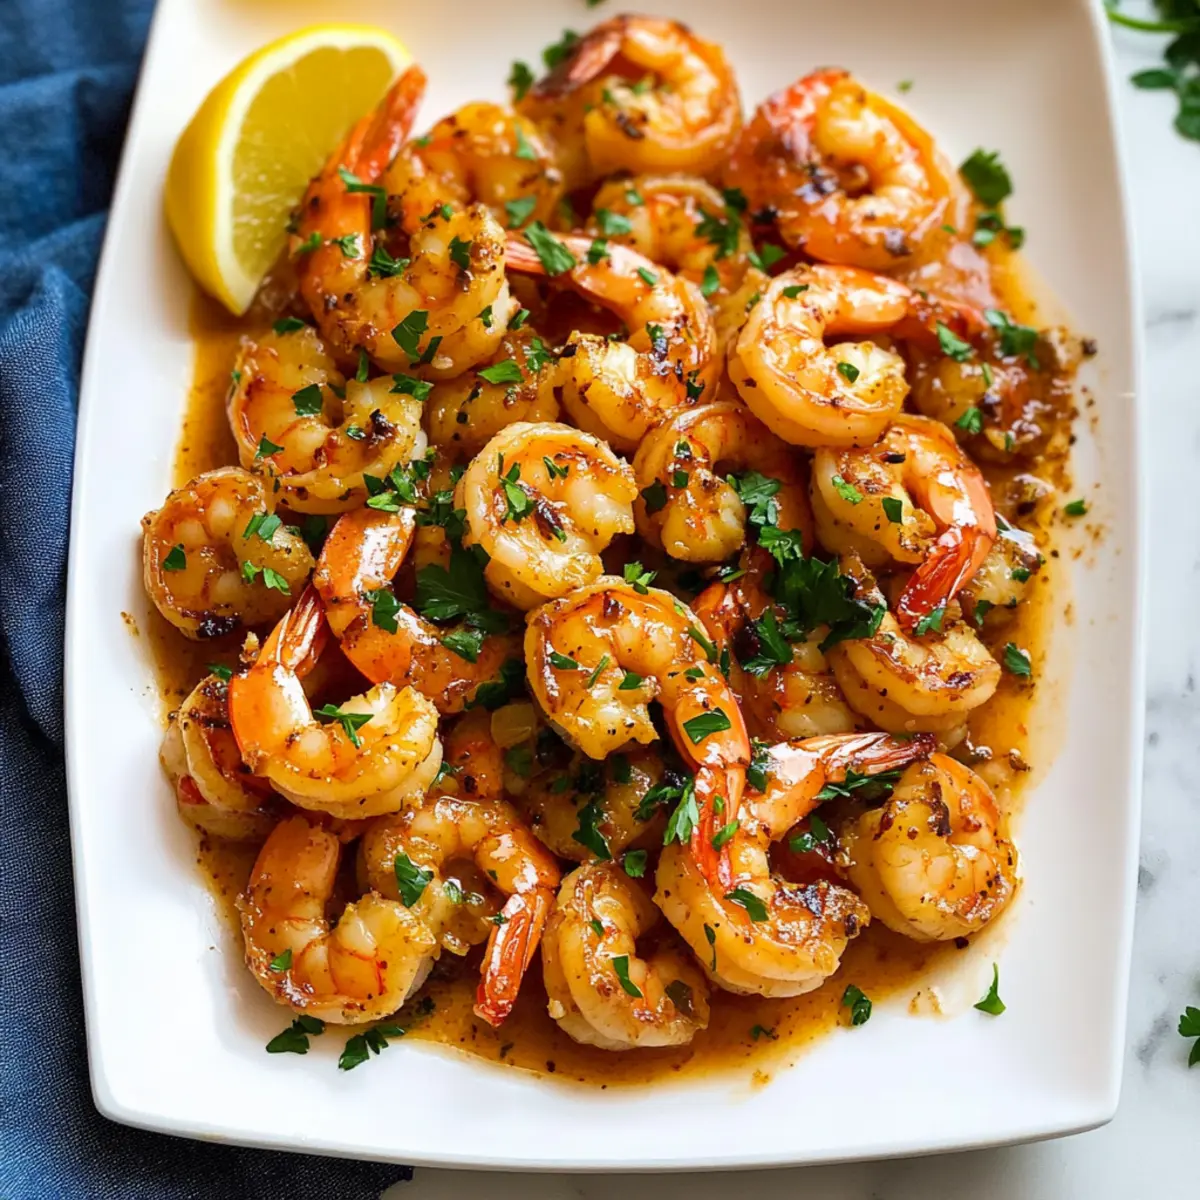
Irresistible Flavor: The buttery garlic sauce absorbs into the tender shrimp, creating a symphony of taste that is simply mouth-watering.
Versatile Serving Options: Pair it with coconut rice or even a fresh salad, and you’ll have a colorful, satisfying plate that impresses at any dinner.
Crowd-Pleasing Appeal: Whether it’s a family meal or entertaining guests, this quick dish guarantees smiles around the table—it’s bound to become a favorite!
For more delicious ideas, check out my Garlic Butter Steak or Garlic Parmesan Chicken recipes for an incredible garlic experience!
Garlic Shrimp Ingredients
For the Shrimp
• Fresh Extra-Large Shrimp – The star of this dish; ensure shrimp are peeled and deveined for quick cooking.
• All-Purpose Flour – Coats the shrimp to provide a slight crispy texture; substitute with gluten-free flour if needed.
For the Flavor
• Minced Garlic – Fresh garlic packs an intense flavor; jarred garlic can work in a pinch, but fresh is best!
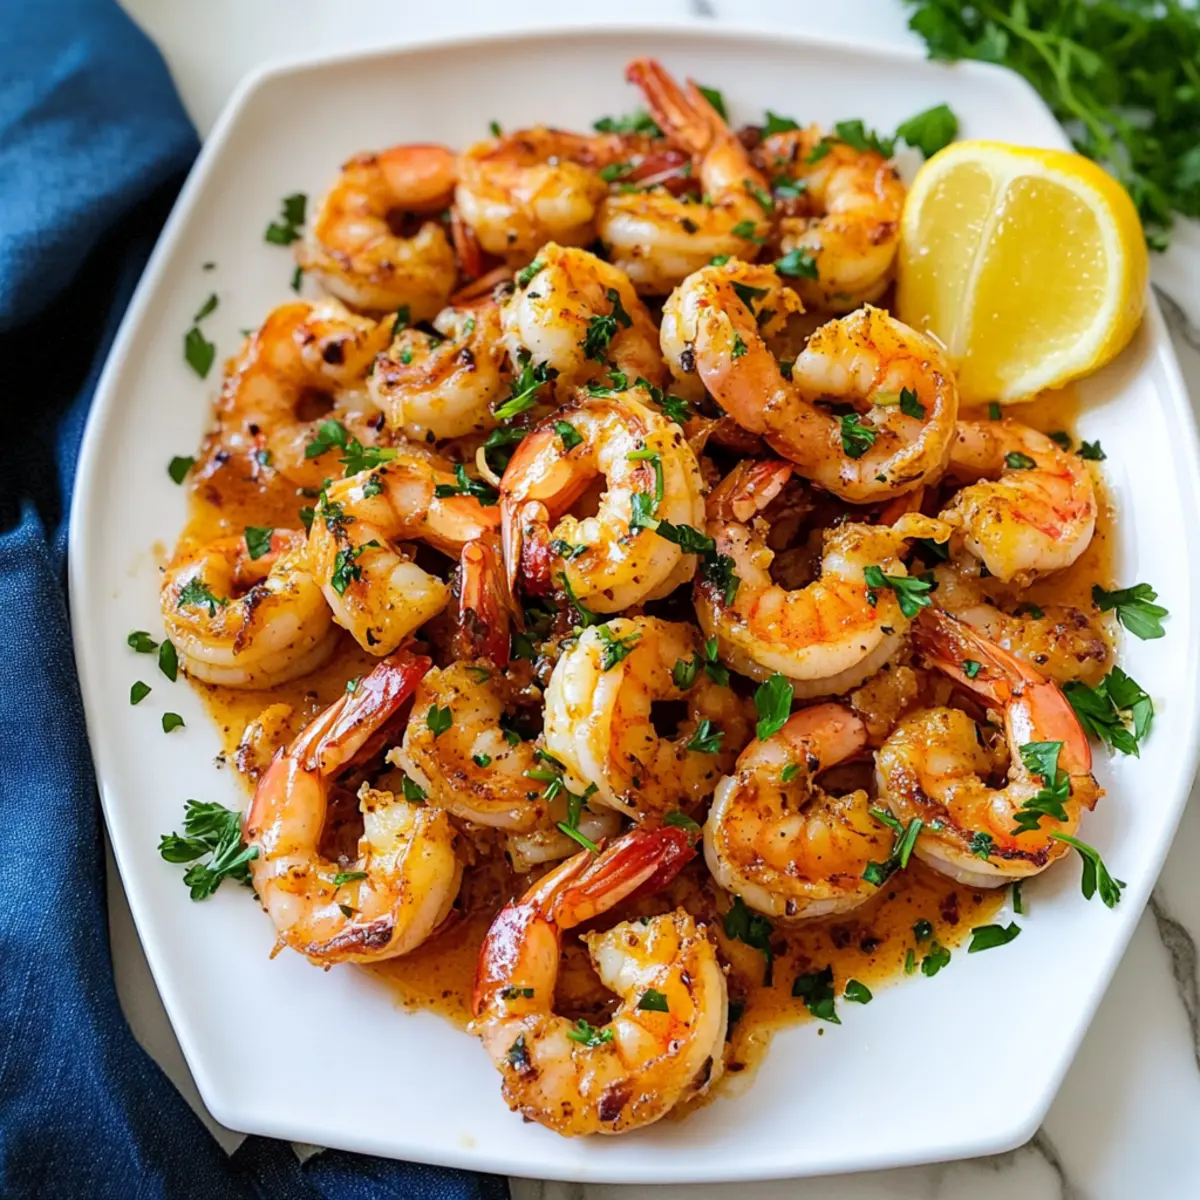
• Paprika – Adds depth and a beautiful color; use smoked paprika for an even richer taste.
• Cayenne Pepper – Adjust the amount for your spice preference; it adds a kick to the garlic shrimp!
• Salt and Pepper – Essential for seasoning and balancing flavors.
For the Sauce
• Unsalted Butter – Creates a rich, creamy garlic sauce; vegan butter is a suitable alternative.
• Olive Oil – Used for sautéing, it adds a touch of healthy fats to the dish.
• Fresh Lemon Juice – Brightens everything up and balances out the richness of the sauce.
For Garnish (Optional)
• Fresh Parsley – A pop of fresh flavor and color to elevate your garlic shrimp presentation.
Step‑by‑Step Instructions for Garlic Shrimp
Step 1: Prepare the Shrimp
Start by patting the fresh shrimp dry with a paper towel to ensure they sear perfectly. Place them in a mixing bowl, giving their moisture time to evaporate while you get the seasonings ready. This simple step will elevate the texture of your Garlic Shrimp, giving it that delightful crispness.
Step 2: Season the Shrimp
Sprinkle all-purpose flour, paprika, cayenne pepper, salt, and pepper over the shrimp. Toss gently to coat each piece evenly with the mixture, ensuring a delightful flavor and light crispiness. The shrimp should be well covered, enhancing their savory taste as they cook in the rich garlic sauce.
Step 3: Heat the Skillet
In a large non-stick skillet, melt 2 tablespoons of unsalted butter with 1 tablespoon of olive oil over medium heat. Wait for the butter to fizz slightly before proceeding, which indicates it’s hot enough for sautéing. This combination of fats will create a luscious base for your Hawaiian Garlic Shrimp.
Step 4: Sauté the Garlic
Add 4 cloves of minced garlic to the skillet, stirring constantly for about 30 seconds until fragrant. Be careful not to let it brown, as burnt garlic can turn bitter. This step infuses the oil and butter mixture with an aromatic foundation for your garlic shrimp.
Step 5: Cook the Shrimp
Carefully lay the shrimp in a single layer in the skillet and let them cook undisturbed for about 2 minutes. You’ll know they’re ready to flip when they turn pink on the bottom, which adds to their appetizing appearance and signals that they’re cooking perfectly.
Step 6: Flip and Finish Cooking
Gently flip each shrimp and continue cooking for another 2 minutes until the shrimp are just opaque throughout. Keep an eye on them; overcooking will result in a tough texture. Once they look perfectly cooked, you’re just about ready to serve this delicious Garlic Shrimp dish.
Step 7: Add Lemon and Garnish
Remove the skillet from heat, and drizzle freshly squeezed lemon juice over the shrimp, tossing gently to combine. If you’d like a touch of color, sprinkle freshly chopped parsley on top. This final touch brightens both the flavor and presentation of your Garlic Shrimp.
Step 8: Serve Immediately
Plate your warm Garlic Shrimp by generously drizzling the luscious garlic butter sauce from the pan over the top. Enjoy it right away for the best flavor experience, alongside coconut rice or your favorite vegetables, bringing a taste of the tropics to your dining table.
Garlic Shrimp Variations & Substitutions
Feel free to put your own spin on this delicious Garlic Shrimp recipe with these creative variations!
-
Vegetable Boost: Add sliced bell peppers or snap peas for a vibrant stir-fry. They not only add nutrition but also a delightful crunch that complements the tender shrimp.
-
Coconut Rice Pairing: Serve your Garlic Shrimp over fragrant coconut rice for a tropical twist. The sweetness of coconut perfectly balances the savory garlic sauce.
-
Spice It Up: Increase the heat by adding diced jalapeños or using extra cayenne pepper. Adjust to your liking and ignite your taste buds with a fiery kick!
-
Lemon Zest: Brighten the flavors even more by adding lemon zest along with the juice. This added zing will amplify the freshness of your dish.
-
Creamy Twist: Stir in a splash of heavy cream or coconut milk after cooking the shrimp for a rich, creamy garlic sauce. It takes this dish to another level of indulgence!
-
Herb Variations: Experiment with different herbs like cilantro or basil instead of parsley for a fresh twist. Each herb brings its unique flavor profile that can enhance your dish beautifully.
-
Grill Option: For a smoky flavor, grill the shrimp instead of sautéing them. Marinate the shrimp with garlic and olive oil before skewering, then grill for 2-3 minutes per side.
For more delightful meal inspirations, check out my Garlic Butter Steak or treat yourself to a creamy dish with my Garlic Parmesan Chicken!
How to Store and Freeze Garlic Shrimp
Fridge: Store leftovers in an airtight container for up to 2 days for the best flavor and texture. Reheat gently on low heat to avoid overcooking the shrimp.
Freezer: If you have extra garlic shrimp, you can freeze it in a freezer-safe bag for up to 3 months. Make sure to remove excess air before sealing to prevent freezer burn.
Reheating: Thaw frozen shrimp in the fridge overnight. To reheat, place in a skillet over low heat, adding a splash of olive oil or butter to restore moisture. Remember, avoid overcooking to maintain tenderness.
Room Temperature: If left out, do not keep garlic shrimp at room temperature longer than 2 hours to ensure food safety.
Make Ahead Options
These Hawaiian Garlic Shrimp are perfect for meal prep enthusiasts! You can season the shrimp with flour, paprika, cayenne, salt, and pepper and refrigerate them for up to 24 hours in advance; this allows the flavors to marry beautifully. In addition to the shrimp, you can mince the garlic ahead and store it in an airtight container, which will keep it fresh for a couple of days. When you’re ready to serve, simply sauté the seasoned shrimp with the prepared garlic in the skillet as directed, and finish with lemon juice and parsley. This way, you’ll enjoy a delicious, home-cooked meal with minimal effort, making busy weeknights feel like a breeze!
What to Serve with Hawaiian Garlic Shrimp
Elevate your mouthwatering Hawaiian Garlic Shrimp into a complete dining experience with these delightful pairings!
-
Coconut Rice: The sweet and creamy texture of coconut rice complements the savory shrimp, transporting your taste buds straight to paradise.
-
Garlic Bread: Crispy, buttery garlic bread is perfect for soaking up the rich sauce, making each bite a little indulgence.
-
Tropical Fruit Salad: A refreshing salad of mango, pineapple, and kiwi adds a bright, fruity contrast that balances the rich flavors of the shrimp.
-
Roasted Vegetables: A mix of colorful roasted vegetables not only enhances your plate but also adds a healthy crunch, creating a vibrant meal.
-
Cashew or Macadamia Nuts: Sprinkle some toasted nuts over your dish for a tasty crunch that adds a delightful nutty flavor and rich texture.
-
Chilled White Wine: A glass of chilled Sauvignon Blanc or Pinot Grigio brings a crisp freshness, enhancing the flavors of the dish while keeping the meal light.
-
Lemon Sorbet: For dessert, a palate-cleansing lemon sorbet will refresh your senses after the rich garlic shrimp, leaving you satisfied.
Each pairing creates a flavorful experience that turns your meal into something memorable, perfect for both weeknight dinners and special occasions!
Expert Tips for Garlic Shrimp
-
Choose Fresh Shrimp: Fresh extra-large shrimp yield the best flavor and texture. Frozen shrimp can work, but thaw them properly before cooking to avoid excess water.
-
Watch the Garlic: Burnt garlic can ruin the dish. Sauté it just until fragrant and golden, avoiding any bitterness that comes from overcooking.
-
Perfect Cooking Time: Keep a close eye on the shrimp while cooking. They should be opaque but not overcooked to maintain their tenderness, making your garlic shrimp irresistible.
-
Use the Right Flour: If you’re aiming for a gluten-free version, opt for a gluten-free flour blend; this ensures the sublime texture remains while catering to dietary needs.
-
Serve Hot: Garlic shrimp tastes best when served immediately. The flavors meld beautifully while warm, so keep it cozy and delicious by plating it right away!
Hawaiian Garlic Shrimp Recipe FAQs
How do I select fresh shrimp?
Absolutely! When choosing shrimp, look for firm, moist, and translucent shells. They should have a mild saltwater scent without any strong odors. Avoid shrimp with dark spots or a slimy texture, as these could indicate spoilage.
What are the best storage methods for leftovers?
You’ll want to store your leftover Hawaiian Garlic Shrimp in an airtight container in the refrigerator for up to 2 days. When reheating, do so gently on low heat to keep the shrimp tender and prevent them from becoming rubbery.
Can I freeze garlic shrimp? If so, how?
Yes, you can freeze garlic shrimp! Place it in a freezer-safe bag and make sure to squeeze out excess air to prevent freezer burn. Properly stored, it will last for up to 3 months. When you’re ready to enjoy it again, thaw in the refrigerator overnight and reheat in a skillet with a splash of olive oil or butter.
What should I do if my garlic burns while cooking?
No need to fret! If your garlic starts to brown too quickly, simply remove it from the heat immediately. You can start over with a fresh batch of garlic in a new pan. Remember, you want to sauté it just long enough to become fragrant—about 30 seconds—without letting it turn dark. Timing is key!
Is this recipe suitable for gluten-free diets?
Very much so! To make this Hawaiian Garlic Shrimp gluten-free, simply substitute the all-purpose flour with a gluten-free flour blend. This ensures you can enjoy the same delightful crispiness and flavor without any gluten concerns. Always check the labels of your ingredients to be sure they meet your dietary needs.
Can I keep garlic shrimp at room temperature?
It’s crucial to be cautious! Garlic shrimp should not be left out at room temperature for more than 2 hours to ensure food safety. After that timeframe, it’s best to store any leftovers in the fridge.
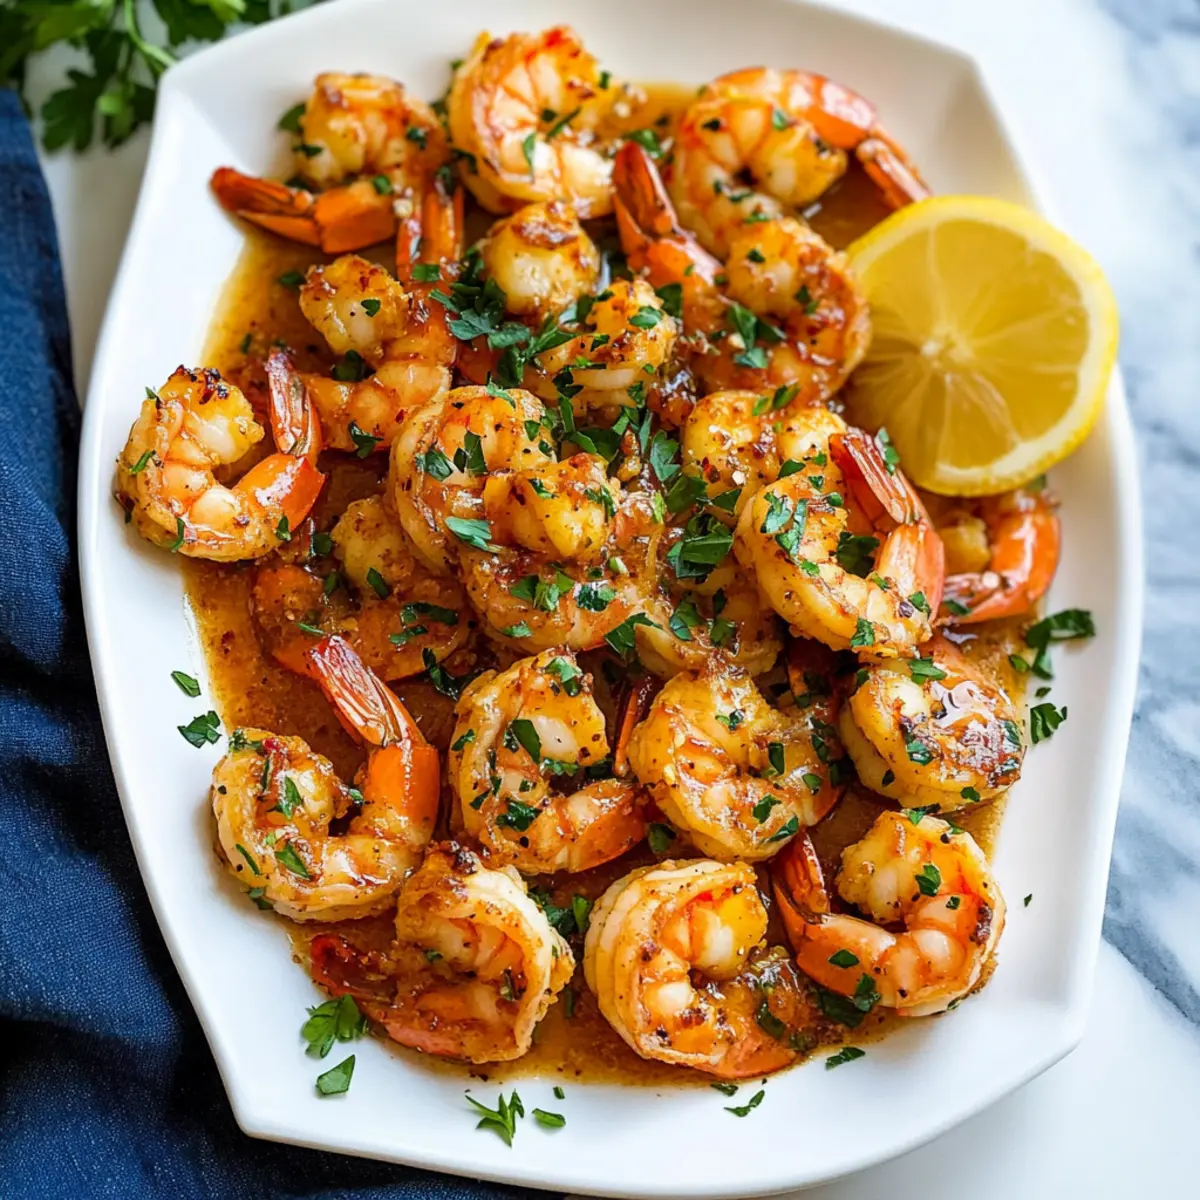
Savory Garlic Shrimp: Quick & Irresistibly Delicious
Ingredients
Equipment
Method
- Start by patting the fresh shrimp dry with a paper towel. Place them in a mixing bowl to let the moisture evaporate.
- Sprinkle all-purpose flour, paprika, cayenne pepper, salt, and pepper over the shrimp. Toss gently to coat each piece evenly.
- In a large skillet, melt 2 tablespoons of unsalted butter with 1 tablespoon of olive oil over medium heat until the butter fizzes.
- Add minced garlic to the skillet, stirring constantly for about 30 seconds until fragrant, without browning it.
- Carefully lay the shrimp in a single layer in the skillet and cook undisturbed for about 2 minutes until pink.
- Gently flip each shrimp and continue cooking for another 2 minutes until just opaque throughout.
- Remove from heat and drizzle with freshly squeezed lemon juice, tossing gently. Sprinkle with parsley if desired.
- Plate the shrimp and drizzle the garlic butter sauce over the top. Serve immediately with coconut rice or vegetables.
Leave a Reply