
As the holidays approach, the quest for that perfect side dish often leads me straight to Southern corn pudding. This creamy delight is the embodiment of comfort food, transforming any Thanksgiving spread into a feast to remember. What makes this corn pudding truly irresistible is its incredible balance of sweet and savory flavors, coupled with a texture so silky that it feels almost indulgent. Whether you’re a seasoned home chef or someone just exploring the world of homemade meals, this quick-to-prepare dish will become your go-to for holiday gatherings. It’s not just a side; it’s a celebration of warmth and hospitality, infused with the hearty goodness of corn. Are you ready to indulge in this comforting classic? Let’s dive into the recipe!

Why is Corn Pudding a Holiday Essential?
Comforting, Savory Goodness: This Southern corn pudding is the epitome of comfort food, with its creamy texture and delightful flavors that warm the heart.
Simple Preparation: Easily whip it up even on the busiest holiday mornings, making it a hassle-free addition to your Thanksgiving spread.
Versatile Pairing: Whether served alongside turkey, ham, or roast beef, this dish complements any main course beautifully, enhancing your festive table.
Make-Ahead Friendly: Prepare the batter in advance and simply bake it when you’re ready, allowing you to focus on other holiday meal preparations.
A Southern Tradition: Embrace the rich culinary heritage of the South and bring a touch of warmth and hospitality to your gatherings with this must-try dish. Ready to elevate your holiday meals? Don’t forget to check out related recipes like Honey Glazed Corn or Mexican Street Corn Salad for more delicious ideas.
Corn Pudding Ingredients
• Essential elements for a delightful dish.
For the Batter
- Thick-Cut Bacon – Adds smoky flavor and richness; substitute with turkey bacon for a leaner option.
- Sweet Onion – Contributes sweetness and depth; yellow onion can be a suitable substitute if needed.
- All-Purpose Flour – Provides structure; use a gluten-free flour blend for a gluten-free option.
- Yellow Corn Meal – Adds texture and corn flavor; fine cornmeal can be a good alternative if texture needs adjustment.
- Granulated Sugar – Enhances sweetness and balances savory elements; brown sugar can substitute for a richer taste.
- Baking Powder – Acts as a leavening agent, ensuring a light texture; ensure it’s fresh for best results.
- Kosher Salt – Enhances flavors; can be omitted for low-sodium diets.
- Garlic Powder – Adds savory depth; fresh minced garlic can be used for a stronger flavor.
- Large Eggs – Binds ingredients and adds richness; flax eggs are a vegan substitute if desired.
- Half-and-Half – Provides creaminess; substitute with whole milk or a dairy-free alternative for a lighter version.
- Melted Butter – Adds moisture and flavor; can be replaced with olive oil for a healthier fat choice.
- Fresh/Canned/Frozen Corn Kernels – The star of the dish for texture and flavor; fresh corn is optimal, but frozen or canned (thoroughly drained) work too.
Step‑by‑Step Instructions for Silky Southern Corn Pudding
Step 1: Cook the Bacon and Onions
Begin by heating a large skillet over medium heat. Add chopped thick-cut bacon and cook until crispy, about 5–7 minutes, stirring occasionally. Once browned, use a slotted spoon to transfer the bacon to a paper towel-lined plate, leaving the rendered fat in the skillet. Add sweet onions to the skillet and sauté until they are soft and translucent, approximately 3–4 minutes.
Step 2: Mix the Dry Ingredients
In a large mixing bowl, combine all-purpose flour, yellow cornmeal, granulated sugar, baking powder, kosher salt, and garlic powder. Whisk together the dry ingredients until they are evenly blended, ensuring there are no lumps. This combination provides the foundation for your corn pudding and helps create its wonderfully silky texture.
Step 3: Combine Wet Ingredients
To the dry mixture, add half-and-half, large eggs, and melted butter. Use a whisk to blend the ingredients together until just combined, creating a smooth batter. Take care not to over-mix; a few small lumps are perfectly fine. This creamy mixture is essential for achieving that luxurious texture that makes Southern corn pudding so decadent.
Step 4: Incorporate Corn and Bacon
Next, gently fold in the sautéed bacon, onions, and your choice of fresh, canned, or frozen corn kernels. Ensure that the corn is evenly distributed throughout the mixture for consistent flavor in every bite. This step will infuse your silky Southern corn pudding with that delightful burst of sweet corn goodness.
Step 5: Bake the Corn Pudding
Pour the prepared corn pudding mixture into a greased baking dish, spreading it evenly. Preheat your oven to 350°F (175°C) and bake for 35–40 minutes, or until the top is golden brown and the center is just set. A slight jiggle in the middle is a sign that you’ve achieved the perfect texture, so be careful not to overbake!
Step 6: Cool and Serve
Once out of the oven, let the corn pudding cool for about 10 minutes before slicing. This resting time helps firm up the pudding just a bit, making it easier to serve. Enjoy your silky Southern corn pudding warm alongside your favorite Thanksgiving dishes, or savor it on its own for a comforting treat.
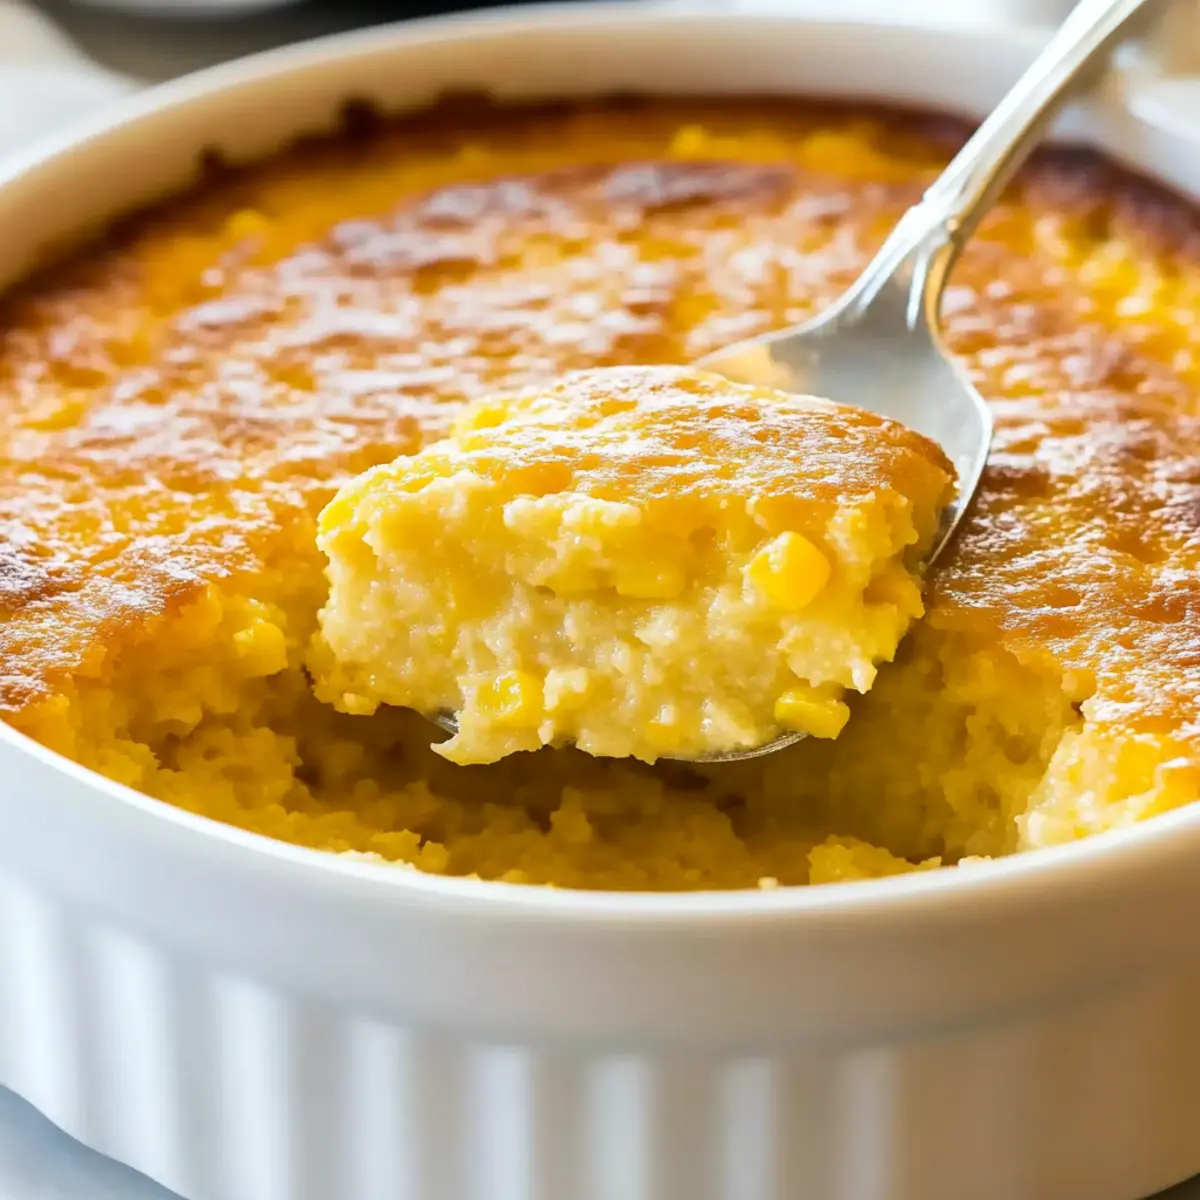
What to Serve with Silky Southern Corn Pudding
Creating a cozy holiday meal is all about balancing flavors and textures, and this silky corn pudding deserves the perfect accompaniments.
-
Herb-Butter Turkey: Roasted turkey smothered in herb-infused butter elevates your holiday spread, perfectly complementing the sweetness of the corn pudding.
-
Savory Green Beans: Crisp-tender green beans sautéed with garlic add a refreshing crunch and bright flavor that enhances the richness of the pudding.
-
Honey-Baked Ham: The sweet glaze of honey-baked ham pairs beautifully with the savory elements of corn pudding, making every bite feel festive.
-
Creamy Coleslaw: A tangy coleslaw with a crunchy texture offers a delightful contrast to the silky corn pudding, brightening up the plate with freshness.
-
Cranberry Sauce: A dollop of tart cranberry sauce adds spice and acidity, beautifully cutting through the richness of the pudding and balancing the meal.
-
Brussels Sprouts with Bacon: Roasted Brussels sprouts with crispy bacon bring an earthy depth that echoes the flavors in the corn pudding.
-
Mashed Potatoes: Fluffy mashed potatoes with a swirl of butter create comfort on the plate, melding with the creamy texture of the corn pudding.
-
Traditional Stuffing: A flavorful stuffing adds a hearty element, combining herbs and spices that intertwine nicely with the corn pudding’s sweet-savory profile.
-
Warm Apple Crisp: For dessert, a warm apple crisp, with its sweet filling and spiced topping, provides a cozy finish to your meal and enhances the overall comfort-food experience.
How to Store and Freeze Corn Pudding
Fridge: Store leftovers in an airtight container for up to 3 days. Make sure the corn pudding has cooled completely before sealing to maintain its creamy texture.
Freezer: For longer storage, freeze corn pudding in a tightly wrapped dish or freezer-safe container for up to 2 months. Thaw overnight in the fridge before reheating.
Reheating: To reheat, place the corn pudding in a preheated oven at 350°F (175°C) for about 20-25 minutes until warmed through. Avoid the microwave as it may make the texture less silky.
Make-Ahead Tips: You can prepare the batter a day in advance and store it in the fridge. This way, you can bake it fresh when you’re ready to serve, ensuring everyone enjoys a warm serving of this comforting corn pudding!
Make Ahead Options
These silky Southern corn puddings are perfect for meal prep enthusiasts looking to save time during the busy holiday season! You can prepare the corn pudding batter up to 24 hours in advance—just mix all the ingredients, cover it tightly, and refrigerate it until you’re ready to bake. To ensure the quality remains top-notch, give the mixture a good stir before pouring it into the baking dish. When you’re ready to serve, preheat your oven to 350°F (175°C) and bake it straight from the fridge; just add a few extra minutes to the baking time if necessary. This way, you can savor the delicious flavors of corn pudding without the last-minute rush!
Expert Tips for Corn Pudding
-
Avoid Overbaking: Ensure your corn pudding is slightly jiggly in the center when you take it out. Overbaking can lead to a dry texture.
-
Ingredient Swaps: Feel free to substitute with turkey bacon for a healthier option, or use flax eggs as a vegan alternative to large eggs.
-
Corn Quality: For the best flavor, use fresh corn if available. If using canned or frozen, make sure to drain well to avoid excess moisture.
-
Spice It Up: Consider adding spices like paprika or cayenne for a little kick. A dash of heat can beautifully complement the sweetness of the corn pudding.
-
Mixing Method: When combining wet and dry ingredients, mix until just combined. This helps retain a light, airy texture in your corn pudding, making it utterly delightful.
-
Serving Temperature: Serve warm to truly enjoy the silky comfort of corn pudding. Pair alongside turkey or ham for a heartfelt Thanksgiving experience.
Corn Pudding Variations & Substitutions
Feel free to customize your corn pudding with these delightful twists that will elevate the flavors.
- Cheesy Delight: Add shredded cheddar or pepper jack cheese for a gooey, savory version. This melty goodness transforms the pudding into a flavor-packed treat.
- Spicy Kick: Toss in some diced jalapeños or green chiles for an extra layer of heat. This spicy addition enhances the dish’s excitement without overpowering the corn sweetness.
- Herb Infusion: Switch up the herbs by adding fresh thyme or chopped parsley for a burst of freshness. These herbs beautifully complement the rich flavors of the pudding.
- Sweet Variation: Consider using honey or maple syrup instead of granulated sugar for a different sweet touch. This subtle swap brings a warming depth to each bite, perfect for a cozy gathering.
- Nutty Texture: Sprinkle in some toasted pecans or walnuts for added crunch. These nuts offer a delightful contrast against the silky pudding, making every mouthful more interesting.
- Creamy Twist: If you’re looking for a lighter version, substitute half-and-half with coconut cream. This change adds a subtle sweetness with a creamy texture you’ll love.
- Vegetarian Option: Keep it plant-based by using flax eggs instead of large eggs and olive oil instead of butter. This way, you can enjoy that Southern comfort without compromising your dietary choices.
- Corn Variety: Try blending in different types of corn such as white or even sweet corn for a unique flavor profile. Mixing fresh and frozen corn can also create a delightful texture variation!
And remember, this is just the beginning! There are plenty more variations to explore, like pairing it with Honey Glazed Corn for an even sweeter note or incorporating flavors from Mexican Street Corn Salad to celebrate vibrant taste sensations in your kitchen.

Corn Pudding Recipe FAQs
What kind of corn is best to use for this recipe?
Absolutely! Fresh corn is optimal for the best flavor and texture in your corn pudding. If you can’t find fresh corn, you can use canned or frozen corn. Just be sure to drain any excess moisture from canned corn and, if using frozen, let it thaw and drain as well for the best results.
How should I store leftover corn pudding?
Leftovers can be stored in an airtight container in the refrigerator for up to 3 days. Make sure to let the corn pudding cool completely before sealing the container. When ready to enjoy, I recommend reheating it in the oven at 350°F (175°C) for about 20-25 minutes to maintain its deliciously silky texture.
Can I freeze corn pudding?
Very! To freeze corn pudding, let it cool completely, then transfer it to a tightly wrapped freezer-safe container. It can be frozen for up to 2 months. When you’re ready to use it, thaw it overnight in the refrigerator and reheat in the oven at 350°F (175°C) until warmed through.
What are some common issues I should watch out for?
One common concern is over-baking, which can lead to a dry corn pudding. Make sure to keep an eye on it, especially towards the end of the cooking time. The center should be slightly jiggly when you take it out of the oven. Additionally, if your corn pudding comes out too dense, you might want to check that your baking powder is fresh and that you didn’t overmix the batter, as this can affect texture.
Is this corn pudding suitable for people with dietary restrictions?
Absolutely! You can easily modify this recipe for various dietary needs. For a gluten-free option, replace the all-purpose flour with a gluten-free flour blend. If you’re looking for a dairy-free alternative, try substituting the half-and-half with almond milk or another dairy-free option. For vegans, flax eggs can work instead of regular eggs, and you can substitute the butter with olive oil or a vegan butter option.
Can I prepare the batter ahead of time?
Yes, indeed! You can prepare the batter a day in advance. Just keep it stored in the refrigerator until you’re ready to bake. This way, you can easily pop it in the oven during your holiday meal prep. It’s a wonderful time-saver that allows you to enjoy your festivities without the stress!
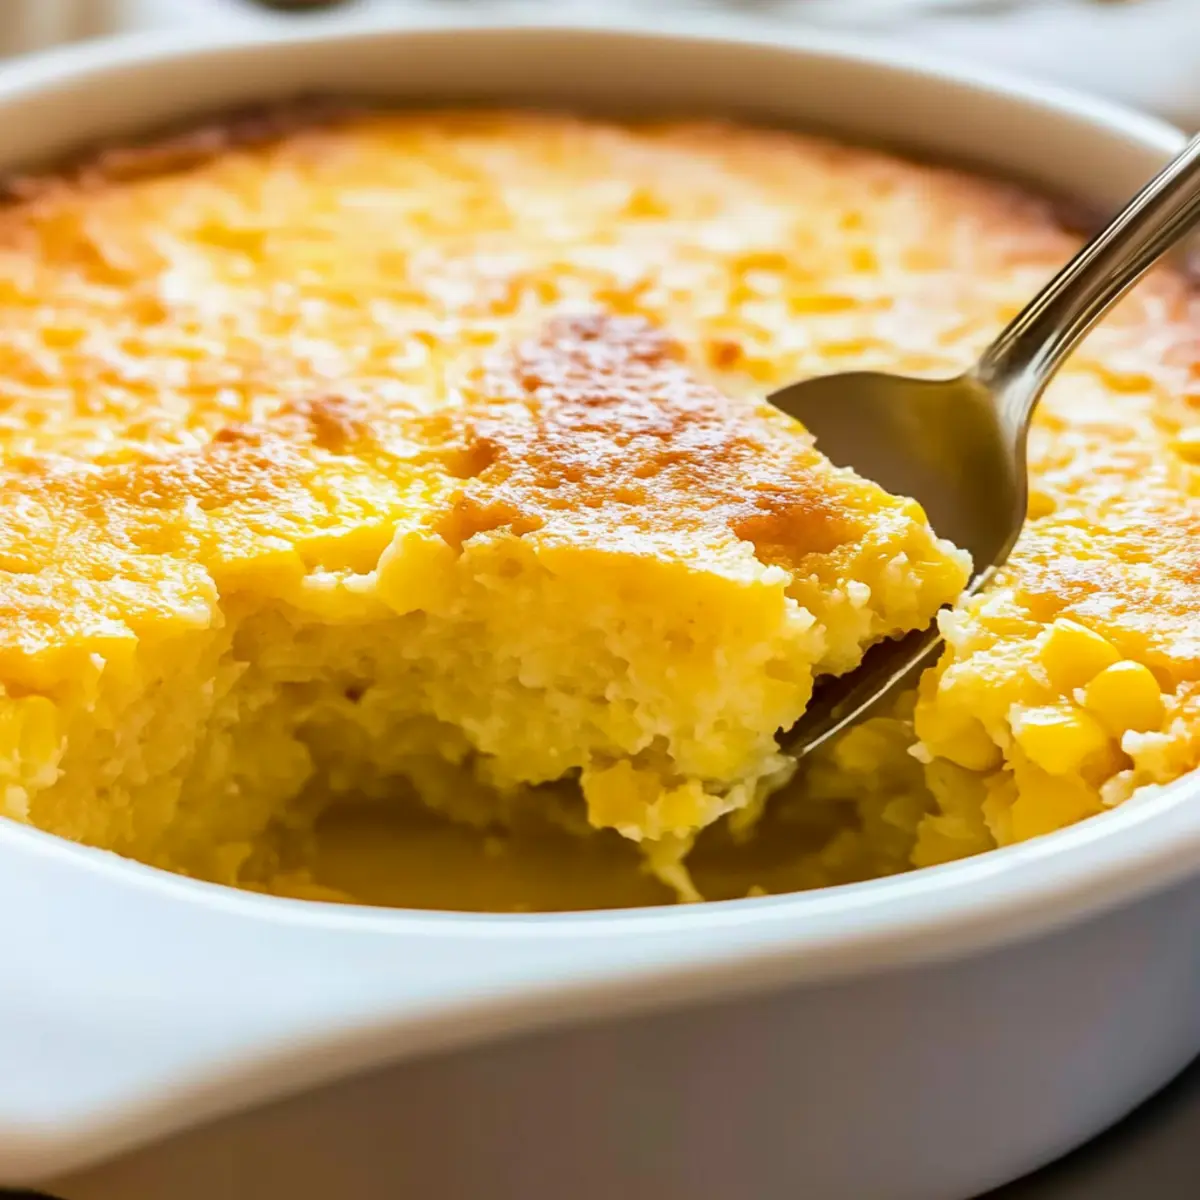
Irresistible Corn Pudding: A Must-Try Comfort Dish
Ingredients
Equipment
Method
- Cook the Bacon and Onions: Heat a large skillet over medium heat, add chopped bacon and cook until crispy, about 5–7 minutes. Transfer bacon to a paper towel-lined plate, leaving fat in skillet. Sauté sweet onions in the skillet until soft and translucent, approximately 3–4 minutes.
- Mix the Dry Ingredients: In a mixing bowl, combine flour, cornmeal, sugar, baking powder, salt, and garlic powder. Whisk until evenly blended with no lumps.
- Combine Wet Ingredients: Add half-and-half, eggs, and melted butter to the dry mixture. Whisk until just combined, creating a smooth batter.
- Incorporate Corn and Bacon: Gently fold in sautéed bacon, onions, and corn. Ensure even distribution.
- Bake the Corn Pudding: Pour mixture into a greased baking dish and bake at 350°F (175°C) for 35–40 minutes until golden brown.
- Cool and Serve: Let cool for 10 minutes before slicing. Enjoy warm.
Leave a Reply