
As the first whispers of fall fill the air, a familiar craving draws me to the kitchen—one for comforting, cozy desserts that warm both heart and home. This Silky Apple Butter Pie is my recent obsession, a luscious custard pie that swaps traditional ingredients for the bold, rich flavor of apple butter. Not only is it easy to make, but it’s also a stunning centerpiece for any gathering, beckoning friends and family to indulge in its creamy goodness. With a wholesome whole-grain spelt crust, this pie celebrates the season in every delightful bite. So, ready to elevate your dessert game and embrace the essence of autumn? Join me on this delicious journey!
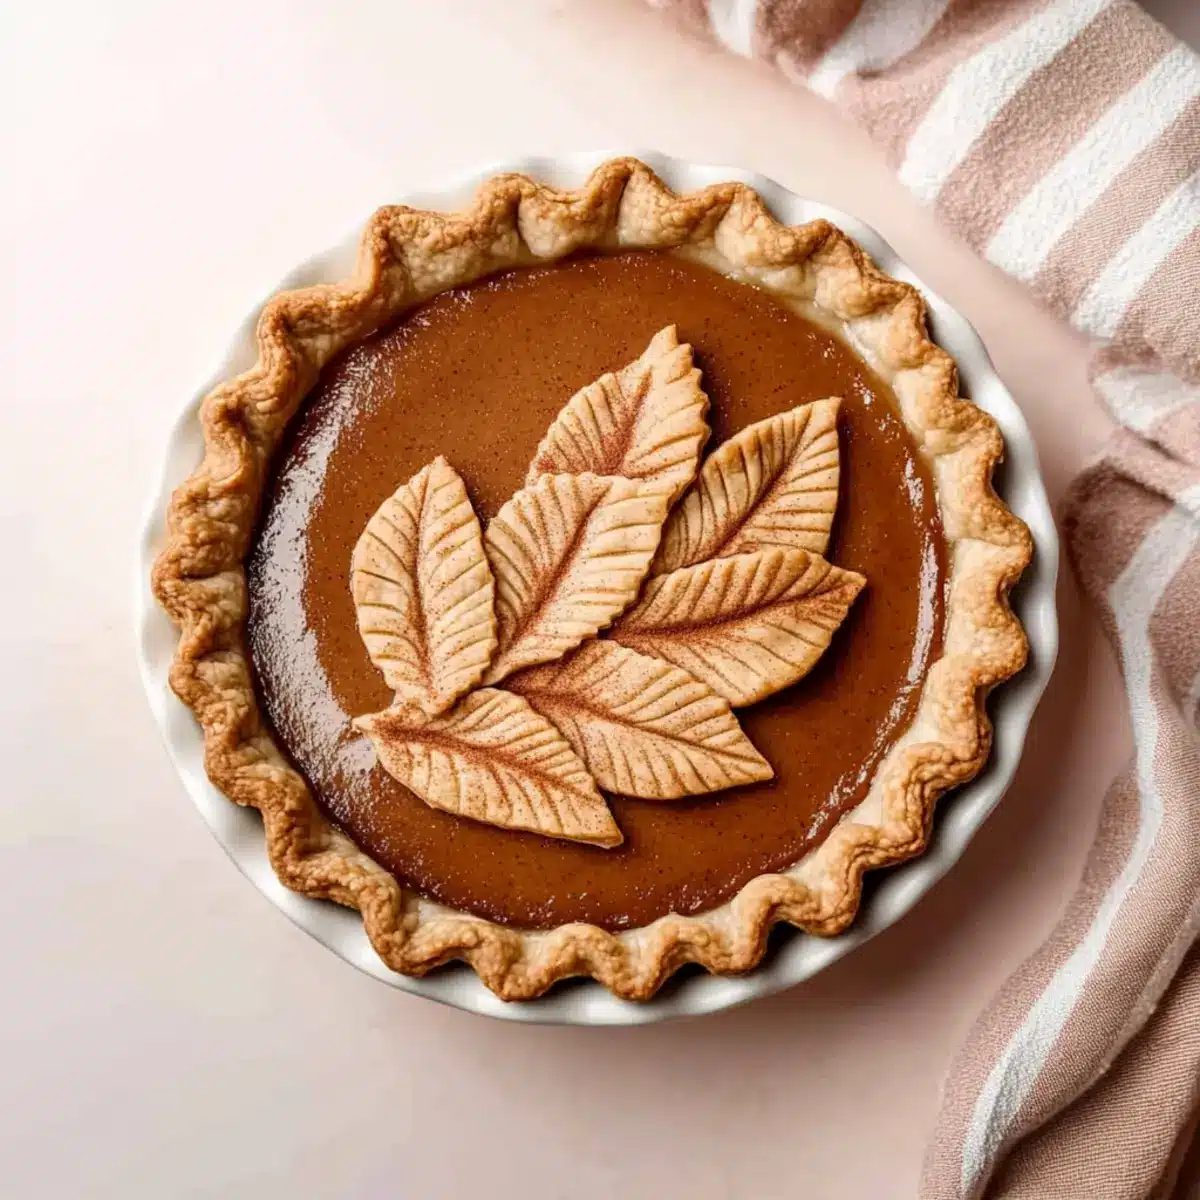
Why is This Apple Butter Pie a Must-try?
Irresistible Flavor: The silky filling is a harmonious blend of apple butter and spices, creating a sweet and aromatic taste that truly embodies fall.
Effortless Preparation: Crafted with simple ingredients, this creamy pie is a breeze to make—perfect for both beginner and seasoned bakers.
Wholesome Crust: The whole-grain spelt crust adds a unique flavor and a nutritious touch, making each slice not only delicious but guilt-free.
Versatile Options: Whether you whip up a homemade apple butter or choose your favorite store-bought variety, the possibilities are endless! Consider serving it alongside Maple Whipped Cream for a touch of indulgence, reminiscent of my Apple Brownies Chewy.
Crowd-Pleasing Delight: This pie is an eye-catching centerpiece, guaranteed to wow your guests at any gathering, just like my featured Garlic Butter Steak dish.
With its mouthwatering taste and comforting appeal, you won’t want to miss out on this fall favorite!
Apple Butter Pie Ingredients
For the Filling
• Apple Butter – The heart of this pie, bringing the essence of fall with its sweet and bold flavor.
• Eggs – Essential for providing structure and richness; ensure they’re at room temperature for optimal blending.
• Cream – Adds a luxurious creaminess that balances the apple flavors; you can use dairy or non-dairy options based on your preference.
• Cinnamon – Enhances the warmth of the pie; use according to the spice profile of your apple butter.
• Nutmeg – Complements the cinnamon, adding depth to the flavor experience.
• Sugar – Sweetens the filling; adjust according to the sweetness of your apple butter.
• Kosher Salt – Balances sweetness; use coarse salt for best results.
For the Crust
• Spelt Flour – Offers a hearty, slightly sweet flavor that elevates the pie’s texture; alternatively, use traditional pie crust if preferred.
• Butter – Provides richness and flakiness to the crust; can use a plant-based option for a dairy-free variation.
• Ice Water – Helps bind the crust without melting the butter; keep it cold for a flakier texture.
Embrace the charm of this Apple Butter Pie as you gather friends and family to share in the flavors of autumn!
Step-by-Step Instructions for Apple Butter Pie
Step 1: Prepare the Pie Crust
Begin by preheating your oven to 375°F (190°C). Roll out your whole-grain spelt flour dough on a lightly floured surface until it’s about 1/8 inch thick. Transfer the rolled dough to a 9-inch pie pan, pressing it gently into the sides. Trim any excess dough hanging over the edges, then prick the bottom with a fork to prevent bubbling. Blind bake the crust for 15 minutes, or until it’s lightly golden, to create a firm base for your apple butter pie filling.
Step 2: Make the Pie Filling
In a large mixing bowl, combine 1 cup of apple butter, 3 large eggs, 1 cup of cream, and 3/4 cup of sugar. Whisk the ingredients together until the mixture is smooth and well blended, ensuring there are no lumps. Add a teaspoon of cinnamon, a pinch of nutmeg, and a dash of kosher salt to enhance the warm flavors. This luscious filling will be the heart of your creamy apple butter pie, so mix until it’s perfectly velvety.
Step 3: Fill and Bake the Pie
Once your pie crust is pre-baked, carefully pour the apple butter filling into the center of the crust, spreading it evenly. Reduce the oven temperature to 325°F (163°C) and place the pie back inside. Bake for about 45-50 minutes, or until the edges are puffed and the center is slightly jiggly. Keep an eye on the pie to avoid over-baking, as this can lead to a spongy texture, but the pie should set up nicely as it cools.
Step 4: Cool and Set the Pie
After baking, remove the pie from the oven and allow it to cool at room temperature for about 1 hour. This cooling period helps the filling to firm up. Once it’s cooled, cover the pie with plastic wrap and refrigerate for at least 6 hours, or overnight if you plan ahead. This chilling time allows the flavors to meld beautifully and ensures a perfect slice when served.
Step 5: Serve and Enjoy
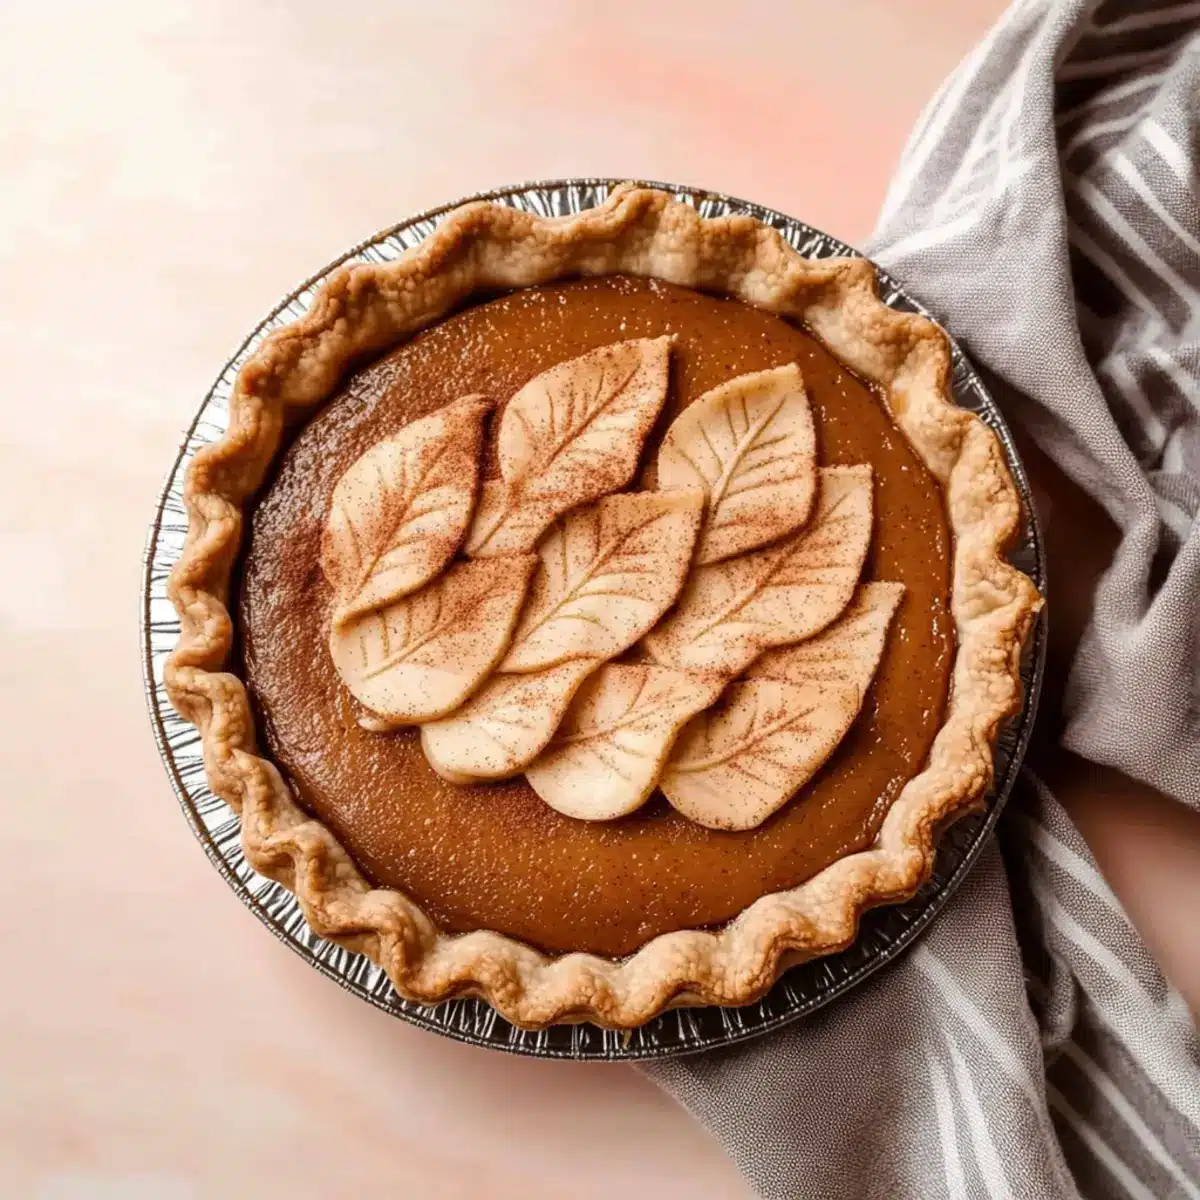
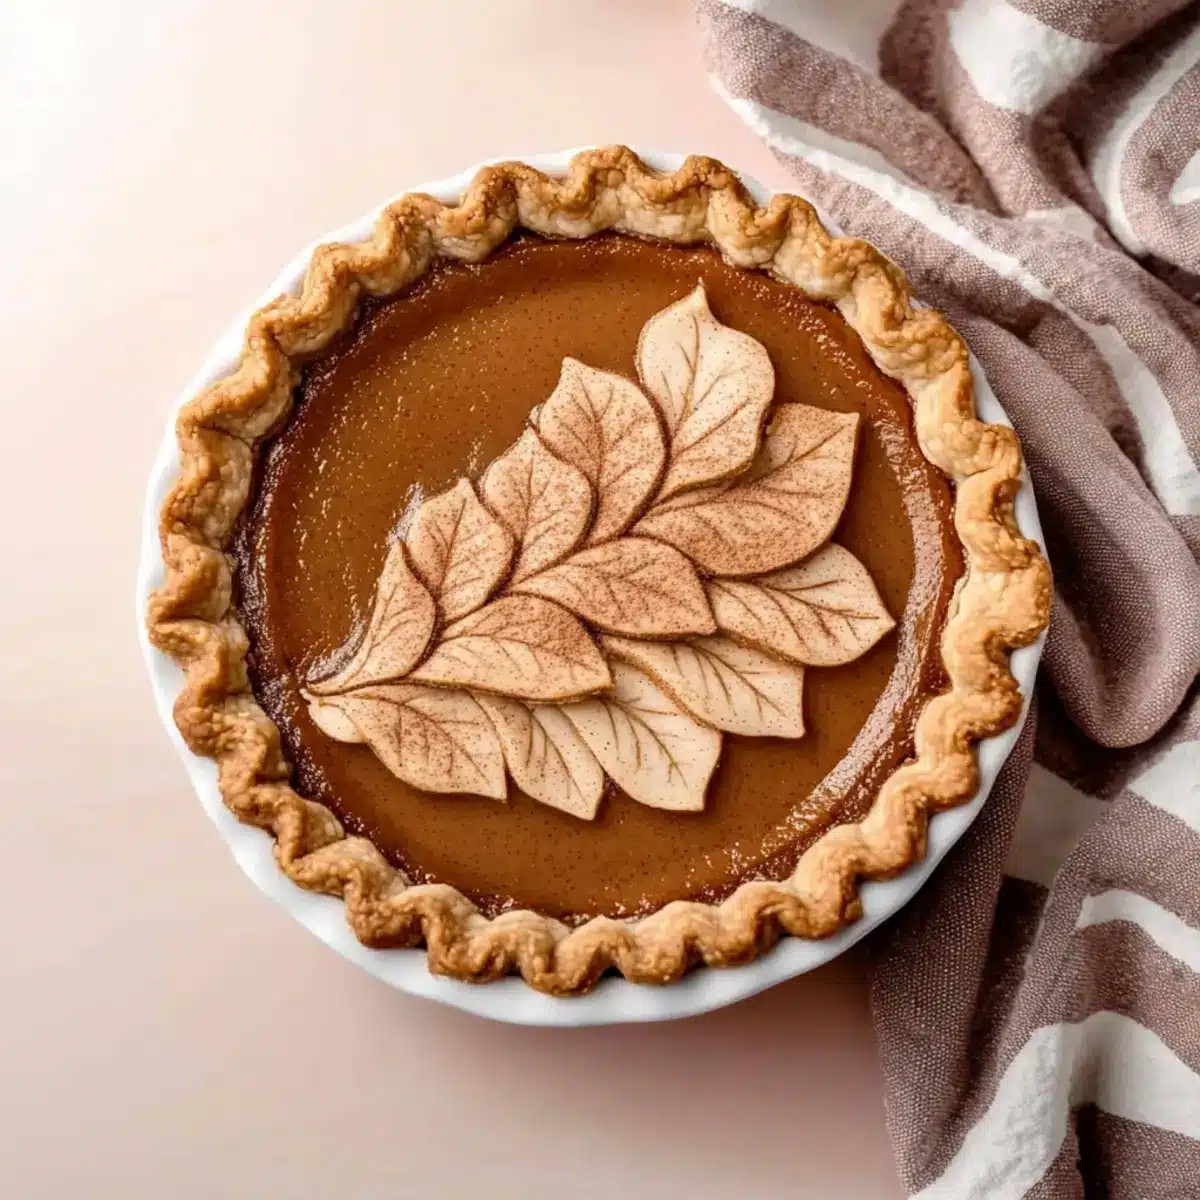
Before serving your delightful apple butter pie, you can garnish it with decorative cutouts of pie crust, baked until golden, for a beautiful presentation. Optionally, top it with a dollop of Maple Whipped Cream for a touch of indulgence. Slice the pie while cold or at room temperature, and gather your family and friends to relish this comforting autumn treat.
Expert Tips for Apple Butter Pie
-
Room Temperature Ingredients: Ensure the eggs and cream are at room temperature for better emulsification, leading to a smoother filling in your apple butter pie.
-
Watch the Bake Time: Avoid over-baking by keeping an eye on the pie while it cooks. Look for puffed edges and a center that is slightly wobbly for a custard-like texture.
-
Use an Instant-Read Thermometer: To achieve the perfect doneness, check that the internal temperature of the filling reaches 180°F; this will provide the ideal creamy consistency without being spongy.
-
Customize Your Spices: Adjust spices based on your apple butter’s flavor profile—don’t hesitate to add extra cinnamon or nutmeg to elevate the warmth in your apple butter pie!
-
Chill for Best Results: Be patient and allow your pie to cool completely before refrigerating. This step is crucial for achieving a well-set filling.
-
Experiment with Crusts: While the spelt crust is delicious, feel free to swap it out for a graham cracker crust for a unique twist or an easier preparation option.
What to Serve with Silky Apple Butter Pie
As the sweet aroma of spices fills your kitchen, let’s create a complete meal that pairs perfectly with this fall delight.
-
Maple Whipped Cream: A dollop of light, fluffy whipped cream sweetened with maple syrup enhances the creamy texture of the pie.
-
Cranberry Sauce: The tartness cuts through the rich custard, providing a refreshing contrast that elevates each bite.
-
Baked Cinnamon Apples: Soft, warm apples sprinkled with cinnamon echo the flavors found in the pie and add a lovely texture.
-
Vanilla Ice Cream: A scoop of creamy vanilla ice cream melts into the warm pie, adding an indulgent touch that’s irresistible.
-
Pecan Crumble: A crunchy pecan topping brings delightful texture and a nutty flavor, perfect for sprinkling over each slice.
-
Hazelnut Coffee: Pair your pie with a warm cup of hazelnut-flavored coffee for a cozy finish that resonates with fall.
-
Cheddar Cheese: A slice of sharp cheddar offers a surprising savory contrast to the sweet pie, enriching the flavor experience.
How to Store and Freeze Apple Butter Pie
Fridge: Store your Apple Butter Pie in the refrigerator for up to 1 week, covered with plastic wrap or in an airtight container to maintain its creamy texture.
Freezer: If you want to make it ahead of time, freeze the pie for up to 2 months. Wrap it tightly in plastic wrap and then in aluminum foil to prevent freezer burn.
Thawing: To serve, simply transfer the frozen pie to the fridge and allow it to thaw overnight for the best results.
Reheating: If you prefer it warm, reheat individual slices in the microwave for 30-45 seconds, or until heated through, for a fresh-out-of-the-oven taste.
Make Ahead Options
These delightful Apple Butter Pie preparations are perfect for busy home cooks looking to save time! You can prepare the pie crust up to 3 days in advance. Simply blind bake it, let it cool completely, and wrap it tightly in plastic wrap before refrigerating. The filling can also be made up to 24 hours ahead; combine the apple butter, eggs, cream, sugar, and spices, then store in an airtight container in the fridge. On the day of serving, quickly pour the filling into the pre-baked crust and bake as directed. This way, you’ll enjoy a luscious pie that’s just as delicious without the last-minute rush!
Apple Butter Pie Variations & Substitutions
Ready to make this delightful Apple Butter Pie truly your own? Let your creativity shine as you customize this recipe to suit your taste!
- Homemade Apple Butter: Create your own apple butter with fresh apples and spices for a unique twist and fresher flavor.
- Vegan Option: Replace cream with coconut cream and use flax eggs for a dairy-free and egg-free delight.
- Nutty Flavor: Incorporate ground nuts, like almonds or walnuts, into the crust for added texture and a nutty essence.
- Extra Spice Kick: Amp up the warmth by adding a teaspoon of ground ginger or allspice to the filling.
- Maple Sweetness: Substitute sugar with maple syrup for a deeper, more complex sweetness in the filling.
- No-Bake Alternative: Swap the spelt crust for a graham cracker crust for a quick no-bake version that still delivers flavor!
- Cream Cheese Layer: For extra creaminess, add a layer of whipped cream cheese as a base before adding the apple butter filling.
- Fruity Twist: Mix in cranberries or raisins for an occasional burst of tartness that complements the sweet apple flavor.
Let these ideas enhance your pie-making experience, and don’t forget to try it with a dollop of Maple Whipped Cream for that perfect finishing touch! If you’re in the mood for more sweet treats, consider my scrumptious Apple Brownies Chewy. Happy baking!
Apple Butter Pie Recipe FAQs
What kind of apple butter should I use?
Absolutely! You can use either store-bought or homemade apple butter, depending on your preference. Homemade apple butter often has a fresher flavor and can be adjusted for sweetness and spices, while store-bought varieties provide convenience without sacrificing taste. Just ensure it’s of good quality and suits your desired flavor profile.
How should I store the Apple Butter Pie?
To keep your pie fresh, refrigerate it for up to 1 week. Just cover it well with plastic wrap or store it in an airtight container to maintain its creamy texture and prevent it from absorbing other odors. This way, you can enjoy a slice of fall bliss each day!
Can I freeze the Apple Butter Pie?
Yes, you can freeze your pie for up to 2 months! First, wrap it tightly in plastic wrap, then in aluminum foil to protect it from freezer burn. When you’re ready to enjoy it, simply transfer the pie to the fridge and let it thaw overnight for the best results.
How can I avoid over-baking my pie?
Very! To ensure your pie bakes perfectly, keep a close eye on it towards the end of the baking time. Look for puffed edges and a center that remains slightly wobbly; this indicates it’s right where it should be. If you have an instant-read thermometer, aim for an internal temperature of 180°F to guarantee that creamy texture you’re after!
Is this recipe suitable for people with allergies?
Absolutely! You can customize it to accommodate dietary restrictions easily. For a dairy-free option, substitute the cream with a non-dairy alternative such as coconut or almond milk. Just be mindful of any additional allergens in some store-bought apple butter varieties and choose one that’s free from common allergenic ingredients.
What if my pie filling doesn’t set properly?
If your filling doesn’t set, don’t worry! It could be under-baked. For the next time, ensure you’re following the baking times and checking for doneness. Additionally, ensure that all ingredients are well incorporated without lumps, as this can sometimes affect the texture. Allow the pie to cool completely, as it will continue to firm up as it chills in the refrigerator.
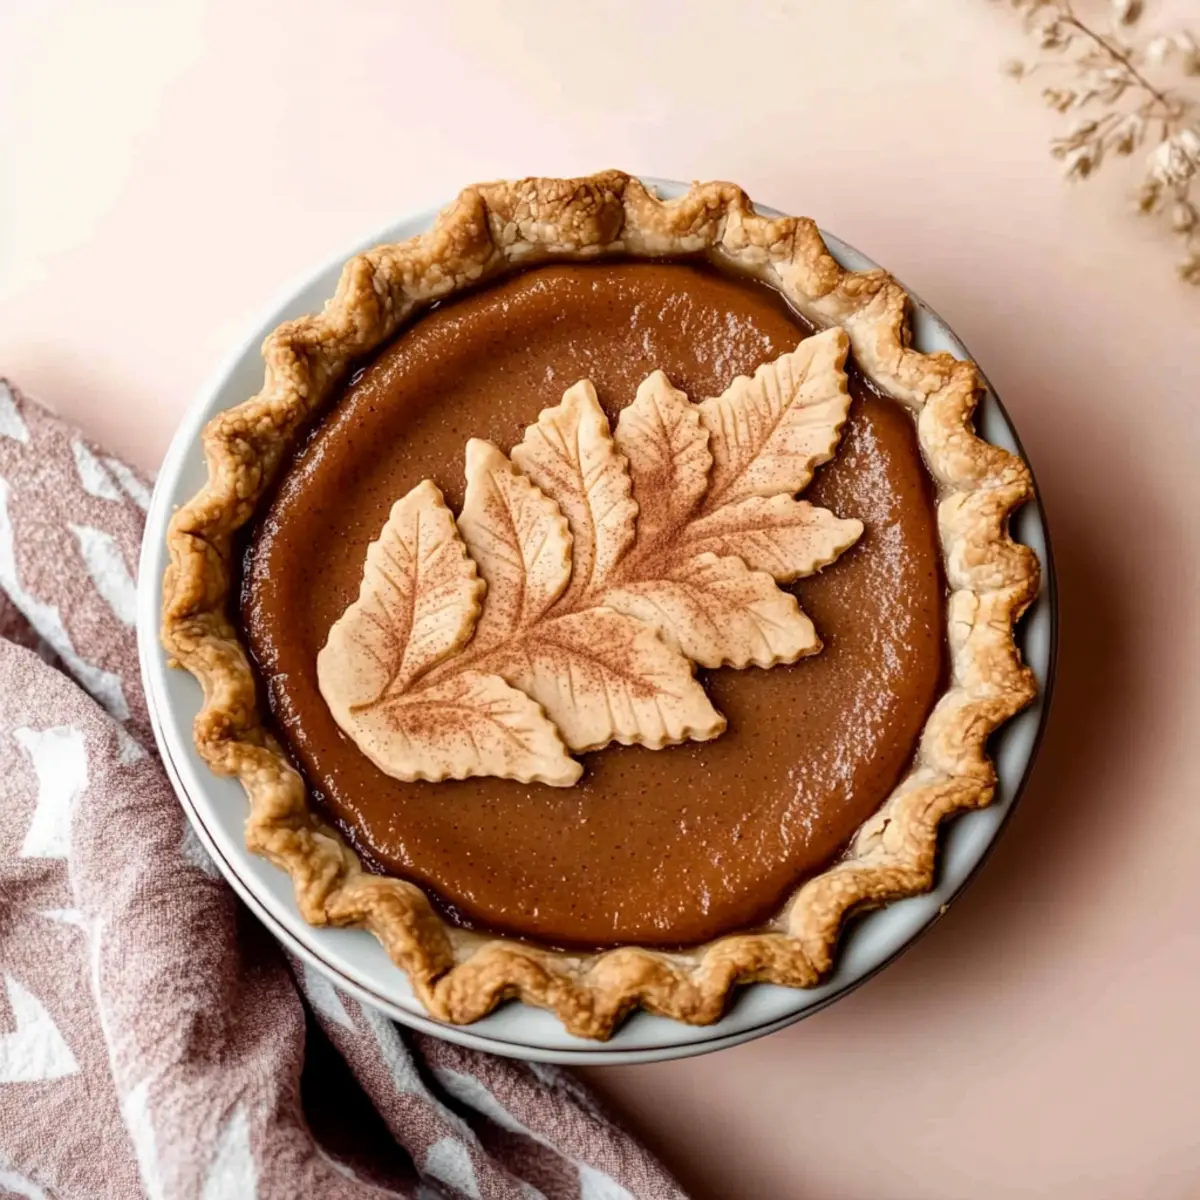
Creamy Apple Butter Pie with Wholesome Spelt Crust
Ingredients
Equipment
Method
- Preheat your oven to 375°F (190°C). Roll out your spelt flour dough until it’s about 1/8 inch thick. Transfer to a 9-inch pie pan, press gently, trim excess, and prick the bottom with a fork. Blind bake for 15 minutes.
- In a large mixing bowl, combine all filling ingredients: apple butter, eggs, cream, sugar, cinnamon, nutmeg, and salt. Whisk until smooth.
- Pour the filling into the pre-baked crust. Reduce oven to 325°F (163°C) and bake for 45-50 minutes until edges are puffed and the center slightly jiggly.
- After baking, allow the pie to cool at room temperature for about 1 hour, then cover with plastic wrap and refrigerate for at least 6 hours.
- Before serving, garnish with decorative pie crust cutouts or Maple Whipped Cream if desired.
Leave a Reply