
As the aroma of freshly baked brownies wafts through the air, it’s hard not to feel a flutter of excitement. These Tiramisu Brownies are a delightful twist on both classic desserts—combining my love for rich, fudgy brownies with the creamy indulgence of tiramisu. This recipe is a revelation, offering a sweet escape that’s sure to impress at any gathering or satisfy your evening cravings for something special. With minimal prep and an irresistible balance of coffee and chocolate flavors, you can easily bring café-style luxury to your home. Are you ready to layer your way to dessert perfection? Let’s dive into this culinary adventure!
What Makes Tiramisu Brownies Irresistible?
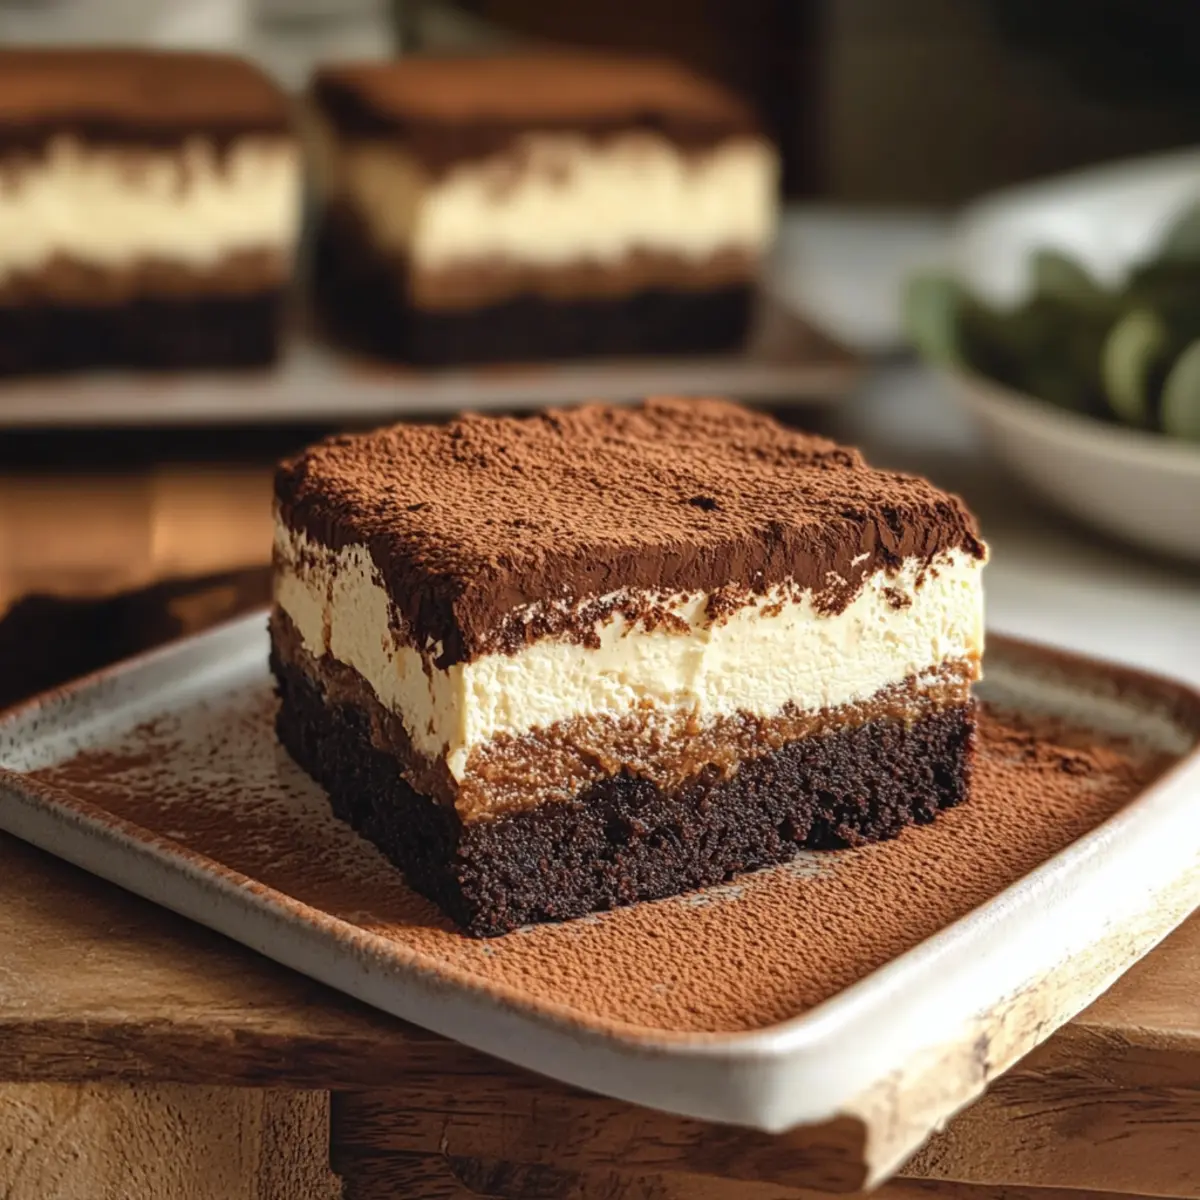
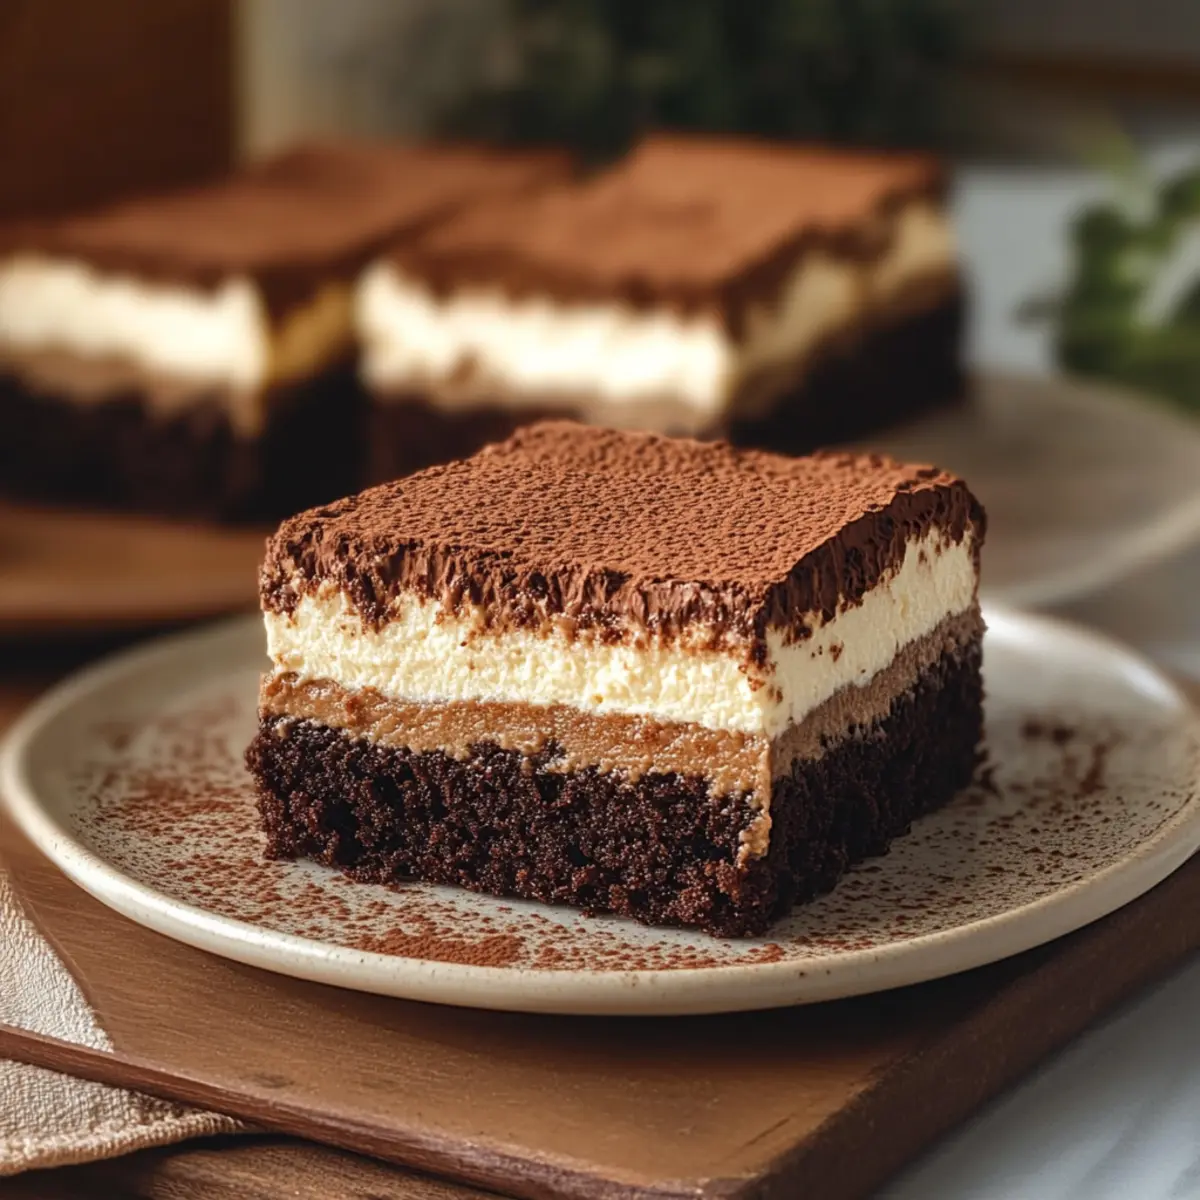
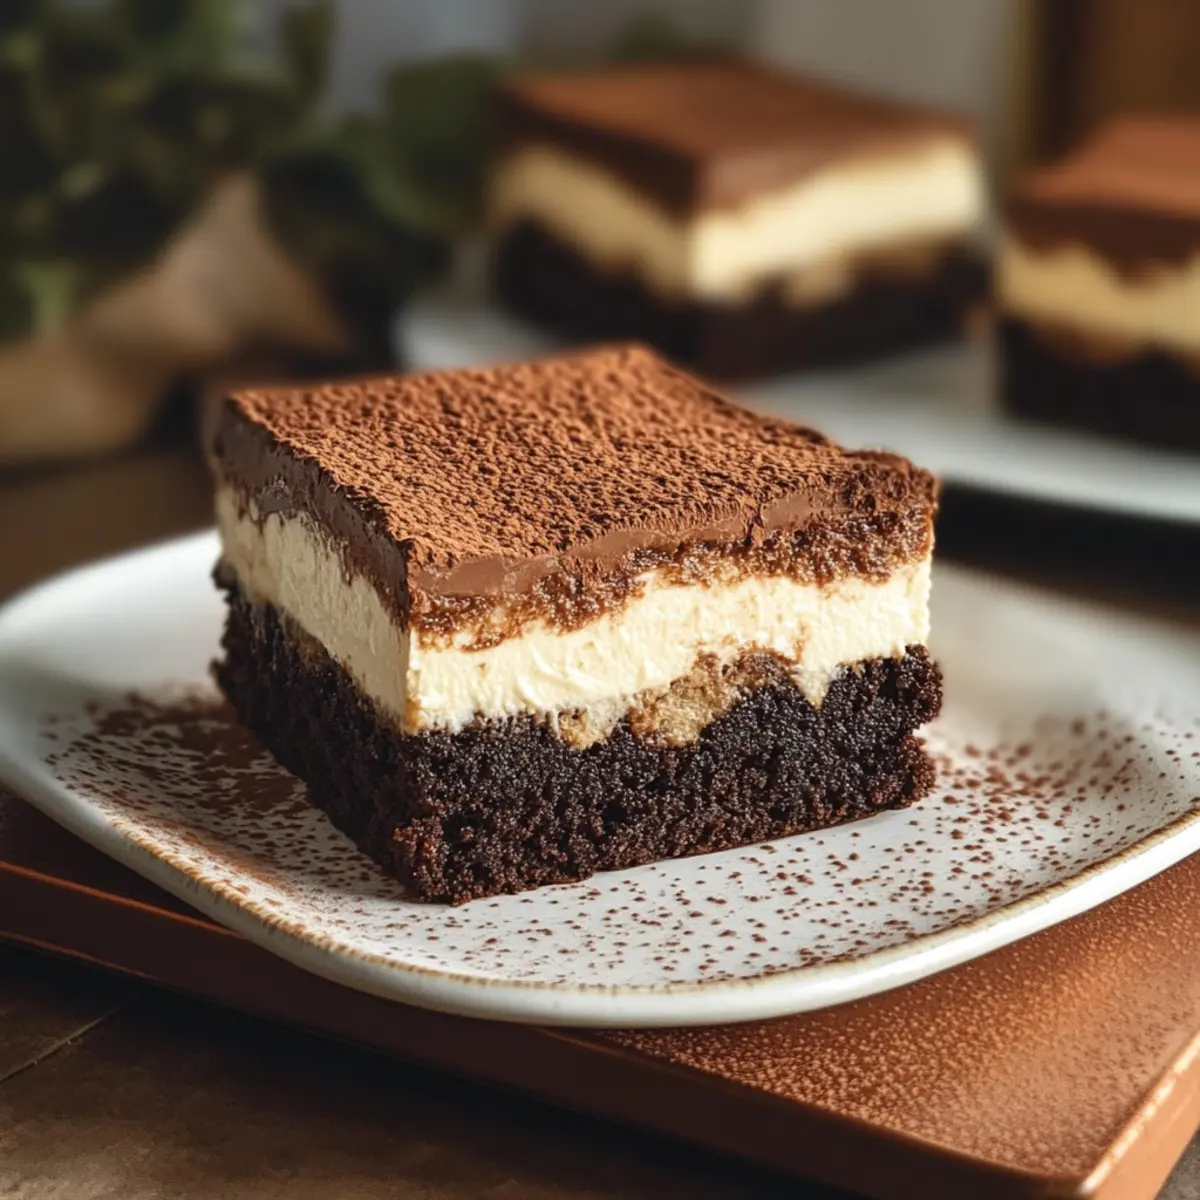
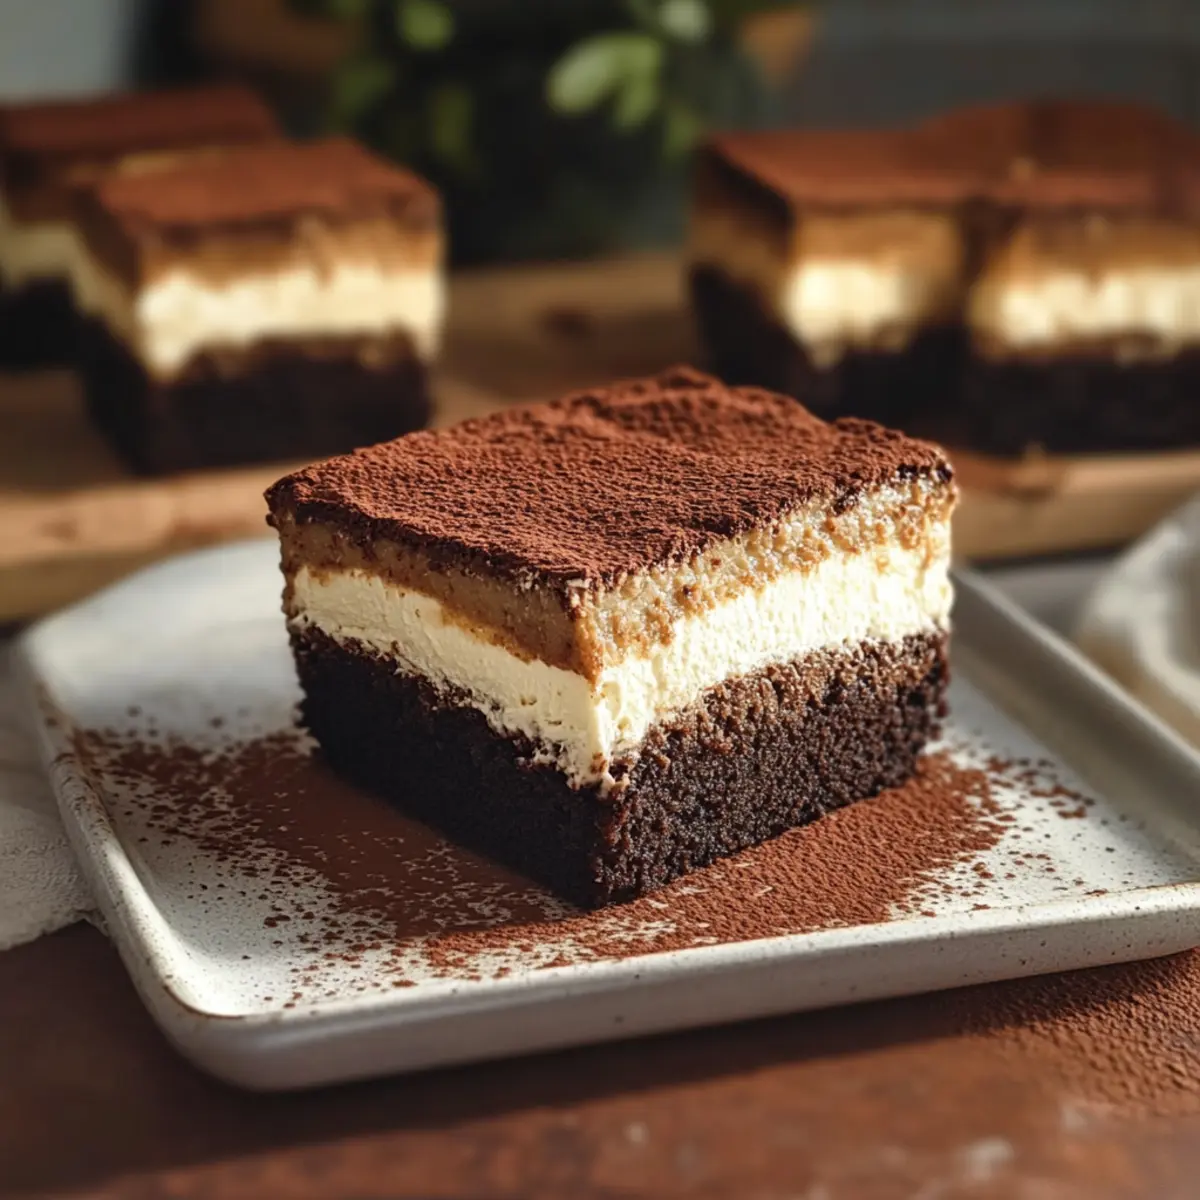
Decadent Layers: The combination of fudgy brownie base, espresso-soaked ladyfingers, and luscious mascarpone cream creates an unforgettable dessert experience.
Rich Flavor: The coffee and chocolate meld together, tantalizing your taste buds with every bite.
Easy to Make: With just a few simple steps, you’ll have an impressive treat that’s perfect for gatherings or a cozy night in.
Crowd-Pleasing: Whether you’re serving friends or family, these brownies are bound to be a hit—everyone loves a sweet indulgence!
Versatility: Feeling adventurous? You can adapt these with flavored mascarpone or even add nuts for a delightful crunch.
Let these stunning Tiramisu Brownies be the showstopper at your next dessert table!
Tiramisu Brownie Ingredients
Get ready to embark on a delicious adventure with the essential ingredients for Tiramisu Brownies!
For the Brownie Base
- Dark or Semi-sweet Chocolate (100 g) – A must for that deep chocolate flavor; feel free to use milk chocolate if you prefer a sweeter taste.
- Natural Cocoa Powder (50 g) – Enhances richness and contributes to texture; make sure it’s unsweetened for the best results.
- Unsalted Butter (230 g) – Adds necessary moisture and richness; coconut oil makes a great dairy-free substitute.
- Large Eggs (4) – They provide structure and moisture; for a vegan option, substitute with flax eggs (1 tbsp flaxseed meal + 2.5 tbsp water per egg).
- Granulated Sugar (150 g) – Sweetens the brownies and helps achieve that soft, fudgy texture; brown sugar can be used for a hint of molasses flavor.
- Brown Sugar (100 g) – Introduces moisture and deeper flavor; can replace with more granulated sugar, though it may slightly alter texture.
- All-purpose Flour (100 g) – Gives the brownies their structure; you can use gluten-free flour for a wonderful alternative.
For the Mascarpone Cream
- Mascarpone Cheese (250 g) – Creates the smooth, creamy topping; cream cheese works in a pinch, should you need it.
- Whipping Cream (200 g) – Adds lightness to the mascarpone; opt for coconut cream for a dairy-free version.
- Powdered Sugar (50 g) – Sweetens the mascarpone cream; adjust as needed or omit if preferred.
- Vanilla Extract (½ tsp) – Amplifies flavors; best to leave it out if you’re out of it, as there is no direct substitute.
For the Coffee Soak
- Espresso Powder (2 tsp) – Intensifies the coffee flavor in the soak; instant coffee is an acceptable substitute, with a potential flavor variation.
- Hot Water (150 g) – Necessary for dissolving espresso powder; no substitute needed here.
- Coffee Liqueur or Dark Rum (1 tbsp, optional) – Adds depth to the ladyfinger soak; feel free to omit for an alcohol-free treat.
- Ladyfingers (12) – Essential for that classic tiramisu component; sponge cake could be an alternative if you’re looking for a different texture.
For Dusting
- Cocoa Powder (1 tbsp) – A finishing touch to dust atop the brownies; chocolate shavings can also make a lovely substitute.
With these rich and delightful ingredients, you’re just a few steps away from crafting the most scrumptious Tiramisu Brownies!
Step‑by‑Step Instructions for Tiramisu Brownies
Step 1: Preheat and Prepare
Preheat your oven to 350°F (175°C) and line a 9×9-inch baking pan with parchment paper, allowing some overhang for easy removal. This step sets the stage for your delicious Tiramisu Brownies, ensuring they bake evenly and don’t stick to the pan.
Step 2: Combine Chocolate and Cocoa
In a medium mixing bowl, combine the chopped dark chocolate and cocoa powder. This mixture will be the heart of your brownie base, providing deep flavor. Set it aside as you move on to the next step, where you’ll bring out the nutty aroma of the brown butter.
Step 3: Brown the Butter
In a small saucepan, melt the unsalted butter over medium heat, stirring frequently until it turns golden brown and begins to smell nutty, about 5-7 minutes. Once browned, carefully pour the melted butter over the chocolate mixture allowing the heat to melt the chocolate completely, leading to a luscious, creamy texture.
Step 4: Whisk Eggs and Sugars
In a large mixing bowl, whisk together the eggs, granulated sugar, and brown sugar until well combined and slightly frothy, usually about 2-3 minutes. This process incorporates air, giving your Tiramisu Brownies a beautiful, soft crumb. Gradually mix in the warm chocolate mixture, ensuring you don’t scramble the eggs.
Step 5: Fold in the Flour
Gently fold the all-purpose flour into the brownie batter using a spatula until just combined, being careful not to overmix. The mixture should be thick and fudgy, with no visible flour streaks. This becomes the rich base that will support the delightful tiramisu layers, so take your time to achieve the right consistency.
Step 6: Bake the Brownies
Pour the batter into the prepared baking pan, spreading it evenly. Bake in the preheated oven for 28-30 minutes, or until a toothpick inserted in the center comes out mostly clean with a few moist crumbs clinging to it. This ensures your Tiramisu Brownies will have that perfect fudgy texture.
Step 7: Cool the Brownies
Allow the brownies to cool in the pan for about 15-20 minutes, then lift them out using the parchment overhang and transfer them to a wire rack. It’s essential to let them cool completely before adding the tiramisu elements, which will keep the layers neat and enjoyable.
Step 8: Whip the Mascarpone Cream
In a separate bowl, whip the mascarpone cheese, heavy cream, powdered sugar, and vanilla extract together until thick and creamy, which should take about 2-3 minutes. This fluffy mascarpone cream will provide a delightful contrast to the rich brownie base, enhancing the flavors of your Tiramisu Brownies.
Step 9: Prepare the Ladyfinger Soak
In a shallow dish, dissolve the espresso powder in hot water, stirring until smooth. If desired, stir in the coffee liqueur for an extra kick. This flavorful soak is the key to adding the classic tiramisu taste to your dessert, blending seamlessly with the decadent brownie.
Step 10: Dip the Ladyfingers
Briefly dip each ladyfinger into the espresso mixture, making sure not to soak them fully—just a quick dip to avoid mushiness. Layer the dipped ladyfingers evenly over the cooled brownies, creating a delicious coffee-infused layer that pays homage to traditional tiramisu.
Step 11: Spread the Mascarpone Cream
With a spatula, spread the whipped mascarpone cream evenly over the layer of ladyfingers. This luscious topping completes your Tiramisu Brownies, providing a creamy contrast to the rich, chocolatey base while ensuring every bite is a delicious balance of flavors.
Step 12: Chill and Dust
Refrigerate the assembled brownies for at least 1 hour to set the layers and enhance the flavors. Before serving, dust the top with cocoa powder for a finishing touch that adds an elegant appearance to your Tiramisu Brownies, and then slice them into generous squares to share and enjoy!
How to Store and Freeze Tiramisu Brownies
Fridge: Keep your Tiramisu Brownies in an airtight container in the refrigerator for up to 3 days to maintain their freshness and flavor. Allow them to sit at room temperature for at least 30 minutes before serving for the best texture.
Freezer: For longer storage, you can freeze the brownies! Wrap each square tightly in plastic wrap, then place them in a freezer-safe bag or container. They can be stored in the freezer for up to 2 months.
Reheating: To enjoy your frozen Tiramisu Brownies, simply thaw them in the refrigerator overnight or at room temperature for a few hours. If desired, warm them slightly in the microwave for about 10-15 seconds before serving for that fresh-baked taste.
Avoid Overcrowding: Make sure to store brownies in a single layer to prevent them from sticking together, preserving their delicious layers and textures.
Tiramisu Brownies Variations & Substitutions
Feel free to let your creativity shine and customize your Tiramisu Brownies with these exciting variations!
-
Nutty Surprise: Add crushed walnuts or pecans to the brownie batter for a delightful crunch. The added texture complements the creamy layers beautifully.
-
Flavor Twist: Incorporate a splash of peppermint extract or orange zest into the mascarpone cream for a refreshing twist. Imagine the bright, zesty notes dancing alongside the rich coffee flavor—absolute bliss!
-
Vegan Option: Substitute large eggs with flax eggs (1 tbsp flaxseed meal + 2.5 tbsp water per egg) and use coconut cream in place of whipping cream. You’ll be left with equally delectable, plant-based brownies without sacrificing flavor or texture.
-
Less Sweet: Reduce granulated and brown sugar by 25% to create a less sweet brownie that still shines with rich chocolate flavor. This is perfect for those who prefer a more balanced sweetness.
-
Dairy-Free Delight: Substitute mascarpone with firm tofu blended until smooth, and use coconut cream for lightness. This will give you a creamy topping that’s dairy-free yet equally delicious.
-
Extra Espresso: Increase the espresso powder to enhance the coffee flavor in both the brownie mix and ladyfinger soak. This will provide an intense coffee kick, perfect for true coffee lovers!
-
Sponge Cake Swap: For a variation in texture, replace ladyfingers with squares of soft sponge cake. This change results in a different mouthfeel that’s just as enjoyable!
-
Chocolatey Indulgence: Add chocolate chips into the brownie batter for an extra chocolatey experience. Each bite becomes a delightful treasure trove of melted chocolate goodness.
Looking to elevate your dessert experience? Try pairing these Tiramisu Brownies with a comforting cup of coffee or indulge further with delightful Tiramisu Truffles. For a fun twist, check out our Tiramisu Sandwich Cookies. The possibilities are endless!
What to Serve with Tiramisu Brownies?
As you prepare to indulge in these rich Tiramisu Brownies, consider enhancing your dessert experience with some delightful pairings.
- Fresh Berries: Bright, juicy raspberries or strawberries balance the sweetness of the brownies and add a refreshing touch.
- Espresso Shots: Sipping a robust espresso alongside reinforces the delicious coffee flavor of the brownies, creating a comforting experience.
- Vanilla Ice Cream: Creamy vanilla ice cream melts beautifully over the fudgy brownies, providing a rich contrast in temperature and texture.
- Whipped Cream: Light, fluffy whipped cream enhances the layers, making each bite a cloud of decadence that complements the rich flavors.
Elevate your dessert game with a drizzle of chocolate sauce or a light dusting of powdered sugar for that extra flourish. Don’t forget to serve your delightful Tiramisu Brownies with your favorite beverage—whether it’s a sweet dessert wine or a bubbly glass of sparkling water.
Make Ahead Options
These Tiramisu Brownies are perfect for busy home cooks looking to save time! You can prepare the brownie base up to 24 hours in advance; just allow it to cool completely before wrapping it tightly in plastic wrap and refrigerating. The mascarpone cream can also be whipped and stored in the fridge for up to 3 days, ensuring it stays fresh and delicious. When you’re ready to serve, simply layer the soaked ladyfingers on top of the brownies, spread the mascarpone cream, and refrigerate for at least an hour to let everything set. This way, your dessert will taste just as indulgent with minimal effort on the day you enjoy it!
Expert Tips for Tiramisu Brownies
Cool the Brownies First: Allow the brownies to cool completely before adding the tiramisu layer to prevent melting and ensure distinct layers.
Quick Ladyfinger Dip: Do not soak ladyfingers completely in the espresso mixture; a quick dip is sufficient to avoid mushiness for your Tiramisu Brownies.
Measure Accurately: Use a kitchen scale for accurate ingredient measurements, which is essential for achieving the best texture and flavor in your brownies.
Chill Time Matters: Refrigerate the assembled brownies for at least one hour to let the flavors meld and the mascarpone layer set properly.
Store Properly: Keep leftovers in an airtight container in the fridge for up to 3 days, bringing them to room temperature for optimal texture before serving.
Tiramisu Brownies Recipe FAQs
How do I choose the right chocolate for Tiramisu Brownies?
Absolutely! For the best flavor, opt for dark or semi-sweet chocolate, as it provides that deep, rich chocolate taste essential for brownies. If you prefer a sweeter profile, feel free to use milk chocolate. Just remember that the type of chocolate can significantly influence the overall sweetness of your dessert, so choose according to your taste!
How should I store Tiramisu Brownies?
Very easy! Keep your Tiramisu Brownies in an airtight container in the refrigerator for up to 3 days. This will help maintain their freshness and delightful texture. Be sure to allow them to sit at room temperature for at least 30 minutes before serving—this little pause enhances the flavor and texture!
Can I freeze Tiramisu Brownies?
Absolutely! For those who want to enjoy these brownies later, wrap each square tightly in plastic wrap, and place them in a freezer-safe bag or container. They can be frozen for up to 2 months, making them perfect for preparing in advance. When you’re ready to indulge, simply thaw them in the refrigerator overnight or at room temperature for a few hours.
What should I do if my brownies are too fudgy or underbaked?
If your Tiramisu Brownies turn out too fudgy, it might mean they were underbaked. For perfect brownies, aim for a toothpick to come out mostly clean with a few moist crumbs attached—not fully wet batter. If they feel still too soft in the center, return them to the oven for an additional 5 minutes, keeping a close eye to avoid overbaking.
Can I make Tiramisu Brownies dairy-free or vegan?
Absolutely! You can easily modify this recipe to suit dairy-free or vegan diets. Substitute unsalted butter with coconut oil, and use flax eggs—just mix 1 tablespoon of flaxseed meal with 2.5 tablespoons of water per egg needed. For the mascarpone, you can replace it with a blended mixture of silken tofu and coconut cream for an equally delightful layer!
Is it safe to serve Tiramisu Brownies to kids or those avoiding caffeine?
Yes, you can make them kid-friendly! Simply omit the espresso powder and coffee liqueur for a delicious dessert without any caffeine. You could also replace the soaking liquid with warm milk or a milk alternative for a comforting twist!
Indulge in Tiramisu Brownies for a Sweet Coffee Delight
Ingredients
Equipment
Method
- Preheat your oven to 350°F (175°C) and line a 9x9-inch baking pan with parchment paper.
- Combine the chopped dark chocolate and cocoa powder in a medium mixing bowl.
- Melt the unsalted butter in a small saucepan over medium heat until golden brown.
- Pour the melted butter over the chocolate mixture, mixing until smooth.
- In a large mixing bowl, whisk together the eggs, granulated sugar, and brown sugar until frothy.
- Gradually mix in the warm chocolate mixture to avoid scrambling the eggs.
- Fold in the all-purpose flour until just combined.
- Pour the batter into the prepared baking pan and spread it evenly.
- Bake for 28-30 minutes until a toothpick comes out mostly clean.
- Allow the brownies to cool in the pan for about 15-20 minutes before transferring to a wire rack.
- In a separate bowl, whip the mascarpone cheese, heavy cream, powdered sugar, and vanilla extract until thick and creamy.
- Dissolve the espresso powder in hot water in a shallow dish, stirring until smooth.
- Dip each ladyfinger briefly into the espresso mixture and layer them over the cooled brownies.
- Spread the whipped mascarpone cream evenly over the ladyfingers.
- Refrigerate for at least 1 hour, then dust with cocoa powder before serving.
Leave a Reply