
As I stood in the kitchen, the rich aroma of freshly baked eggs filled the air, reminding me just how little effort it takes to create something truly delightful. That’s where these Elegant Shirred Eggs come in—ready in just 15 minutes, they make for a perfect brunch dish that’s both impressive and easy to prepare. With a creamy base that beautifully cradles perfectly runny yolks, this recipe is not only a satisfying indulgence but also a versatile option that can easily accommodate dietary preferences, whether you’re going dairy-free or looking for a high-protein option. Imagine gathering friends and family around the table, ready to dive into these comforting little ramekins—what customization will you try first?
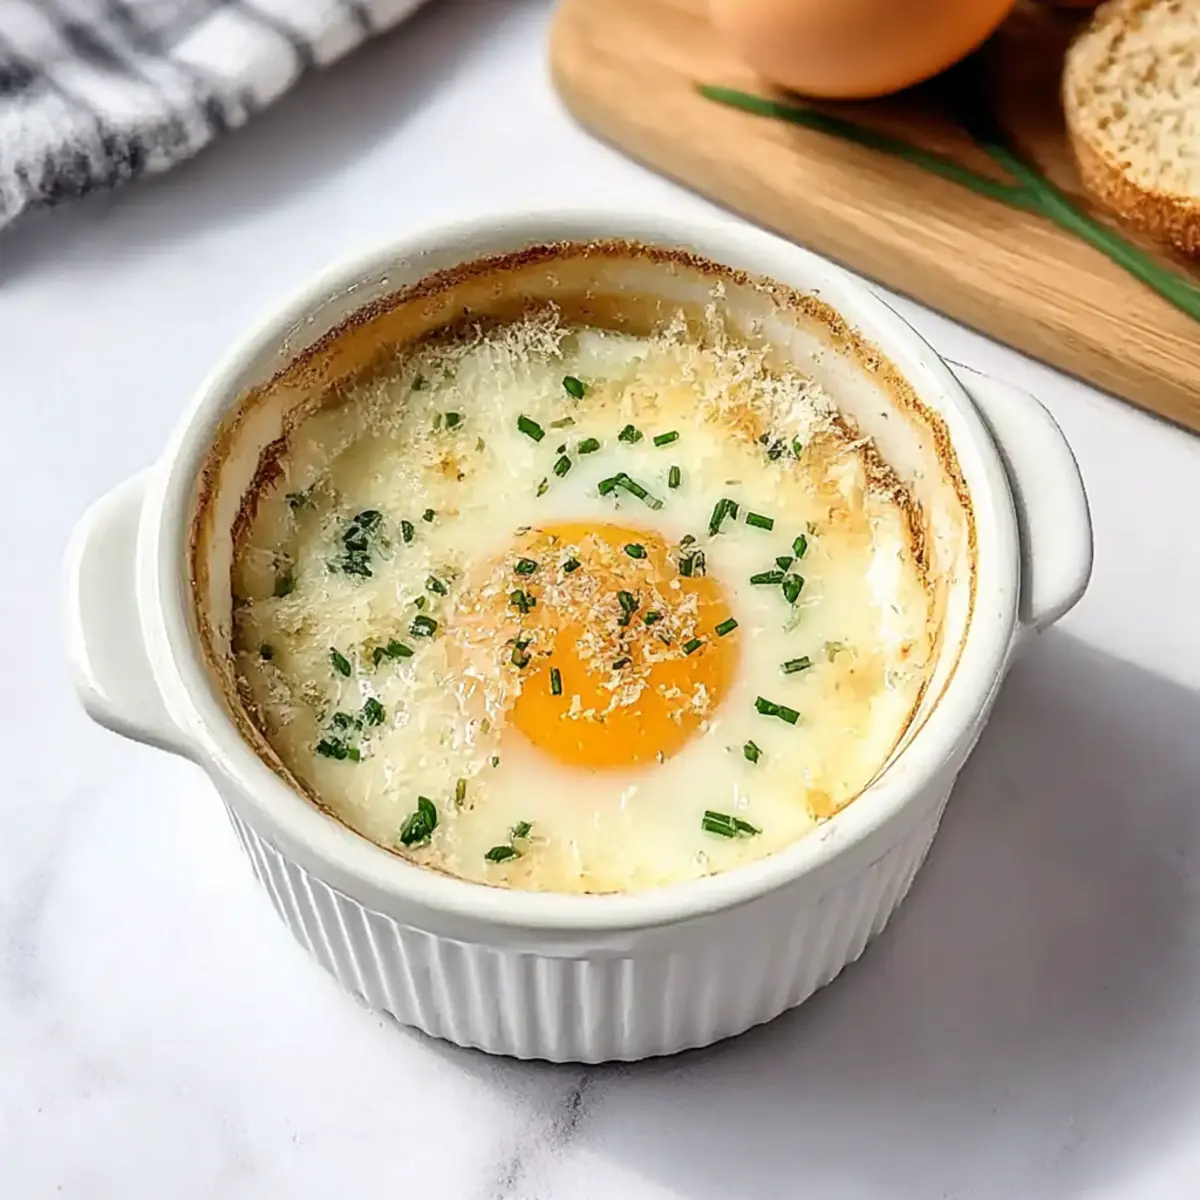
Why are Shirred Eggs so special?
Unmatched Ease: This recipe boasts a quick 15-minute prep time, making it ideal for busy mornings or spontaneous brunch gatherings.
Creamy Indulgence: The combination of heavy cream and eggs creates a rich, luxurious flavor that melts in your mouth, turning any breakfast into a gourmet experience.
Versatile Customization: Whether you’re in the mood for a dairy-free option or adding fresh veggies, you can easily tailor this dish to suit your taste preferences. Try pairing it with Air-Fryer Breakfast Potatoes for an unforgettable meal!
Impressive Presentation: Each ramekin is a work of art, perfect for showcasing your culinary skills to guests while remaining effortless to prepare.
High-Protein Delight: Packed with protein, these Shirred Eggs make for a wholesome meal that will keep you satisfied throughout the day without the guilt!
Shirred Eggs Ingredients
• Perfect for a delightful brunch!
For the Base
- Unsalted Butter – Adds richness and lubricates the ramekin; substitute with vegan butter for a dairy-free option.
- Heavy Cream – Provides a luscious base that complements the eggs; can be replaced with high-fat oat milk or coconut vegan cashew cream.
For the Eggs
- Large Eggs – Serve as the main ingredient, rich in protein; choose high-quality eggs for the best flavor.
- Salt – Enhances flavor; adjust based on your taste preference.
- Black Pepper – Adds warmth and spice; freshly ground is recommended for optimal flavor.
For the Toppings
- Fresh Chives – Offers a mild onion flavor and visual appeal; can substitute with scallions.
- Grated Parmesan Cheese – Adds savory depth; replace with nutritional yeast for a dairy-free alternative.
Step‑by‑Step Instructions for Shirred Eggs
Step 1: Preheat the Oven
Begin by preheating your oven to 375°F (190°C). This temperature will allow for even cooking, ensuring that your Shirred Eggs come out with perfectly set whites while maintaining runny yolks. While the oven warms up, gather your ramekins and ingredients to set the stage for an effortless cooking experience.
Step 2: Grease the Ramekin
Take a 6-ounce ramekin and add about a teaspoon of unsalted butter. Use a pastry brush or your fingers to coat the inside thoroughly, ensuring that the butter covers all surfaces. This step is essential for preventing the creamy mixture from sticking, resulting in an elegant presentation when you serve your Shirred Eggs.
Step 3: Add the Heavy Cream
Pour a thin layer of heavy cream into the greased ramekin, just enough to cover the bottom—approximately 2-3 tablespoons. The cream will create a luxurious base that envelopes the egg, enhancing the dish’s rich flavor. Make sure it’s spread evenly before moving on to the next step.
Step 4: Crack the Egg
Gently crack one large egg into the center of the cream, taking care not to break the yolk. The egg should be nestled in the cream, creating a beautiful contrast. This step is key to achieving the desired texture in your Shirred Eggs, where the yolk remains perfectly runny after baking.
Step 5: Seasoning
Sprinkle a pinch of salt and freshly ground black pepper over the egg. Seasoning is crucial, as it elevates the flavors and enhances the overall taste of your Shirred Eggs. Be generous, but remember that you can always adjust the seasoning to your liking in the final dish.
Step 6: Add the Toppings
Finely chop fresh chives and sprinkle them evenly on top of the egg, followed by a light dusting of grated Parmesan cheese. Both toppings not only add flavor and a burst of color but also contribute to a delightful texture. You can customize this by adding other ingredients if desired.
Step 7: Bake the Ramekin
Place the prepared ramekin on a baking sheet for easier handling and to catch any drips. Bake in the preheated oven for 12-15 minutes, keeping an eye on the egg whites. They should be set but still gently jiggle in the center when you pull them out, indicating perfectly cooked Shirred Eggs.
Step 8: Rest Before Serving
Once baked, remove the baking sheet from the oven and allow the Shirred Eggs to rest for a couple of minutes. This resting period helps the dish cool slightly while allowing flavors to meld beautifully together. The wait will be worth it as you prepare to enjoy this delicious dish!
Step 9: Serve with Toast
Serve your elegant Shirred Eggs warm, ideally with toasted bread on the side for dipping. The luxurious creamy base combined with the runny yolk creates an irresistible experience that pairs wonderfully with crispy toast. Dive into this comforting dish and relish in the flavors you’ve created!

Make Ahead Options
These Elegant Shirred Eggs are a superb choice for busy home cooks looking to streamline their meal prep! You can prep the ramekins by greasing them and adding the heavy cream along with the seasonings up to 24 hours in advance; simply refrigerate them until you’re ready to bake. To maintain the freshness and texture, crack the eggs just before baking, allowing you to achieve the perfectly runny yolk that makes these Shirred Eggs so delightful. When you’re ready to serve, bake them for 12-15 minutes as usual, and enjoy a gourmet brunch experience with minimal effort—perfect for those spontaneous get-togethers!
Shirred Eggs Variations & Substitutions
Feel free to explore these delightful twists that will make your Shirred Eggs even more special and tailored to your taste!
-
Dairy-Free: Swap heavy cream with high-fat oat milk or coconut cream for a creamy, non-dairy base. You’ll still achieve that luscious feel!
-
Vegetable Boost: Add in fresh veggies like diced tomatoes or bell peppers before cracking the egg for added nutrition and flavor. Your Shirred Eggs can go green, and it’s as easy as a quick chop!
-
Cheese Alternatives: Replace grated Parmesan with crumbled feta or goat cheese for a unique tangy flavor that elevates the entire dish. Consider pairing with Air-Fryer Breakfast Potatoes for a complete brunch experience!
-
Spicy Kick: Mix in red pepper flakes or a dash of hot sauce before baking for a fiery twist that will surely wake up your taste buds. Spice is nice, and a little heat can go a long way!
-
Herb Adventures: Swap fresh chives for fresh herbs like basil or parsley for different flavor profiles. Each herb brings its own character to the dish, inviting you to get creative!
-
Texture Twists: Top with crispy breadcrumbs or crushed nuts for a satisfying crunch that complements the creamy eggs beautifully. Your brunch just got a texture upgrade!
-
Add Protein: Stir in cooked bacon or sausage crumbles for an extra protein boost, transforming your Shirred Eggs into a heartier meal perfect for any time of the day!
-
Flavor Infusion: Consider adding a splash of truffle oil or smoked paprika for an extra layer of complexity in flavor. It’s an elegant touch that can elevate your casual brunch to gourmet status!
What to Serve with Elegant Shirred Eggs
Looking to elevate your brunch experience? These pairing suggestions will create a delightful meal that complements the creamy, rich flavors of Shirred Eggs.
-
Air-Fryer Breakfast Potatoes: Crispy on the outside and fluffy on the inside, these potatoes add a satisfying crunch that balances the creaminess of the eggs. The seasoned flavor enhances your meal’s heartiness, making it perfect for a fulfilling brunch.
-
Fresh Avocado Toast: The creamy avocado spreads beautifully on toasted bread, adding freshness and a touch of healthy fats. This pairing is not only visually appealing but also provides a delicious contrast in texture that complements the silky Shirred Eggs.
-
Sautéed Spinach: Lightly sautéed in olive oil and garlic, spinach contributes vibrant color and nutrients to your plate. It’s a simple yet sophisticated addition that brings a touch of earthiness to your brunch spread.
-
Mixed Green Salad: A light salad with a tangy vinaigrette can help cut through the richness of the Shirred Eggs. Think fresh greens, cherry tomatoes, and a sprinkle of nuts for varying textures that keep your palate engaged.
-
Chilled Sparkling Lemonade: A refreshing drink with a hint of tartness pairs beautifully with the richness of Shirred Eggs. The bubbles and citrus will awaken your senses and tone down the heaviness, making it the perfect brunch beverage.
-
Dark Chocolate Mousse: For those with a sweet tooth, serving a small portion of indulgent dark chocolate mousse offers a decadent finish to your meal. The bittersweet chocolate beautifully contrasts the savory flavors of the eggs and rounds out the brunch experience nicely.
Tips for the Best Shirred Eggs
• Monitor Baking Time: Keep a close watch on the eggs as they bake; overcooked eggs lose their creamy texture. Aim for set whites with runny yolks.
• Choose the Right Ramekin: Using a 6-ounce ramekin promotes even cooking. Adjust the bake time slightly if using larger or smaller ramekins for perfect Shirred Eggs.
• Customize Your Toppings: Don’t hesitate to experiment with toppings! Fresh herbs, different cheeses, or veggies can elevate your dish. Just be mindful of moisture levels.
• Let Them Rest: Allow the Shirred Eggs to sit for a couple of minutes after baking; this enhances flavor while preventing burns from hot ramekins.
• Fresh Ingredients Matter: High-quality eggs and fresh herbs can make a big difference in taste. Aim for freshness to truly indulge in this delicious brunch item!
How to Store and Freeze Shirred Eggs
Fridge: Refrigerate leftover Shirred Eggs in an airtight container for up to 2 days. Though tasty, reheating may affect the creamy texture, so consume quickly for best results.
Freezer: It’s best not to freeze Shirred Eggs, as the texture of the eggs and cream will change upon thawing and reheating, leading to a less than delightful experience.
Reheating: If you must, reheat in the oven at 350°F (175°C) for about 10 minutes until warmed through, checking periodically to prevent overcooking.
Make-Ahead Tips: Prepare the ramekins up to 24 hours in advance by greasing them and adding cream and seasonings. Just crack the eggs right before baking to ensure freshness.

Shirred Eggs Recipe FAQs
How do I select the right eggs for Shirred Eggs?
When selecting eggs, opt for large, high-quality eggs as they are rich in flavor and protein. Look for eggs that have no dark spots or cracks in the shell. Fresh eggs will yield a better texture and richer taste in your Shirred Eggs.
What is the best way to store leftover Shirred Eggs?
Refrigerate your leftover Shirred Eggs in an airtight container for up to 2 days. While consuming them quickly is best for maintaining the original creamy texture, you can reheat them in the oven at 350°F (175°C) for about 10 minutes. Just be sure to monitor closely to avoid overcooking!
Can I freeze Shirred Eggs?
It’s best to avoid freezing Shirred Eggs because the texture of the eggs and cream changes once thawed, leading to an unsatisfying dish. If you must freeze them, remove the eggs from the ramekin and freeze the cream separately. When you’re ready to enjoy, thaw in the refrigerator and reheat in the oven until warmed through.
What should I do if my Shirred Eggs turn out overcooked?
If you find your Shirred Eggs are overcooked, they may have lost their luxurious creaminess, which is the goal! Next time, keep a close eye on the baking process; aim for set whites and gently jiggling yolks. You may also want to lower the baking temperature or reduce the cooking time slightly if your oven runs hot.
Are Shirred Eggs a good option for dietary restrictions?
Absolutely! It’s easy to customize Shirred Eggs for various dietary needs. You can swap heavy cream for a dairy-free alternative like coconut cream or high-fat oat milk. For a vegan version, use vegan butter and nutritional yeast instead of Parmesan. They’ve got you covered, whether you’re gluten-free, dairy-free, or aiming for a high-protein meal!
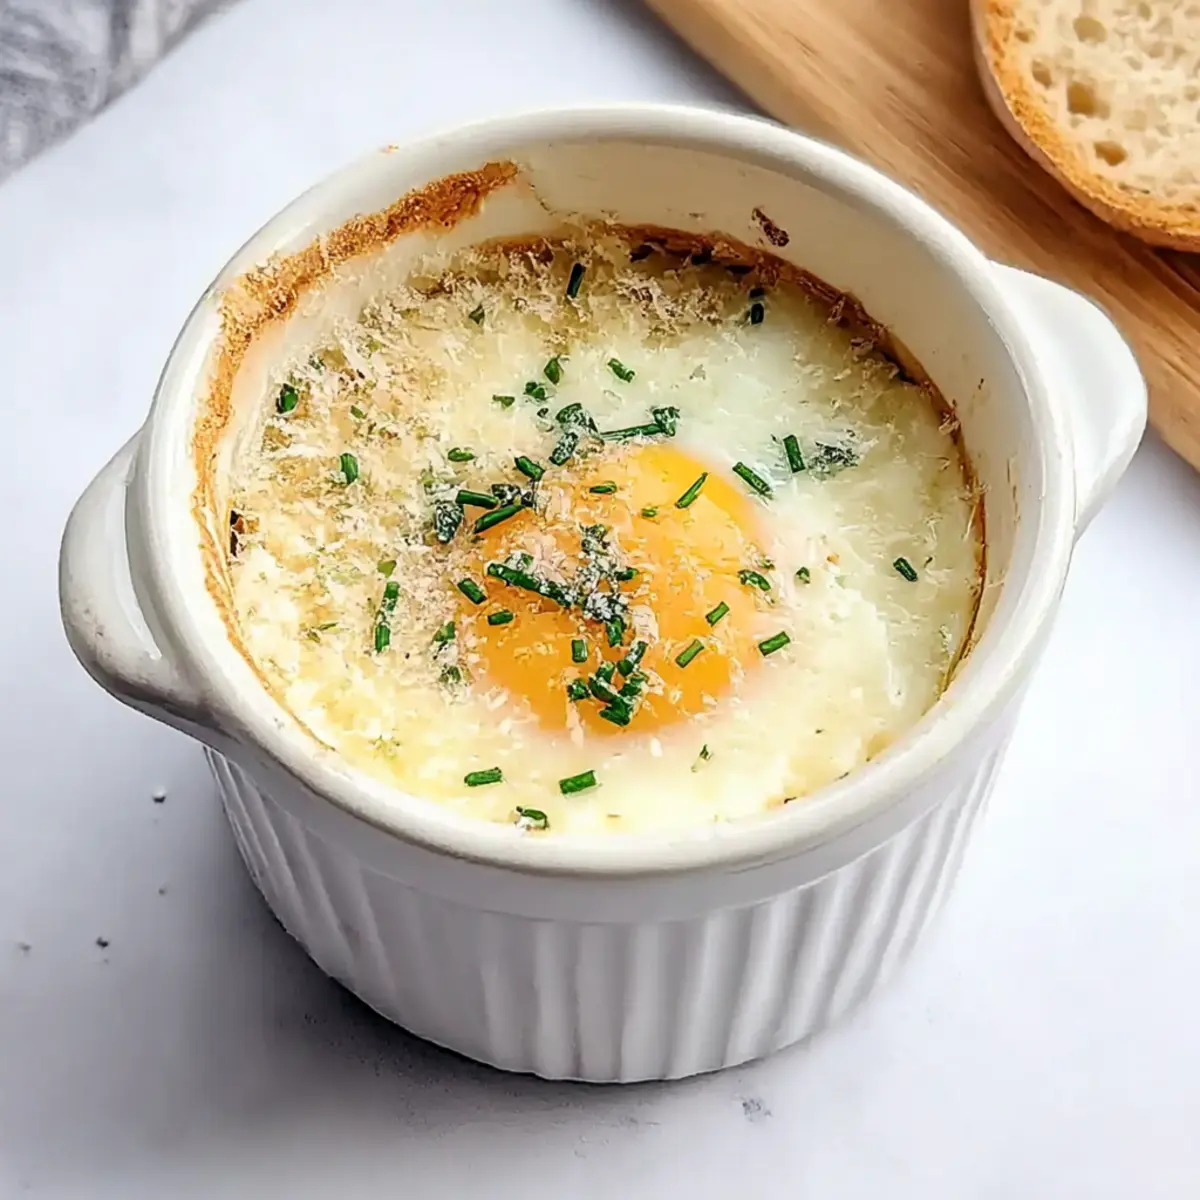
Decadent Shirred Eggs: Your Perfect Brunch Delight
Ingredients
Equipment
Method
- Preheat your oven to 375°F (190°C).
- Take a 6-ounce ramekin and add about a teaspoon of unsalted butter. Coat the inside thoroughly.
- Pour a thin layer of heavy cream into the greased ramekin, covering the bottom with 2-3 tablespoons.
- Gently crack one large egg into the center of the cream.
- Sprinkle a pinch of salt and freshly ground black pepper over the egg.
- Finely chop fresh chives and sprinkle them evenly on top of the egg, followed by grated Parmesan cheese.
- Place the prepared ramekin on a baking sheet and bake in the preheated oven for 12-15 minutes.
- Remove from the oven and allow the Shirred Eggs to rest for a couple of minutes.
- Serve warm with toasted bread on the side for dipping.
Leave a Reply