
I still can’t believe how a simple batch of cookies can turn an ordinary day into a celebration. These Chewy Red Velvet Cookies with Cream Cheese Frosting are just that—a delightful, festive treat that brightens any occasion without requiring hours of prep. With no chilling time needed, you can whip these up even on a whim, perfect for when those sweet cravings hit or when unexpected guests arrive. They’re not just easy; they embody the joy of baking from scratch, boasting a rich cocoa flavor and stunningly vibrant color that the whole family will adore. So why not treat yourself and your loved ones to a batch of these irresistibly chewy cookies? Let’s dive into the recipe that will make your kitchen the heart of every gathering!
Why are these cookies a must-try?
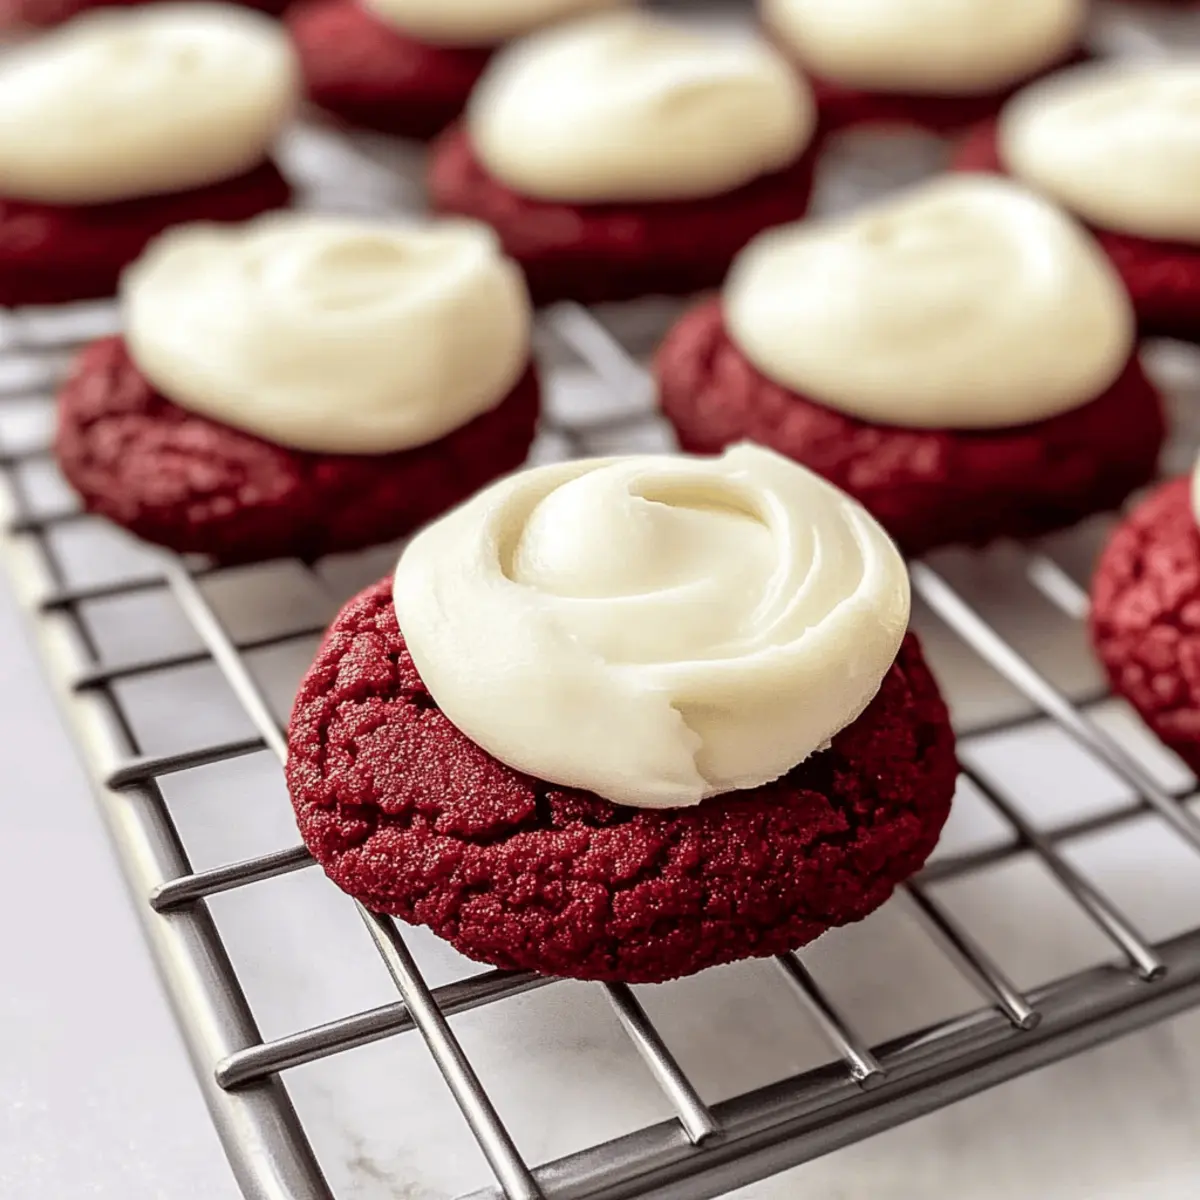
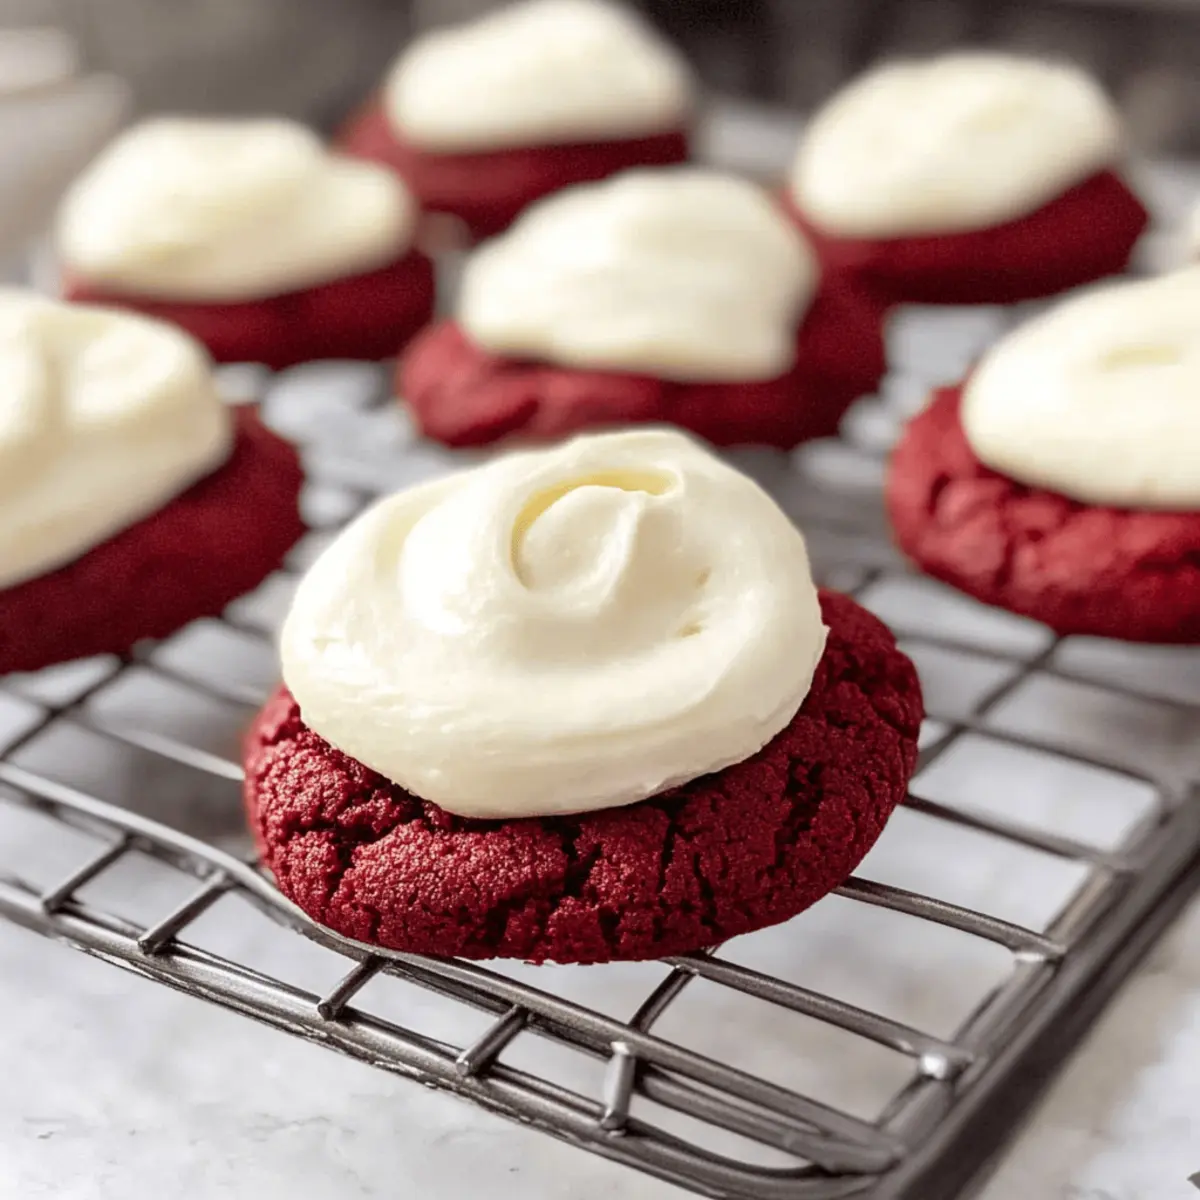
Chewy Delight: These red velvet cookies are incredibly chewy, offering a satisfying bite that’s hard to resist.
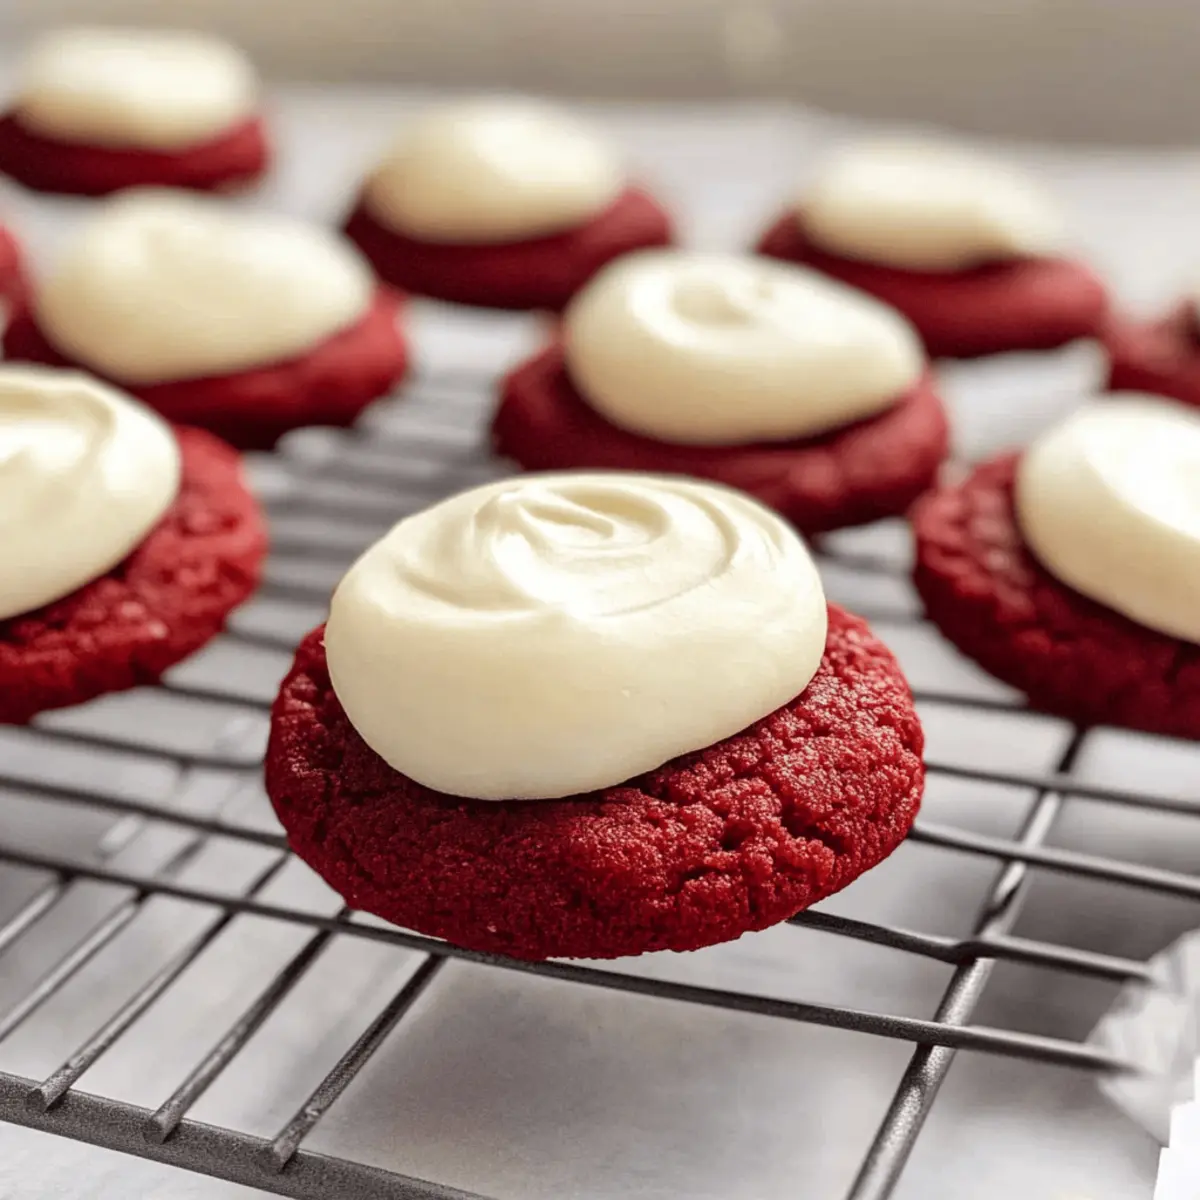
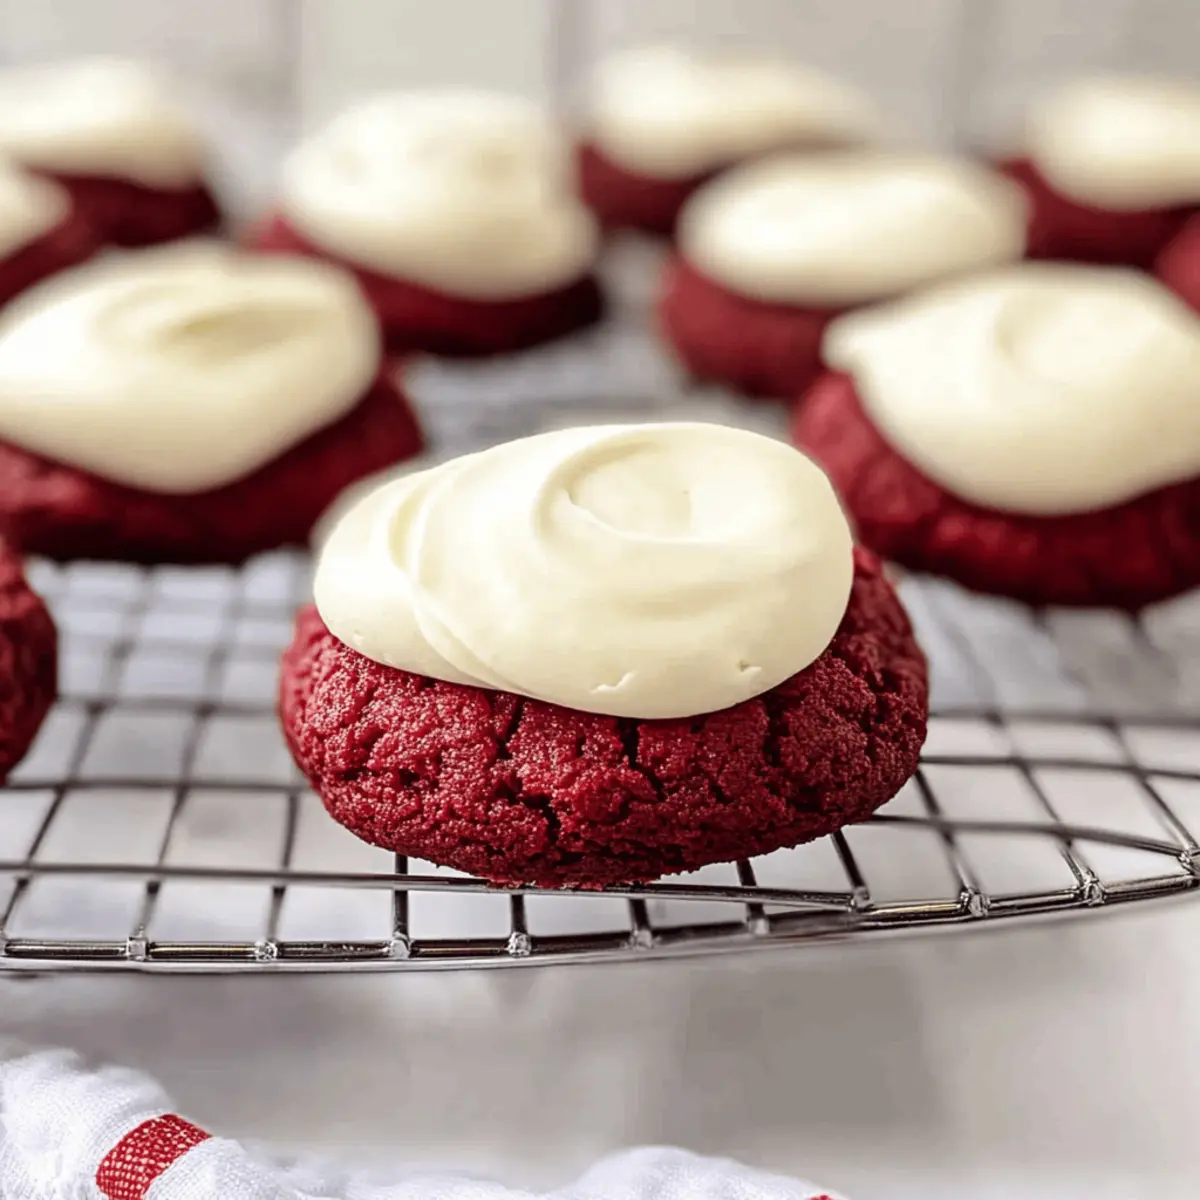
Festive Color: The eye-catching red hue makes them perfect for celebrations—think Valentine’s Day or any party!
Quick & Easy: With no chilling required, you’ll have fresh cookies in under 30 minutes, making them a go-to for spontaneous cravings or unexpected guests.
Creamy Frosting: Topped with a luscious cream cheese frosting, they strike the ideal balance of sweetness and tanginess.
From Scratch: Enjoy the charm of homemade baking—these cookies use simple ingredients you probably already have at home!
Crowd-Pleasing Appeal: Serve them at gatherings, and watch your friends and family swoon over their taste and presentation. If you’re a fan of delicious desserts, you might want to check out my Pistachio Cream Cookies or the velvety Nutella Cheesecake for more sweet treats!
Red Velvet Cookies Ingredients
For the Cookies
- All-purpose flour – Provides structure; can be substituted with gluten-free flour blend for a gluten-free option.
- Unsweetened cocoa powder – Adds depth of flavor; use Dutch-processed cocoa for a richer taste.
- Baking soda – Acts as a leavening agent; ensure that it’s fresh for best results.
- Salt – Enhances flavors and balances sweetness; don’t omit as it intensifies taste.
- Unsalted butter – Provides richness and moisture; substitute with vegan butter for a dairy-free version.
- Granulated sugar – Sweetens the cookies and aids in tenderness; coconut sugar can be used for a hint of caramel flavor.
- Large egg – Binds ingredients and helps cookies rise; flaxseed meal mixed with water can replace the egg for a vegan option.
- Vanilla extract – Adds flavor; use pure vanilla for the best taste.
- Red food coloring – Gives the cookies their characteristic color; gel food coloring is recommended for vibrant results without altering texture.
For the Cream Cheese Frosting
- Cream cheese – Creates a rich frosting; use low-fat cream cheese for a lighter version.
- Powdered sugar – Sweetens and thickens the frosting; cornstarch-free powdered sugar is best for a smooth texture.
Step‑by‑Step Instructions for Chewy Red Velvet Cookies with Cream Cheese Frosting
Step 1: Preheat and Prepare
Preheat your oven to 350°F (177°C) while lining a baking sheet with parchment paper or a silicone mat. This setup will help your red velvet cookies bake evenly and prevent sticking. As the oven warms, gather all your ingredients so they’re within reach for a smooth baking experience.
Step 2: Whisk Dry Ingredients
In a medium-sized bowl, whisk together the all-purpose flour, unsweetened cocoa powder, baking soda, and salt until well combined. This mixture forms the dry base of your cookie dough and ensures even distribution of the leavening agent and cocoa. Set this bowl aside so you can focus on the wet ingredients next.
Step 3: Cream Butter and Sugar
In a large mixing bowl, use a stand or hand mixer to cream together the softened unsalted butter and granulated sugar. Beat them on medium speed for about 2 to 3 minutes until the mixture is light and fluffy, which will help create airy chewy textures in your red velvet cookies.
Step 4: Incorporate Wet Ingredients
Add in the large egg, vanilla extract, and red food coloring to the creamed butter and sugar. Mix on low speed until everything is well incorporated and the batter takes on a vibrant red hue. This step is crucial for achieving the signature look and flavor of your cookies, ensuring a delightful treat for any occasion.
Step 5: Combine Dry and Wet Mixes
Gradually add the dry ingredient mixture to the wet ingredients in your large mixing bowl. Gently stir until a soft dough forms, being careful not to overmix. This will ensure your chewy red velvet cookies maintain their excellent texture, so stop mixing once you see no streaks of flour.
Step 6: Scoop and Shape Dough
Using a medium cookie scoop, portion out the dough onto your prepared baking sheet, spacing them about 2 inches apart. Slightly flatten each dough ball with the back of a spoon to encourage even baking. The visual cue here is to ensure they look uniform, which will contribute to even baking and presentation.
Step 7: Bake to Perfection
Place the baking sheet in the preheated oven and bake for 10 to 11 minutes. You’ll know they’re ready when the edges are set but the centers are still soft, offering that fantastic chewy consistency. Once done, remove them from the oven and let them cool on the baking sheet for about 5 minutes.
Step 8: Prepare the Cream Cheese Frosting
While the cookies cool, make the cream cheese frosting. In a mixing bowl, beat the cream cheese and softened butter together until smooth, which should take about 1 to 2 minutes. Gradually add the powdered sugar, vanilla extract, and a pinch of salt, mixing until you achieve a creamy, spreadable consistency perfect for frosting your cookies.
Step 9: Frost and Decorate
Once the cookies have cooled completely on a wire rack, generously frost each cookie with the cream cheese frosting. Feel free to add sprinkles or your favorite toppings to make these chewy red velvet cookies even more festive. Each bite will be a vibrant celebration of flavors, perfect for any gathering.
Red Velvet Cookies with Creamy Twists
Feel free to explore these fun variations to elevate your red velvet cookies into delicious masterpieces!
-
Gluten-Free: Substitute all-purpose flour with a gluten-free blend for a delicious, celiac-friendly treat. Your guests won’t miss a beat!
-
Nutty Flavor: Use almond flour for half the all-purpose flour, adding a lovely nutty depth to these cookies. It’s a simple swap that adds a whole new layer of flavor to your treats.
-
Extra Sweetness: Fold in white chocolate chips or chopped pecans to the dough for a delightful crunch and sweet surprise. This will turn your chewy cookies into a cookie lover’s dream!
-
Vegan Option: Replace butter with vegan margarine and the egg with a mixture of flaxseed meal and water. You’ll still get that chewy texture while making it plant-based!
-
Flavor Boost: Swap vanilla extract with almond or mint extract in the frosting for a completely different taste experience. Just a little twist can transform your cookies into something extraordinary!
-
Spice It Up: Add a pinch of cinnamon or nutmeg to the dry ingredients for a warm, inviting flavor that complements the chocolate beautifully. It’s the perfect cozy addition!
-
Delectable Frosting: Experiment with flavored cream cheese by adding a dash of lemon or orange zest. The citrusy zing pairs beautifully with the richness of the cream cheese and brings brightness to each bite.
If you’re looking for something equally tempting, why not try my Garlic Butter Steak for dinner or indulge in some Espresso Cupcakes with Espresso Frosting for dessert? Both are sure to please your taste buds!
How to Store and Freeze Red Velvet Cookies
-
Room Temperature: Store cookies in an airtight container at room temperature for up to 5 days. This keeps them soft and fresh, ready for enjoying any time.
-
Fridge: For longer shelf life, refrigerate the cookies for up to 1 week. Place them in an airtight container to prevent drying out.
-
Freezer: Freeze your red velvet cookies for up to 3 months. Ensure they are wrapped individually or stored in a freezer bag to maintain freshness.
-
Thawing: When ready to enjoy, thaw cookies at room temperature for about 30 minutes. This ensures they retain their delightful chewy texture.
What to Serve with Chewy Red Velvet Cookies with Cream Cheese Frosting
There’s nothing quite like diving into a baking adventure that transforms simple ingredients into vibrant, delectable cookies that dazzle every occasion.
-
Creamy Milk: A classic pairing, a tall glass of cold milk balances the sweetness, enhancing the cookies’ rich flavor.
-
Strong Coffee: The bold taste of coffee cuts through the sweetness of the frosting, creating a sophisticated dessert experience. It’s the perfect duo for cozy gatherings or a warm afternoon treat.
-
Fresh Berries: Sweet strawberries or tart raspberries offer a refreshing contrast, adding bright colors and a hint of natural acidity that complements the rich cream cheese.
-
Vanilla Ice Cream: Serve these cookies warm with a scoop of vanilla ice cream for an irresistible treats that melts your heart. The creaminess elevates the cookie experience while calming any sweet urges!
-
Chocolate-Covered Strawberries: For a fanciful addition, these bite-sized delights echo the red velvet theme and their indulgent chocolate pairing makes any gathering extra special.
-
Festive Spritz Lemonade: For a refreshing drink option, a citrus lemonade pairs beautifully. Its tanginess complements the rich, creamy flavors without being overly sweet.
-
Nutty Granola Bars: Serve alongside crunchy granola bars for a textural contrast. The nutty flavors harmonize with the cookies’ richness and provide a delicious, wholesome balance.
-
Whipped Cream Topping: A dollop of homemade whipped cream can elevate the dessert, especially if garnished with chocolate shavings, enhancing visual appeal.
Make Ahead Options
These Chewy Red Velvet Cookies with Cream Cheese Frosting are perfect for meal prep enthusiasts! You can make the cookie dough up to 24 hours in advance by preparing it and storing it in an airtight container in the refrigerator. This not only saves time but also allows the flavors to deepen. If you prefer, you can also scoop the dough into balls and freeze them for up to 3 months—just be sure to thaw before baking. To maintain quality, avoid frosting the cookies until you’re ready to serve them, as the cream cheese frosting is best fresh. When you’re set to enjoy these delightful cookies, simply bake them as directed and frost once they’ve cooled completely for that ultimate homemade touch!
Expert Tips for Chewy Red Velvet Cookies
-
Butter Temperature: Ensure butter is softened to room temperature; this helps create a light and fluffy texture when creaming with sugar for your chewy red velvet cookies.
-
Don’t Overmix: Once you add the dry ingredients, mix just until combined. Overmixing can lead to cakey cookies instead of the desired chewy consistency.
-
Cool Before Frosting: Allow cookies to cool completely before frosting to prevent melting the cream cheese; this way, you get a beautifully decorated finish.
-
Uniform Size: Use a cookie scoop for consistent sizes, ensuring even baking and presentation.
-
Gel Food Coloring: For that vibrant red, opt for gel food coloring. It ensures stunning color without compromising the cookie’s texture.
-
Storage: Store leftover cookies in an airtight container at room temperature for up to 5 days, maintaining their chewy goodness!
Chewy Red Velvet Cookies with Cream Cheese Frosting Recipe FAQs
How do I choose ripe ingredients for my cookies?
Absolutely! For the best results, make sure your butter is soft but not melted—this helps create a fluffy texture. As for eggs, use large eggs that are at room temperature to ensure better mixing and binding of the dough. For the red food coloring, gel coloring is recommended over liquid, as it offers vibrant color without affecting the cookie’s texture.
How should I store my red velvet cookies?
You can store your chewy red velvet cookies in an airtight container at room temperature for up to 5 days. If you want them to last a bit longer, popping them in the fridge will allow them to stay fresh for about a week—just be sure to keep them in an airtight container to prevent them from drying out.
Can I freeze my red velvet cookies?
Absolutely! You can freeze these cookies for up to 3 months. To do this, let the cookies cool completely after baking. Then, wrap each cookie individually in plastic wrap or place them in a freezer-safe bag, removing as much air as possible. When you’re ready to enjoy, simply thaw them at room temperature for about 30 minutes.
What should I do if my cookies turn out cakey instead of chewy?
Very! If your cookies have a cakey texture, it might be due to overmixing after adding the dry ingredients—try mixing just until combined next time. Additionally, ensuring you don’t overbake them can also help maintain that chewy texture. Look for soft centers that set as they cool, rather than baking them until fully firm.
Are these cookies safe for people with allergies?
It’s best to be cautious. This recipe contains common allergens such as gluten (in flour) and dairy (in butter and cream cheese). If you’re making them for someone with allergies or dietary restrictions, consider substituting with gluten-free flour and using plant-based butter and cream cheese alternatives to make them allergen-friendly, so everyone can enjoy!
How long will the frosting last when stored?
The cream cheese frosting can be stored in an airtight container in the refrigerator for up to 1 week. Be sure to keep it sealed well; this will preserve its creamy texture. If you have leftover frosting after your cookies are gone, you could use it to ice other desserts or enjoy it with graham crackers for a delightful treat!
Chewy Red Velvet Cookies with Cream Cheese Frosting Bliss
Ingredients
Equipment
Method
- Preheat your oven to 350°F (177°C) and line a baking sheet with parchment paper or a silicone mat.
- In a medium bowl, whisk the flour, cocoa powder, baking soda, and salt until combined.
- In a large mixing bowl, cream together the softened butter and sugar on medium speed for 2-3 minutes until light and fluffy.
- Add the egg, vanilla extract, and red food coloring to the creamed mixture and mix on low speed until well combined.
- Gradually add the dry ingredients to the wet mixture, gently stirring until a soft dough forms.
- Use a medium cookie scoop to portion out the dough onto the prepared baking sheet, flattening each ball slightly.
- Bake for 10-11 minutes until edges are set and centers are soft. Cool on the baking sheet for 5 minutes.
- While cooling, prepare the frosting by beating cream cheese and butter until smooth, then gradually add powdered sugar and vanilla.
- Once cookies are cool, frost each generously with the cream cheese frosting and add sprinkles if desired.
Leave a Reply