
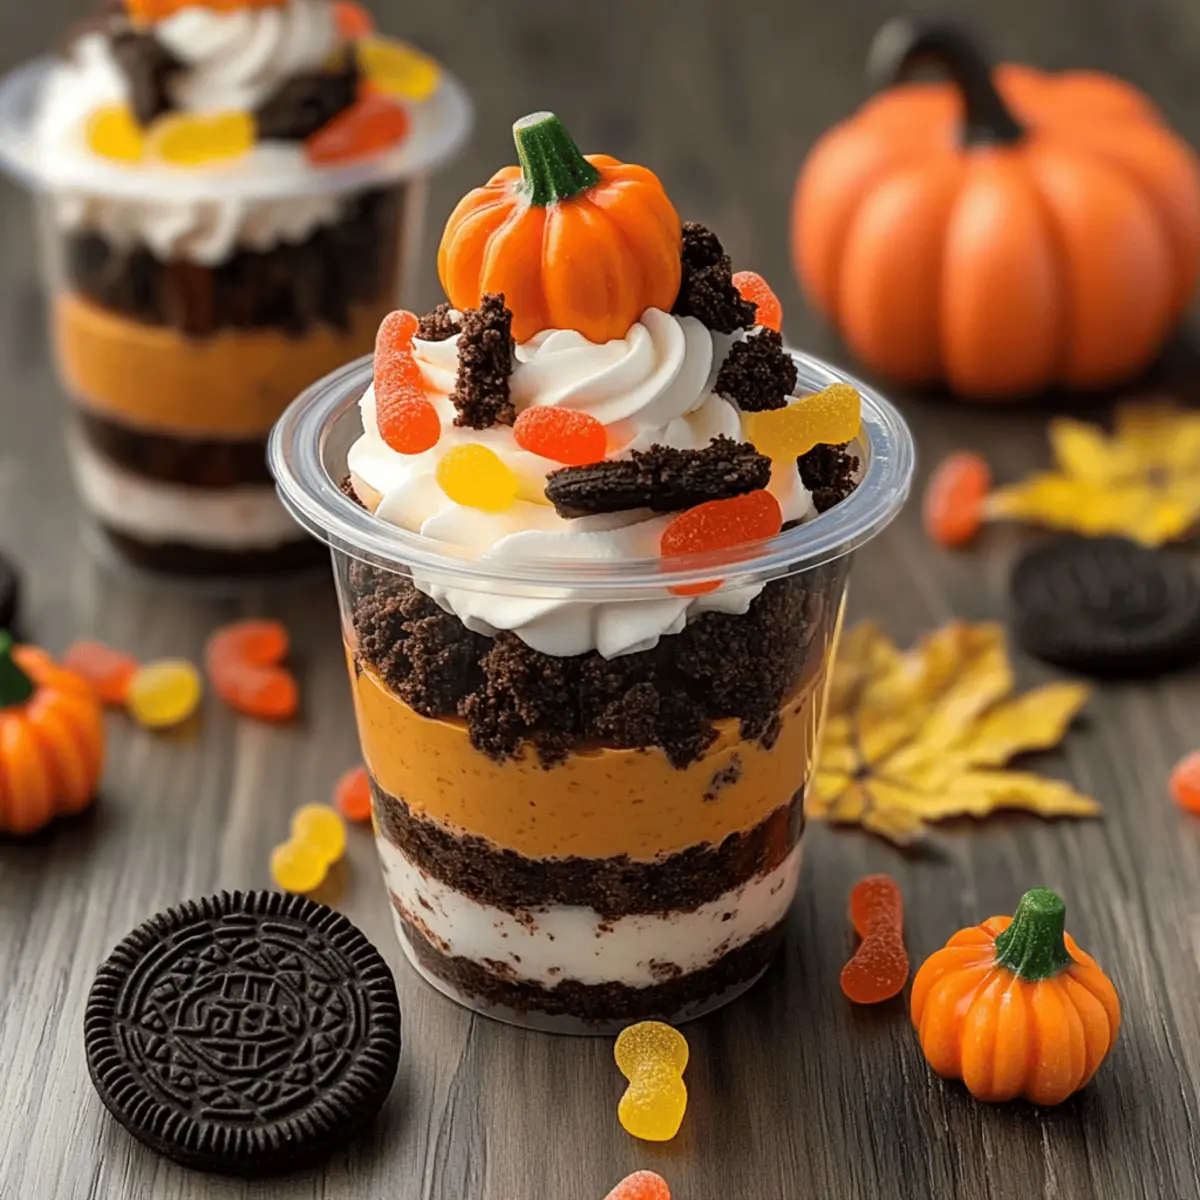
As I walked through the vibrant leaves crunching beneath my boots, the air filled with the sweet smell of pumpkin spice and the happy shrieks of children picking out their favorite Halloween costumes, I couldn’t help but think of a treat that perfectly captures this magical fall season: Pumpkin Patch Dirt Cups. This playful no-bake dessert combines creamy pumpkin pudding with rich chocolate layers, topped with crushed Oreos to simulate “dirt” and adorned with whimsical candy pumpkins and gummy worms. Not only is this recipe a delightful way to incorporate seasonal flavors, but it’s also effortless to whip up, making it a fantastic option for busy fall celebrations. Perfect for both little goblins and grown-up ghosts, these cups bring smiles to everyone at the table! Curious to learn how to recreate this festive delight? Let’s dive into the recipe together!
Why are Pumpkin Patch Dirt Cups so delightful?
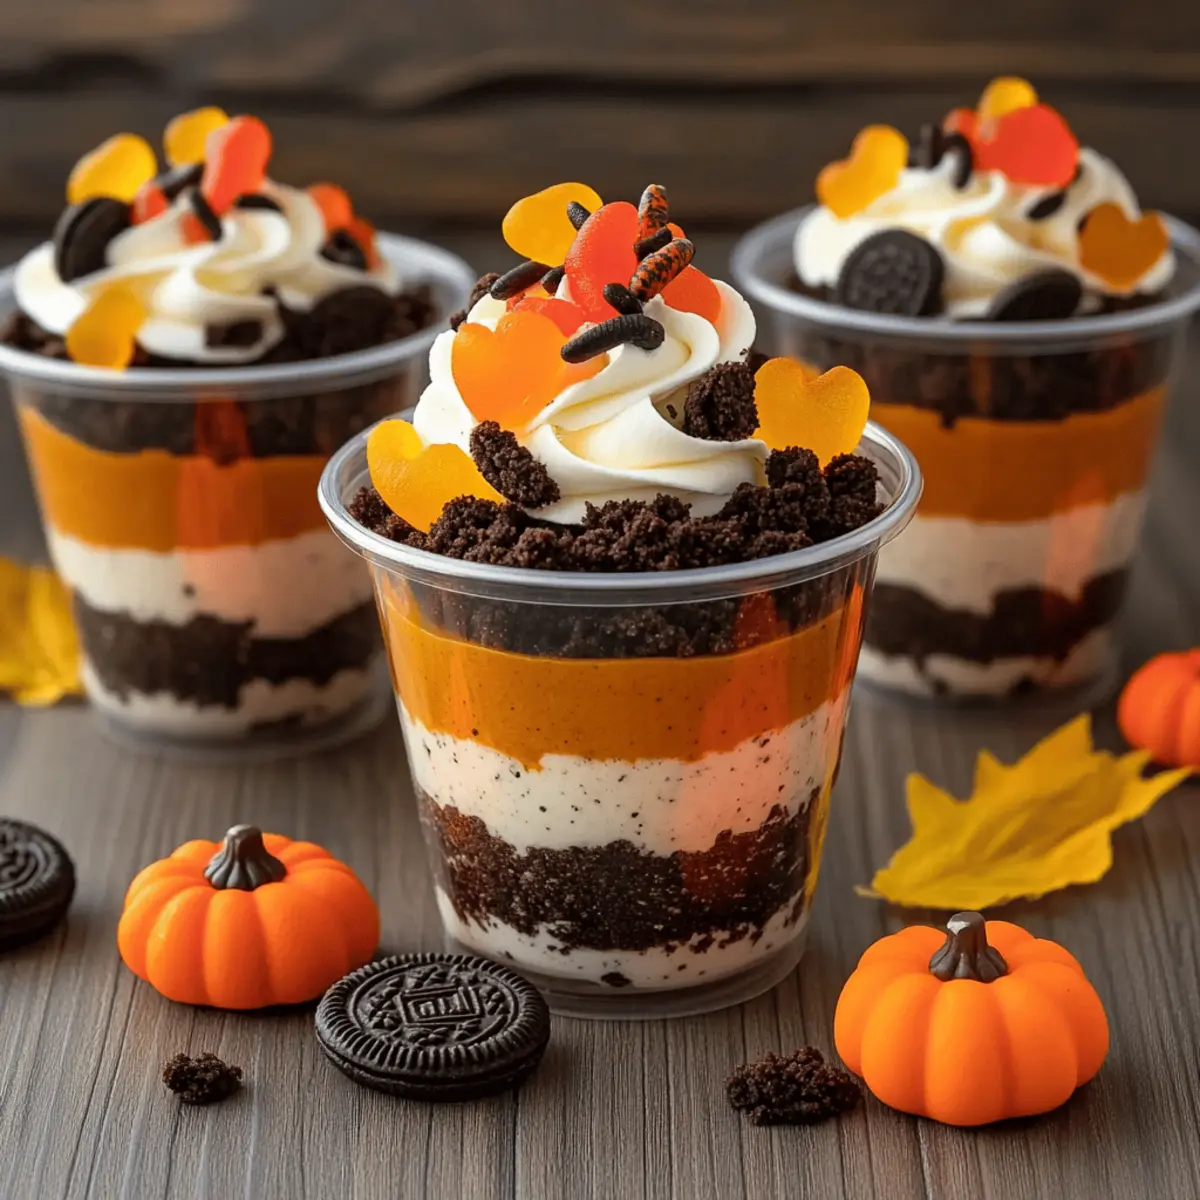
Whimsical Appeal: These cups are a visual treat that will bring out the kid in everyone, making them the star of any Halloween gathering.
Effortless Preparation: With just a few simple steps, you can create this stunning dessert in no time—ideal for busy schedules.
Seasonal Flavors: The combination of pumpkin and chocolate flavors evokes the warm essence of fall, making every bite comforting and festive.
Crowd-Pleasing Fun: Kids will love decorating their cups while adults appreciate the nostalgia and creativity—perfect for family gatherings.
Versatile Delight: Feel free to experiment with different decorations or pudding layers, like a Pumpkin Cornbread Cinnamon twist, for added fun!
Pumpkin Patch Dirt Cups Ingredients
For the Chocolate Layer
- Instant Chocolate Pudding Mix – Provides a rich, chocolatey base that contrasts perfectly with the pumpkin flavors.
- Milk – Needed to prepare the pudding; for a lighter option, try almond or oat milk.
For the Pumpkin Layer
- Instant Vanilla Pudding Mix – Acts as the primary pudding base; you could also use pumpkin spice pudding mix for an extra autumn kick.
- Canned Pumpkin Puree – Adds moisture and delicious pumpkin flavor, enhancing the seasonal vibe. Alternative: Other winter squash purees work too!
- Pumpkin Pie Spice – Embellishes the flavor with warm spices; if you run out, mixing cinnamon and nutmeg can be a great substitute.
- Milk – Essential for making the pudding creamy; remember, you’ll need two cups for this layer.
- Whipped Topping (Cool Whip or similar) – Adds a light and fluffy texture to the pumpkin layer; coconut whipped cream is a great dairy-free substitute.
For the Crunchy Topping
- Crushed Oreos – Simulate “dirt” while providing a delightful crunch; chocolate graham crackers can offer a fun twist.
- Graham Crackers (optional) – Mix with the Oreos for a great textural contrast.
For Decoration
- Gummy Worms – A fun and spooky addition that appeals to kids; feel free to swap in any other edible worms if you wish.
- Candy Pumpkins – These cute decorations add a festive touch to your treats. Alternatively, try chocolate or fruit soft candies shaped like autumn treats.
For Serving
- Small Clear Plastic Cups or Glass Jars – They make the presentation enchanting and showcase the beautiful layers of your Pumpkin Patch Dirt Cups!
With all these ingredients, you’re set to create a charming Pumpkin Patch Dirt Cups masterpiece that will enchant everyone at your gathering!
Step‑by‑Step Instructions for Pumpkin Patch Dirt Cups
Step 1: Prepare the Chocolate Pudding
In a mixing bowl, combine the instant chocolate pudding mix with 2 cups of milk. Whisk vigorously for about 2 minutes until the mixture thickens and is free of lumps. Once combined, set the bowl in the refrigerator for 5–10 minutes to chill and solidify, achieving a creamy consistency that will serve as the base layer of your Pumpkin Patch Dirt Cups.
Step 2: Mix the Pumpkin Layer
While the chocolate pudding sets, grab another bowl and whisk together the instant vanilla pudding mix and 2 cups of milk. Stir until smooth, then fold in the canned pumpkin puree and pumpkin pie spice. Continue mixing until all the ingredients are well combined, creating a luscious pumpkin layer that captures the flavors of fall. Set this mixture aside for assembly.
Step 3: Incorporate Whipped Topping
Once your pumpkin pudding mixture is smooth, gently fold in the whipped topping until fully integrated. Stir carefully to maintain the airy texture, which adds a lightness to your Pumpkin Patch Dirt Cups. This mixture should be creamy and fluffy, making it perfect for layering and bringing a delightful contrast to the rich chocolate layer.
Step 4: Begin Layering the Cups
Start assembling the Pumpkin Patch Dirt Cups by spooning a generous amount of the chocolate pudding into the bottom of each small clear plastic cup or glass jar. Fill each cup about one-third full, ensuring an even layer. The chocolate layer will set the foundation for the delicious dessert and mix wonderfully with the subsequent layers to create a stunning visual appeal.
Step 5: Add the Oreo “Dirt” Layer
After adding the chocolate pudding, sprinkle a layer of crushed Oreos over the pudding in each cup. The crumbled cookies will resemble dirt and add a delightful crunch to the Pumpkin Patch Dirt Cups. Make sure to distribute the Oreos evenly to create a textural contrast against the creamy pudding layers, enhancing both the taste and aesthetics of the cups.
Step 6: Top with the Pumpkin Pudding
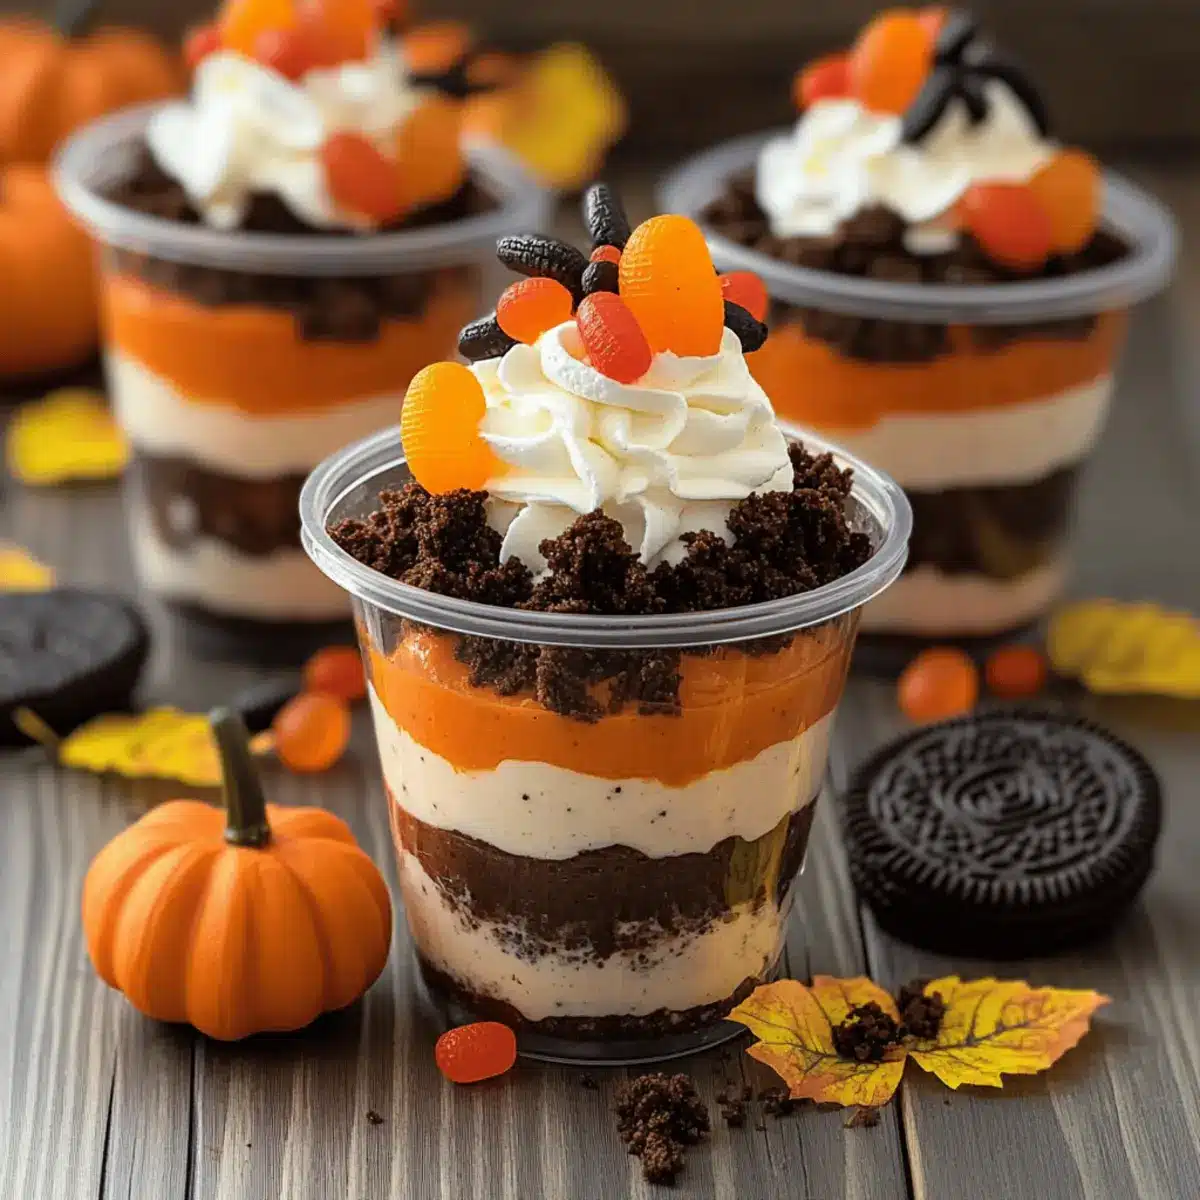
Spoon the pumpkin pudding mixture over the crushed Oreos in each cup, creating a beautiful, bright orange layer. Fill each cup until just below the rim, allowing enough space for the final toppings. This layer of pumpkin pudding will bring warmth and seasonal flavor, perfectly completing your delightful Pumpkin Patch Dirt Cups.
Step 7: Finish with More “Dirt”
For an eye-catching final touch, top the pumpkin pudding layer with more crushed Oreos or crushed graham crackers. This layer will not only enhance the appearance of your dessert, making it look like a patch of dirt but will also add an extra layer of crunch. Use a spoon to gently spread it evenly, ensuring a beautiful presentation.
Step 8: Decorate and Chill
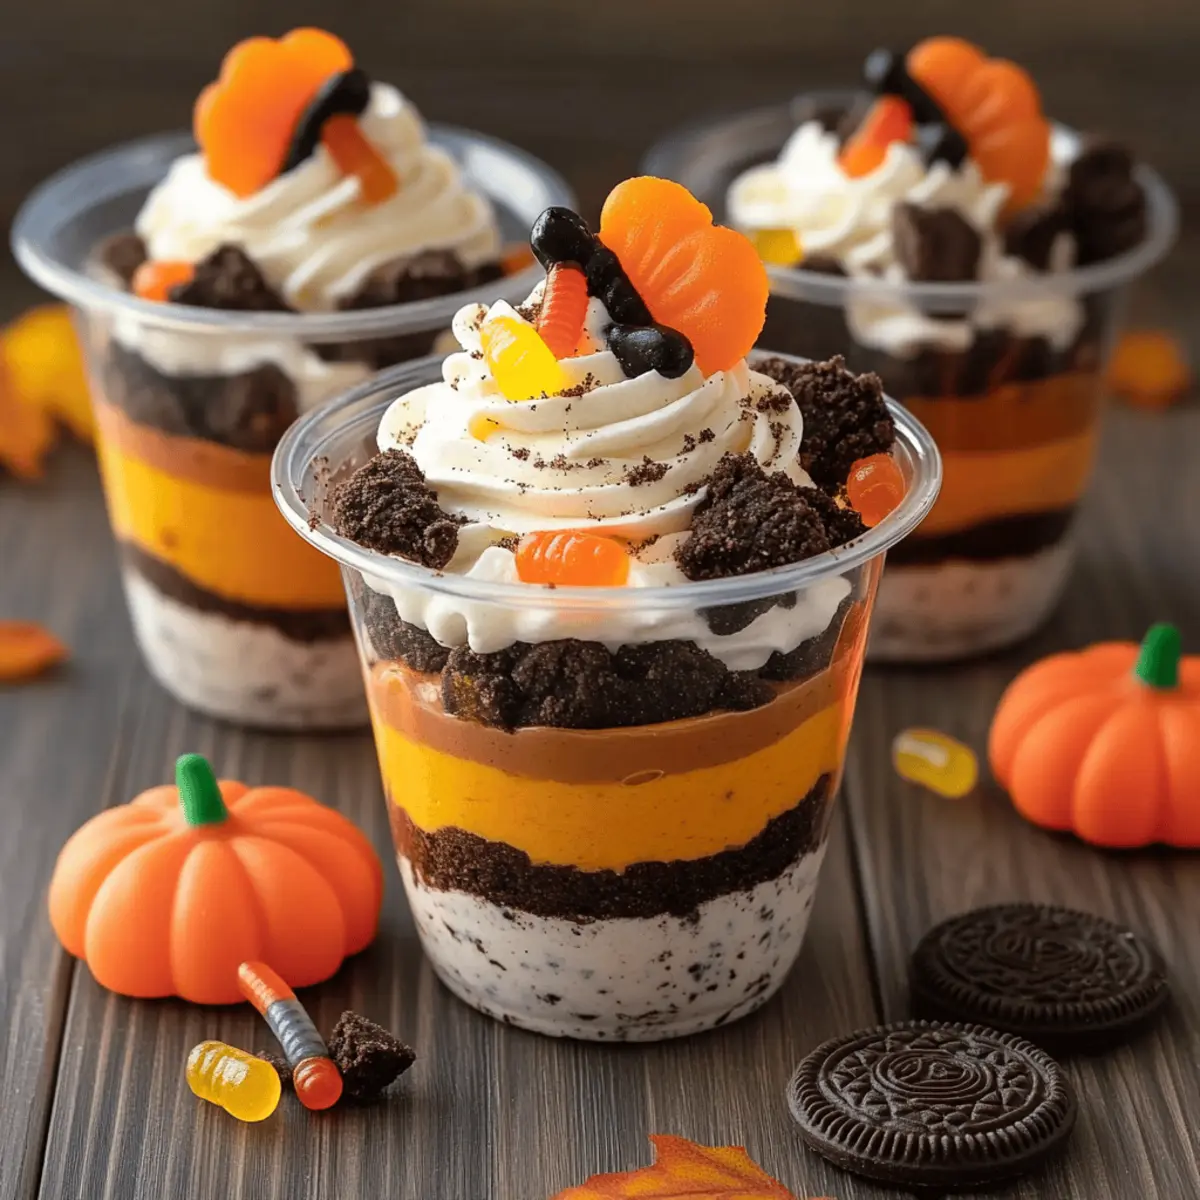
Now comes the fun part! Decorate each cup with gummy worms and candy pumpkins, arranging them playfully on top to evoke the spirit of Halloween. Once decorated, refrigerate the assembled Pumpkin Patch Dirt Cups for at least 30 minutes. This chilling time allows the flavors to meld and the textures to firm up, making each bite a delightful experience.
How to Store and Freeze Pumpkin Patch Dirt Cups
Fridge: Store assembled Pumpkin Patch Dirt Cups in an airtight container for up to 2 days to maintain freshness and avoid sogginess from the toppings.
Freezer: While freezing is not recommended for the assembled cups due to texture changes in the pudding and toppings, you can freeze the chocolate and pumpkin pudding layers separately for up to 1 month.
Make-Ahead Tips: Prepare the pudding layers in advance and store them in the fridge; assemble cups with Oreos and toppings just before serving for the best texture and taste.
Reheating: There is no need to reheat, as these delightful Pumpkin Patch Dirt Cups are best served chilled, preserving their creamy texture and festive fun!
Pumpkin Patch Dirt Cups Variations & Substitutions
Feel free to unleash your creativity and modify the Pumpkin Patch Dirt Cups to suit your tastes and dietary needs!
-
Gluten-Free: Substitute regular Oreos with gluten-free chocolate cookies for a tasty version that everyone can enjoy.
-
Dairy-Free: Swap the whipped topping for coconut whipped cream, which adds a delightful coconut flavor while keeping it creamy.
-
Flavor Twist: Add layers of butterscotch or pistachio pudding to cater to different palates; combining flavors makes it extra special.
-
Adult Version: Enhance your dessert with a spiced whipped cream and a splash of pumpkin liqueur, perfect for a more sophisticated crowd.
-
Extra Crunch: Mix in some toasted nuts or seeds between layers for a delightful crunch that contrasts with the creamy pudding.
-
Decorative Fun: Instead of gummy worms, use candy eyeballs or chocolate-covered pretzels for a unique Halloween twist that children will adore.
-
Seasonal Swap: Incorporate fresh apples or pears alongside the pumpkin layer for added fruitiness, reminiscent of an autumn harvest.
-
Mini Cups: For a fun party variation, switch to mini cups for individual servings—perfect for school events or gatherings, just like serving mini Pumpkin French Toast bites!
Get inspired and customize your Pumpkin Patch Dirt Cups—every variation comes with its own charm!
What to Serve with Pumpkin Patch Dirt Cups
A whimsical dessert like this goes best with delightful sides that enhance the autumn vibes and create a full festive experience.
-
Hot Apple Cider: The warm, spiced flavors of cider perfectly complement the creamy pumpkin and chocolate layers, enhancing the cozy atmosphere. It’s like a warm hug for your taste buds!
-
Caramel-Popcorn Mix: This sweet and salty treat offers a satisfying crunch that pairs well with the creamy dirt cups. The delightful surprise of caramel flavor will keep everyone reaching for more.
-
Mini Pumpkin Bread Loaves: These moist, spiced loaves add another layer of seasonal goodness, providing a comforting element that’s perfect for sharing. Serve as slices or warm mini bites to offer variety.
-
Cheese Board with Fall Fruits: A selection of sharp cheeses alongside crisp apples, pears, and nuts makes for a beautiful presentation. The savory notes cut through the sweetness of the dessert, balancing the meal brilliantly.
-
Spiced Sugar Cookies: These cookies can be a fun addition, echoing the seasonal flavors and inviting a delightful crunch with each bite. Decorate them with fall themes, making them visually appealing for guests.
-
Pecan Pie Bars: Offering a rich, nutty sweetness, these bars add a traditional touch to your dessert spread. Their gooey texture contrasts nicely with the lightness of the Pumpkin Patch Dirt Cups.
Enhance your gathering with these delightful pairings, turning your autumn celebration into an unforgettable feast!
Expert Tips for Pumpkin Patch Dirt Cups
-
Chill Before Assembly: Allow the chocolate and pumpkin puddings to chill separately before layering to achieve better texture and distinct layers.
-
Freshness Matters: Assemble the cups within a day of serving for the best flavor and texture; store toppings separately to keep them crunchy.
-
Make It Kid-Friendly: Involve children in decorating their cups with gummy worms and candy pumpkins; it makes the creation process even more fun!
-
Layer Wisely: Use even layers of pudding, Oreos, and whipped topping to create a visually appealing dessert that’s just as tasty as it looks.
-
Pre-empting Mess: Use a piping bag for the pudding layers if you’re worried about messiness; it allows for precision while filling the cups.
-
Personalize the Recipe: Don’t hesitate to add other garnishes like sprinkles or chocolate shavings—create your own spin on these charming Pumpkin Patch Dirt Cups!
Make Ahead Options
These Pumpkin Patch Dirt Cups are a fantastic option for meal prep! You can prepare the chocolate pudding and pumpkin pudding layers up to 24 hours in advance; simply refrigerate them in separate airtight containers. Additionally, you can crush the Oreos and store them in a zip-top bag for up to 3 days. When you’re ready to assemble, layer the chocolate pudding, crushed Oreos, and pumpkin pudding in your cups, then top with more Oreos for that “dirt” look. For the final touch, decorate with gummy worms and candy pumpkins just before serving to maintain their crunchiness and visual appeal. This way, your Halloween gathering will be stress-free and just as delicious!
Pumpkin Patch Dirt Cups Recipe FAQs
What type of pumpkins should I use for this recipe?
Absolutely! For the best flavor, I recommend using 100% canned pumpkin puree, which is typically derived from sugar pumpkins or pie pumpkins. Avoid Jack-O-Lantern pumpkins, as they are not flavorful and can be watery. If you prefer fresh, look for small sugar pumpkins that are sweet and tender.
How do I store Pumpkin Patch Dirt Cups?
Very! Store your assembled Pumpkin Patch Dirt Cups in an airtight container in the refrigerator for up to 2 days. This keeps the flavors fresh while preventing the toppings from becoming soggy. If you’ve prepared the components separately, you can store them individually, but make sure to keep the toppings aside until just before serving for best results.
Can I freeze Pumpkin Patch Dirt Cups?
Although freezing the assembled cups is not recommended due to texture changes in the pudding, you can! If you wish to freeze, prepare the chocolate and pumpkin pudding layers separately and transfer them to airtight containers. They can be frozen for up to 1 month. When you’re ready to use them, thaw in the refrigerator overnight before assembling the cups.
I have allergies; can I make substitutions?
Absolutely! If you’re dealing with allergies or dietary restrictions, there are several easy substitutes: use almond or oat milk instead of dairy milk, and opt for coconut whipped cream for a dairy-free version. For gluten sensitivity, substitute Oreos with gluten-free cookies. Always check labels to ensure all ingredients meet your dietary needs.
Why is my pudding mixture not setting properly?
If your pudding isn’t setting, it may be due to not mixing it well enough or not waiting long enough for it to chill. Make sure to whisk the pudding mix well in milk for the full 2 minutes and let it chill in the fridge for at least 5-10 minutes until it’s firm and smooth. For a firmer pudding, you could also try using slightly less milk than called for to ensure a better texture.
How can I make these cups kid-friendly?
Very! Involve kids in the fun of decorating their distinct cups. Let them choose how to arrange gummy worms and candy pumpkins on top. You can also use colorful sprinkles to give a festive flair. The more the merrier when it comes to creativity—each cup can be a personal masterpiece!
Delightful Pumpkin Patch Dirt Cups for a Whimsical Fall Treat
Ingredients
Equipment
Method
- Prepare the Chocolate Pudding: Combine the instant chocolate pudding mix with 2 cups of milk in a mixing bowl. Whisk for about 2 minutes until thickened, then chill for 5-10 minutes.
- Mix the Pumpkin Layer: In another bowl, whisk together the instant vanilla pudding mix and 2 cups of milk until smooth. Fold in the canned pumpkin puree and pumpkin pie spice.
- Incorporate Whipped Topping: Gently fold in the whipped topping into the pumpkin pudding mixture until fully combined.
- Begin Layering the Cups: Spoon chocolate pudding into each cup, filling about one-third full.
- Add the Oreo 'Dirt' Layer: Sprinkle a layer of crushed Oreos on top of the chocolate pudding in each cup.
- Top with the Pumpkin Pudding: Spoon the pumpkin pudding mixture over the Oreos, filling each cup to just below the rim.
- Finish with More 'Dirt': Top with additional crushed Oreos or graham crackers.
- Decorate and Chill: Decorate each cup with gummy worms and candy pumpkins, then refrigerate for at least 30 minutes.
Leave a Reply