
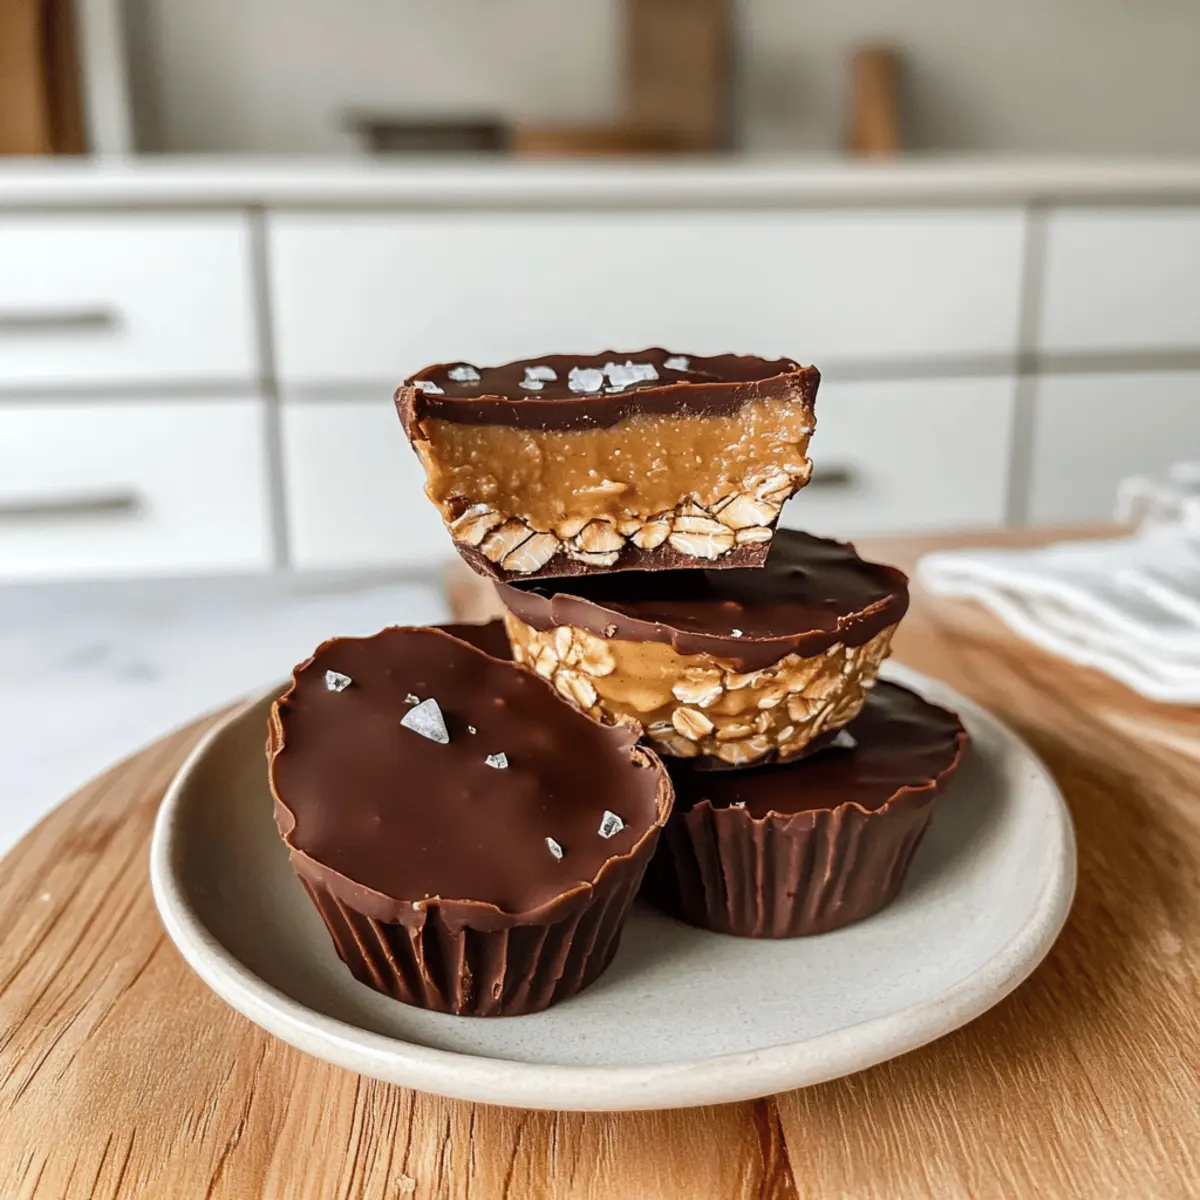
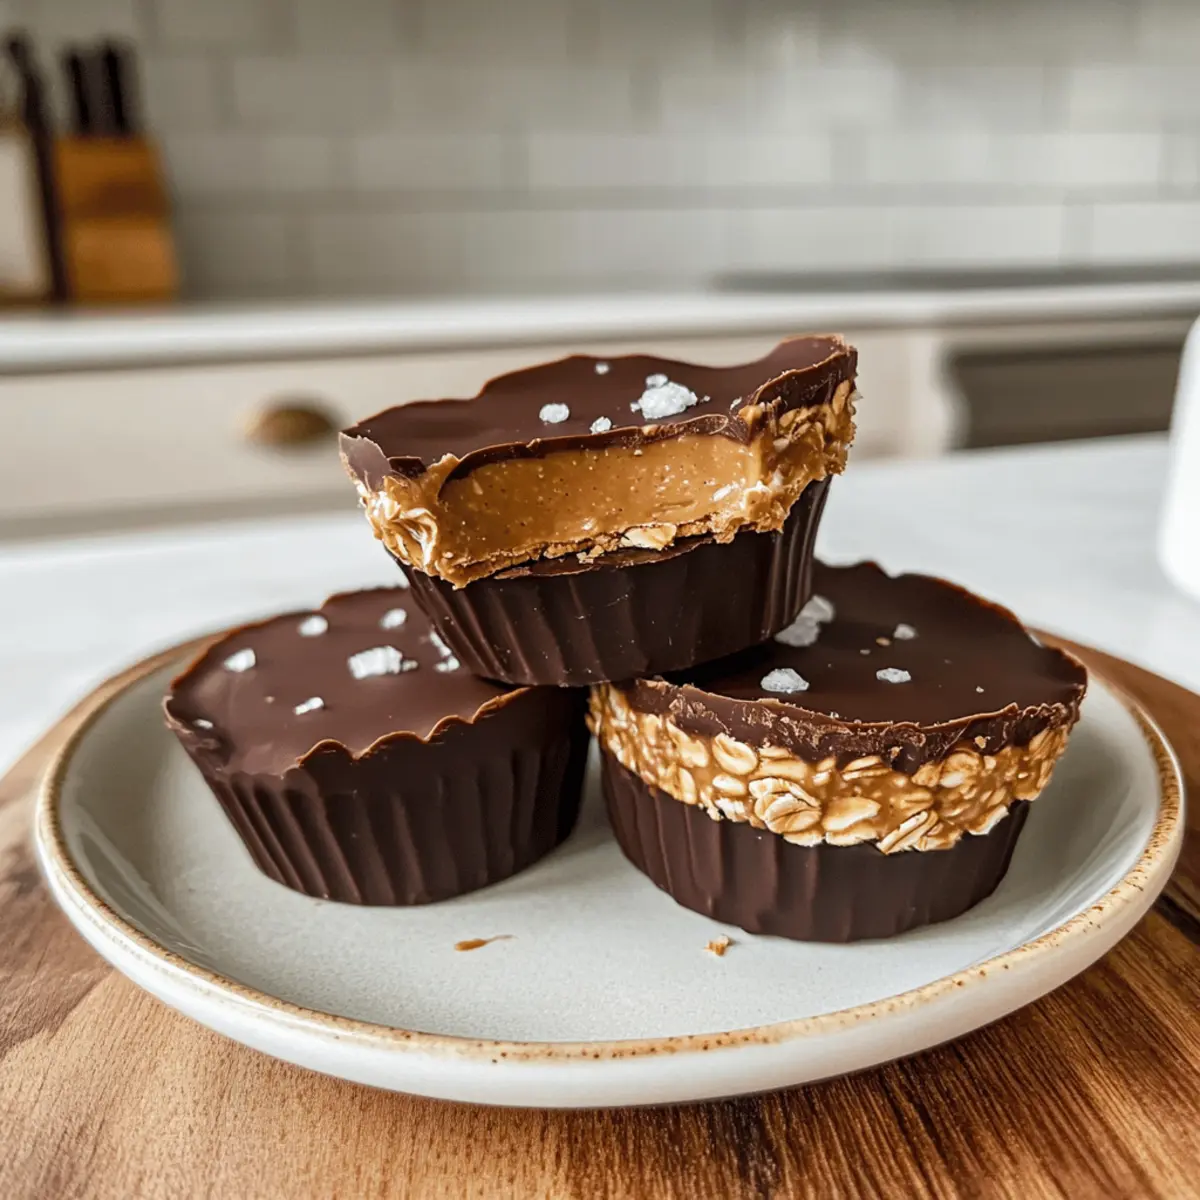
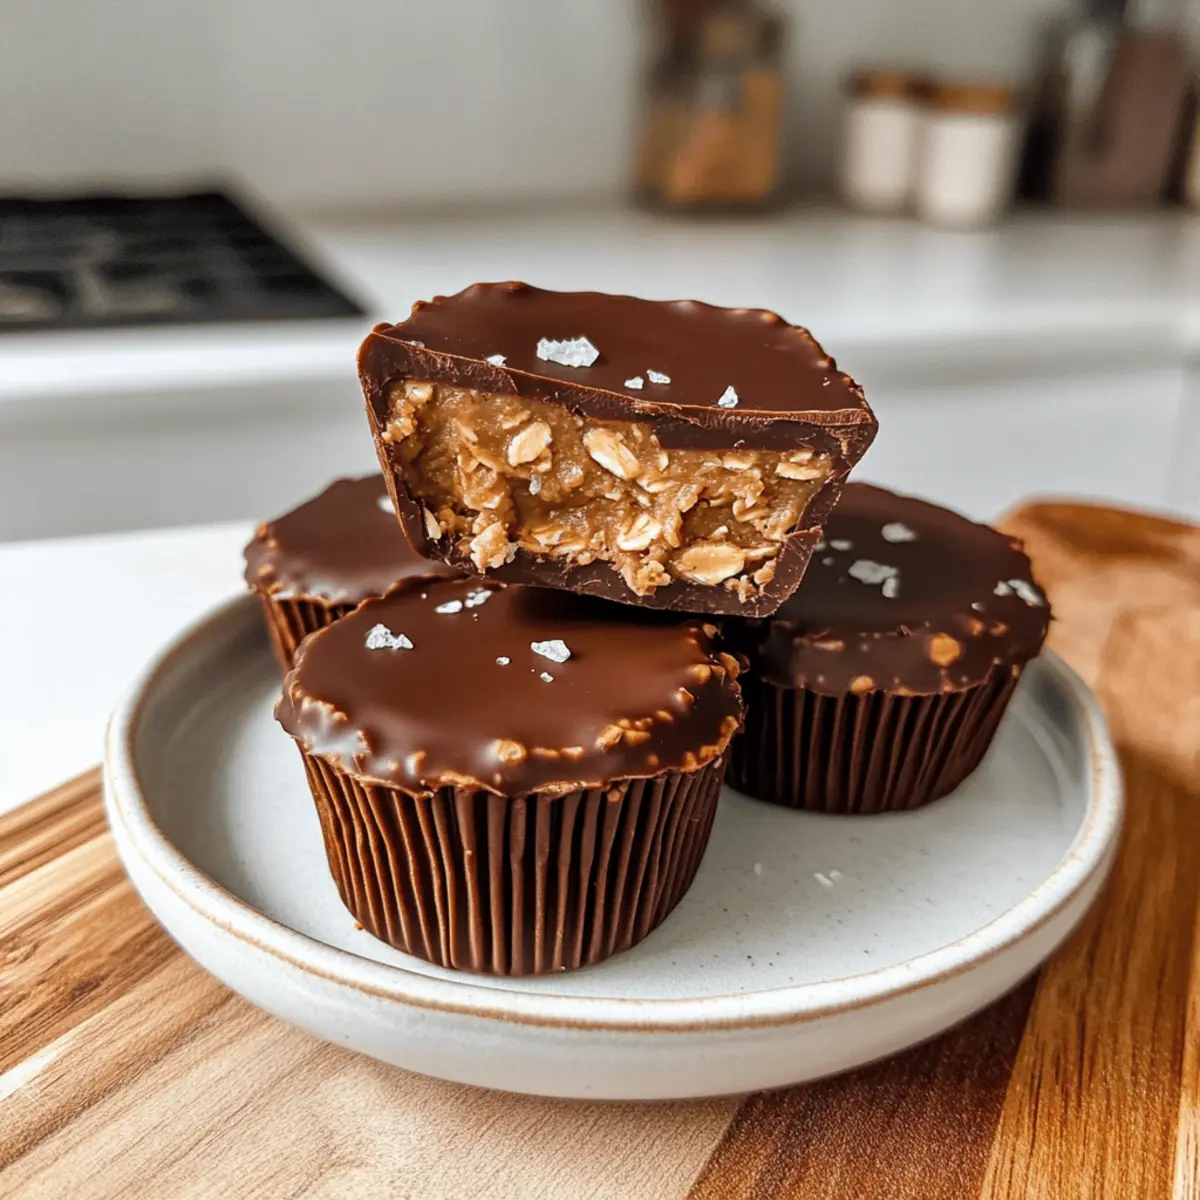
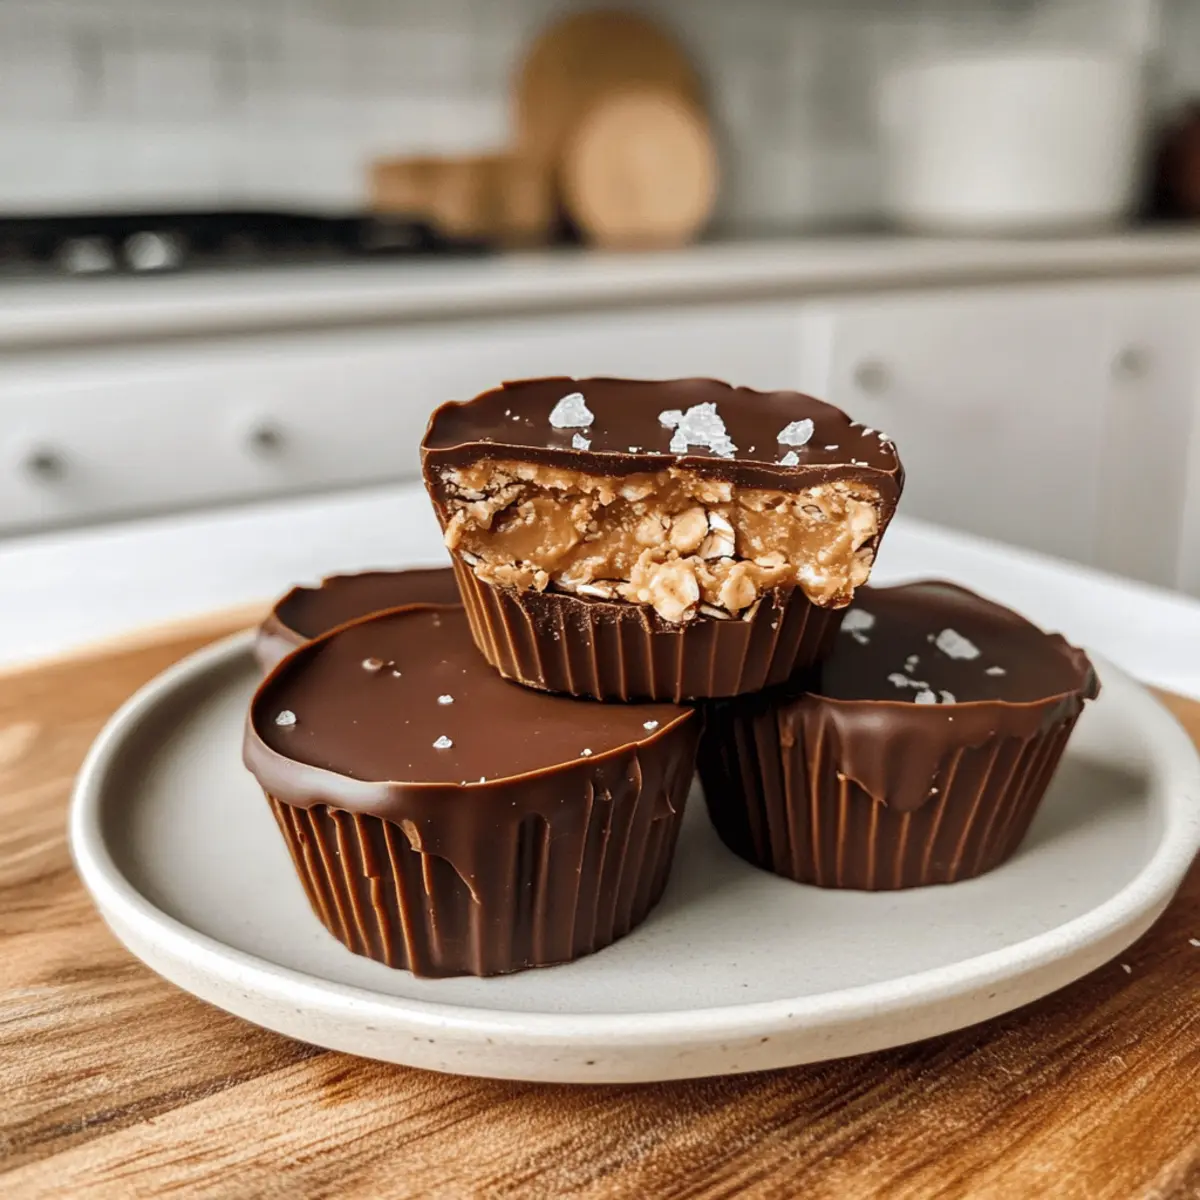
I once caught a whiff of homemade goodness while strolling through a local farmer’s market, and it hit me: the perfect snack was just a few ingredients away. That’s exactly what these No-Bake Peanut Butter Oat Cups bring to the table—an easy, wholesome treat that can be whipped up in under 20 minutes! Made with creamy peanut butter and wholesome rolled oats, they’re not just satisfying your sweet tooth; they’re also a vegan and gluten-free delight. Imagine sinking your teeth into a chewy texture contrasted by a rich chocolate drizzle—pure bliss! Plus, they’re customizable; feel free to swap in your favorite nut or seed butter and get creative with toppings. Who could resist a snack that’s as healthy as it is delicious? So, are you ready to indulge in a sweet that won’t weigh you down?
Why are Peanut Butter Oat Cups irresistible?
Easy Preparation: These delightful no-bake treats come together in under 20 minutes, making them a perfect option for busy days.
Nutritious Ingredients: Packed with wholesome rolled oats and protein-rich peanut butter, they deliver a satisfying snack without the guilt.
Versatile Options: Swap out the peanut butter for sunflower seed butter or mix in your favorite toppings for a unique twist every time!
Decadent Flavor: Rich dark chocolate drizzled on top creates a heavenly combination of creamy and chewy—every bite is a treat.
Crowd-Pleaser: Ideal for sharing at gatherings, they’ll become a favorite among friends and family. Perfect for serving alongside other treats like Biscoff Cookie Butter or Garlic Butter Beef!
Healthy Delight: Gluten-free and vegan, these cups cater to a range of dietary needs while ensuring everyone can enjoy them guilt-free.
Peanut Butter Oat Cups Ingredients
For the Base
• Peanut Butter – Adds a creamy, nutty flavor; use creamy for smoothness or crunchy for a delightful texture.
• Rolled Oats – Provides structure and chew; substitute with certified gluten-free oats to keep it gluten-free.
• Maple Syrup – Sweetens and adds moisture; can be replaced with honey, agave, or date syrup for sweetness.
• Protein Powder – Enhances nutrition and creaminess; feel free to skip it for a simpler version.
For the Coating
• Chocolate Chips – Creates a rich, chocolatey layer; opt for vegan dark chocolate to keep it dairy-free.
• Flaky Sea Salt – An optional addition that enhances flavor—sprinkle on top for a sweet and salty contrast.
These delicious Peanut Butter Oat Cups are a guilt-free treat that everyone will adore!
Step‑by‑Step Instructions for Peanut Butter Oat Cups
Step 1: Mix the Base
In a large mixing bowl, combine your creamy peanut butter and maple syrup. Use a sturdy spatula to blend them together until the mixture is smooth and well combined, which should take about 1-2 minutes. The creamy texture is essential for the base of your Peanut Butter Oat Cups, so make sure there are no lumps.
Step 2: Incorporate the Oats
Add the rolled oats to your peanut butter mixture. Stir together using the spatula, ensuring all the oats are coated and incorporated evenly. This should take about 2-3 minutes, resulting in a thick, dough-like consistency. The oats will provide structure and chewiness, making these Peanut Butter Oat Cups a delight.
Step 3: Form the Cups
Spoon the mixture into silicone molds, filling each mold to about 2 tablespoons. Use your fingers or the back of a spoon to press down firmly, forming an even base. This helps the cups hold together once set. The mixture should be level, ensuring a nice presentation once you remove them from the molds.
Step 4: Freeze to Set
Place the filled molds in the freezer for about 20 minutes. This will allow the mixture to firm up, making it easier to add the chocolate topping later. You’ll know they’re set when the mixture feels solid to the touch and holds its shape without sticking to your fingers.
Step 5: Melt the Chocolate
While the cups freeze, melt the chocolate chips in a microwave-safe bowl. Heat in 30-second increments, stirring in between, until completely smooth and melted, which may take about 1-2 minutes. Adding a drizzle of oil can help achieve a glossy finish, perfect for drizzling over your Peanut Butter Oat Cups.
Step 6: Drizzle with Chocolate
Once your oat cups are firm, remove them from the freezer and carefully drizzle the melted chocolate over each cup. Use a spoon or a piping bag to create a beautiful pattern on top. Return the cups to the freezer for an additional 20 minutes to set the chocolate layer.
Step 7: Serve and Enjoy
After the final freeze, gently pop the Peanut Butter Oat Cups out of their molds. If desired, sprinkle a pinch of flaky sea salt on top to enhance the flavors. These delicious treats are now ready to be served. Enjoy the chewy texture, nutty flavor, and decadent chocolate topping!
Make Ahead Options
These Peanut Butter Oat Cups are perfect for meal prep enthusiasts! You can prepare the oat mixture up to 24 hours in advance; simply blend the peanut butter, maple syrup, and oats, and store it in an airtight container in the refrigerator. Additionally, you can form the cups and freeze them for up to 3 days before adding the chocolate layer. When you’re ready to serve, melt the chocolate chips and drizzle them over the frozen cups; after another quick freeze of about 20 minutes, they’ll be just as delicious as if made fresh. This prep-ahead strategy allows you to enjoy wholesome snacks throughout the week without the fuss!
Peanut Butter Oat Cups Variations & Substitutions
Feel free to get creative with these delightful Peanut Butter Oat Cups; customize them to tickle your taste buds!
- Nut-Free: Swap peanut butter for sunflower seed butter for a nut-free, allergen-friendly option.
- Sweetener Swap: Replace maple syrup with agave nectar or honey for a different sweet flavor profile.
- Protein Boost: Blitz in a scoop of your favorite protein powder or add flaxseed for extra nutrition.
- Flavor Explosion: Incorporate a splash of vanilla extract or almond extract for a flavor boost.
- Texture Twists: Add in some chopped nuts or seeds for a delightful crunch in every bite.
- Spicy Kick: Add a pinch of cayenne pepper or cinnamon to the base for an unexpected twist of heat.
- Chocolate Variations: Use white chocolate chips or caramel drizzle instead of regular chocolate for a rich alternative.
- Toppings Galore: Sprinkle on shredded coconut, dried fruit, or crushed pretzels to create a gourmet treat.
These delightful cups are pure joy on their own, but if you want to try something even more scrumptious, serve them alongside a rich Garlic Butter Steak or a bowl of Pumpkin Cornbread Butter.
Expert Tips for Peanut Butter Oat Cups
-
Choose the Right Peanut Butter: Use creamy peanut butter for a smooth texture or opt for crunchy for added dimension. Don’t use overly runny peanut butter to maintain the cups’ shape.
-
Avoid Overmixing: When incorporating the oats, stir until just combined to prevent a dense texture in your Peanut Butter Oat Cups.
-
Check Freezing Time: If your mixture seems too soft, extend the freezing time to ensure they hold their shape before adding the chocolate.
-
Perfect Chocolate Drizzle: Melt chocolate chips in short increments to avoid burning. Stir well for a smooth consistency, ensuring a lovely glossy finish on your cups.
-
Flaky Sea Salt Finish: A dash of flaky sea salt on top not only elevates the flavor but also balances the sweetness, making every bite even more delightful.
-
Storing the Cups: Keep your Peanut Butter Oat Cups in an airtight container in the refrigerator for a softer texture or freeze them for a firmer snack.
How to Store and Freeze Peanut Butter Oat Cups
Airtight Container: Store your Peanut Butter Oat Cups in an airtight container in the refrigerator for up to 1 week for a softer texture.
Freezing: For longer shelf life, freeze the oat cups by placing them in a single layer on a baking sheet until solid, then transfer to a freezer-safe bag for up to 3 months.
Reheating: Enjoy directly from the freezer or thaw in the refrigerator overnight before serving. For a quick snack, leave them at room temperature for about 15 minutes.
Quality Check: Always inspect for any signs of freezer burn when frozen. For best taste, consume the Peanut Butter Oat Cups within 2 months of freezing.
What to Serve with Peanut Butter Oat Cups
Make your snack experience even more delightful by pairing these tasty treats with complementary flavors and textures.
-
Fresh Fruit Salad: A mix of vibrant berries and crisp apple slices adds freshness, balancing the richness of the oat cups.
-
Creamy Yogurt: Serve these oat cups alongside a dollop of Greek yogurt; the tartness perfectly offsets their sweetness and offers a protein boost.
-
Chia Pudding: A smooth, creamy chia pudding brings a nutritious, satisfying contrast to the chewiness of the peanut butter oat cups.
-
Nutty Granola: Crunchy, nutty granola crumbled over the top creates an exciting texture combo that adds a delightful crunchy dimension to each bite.
-
Herbal Tea: A warm cup of chamomile or peppermint tea provides a soothing counterpoint, enhancing the indulgence of your snack time.
-
Coconut Chips: Sweet, crispy coconut chips offer a tropical flair that pairs well with the nutty flavors and adds a pleasant crunch!
Each pairing elevates the experience, transforming your Peanut Butter Oat Cups from a tasty treat into a well-rounded indulgence!
Peanut Butter Oat Cups Recipe FAQs
What type of peanut butter should I use?
Absolutely! For the best texture, I recommend using creamy peanut butter, as it creates a smoother base. However, if you love a crunch factor, go for crunchy peanut butter instead. Just make sure your peanut butter isn’t too runny, or else your cups may not hold their shape.
How long can I store Peanut Butter Oat Cups?
You can keep your Peanut Butter Oat Cups in an airtight container in the refrigerator for up to 1 week. They’re delightful when chilled, offering a soft texture that melts in your mouth. If you prefer a firmer snack, you can freeze them for up to 3 months!
Can I freeze Peanut Butter Oat Cups?
Definitely! Freeze them by placing the oat cups in a single layer on a baking sheet until they are solid. Once frozen, transfer them to a freezer-safe bag. For best quality, try to consume them within 2 months, but they can last a bit longer if needed.
What should I do if my mixture is too runny?
If you find your peanut butter mixture is too runny before setting, there are a couple of things you can do. I recommend adding a bit more rolled oats to thicken it or extending the freezing time until it firms up. This will help shape your cups better once you’re ready to drizzle the chocolate on top!
Are there any dietary considerations I should be aware of?
Yes! These Peanut Butter Oat Cups are vegan, gluten-free, and dairy-free, making them suitable for a variety of dietary needs. If you’re creating these for someone with nut allergies, consider using sunflower seed butter instead. Always double-check your ingredients to ensure they’re allergy-friendly.
How can I customize my Peanut Butter Oat Cups?
Great question! You can easily switch up the nut or seed butter to fit your taste or dietary needs. Try almond butter for a nutty flavor or sunbutter if you’re avoiding nuts altogether. For toppings, consider adding shredded coconut, chopped dried fruit, or a sprinkle of cinnamon—get creative and make them your own!
Peanut Butter Oat Cups: Delicious No-Bake Treats for Everyone
Ingredients
Equipment
Method
- In a large mixing bowl, combine your creamy peanut butter and maple syrup. Blend until smooth, about 1-2 minutes.
- Add the rolled oats to the peanut butter mixture and stir until all oats are coated and a dough-like consistency forms, about 2-3 minutes.
- Spoon the mixture into silicone molds, filling each to about 2 tablespoons and pressing down firmly to form an even base.
- Place filled molds in the freezer for 20 minutes to firm up.
- While the cups freeze, melt the chocolate chips in a microwave-safe bowl in 30-second increments, stirring until smooth.
- Remove cups from the freezer and drizzle the melted chocolate over each. Return to freezer for an additional 20 minutes.
- Once set, pop the cups out of the molds and sprinkle with flaky sea salt if desired. Enjoy!
Leave a Reply