
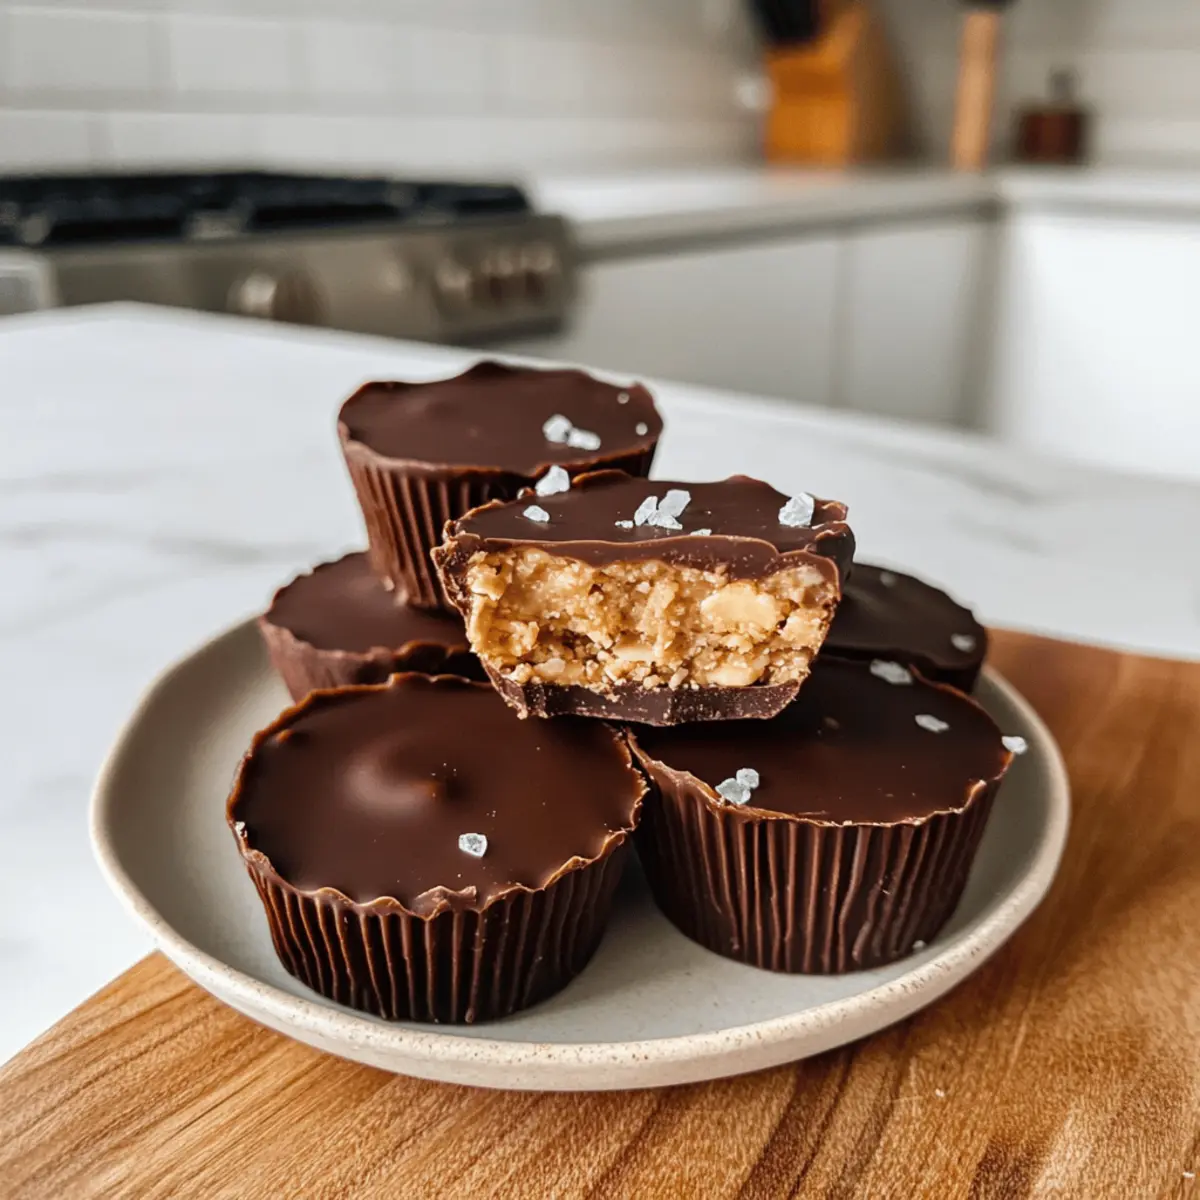
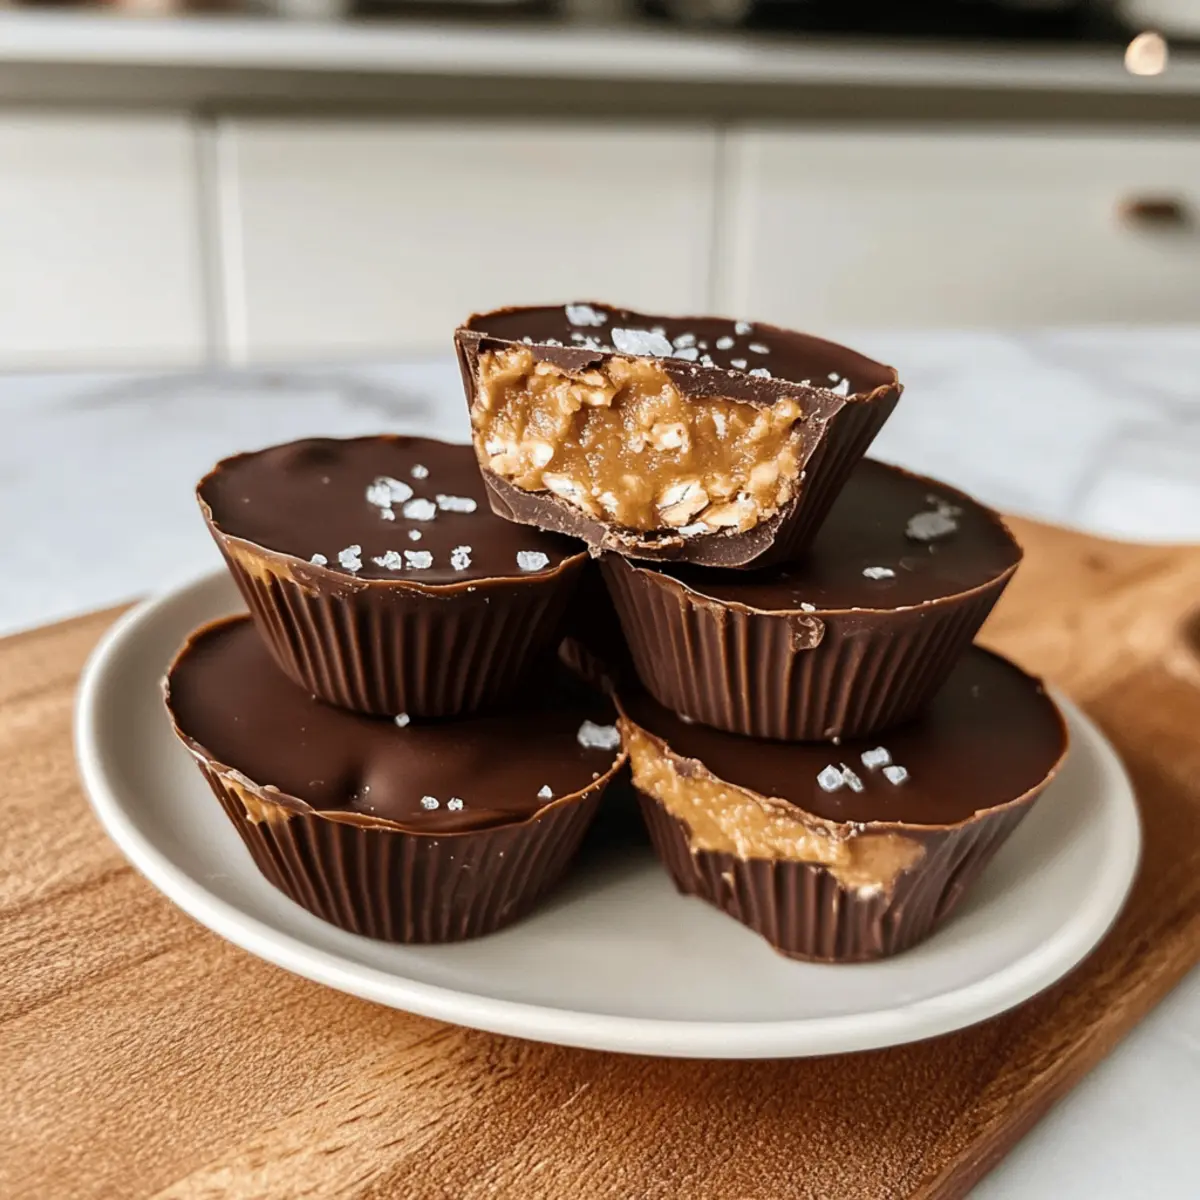
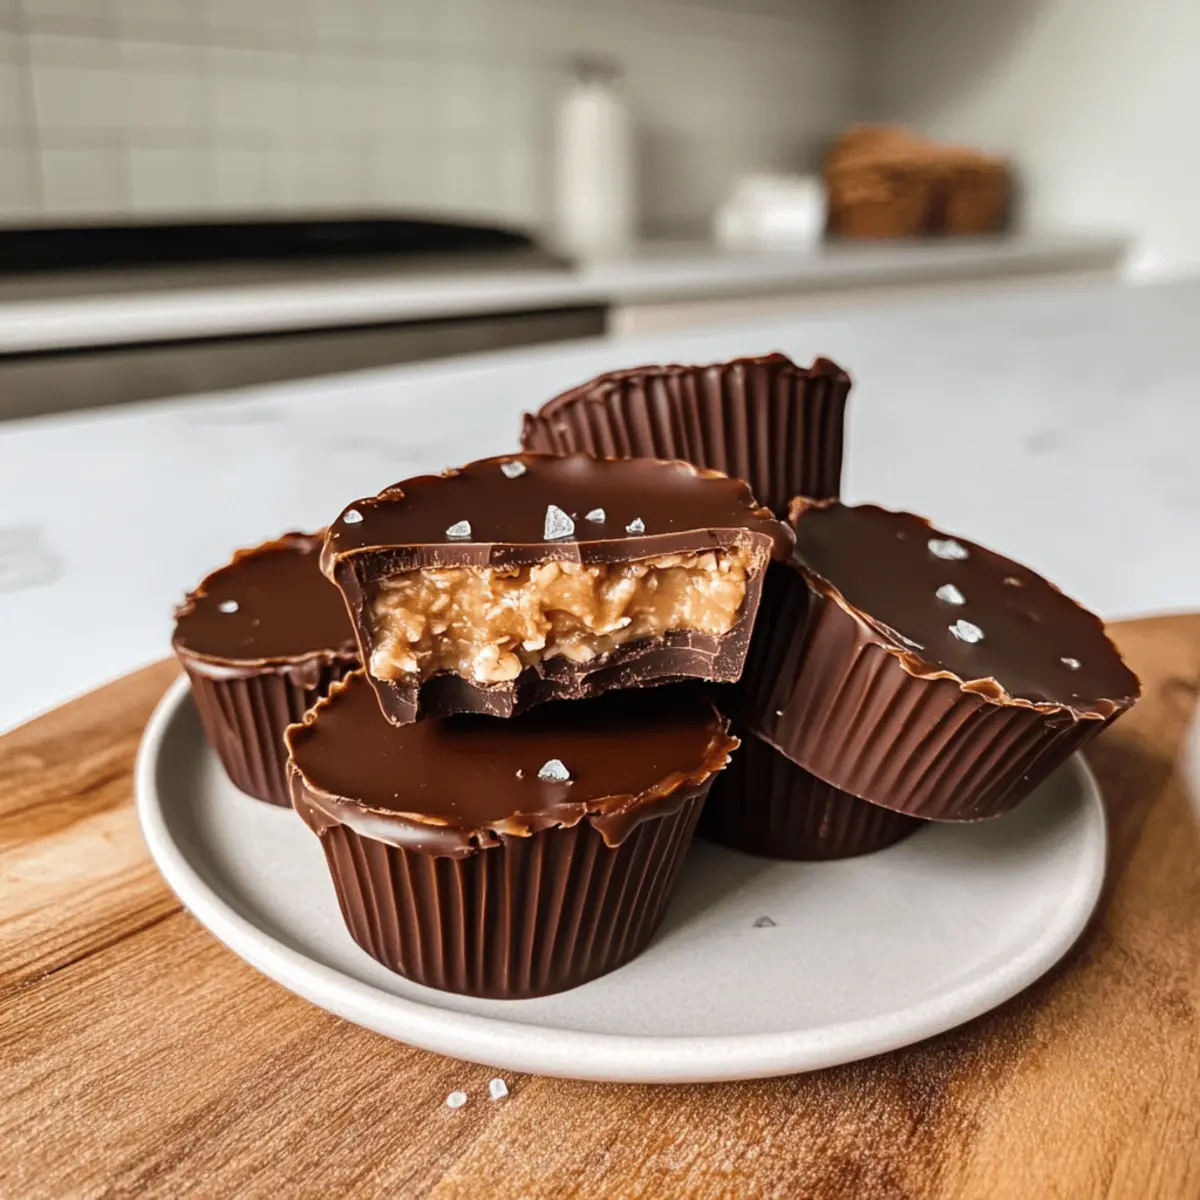
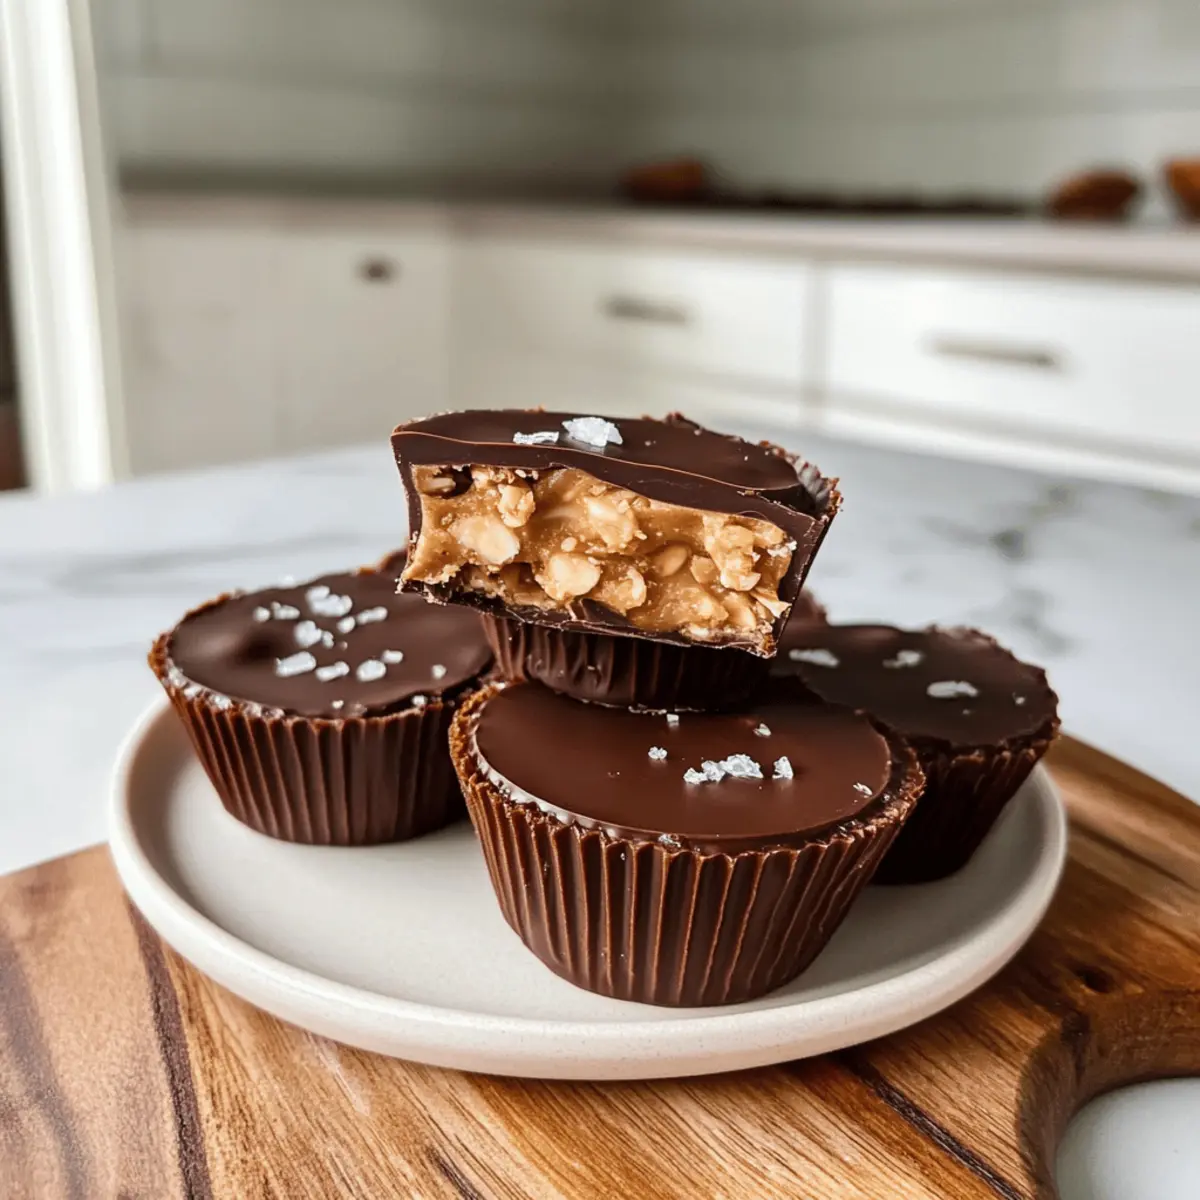
As I rummaged through my pantry, I stumbled upon some rolled oats and a jar of creamy peanut butter, instantly sparking an idea for a delightful treat. Enter the Peanut Butter Oat Cups—your new go-to no-bake dessert that not only caters to sweet cravings but also makes you feel good about what you’re indulging in. With just 20 minutes of prep time, these gluten-free and vegan cups will become your secret weapon for quick snacks or after-dinner delights. The chewy texture from the oats pairs perfectly with the richness of peanut butter and is topped with a silky layer of melted dark chocolate. Trust me, these cups are not only easy to whip up but are also a healthier alternative to store-bought sweets. Curiosity piqued? Let’s dive into how to create these little morsels of joy!
Why are Peanut Butter Oat Cups a must-try?
Simplicity at Its Finest: These no-bake Peanut Butter Oat Cups require just a handful of ingredients and can be prepared in under 20 minutes, making them the perfect solution for last-minute cravings.
Healthy Indulgence: Made with gluten-free oats and creamy peanut butter, they provide a nutritious twist on traditional desserts without sacrificing flavor.
Decadent Chocolate Bliss: Topped with melted dark chocolate, each bite delivers a rich, satisfying experience that feels indulgent yet guilt-free. You’ll love how they rival any store-bought treat!
Versatile Treat: Whether enjoyed as a quick snack or a post-dinner dessert, these cups fit perfectly into any meal plan. Plus, feel free to experiment with nut butters or toppings to make them uniquely yours!
Crowd-Pleasing Goodness: Serve them at your next gathering, and watch them disappear—friends and family will be asking for the recipe! For an extra tasty combination, try pairing these with some Garlic Butter Steak for the ultimate food experience.
Peanut Butter Oat Cups Ingredients
For the Base
- Peanut Butter – Adds creaminess and richness; you can substitute with any nut or seed butter for a nut-free option.
- Old Fashioned Rolled Oats – Provides structure and chewiness; use certified gluten-free oats to maintain a gluten-free recipe.
- Maple Syrup – Adds sweetness; alternatives include honey, agave syrup, or date syrup for a unique touch.
For Extra Nutrition
- Protein Powder – Increases the protein content; optional but great for mixing into the peanut butter layer for a nutrient boost.
For the Topping
- Chocolate Chips – Used for a decadent chocolate coating; melt dark chocolate with a touch of oil for a silky finish, or choose milk/white chocolate if preferred.
- Flaky Sea Salt – Optional but enhances flavor when sprinkled on top; it elevates the taste of your Peanut Butter Oat Cups.
Step‑by‑Step Instructions for Peanut Butter Oat Cups
Step 1: Mix Peanut Butter and Maple Syrup
In a medium bowl, blend together 1 cup of creamy peanut butter with 1/4 cup of maple syrup until they form a smooth, thick mixture. Use a spatula or whisk to ensure there are no lumps, creating a luscious base for your Peanut Butter Oat Cups. This should take about 2-3 minutes of mixing.
Step 2: Combine with Oats
Next, add 2 cups of old-fashioned rolled oats to your peanut butter mix. Stir everything together vigorously until the oats are evenly coated with the peanut butter mixture. This step should create a sticky, cohesive mixture that holds well when pressed into molds, taking about 1-2 minutes.
Step 3: Prepare Molds
Scoop out the oat mixture with a tablespoon and fill silicone molds, pressing down firmly with the back of your spoon to pack them in tightly. Aim for about 2 tablespoons of the mixture per cup. Ensure the tops are level, as this allows for uniform freezing, and continue until the mixture is used up, about 5 minutes.
Step 4: Add Peanut Butter Layer
For an extra creamy layer, take some additional peanut butter and dollop a teaspoon on top of each pressed oat cup. Alternatively, mix in protein powder with your peanut butter for a nutritious twist. Once done, place the molds in the freezer for 20 minutes to firm up the layers.
Step 5: Melt Chocolate
While the oat cups are freezing, melt 1 cup of chocolate chips in a microwave-safe bowl. Heat in 30-second increments, stirring well after each burst until smooth and fully melted, which should take about 1-2 minutes total. This silky chocolate will create a luscious topping for your cups.
Step 6: Coat with Chocolate
After the 20 minutes, remove the molds from the freezer. Pour the melted chocolate over the top of each oat cup, ensuring they are generously coated. Use a spatula to spread the chocolate evenly if desired. Place them back in the freezer for an additional 20 minutes until the chocolate layer is firm.
Step 7: Serve
Once set, carefully remove the Peanut Butter Oat Cups from their molds by gently pushing them from the bottom. If desired, sprinkle a pinch of flaky sea salt on top to enhance the flavors. Now, they’re ready to enjoy as a delightful treat or quick snack, offering a perfect balance of sweetness, creaminess, and crunch!
Peanut Butter Oat Cups Variations & Substitutions
Feel free to get creative with these delicious Peanut Butter Oat Cups, adding your unique spin and personal flair!
- Nut-Free: Substitute peanut butter with sun butter or tahini for a nut-free version. This still brings that creamy goodness while making it safe for nut allergies.
- Oat Alternatives: Try using quinoa flakes or rice cereal for a different crunch and unique texture. Each brings a fun element that enhances the overall treat!
- Sweetener Swap: Honey, agave syrup, or maple syrup can be interchanged based on your preference or dietary needs. Feel free to experiment and discover your perfect sweetness level.
- Protein Boost: Incorporate your favorite protein powder into the peanut butter mix for an added nutritional punch. This not only fuels your day but makes these cups even more filling!
- Flavor Add-ins: Mix in a splash of vanilla extract or a teaspoon of cinnamon for extra flavor depth. A subtle hint of warmth makes every bite feel special and comforting.
- Chocolaty Variations: Switch up the chocolate topping! Use white chocolate, milk chocolate, or even yogurt-covered chips for a different take on these delectable delights.
- Crunchy Toppings: Consider adding a sprinkle of chopped nuts, seeds, or even shredded coconut on top before the chocolate sets. This adds texture and flavor while giving your cups a fun, gourmet look!
- Savory Twist: For an adventurous option, a hint of sea salt in the peanut butter mixture enhances flavor dramatically. You might just find this brings a surprising twist to your sweet treat!
The beauty of these Peanut Butter Oat Cups lies in their versatility. If you’re looking for more tasty combinations, you might want to pair them with some decadent Biscoff Cookie Butter for a luxurious experience or serve them alongside Pumpkin Cornbread Butter for a comforting complement. Enjoy experimenting!
Storage Tips for Peanut Butter Oat Cups
Room Temperature: Keep your Peanut Butter Oat Cups out for up to 2 hours; however, they are best stored in the fridge or freezer for optimal freshness.
Fridge: Store in an airtight container in the refrigerator for up to 1 week. This will keep them soft and chewy, perfect for snacking anytime!
Freezer: Freeze in a well-sealed container for up to 3 months for a firmer texture. Let them soften at room temperature for about 5-10 minutes before enjoying.
Reheating: If you prefer them slightly warm, pop them in the microwave for 10-15 seconds. This brings back that delicious, melty peanut butter flavor!
Make Ahead Options
These Peanut Butter Oat Cups are perfect for meal prep enthusiasts seeking to save time during busy weekdays! You can prepare the oat mixture up to 24 hours in advance by mixing the peanut butter, maple syrup, and oats, then refrigerating it in an airtight container. Just before you’re ready to serve, pack the mixture into molds, add the extra peanut butter layer, and freeze for 20 minutes to set. For a quick treat, you can also melt the chocolate and coat the oat cups in advance and store them in the freezer for up to 3 days. This way, you’ll have a delicious, healthy snack ready and waiting whenever cravings strike, just as delightful as fresh!
Expert Tips for Peanut Butter Oat Cups
-
Perfect Mixing: Ensure the peanut butter and maple syrup are well combined before adding oats to avoid lumps. A smooth base results in tastier Peanut Butter Oat Cups.
-
Mold Matters: Use silicone molds for easy removal. They help maintain the shape and integrity of the oat cups after freezing, ensuring less mess.
-
Watch the Texture: For a firmer treat, use less runny peanut butter. If it’s too runny, extend the freezing time until they’re solid.
-
Chill Before Coating: Don’t skip the freezing step after adding the peanut butter layer. It helps the chocolate adhere better when poured on top, ensuring a fluffier texture.
-
Experiment Freely: Feel free to swap out nut butters or add-ins like dried fruits or seeds! These variations can elevate your Peanut Butter Oat Cups and keep them exciting.
What to Serve with Peanut Butter Oat Cups
Each bite of these delightful cups begs for some culinary companions.
-
Fresh Fruit Salad: Tantalizingly sweet and juicy, a medley of seasonal fruits balances the richness of the oat cups for a refreshing complement.
-
Greek Yogurt Parfait: Creamy and tangy, layered with honey and berries, this dish adds a light texture that perfectly contrasts the chewy oat cups.
-
Dark Chocolate Dipped Strawberries: The chocolatey goodness ties into the cups while the vibrant strawberries provide a burst of freshness that elevates your dessert experience.
-
Nutty Granola: Crunchy granola sprinkled on top adds a delightful texture while enhancing the nutty flavors found in the Peanut Butter Oat Cups.
-
Chia Seed Pudding: Silky and nutritious, this versatile pudding can be flavored with vanilla or cocoa, creating a delightful harmony of flavors and textures.
-
Coffee or Espresso: A rich coffee enhances the sweetness of the oat cups, making it the perfect pairing for an afternoon treat or dessert.
-
Hibiscus Iced Tea: Refreshingly floral and slightly tart, this vibrant drink contrasts nicely with the rich, nutty flavors of your oat cups, refreshing your palate.
-
Almond Milk Shake: Creamy and smooth with a hint of sweetness, this shake serves as a delightful, health-conscious companion to your Peanut Butter Oat Cups.
Peanut Butter Oat Cups Recipe FAQs
What kind of oats should I use for Peanut Butter Oat Cups?
For the best texture, I recommend using old-fashioned rolled oats. They provide that chewy bite we’re after! If you need to make the recipe gluten-free, ensure you use certified gluten-free oats. Quick oats can be used in a pinch but might alter the final texture, making it a bit softer.
How should I store Peanut Butter Oat Cups?
Store your Peanut Butter Oat Cups in an airtight container in the refrigerator for up to 1 week. This keeps them soft and chewy. If you’d prefer a firmer texture, you can freeze them in a well-sealed container for up to 3 months. Just let them sit at room temperature for 5-10 minutes before enjoying!
Can I freeze Peanut Butter Oat Cups?
Absolutely! To freeze, place your Peanut Butter Oat Cups in a well-sealed container, making sure they aren’t stacked too closely to avoid sticking together. They can last for up to 3 months. When you’re ready to enjoy a cup, let it soften at room temperature for about 5-10 minutes.
What if my mixture seems too runny?
If your mixture is too runny, it might be due to the peanut butter you’re using. In this case, consider adding a bit more rolled oats to help thicken the mixture. Alternatively, freeze the cups for a longer time, about 30 minutes, and check to see if they firm up well enough for serving.
Can I make Peanut Butter Oat Cups nut-free?
Certainly! You can substitute peanut butter with any seed butter, such as sunflower seed butter, to make them nut-free. Just ensure that any ingredients, like protein powder, are also nut-free and suitable for your dietary needs. This way, everyone can enjoy these delicious treats!
Peanut Butter Oat Cups: Healthy No-Bake Delights You'll Love
Ingredients
Equipment
Method
- In a medium bowl, blend together 1 cup of creamy peanut butter with 1/4 cup of maple syrup until smooth.
- Add 2 cups of old-fashioned rolled oats to the peanut butter mix and stir until evenly coated.
- Scoop the oat mixture into silicone molds, pressing down firmly to pack them tightly.
- Dollop a teaspoon of additional peanut butter on top of each pressed oat cup.
- Melt 1 cup of chocolate chips in a microwave-safe bowl and stir until smooth.
- Pour the melted chocolate over the top of each oat cup and spread evenly.
- Once set, carefully remove the cups from their molds and sprinkle with flaky sea salt if desired.
Leave a Reply