
I still can’t forget the first time I tried mochi, its delightful chewiness unlocking a whole new world of textures. Now, I’m here to share my twist on this beloved treat: Chewy Oreo Mochi with a Crunchy Coating. This easy-to-make dessert effortlessly combines the traditional glutinous rice flour with the rich, familiar flavor of Oreo cookies, creating a fun indulgence that’s sure to impress. Perfect for those busy weeknights or spontaneous gatherings, this no-bake recipe promises quick prep and a crowd-pleasing treat. Whether you’re looking to satisfy a sweet tooth or surprise guests with something unique, these little bites of joy are a must-try! Curious how to make them at home? Let’s get started!
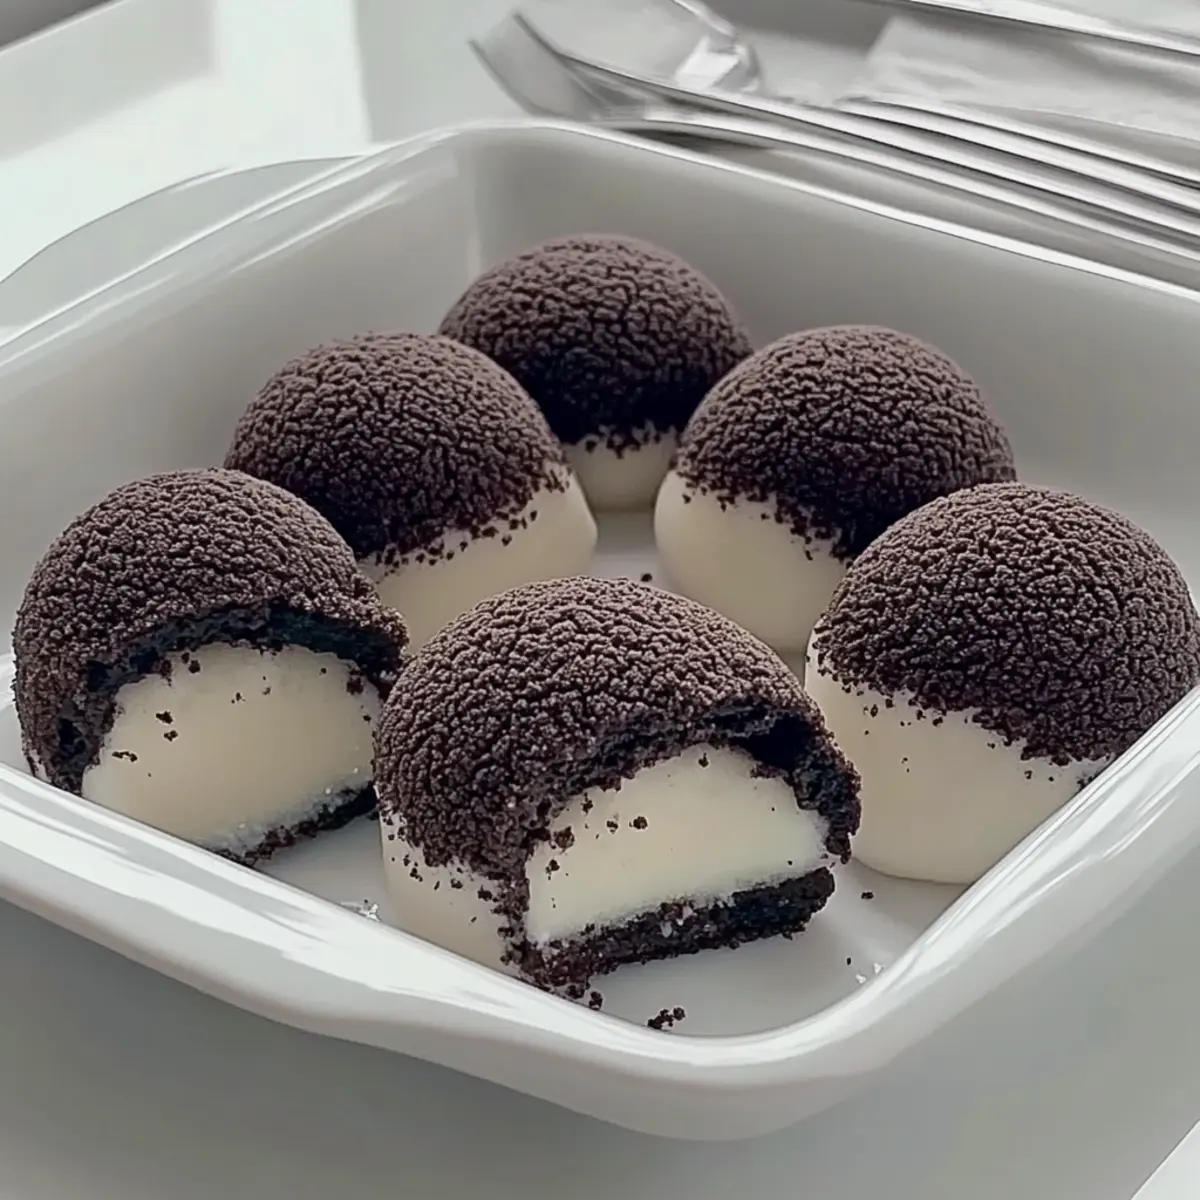
Why Is Oreo Mochi a Must-Try?
Delightful Texture: The unique combination of chewy mochi and crunchy Oreo coating creates a mouth-watering experience that’s hard to resist.
Quick and Easy: This no-bake dessert comes together in just a few simple steps, making it perfect for busy weeknights or last-minute guests.
Family-Friendly Fun: Involve the kids in shaping and coating the mochi—it’s a great way to make memories while indulging in a sweet treat!
Versatile Flavor Options: Feel free to experiment with different cookies, like chocolate chip or graham crackers, for a new twist on this classic dessert. If you’re feeling adventurous, check out our tips on creative flavor variations!
Perfect for Sharing: These bite-sized delights are great for parties, potlucks, or cozy nights in, guaranteeing smiles all around.
Oreo Mochi Ingredients
• Ready to whip up some delightful Oreo Mochi? Here’s what you’ll need!
For the Mochi Base
- Glutinous Rice Flour – This is essential for that signature chewy texture. If needed, you can substitute it with sweet rice flour.
- Cornstarch – Helps achieve the right moisture balance. You can replace it with additional glutinous rice flour if you prefer.
- Cocoa Powder – Adds that delicious chocolate flavor. Opt for Dutch-processed for a subtler taste.
- White Sugar – Sweetens the mochi; coconut sugar works well for a hint of caramel flavor.
- Corn Oil – Contributes moisture. Vegetable oil or melted butter can serve as good substitutes.
- Milk – Enhances richness; almond milk is a fantastic dairy-free option!
For the Coating
- Oreo Cookies – The star of the show, giving robust flavor and crunch. Feel free to use other chocolate sandwich cookies for variation!
Get ready to enjoy these chewy delights!
Step‑by‑Step Instructions for Oreo Mochi
Step 1: Mix Ingredients
In a large mixing bowl, combine 1 cup of glutinous rice flour, ¼ cup of cornstarch, ¼ cup of cocoa powder, and ¾ cup of white sugar. Next, whisk in ⅓ cup of corn oil and 1 cup of milk until the mixture is smooth and free of lumps. The batter should have a velvety consistency. Set this aside as you prepare to elevate your Oreo Mochi experience!
Step 2: Sift Batter
To ensure the best texture for your Oreo Mochi, pour the combined mixture through a fine sieve into a medium-sized pot. This step helps to create a luscious, lump-free batter that will yield perfectly chewy mochi. You should see a glossy, silky batter collecting in the pot below.
Step 3: Cook the Batter
Place the pot over low heat, stirring continuously with a spatula or wooden spoon. Cook the mixture for about 10 to 15 minutes until it becomes thickened and glossy, resembling a pudding-like consistency. It’s important to keep stirring to prevent the batter from sticking to the bottom of the pot.
Step 4: Cool and Pull Dough
Once the batter has thickened, remove it from the heat and transfer the mixture to a cornstarch-lined surface. Allow it to cool for about 5 minutes, just until it is manageable to touch but still warm. Begin stretching and kneading the dough gently to achieve that quintessential chewy texture, ensuring it becomes elastic and smooth.
Step 5: Form Mochi Balls
After kneading, divide the dough into equal portions using a knife or dough cutter. Roll each piece into uniform balls, about the size of a golf ball, to ensure even sizing. This step makes your Oreo Mochi not just delicious, but also visually appealing and easy to handle!
Step 6: Coat with Oreo Crumbs
Crush the Oreo cookies into fine crumbs using a food processor or by placing them in a zip-top bag and cracking them with a rolling pin. Once crushed, take each mochi ball and roll it in the Oreo crumbs until it’s fully coated. The contrast of the chewy mochi with the crunchy coating will make your Oreo Mochi irresistible and visually striking!
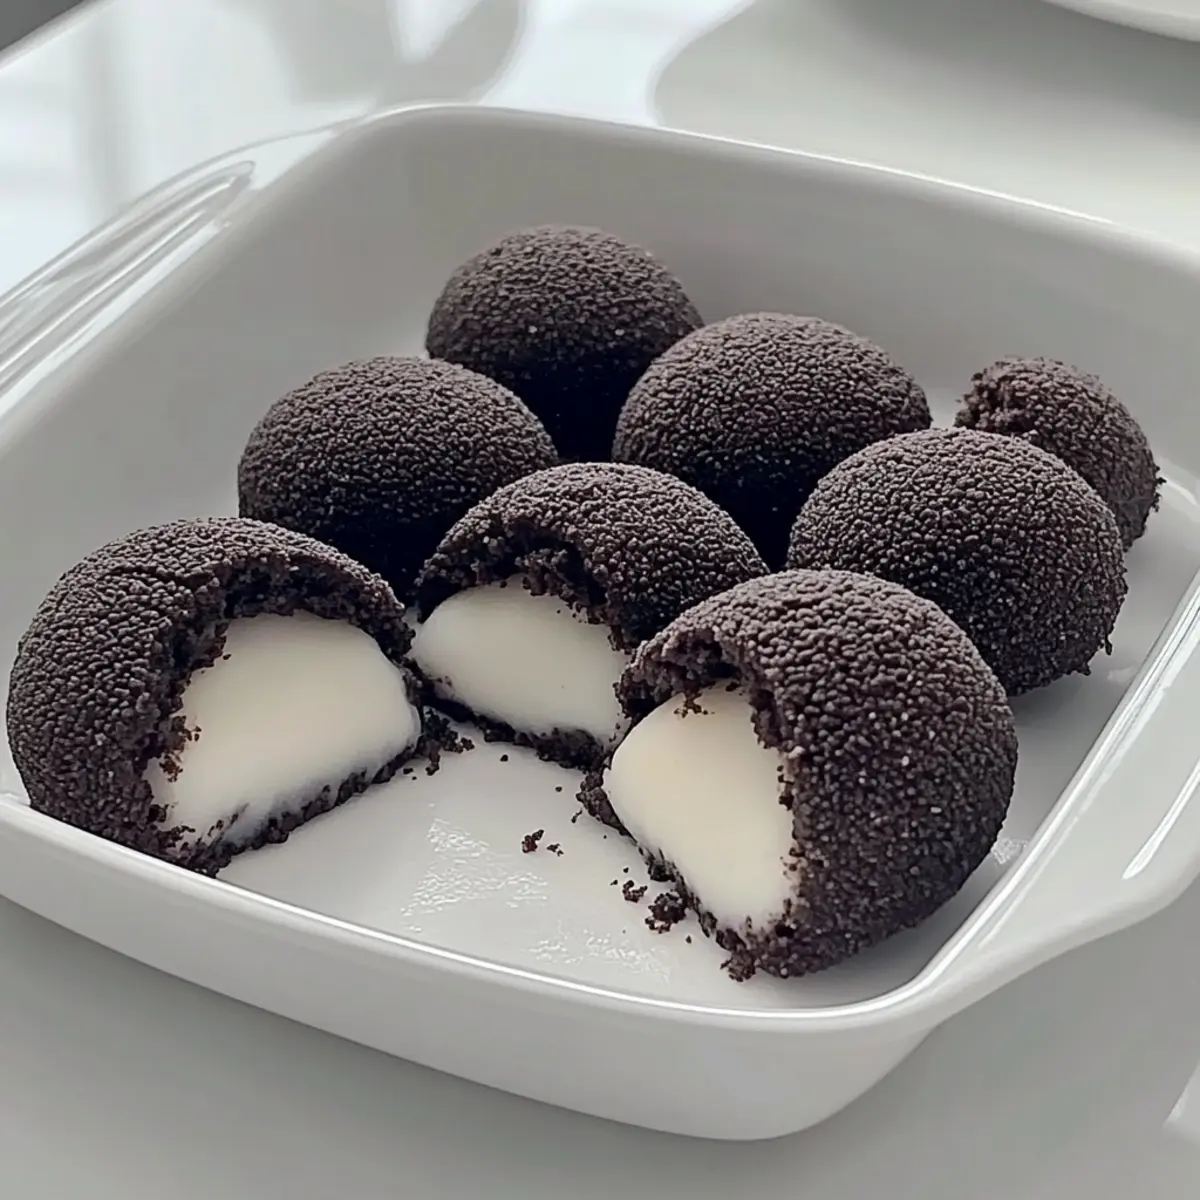
What to Serve with Chewy Oreo Mochi?
Treat your guests to an unforgettable dining experience by pairing your delicious mochi with complementary tastes and textures.
-
Vanilla Ice Cream: The creamy coldness enhances the chewy texture of the mochi, creating a delightful contrast in each bite.
-
Fresh Berries: Juicy strawberries or raspberries add a burst of tartness that beautifully balances the sweet richness of the Oreo Mochi.
-
Chocolate Sauce: Drizzling a rich chocolate sauce enhances the dessert experience, making it feel even more indulgent and decadent.
-
Matcha Tea: This earthy beverage provides a calming contrast with its slightly bitter flavor, perfect for cutting through the sweetness of the mochi.
-
Whipped Cream: Light and airy, it elevates the mochi with a touch of creaminess that complements the chewy texture beautifully.
-
Coconut Milk: Serve warm coconut milk on the side for a tropical twist that enhances the overall flavor profile of your dessert.
-
Coffee or Espresso: The deep, roasted flavors of coffee pair wonderfully with the chocolate notes in the mochi, making it a cozy treat for adults.
-
Caramel Sauce: A drizzle of buttery caramel adds a luscious sweetness that pairs perfectly with the crunch of the Oreo coating, creating a harmonious blend of flavors.
How to Store and Freeze Oreo Mochi
Room Temperature: Store finished Oreo Mochi in an airtight container at room temperature for up to 2-3 days to maintain their delightful chewiness.
Fridge: If you’d like to keep them longer, refrigerate the mochi for up to a week in a sealed container. Just let them come to room temperature before enjoying.
Freezer: Freeze individual mochi pieces in a single layer on a baking sheet for about 30 minutes, then transfer to a freezer bag or airtight container. They can be frozen for up to a month. Thaw in the fridge before serving for the best texture.
Make-Ahead Tips: You can prepare the mochi dough ahead of time. Wrap it tightly in plastic wrap and refrigerate for up to 24 hours before shaping and coating.
Oreo Mochi Variations & Substitutions
Get ready to get creative in the kitchen—these delightful twists on Oreo Mochi will awaken your inner chef!
-
Gluten-Free: Use gluten-free all-purpose flour instead of glutinous rice flour for a gluten-free version. Just keep in mind the texture may differ slightly!
-
Nutty Delight: Swap in coconut milk instead of regular milk for a tropical flair. It adds a lovely coconut flavor that pairs wonderfully with chocolate!
-
Healthier Sweetness: Consider using honey or maple syrup in place of white sugar for a natural sweetness that brings a unique taste.
-
Minty Freshness: Add peppermint extract to the mochi batter for a refreshing mint-infused Oreo Mochi that’s perfect for the holidays.
-
Prepped for Parties: Roll the mochi balls in toasted coconut flakes or crushed nuts after coating them in Oreo crumbs for a delightful crunch and added flavor surprise!
-
Berry Boost: Top your mochi with crushed fresh berries or a drizzle of berry sauce for a fruity twist that enhances the overall flavor profile.
-
Fiery Chocolate: For those who like a kick, add a touch of cayenne pepper or chili powder to the cocoa powder. Balance spicy with sweet for an exciting contrast that intrigues the palate.
-
Explore Cookie Varieties: Instead of Oreos, use red velvet cookies or peanut butter cookies to change the flavor entirely. Whichever you choose, the mochi remains perfectly chewy and mouthwatering!
Every bite can be a new experience, so feel free to experiment with these variations and find your favorite flavor combination! Looking for more inspiration? Check out our ideas on unique flavor fusions or creative dessert presentations for fun serving suggestions.
Expert Tips for Oreo Mochi
- Use Non-Stick Cookware: This prevents the mochi batter from sticking during cooking, ensuring easy cleanup and a smooth consistency.
- Cool the Dough: Allow the dough to cool adequately before handling; this avoids burns and makes it easier to knead.
- Check Consistency: Aim for a thick and creamy batter for the best texture in your Oreo Mochi; adjust milk as needed to achieve this.
- Coat Generously: Don’t skimp on the Oreo crumbs while coating the mochi balls; a generous coating enhances flavor and provides a delightful crunch.
- Try Different Cookies: Feel free to swap out Oreos for other chocolate cookies to explore exciting flavor variations while maintaining the signature mochi texture.
Make Ahead Options
These Oreo Mochi are perfect for busy home cooks looking to save time while still enjoying delicious desserts! You can prepare the mochi dough up to 24 hours in advance by wrapping it tightly in plastic wrap and refrigerating it. The dough will maintain its chewy texture when stored properly; just ensure it cools completely before wrapping to prevent moisture build-up. When you’re ready to serve, simply form the balls and coat them in crushed Oreo cookies. If you want to enjoy them later, finished Oreo Mochi can be stored in an airtight container at room temperature for 2-3 days or refrigerated for up to a week, making these treats easy to grab and enjoy anytime!
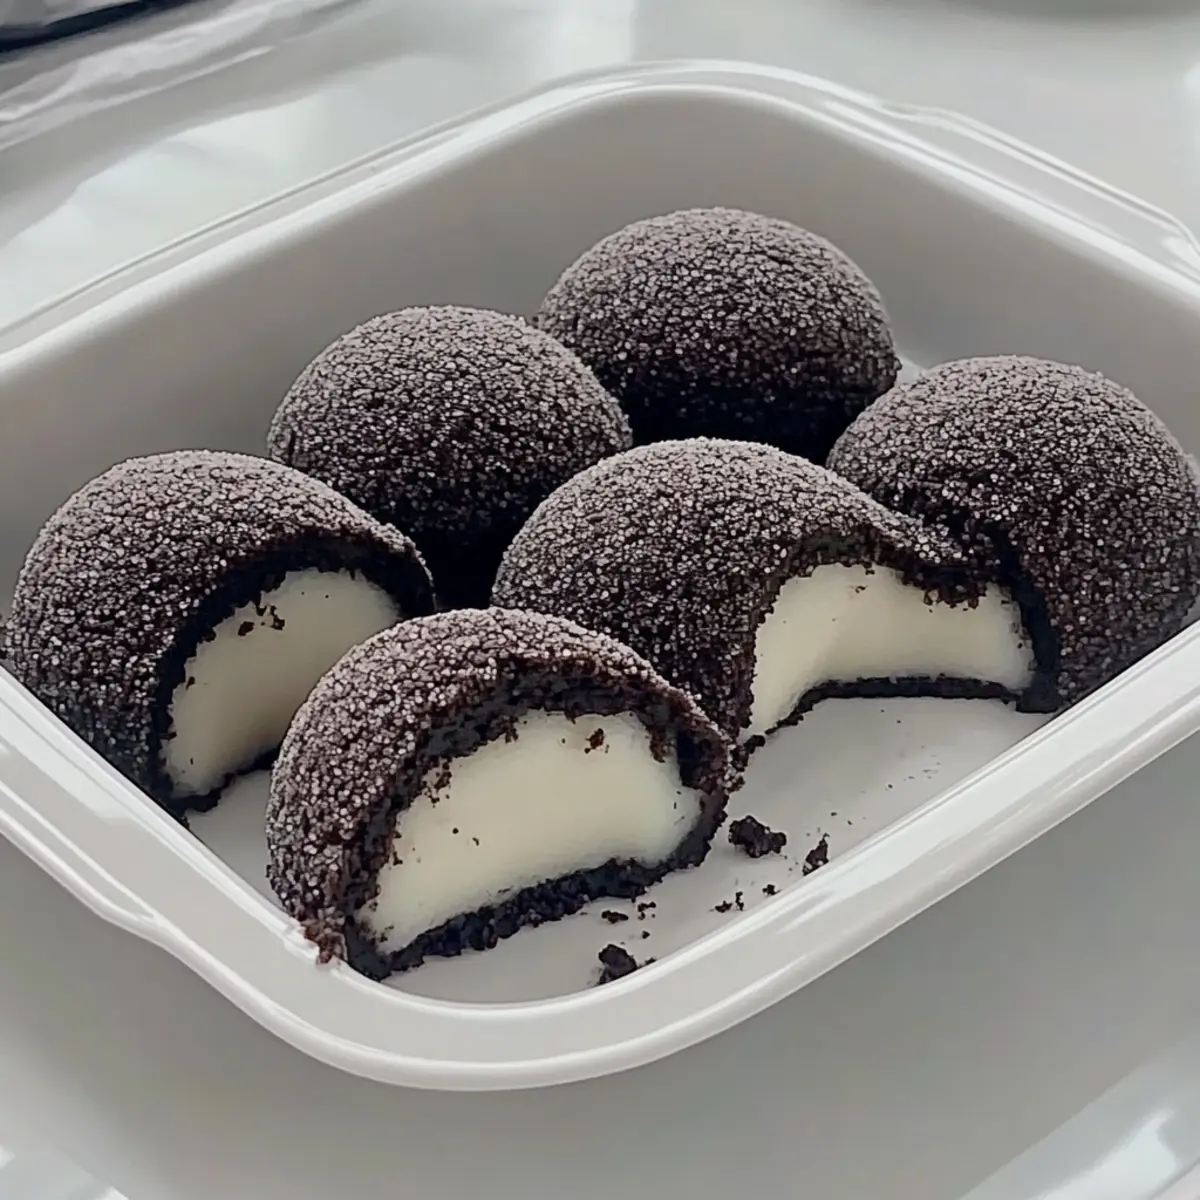
Oreo Mochi Recipe FAQs
How do I select the best ingredients for Oreo Mochi?
Absolutely! When choosing your ingredients, opt for glutinous rice flour that is fresh and finely ground to ensure a chewy texture. Look for Oreo cookies that are not broken and have not passed their expiration date. The color of the cocoa powder should be rich and dark, indicating freshness, while the cornstarch should be free of lumps.
How should I store leftover Oreo Mochi?
Very! To keep your delicious Oreo Mochi fresh, store them in an airtight container at room temperature for 2-3 days. If you want them to last longer, refrigerate them for up to a week. Just remember to let them come back to room temperature before indulging for that perfect chewy bite!
Can I freeze Oreo Mochi, and if so, how?
Absolutely! To freeze your Oreo Mochi, begin by placing the individual pieces on a baking sheet in a single layer for about 30 minutes until they’re firm. Then, transfer them into a freezer-safe bag or an airtight container, marking the date. They can be frozen for up to a month. To enjoy, simply thaw the mochi in the fridge overnight, and they’ll be just as delightful as when they were fresh!
What should I do if my mochi is too sticky?
No worries! If your mochi dough turns out too sticky, it may need a bit more cornstarch to help with the texture. Simply sprinkle a little cornstarch on your work surface and on your hands while kneading the dough. This will help prevent sticking. Alternatively, if the batter wasn’t cooked long enough, try cooking it a bit longer to achieve that desired thick, glossy consistency.
Are Oreo Mochi safe for those with gluten allergies?
Definitely not! Oreo Mochi is made with glutinous rice flour, which contains gluten. If someone has a gluten sensitivity or allergy, it’s best to substitute the glutinous rice flour with a gluten-free flour alternative and ensure your chosen cookies are gluten-free as well. Always check labels for gluten content to make it safe for everyone!
Can I make Oreo Mochi dairy-free?
Absolutely! To make your Oreo Mochi dairy-free, simply substitute cow’s milk with almond milk or another non-dairy milk of your choice. This will work perfectly in the recipe while keeping the delightful chewiness intact. Plus, it opens up the treat to a broader audience who may be avoiding dairy!
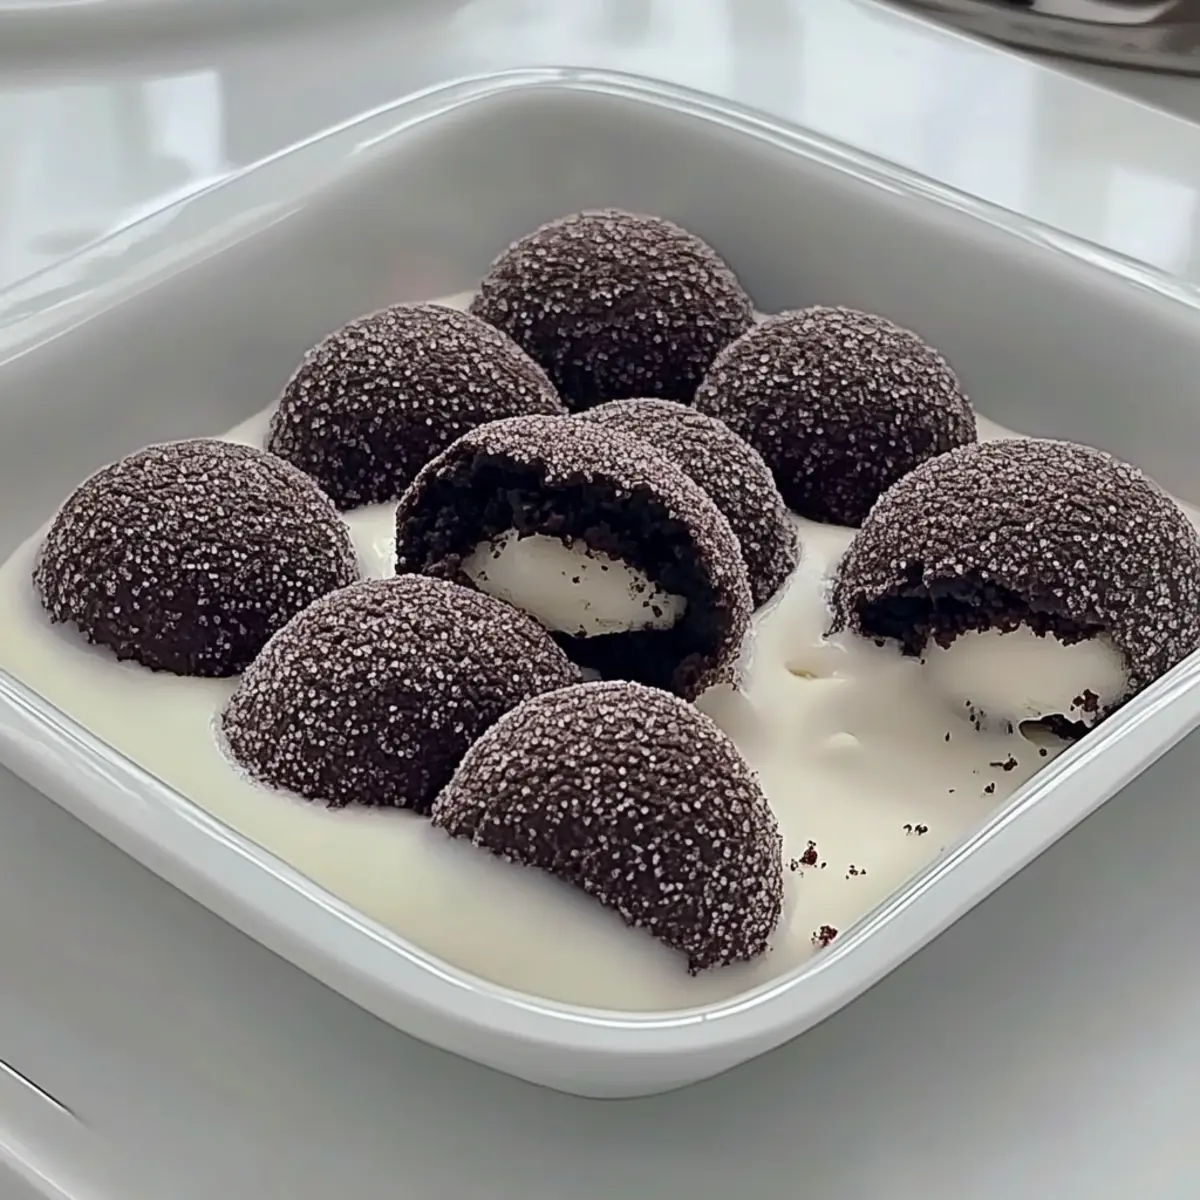
Heavenly Oreo Mochi: Chewy Treats You'll Love to Share
Ingredients
Equipment
Method
- In a large mixing bowl, combine 1 cup of glutinous rice flour, ¼ cup of cornstarch, ¼ cup of cocoa powder, and ¾ cup of white sugar. Next, whisk in ⅓ cup of corn oil and 1 cup of milk until the mixture is smooth and free of lumps. The batter should have a velvety consistency. Set this aside as you prepare to elevate your Oreo Mochi experience!
- To ensure the best texture for your Oreo Mochi, pour the combined mixture through a fine sieve into a medium-sized pot. This step helps to create a luscious, lump-free batter that will yield perfectly chewy mochi.
- Place the pot over low heat, stirring continuously with a spatula or wooden spoon. Cook the mixture for about 10 to 15 minutes until it becomes thickened and glossy, resembling a pudding-like consistency.
- Once the batter has thickened, remove it from the heat and transfer the mixture to a cornstarch-lined surface. Allow it to cool for about 5 minutes, just until it is manageable to touch but still warm.
- After kneading, divide the dough into equal portions using a knife or dough cutter. Roll each piece into uniform balls, about the size of a golf ball, to ensure even sizing.
- Crush the Oreo cookies into fine crumbs using a food processor or by placing them in a zip-top bag and cracking them with a rolling pin. Once crushed, take each mochi ball and roll it in the Oreo crumbs until it’s fully coated.
Leave a Reply