
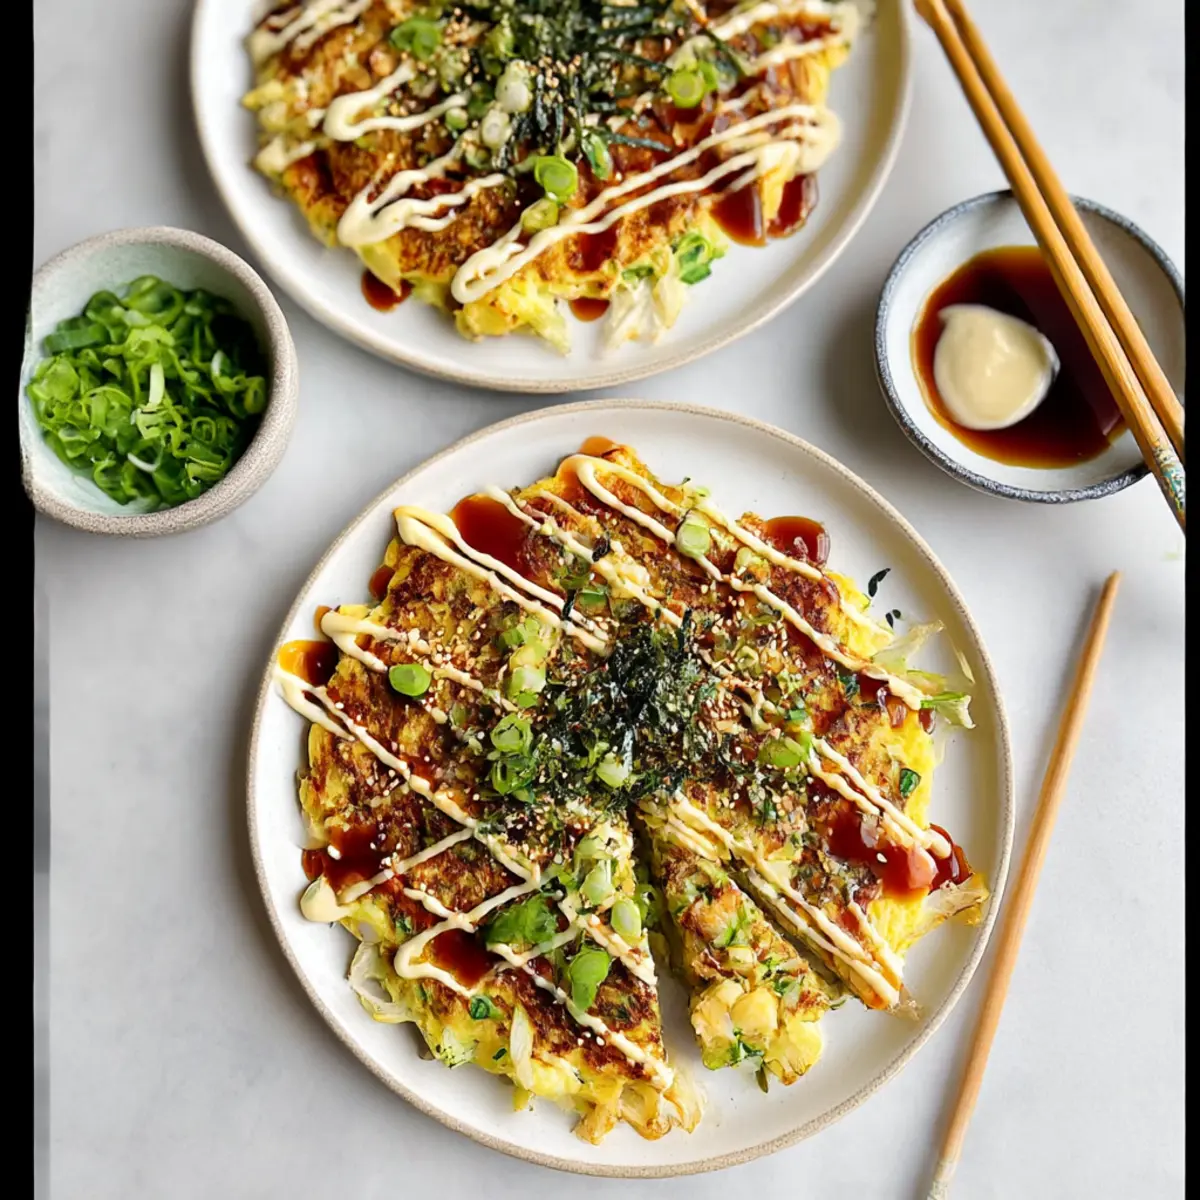
The aroma of sizzling pancakes wafts through my kitchen as I whip up something truly special: Vegetarian Okonomiyaki. This easy Japanese savory pancake is my go-to weeknight meal, transforming everyday ingredients like cabbage and scallions into a quick dish bursting with flavor. In just 25 minutes, you can enjoy a hearty, healthy meal that not only ticks off the comfort food box but also makes cooking a delightful experience for everyone involved. Whether you’re looking to impress guests or simply satisfy your cravings, this Osaka-style okonomiyaki has you covered. Curious about how to make this vibrant dish a staple in your home? Let’s dive in!
Why is Okonomiyaki a Must-Try?
Flavor Explosion: This okonomiyaki recipe offers a delightful mix of fresh ingredients that create a savory bite unlike any other. Quick to Prepare: With just 25 minutes from start to finish, you’ll have a delicious meal ready in no time. Versatile Base: Feel free to customize with your favorite veggies or proteins, making it adaptable for any diet. Crowd-Pleaser: Guests and family members alike will fall in love with this vibrant pancake—it’s a guaranteed hit! Finally, it’s a healthy, low-calorie option that satisfies those comfort food cravings without guilt. Looking for more inspirations? Check out these quick and easy recipes for more delicious ideas to transform your meals!
Okonomiyaki Ingredients
• Discover what makes okonomiyaki a must-try dish!
For the Base
- Cabbage – Finely shredded for the best texture; a mandoline can speed up the process.
- Scallions – Adds a fresh crunch; use one bunch for flavor.
- Panko Breadcrumbs – Binds ingredients while adding a crispy texture; crushed cornflakes can be a great substitute.
- Sea Salt – Enhances the natural flavors of the vegetables, bringing out their best.
- Eggs – Essential for binding; beat until fully combined for an even pancake.
For Cooking
- Extra-virgin Olive Oil – Brush the skillet for a non-stick surface, ensuring perfect cooking.
For Toppings
- Vegan Worcestershire Sauce – Drizzle for that authentic okonomiyaki flavor.
- Mayo – Preferably Kewpie mayo for its rich taste; adds creaminess to each bite.
- Sesame Seeds – Sprinkle for added nuttiness and visual appeal.
- Pickled Ginger – Optional but brings a tantalizing tang to the dish.
- Nori – Sliced for garnishing, infusing a delightful umami flavor; scissors make it easier to prepare.
- Microgreens – A lovely optional garnish that adds a fresh crunch to finish your savory pancake.
Now that you have all the ingredients prepared, you’re just a few steps away from making your very own vegetarian okonomiyaki—it’s comfort food at its finest!
Step‑by‑Step Instructions for Simple Vegetarian Okonomiyaki
Step 1: Prepare the Mixture
In a large bowl, combine finely shredded cabbage, chopped scallions, panko breadcrumbs, and a sprinkle of sea salt. Gently incorporate the beaten eggs until the mixture is uniformly combined. You’ll want it to feel loose but cohesive, resembling a thick batter; this will create the perfect foundation for your flavorful okonomiyaki.
Step 2: Heat the Skillet
Place a nonstick skillet over medium heat and add a brush of extra-virgin olive oil. Allow the oil to heat for about 1-2 minutes until it shimmers, ensuring the cooking surface is well-coated. This step is crucial for creating that golden, crispy exterior on your okonomiyaki, making it a delightfully crunchy meal.
Step 3: Cook the Pancake
Using a ¼ measuring cup, scoop the mixture into the skillet, then gently flatten it to about ½ inch thickness. Cook for approximately 3 minutes, until the bottom turns golden brown and the edges firm up. This will ensure even cooking while retaining a fluffy interior—a hallmark of a great okonomiyaki.
Step 4: Flip and Finish Cooking
After 3 minutes, carefully flip the pancake using a spatula, adjusting the heat if necessary. Cook the other side for another 3 minutes until it’s also golden and set. Keep an eye on the temperature to avoid burning, and feel free to brush more oil in the skillet if needed to maintain that non-stick surface.
Step 5: Add Toppings and Serve
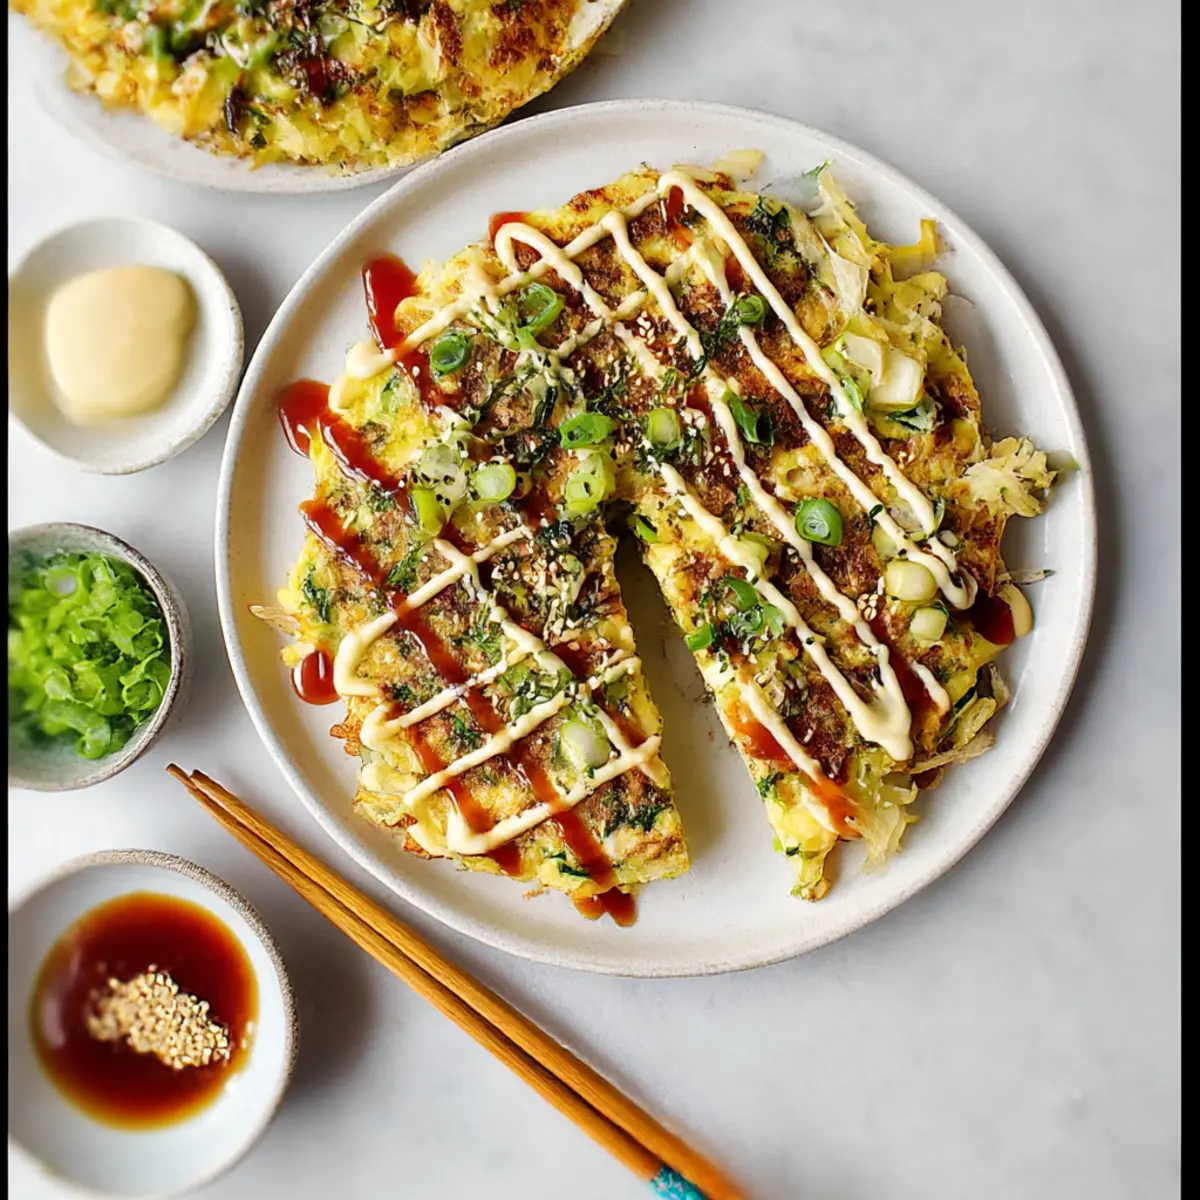
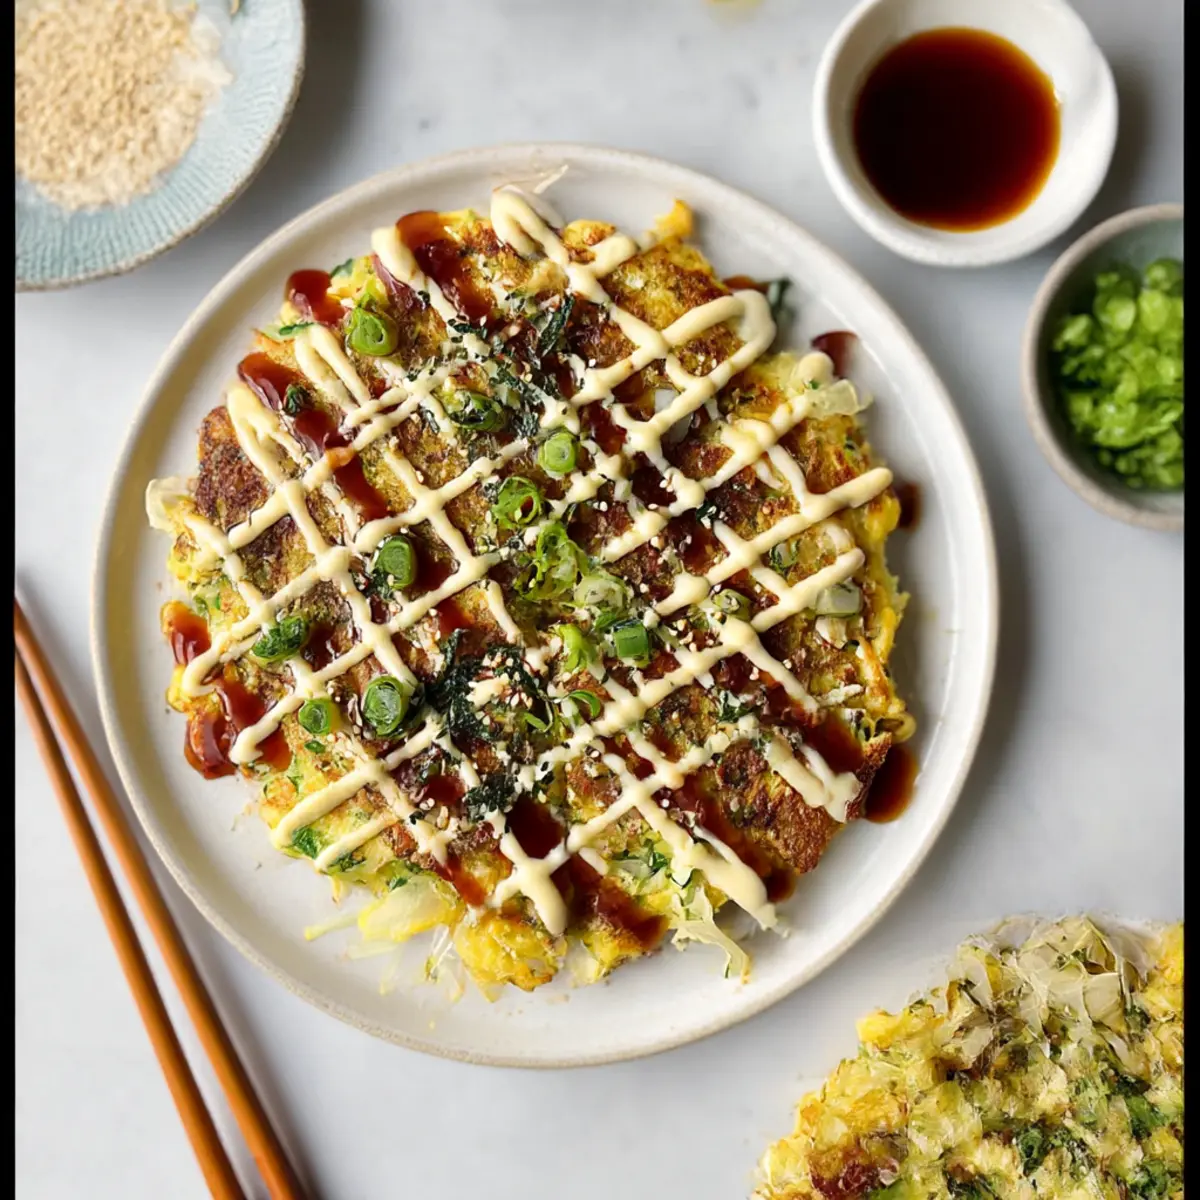
Once both sides are perfectly cooked, drizzle your beautifully golden okonomiyaki with vegan Worcestershire sauce and a dollop of mayo, preferably Kewpie for added richness. Top with sesame seeds, pickled ginger, and sliced nori for an extra burst of flavor and visual appeal. Optionally, sprinkle some microgreens for a fresh finish before serving hot.
How to Store and Freeze Okonomiyaki
Fridge: Store any leftover okonomiyaki in an airtight container for up to 2 days. This will help retain its texture and flavor for your next meal.
Freezer: For longer storage, you can freeze the cooked pancakes. Place them in a single layer on a baking sheet to freeze until solid, then transfer to a freezer bag for up to 1 month.
Reheating: When ready to enjoy, reheat in a skillet over medium heat for 3-4 minutes on each side until warmed through and crispy. Avoid microwaving to maintain the delightful texture of your okonomiyaki.
Make-Ahead: Prepare your mixture ahead of time and store it in the refrigerator for up to 24 hours. Just give it a quick stir before cooking, and you’re all set!
Expert Tips for Making Okonomiyaki
-
Ingredient Prep: Use finely shredded cabbage to ensure even cooking. For uniformity and speed, consider using a mandoline to shred your veggies.
-
Heat Control: Maintain a moderate heat while cooking the okonomiyaki. This prevents burning and ensures a fluffy interior and crispy edges.
-
Binding Tip: If your mixture seems dry, let it rest for 10 minutes before cooking. This helps the ingredients bind together better for a perfect pancake texture.
-
Cooking Method: Use a gentle touch when flattening the pancake in the skillet. A spatula works beautifully for shaping without breaking it apart.
-
Topping Variations: Experiment with different toppings! Try adding sliced mushrooms or bell peppers into the mixture for more flavor and nutrition while keeping the essence of vegetarian okonomiyaki.
Okonomiyaki Variations & Substitutions
Feel free to customize your okonomiyaki to suit your taste buds and dietary needs—it’s all about making it your own!
-
Greens Switch: Substitute the cabbage with kale or Swiss chard for a nutrient boost and unique flavor profile. Try this fresh twist for a delightful change!
-
Veggie Additions: Include shredded carrots or zucchini in the batter to sneak in more vegetables. Adding these can create a vibrant color and extra moisture for a delicious bite.
-
Tofu for Eggs: Replace eggs with silken tofu for a vegan-friendly pancake that holds together beautifully. Blend the tofu until smooth, and mix it in for a creamy texture.
-
Spicy Kick: Add a teaspoon of sriracha or chili flakes to the batter for a zesty punch. It infuses warmth and excitement into every mouthful, taking your dish to new heights.
-
Cheesy Goodness: Incorporate shredded cheese—like mozzarella or vegan cheese—into your mixture. This creates a gooey, comforting experience reminiscent of a beloved grilled cheese.
-
Whole Wheat Flour: Swap out regular flour for whole wheat flour for a healthier alternative with added fiber. It alters the texture slightly but adds a nutty depth that’s quite enjoyable.
-
Herb Infusion: Mix in freshly chopped herbs like cilantro or basil for a fragrant twist. This touch of freshness elevates the dish and adds a delightful aroma as it cooks.
-
Umami Boost: Drizzle with a bit of soy sauce along with the vegan Worcestershire sauce for added depth and flavor. It’s a subtle enhancement but makes a significant difference!
Discover more mouthwatering inspiration by exploring enhancing toppings or sides to elevate your okonomiyaki experience, like spicy sauce variations and delicious veggie pairings. Enjoy your culinary journey!
Make Ahead Options
These Vegetarian Okonomiyaki are perfect for meal prep enthusiasts! You can prepare the veggie mixture (cabbage, scallions, panko, and seasonings) up to 24 hours in advance, storing it in the refrigerator. Just keep the beaten eggs separate until you’re ready to cook; this ensures the mixture stays fresh and maintains its texture. When you’re ready to serve, simply whisk in the eggs and proceed with cooking as directed. To maintain quality, be sure to cover the mixture tightly with plastic wrap to prevent drying out. Enjoy the convenience of this delicious okonomiyaki dish with minimal effort on busy weeknights!
What to Serve with Simple Vegetarian Okonomiyaki
Elevate your okonomiyaki experience with enticing sides and complements that bring balance and flavor to your meal.
-
Miso Soup: A warm bowl of miso soup with tofu and seaweed perfectly complements the savory pancake, enhancing the umami experience.
-
Cucumber Salad: Refreshing and crisp, a simple cucumber salad tossed with rice vinegar adds a delightful tang that cuts through the richness of the pancake.
-
Pickled Vegetables: A serving of assorted pickled vegetables introduces a zesty crunch, balancing the okonomiyaki’s texture and flavors beautifully.
-
Soy Sauce Dipping Sauce: Enhance the flavor profile with a quick soy sauce dip, offering a salty contrast that makes each bite memorable.
-
Edamame: Steamed edamame provides a protein punch and a bit of fun, as you pop the beans from their pods while enjoying the pancakes.
-
Green Tea: A glass of chilled matcha or hot green tea complements the savory notes of okonomiyaki and refreshes the palate effortlessly.
-
Fruit Dessert: Conclude your meal with a light fruit salad, perhaps citrus or berries, for a sweet, refreshing finish that keeps things bright and light.
-
Tempura Vegetables: Serve crispy tempura alongside for a delightful textural contrast that pairs wonderfully with the soft, fluffy okonomiyaki.
Vegetarian Okonomiyaki Recipe FAQs
What type of cabbage is best for okonomiyaki?
Absolutely! For the best texture, use green cabbage finely shredded. Napa cabbage is a great alternative as it has a sweeter flavor and a softer texture, which can also work wonderfully in your okonomiyaki.
How should I store leftover okonomiyaki?
You can store any leftover okonomiyaki in an airtight container in the refrigerator for up to 2 days. This helps keep its delightful texture and flavors intact, so it’s just as tasty when you reheat it!
Can I freeze okonomiyaki?
Yes, you can freeze cooked okonomiyaki! Lay the pancakes in a single layer on a baking sheet, freeze until solid, then transfer them into a freezer bag. They can stay fresh for up to 1 month. To reheat, simply warm them in a skillet on medium heat for about 3-4 minutes on each side until crispy and warmed through.
What should I do if my okonomiyaki mixture is too dry?
If your mixture seems a bit dry, don’t worry! Let it rest for about 10 minutes before cooking. This allows the ingredients to absorb moisture and helps them bind together better, resulting in a perfect fluffy pancake.
Can I make okonomiyaki vegan?
Very! You can substitute eggs with silken tofu to create a delightful vegan okonomiyaki. To bind it well, blend the tofu until smooth and mix it in with the other ingredients. This will ensure your pancakes hold together beautifully while keeping the flavors intact.
Are there any allergens in okonomiyaki?
Be mindful of potential allergens! The traditional recipe includes eggs and may use panko breadcrumbs that could contain gluten. Always check the labels if you’re serving someone with allergies, and there are gluten-free panko options available that can be substituted without compromising the dish.
Savory Okonomiyaki: Quick Vegetarian Pancake Delight
Ingredients
Equipment
Method
- In a large bowl, combine finely shredded cabbage, chopped scallions, panko breadcrumbs, and a sprinkle of sea salt. Gently incorporate the beaten eggs until the mixture is uniformly combined.
- Place a nonstick skillet over medium heat and add a brush of extra-virgin olive oil. Allow the oil to heat for about 1-2 minutes until it shimmers.
- Using a ¼ measuring cup, scoop the mixture into the skillet, then gently flatten it to about ½ inch thickness. Cook for approximately 3 minutes until the bottom turns golden brown.
- After 3 minutes, carefully flip the pancake using a spatula and cook the other side for another 3 minutes until it’s golden and set.
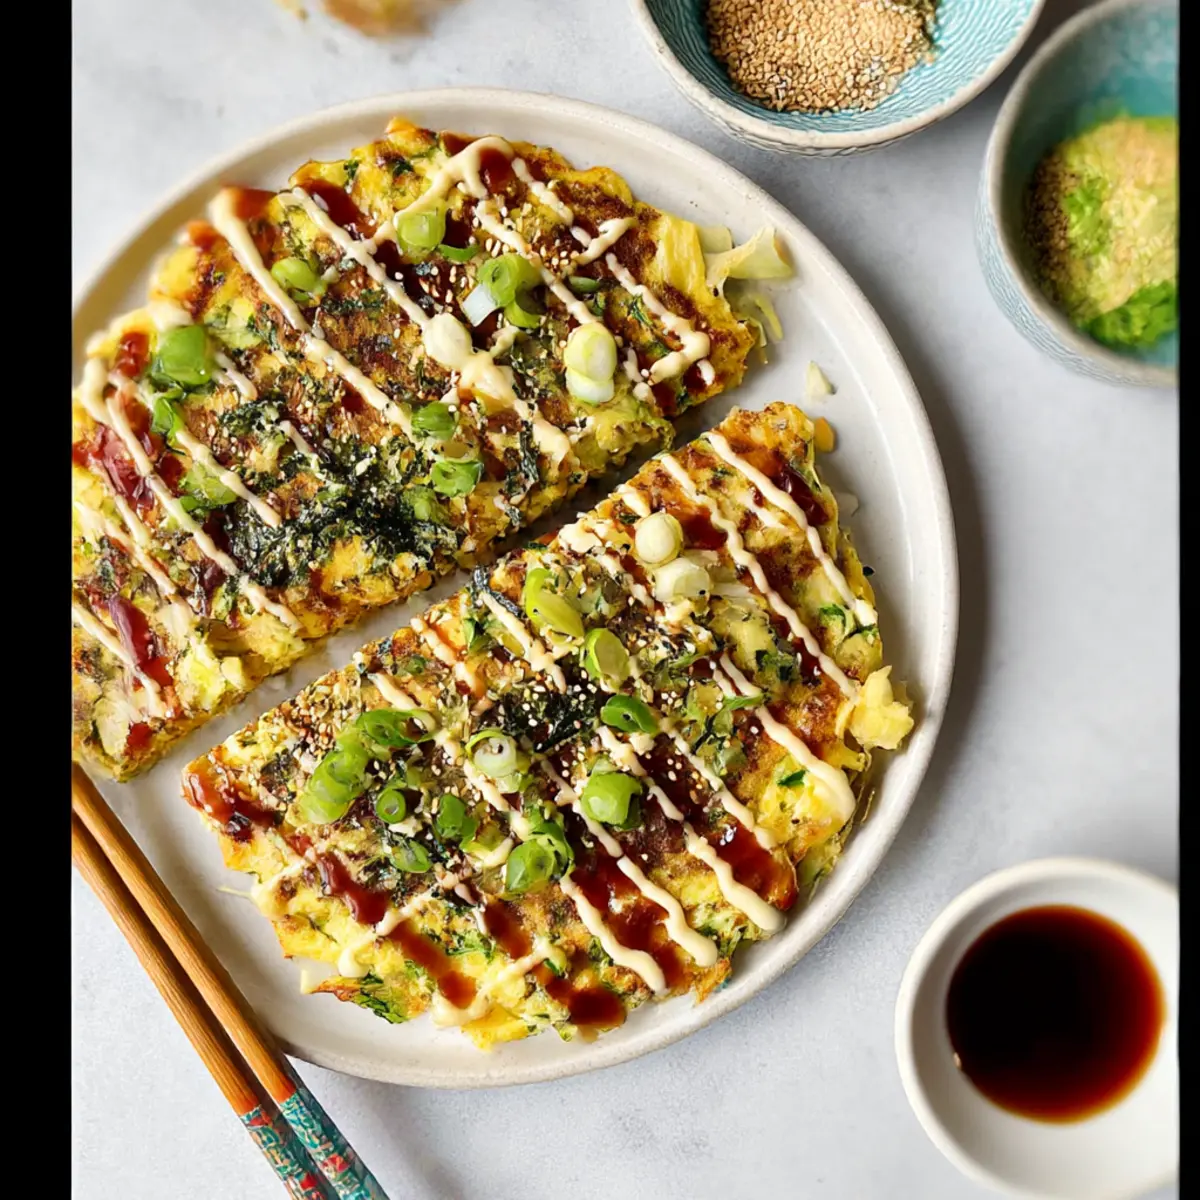
- Once both sides are perfectly cooked, drizzle with vegan Worcestershire sauce and mayo, and top with sesame seeds, pickled ginger, and sliced nori.
- Optionally, sprinkle some microgreens for a fresh finish before serving hot.
Leave a Reply