
“Hold on, what’s that tantalizing aroma wafting from the kitchen?” If you’re like me, the scent of sautéed garlic and lemon instantly transports you to a sun-soaked Italian terrace. Today, I’m excited to share my take on Lemon Chicken Pasta, a delightful dish that marries tender chicken with a vibrant lemony sauce that hugs farfalle pasta. The beauty of this recipe lies in its quick and easy preparation, making it a perfect solution for hectic weeknights. Plus, it’s incredibly versatile—whether you stick to the classic or mix in seasonal veggies, this comfort food is sure to impress. Curious about how to create this zesty meal with minimal effort? Let’s dive into the details!
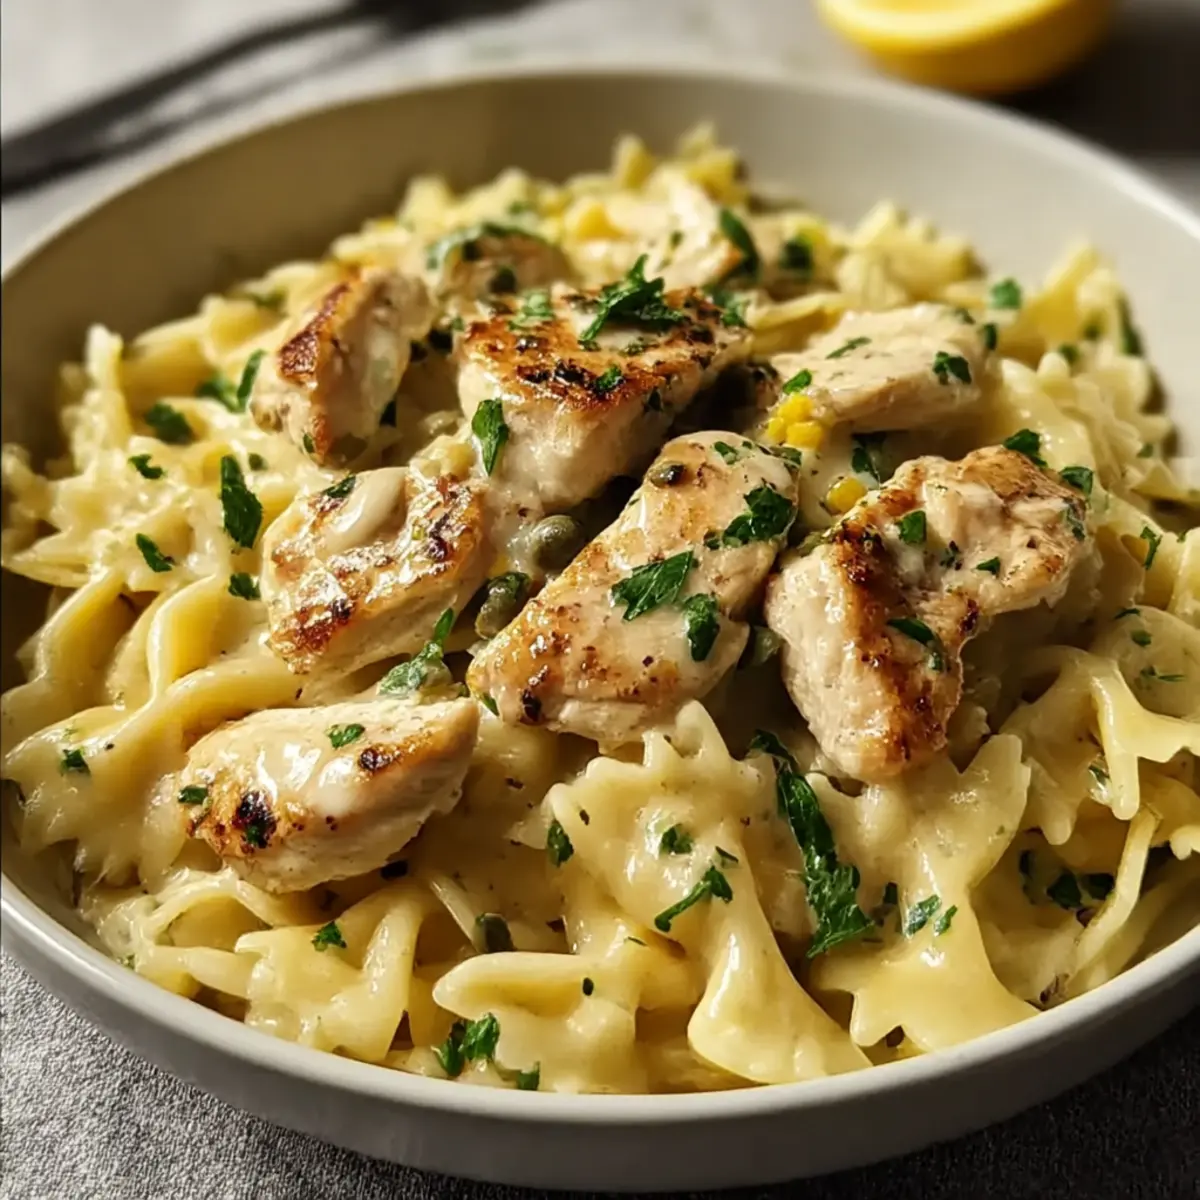
Why is Lemon Chicken Pasta a Must-Try?
Quick Preparation: With minimal cooking time, this Lemon Chicken Pasta lets you whip up a gourmet meal in just 30 minutes—perfect for busy evenings!
Vibrant Flavor: The zesty lemon sauce combined with tender chicken and bow tie pasta creates a dish that’s bursting with fresh flavors.
Versatile Base: Feel free to get creative—add sautéed veggies or swap in shrimp for a delightful twist on this classic recipe!
Crowd-Pleaser: Whether serving to family or friends, this dish is guaranteed to impress and satisfy even the pickiest eaters.
Comforting Texture: Each bite features creamy, chicken-coated pasta that’s reminiscent of a cozy Italian kitchen, making it a perfect comfort food option.
For more delicious pasta ideas, check out my Cajun Chicken Pasta or explore the rich flavors of Chicken Mozzarella Pasta.
Chicken Piccata Pasta Ingredients
-
For the Pasta
• Bow Tie (Farfalle) Pasta – This pasta shape holds the sauce beautifully; you can also use penne or fusilli for a different twist. -
For the Chicken
• Boneless, Skinless Chicken Breasts or Thighs – Chicken thighs add extra moisture; breasts keep it lean.
• All-Purpose Flour – This gives a delightful crisp texture; swap it with gluten-free flour for gluten-free options. -
For the Sauce
• Unsalted Butter – Enhances creaminess in the sauce; use ghee for a dairy-free alternative.
• Extra-Virgin Olive Oil – Works with butter to prevent burning while providing flavor; neutral oil can be used as a substitute.
• Shallot – Offers a subtle sweetness; onions can be a quick substitute if you’re in a pinch.
• Garlic – Essential for that aromatic base; fresh garlic is strongly recommended for the best flavor.
• Chicken Stock – Adds depth and moisture; homemade stock is ideal, but store-bought is just fine in a pinch.
• Lemon Juice – Provides a zesty balance; opt for fresh-squeezed juice from 1-2 lemons for maximum brightness.
• Capers – Brings a briny punch to the dish; feel free to substitute with green olives if preferred. -
For the Garnish
• Roughly Chopped Parsley – An optional yet highly recommended fresh touch that elevates the dish’s presentation.
This Chicken Piccata Pasta recipe is not just a meal; it’s an invitation to bring a touch of Italian charm to your weeknight dinners!
Step‑by‑Step Instructions for Chicken Piccata Pasta
Step 1: Cook Pasta
Begin by bringing a large pot of salted water to a rolling boil over high heat. Once boiling, add the bow tie (farfalle) pasta and cook according to package instructions until al dente, about 8-10 minutes. Before draining, reserve ½ cup of the starchy pasta water, then drain the pasta and set it aside.
Step 2: Prepare Chicken
While the water is heating, cut the boneless, skinless chicken breasts or thighs into ½-inch chunks. Season the chicken generously with salt and pepper, then dredge each piece in all-purpose flour, shaking off any excess. This will create a lovely golden crust when sautéed and is essential for the Chicken Piccata Pasta.
Step 3: Sauté Chicken
In a large skillet, heat 2 tablespoons of unsalted butter and 1 tablespoon of extra-virgin olive oil over medium-high heat until the butter is melted and bubbling. Carefully add the seasoned chicken to the pan in a single layer, cooking for about 5-7 minutes. Flip the pieces once they’re golden brown and fully cooked; they should have no pink remaining.
Step 4: Add Aromatics
Once the chicken is cooked, lower the heat to medium and stir in the chopped shallots and minced garlic. Sauté the mixture for about 1-2 minutes until the shallots soften and the garlic becomes fragrant, ensuring the rich flavors will infuse the Chicken Piccata Pasta sauce.
Step 5: Make Sauce
Pour in the chicken stock, stirring to combine all the ingredients in the skillet. Allow the mixture to simmer for 3-5 minutes, or until it reduces by half. This step is crucial for creating a concentrated, flavorful base for your lime-infused Chicken Piccata Pasta sauce.
Step 6: Combine Ingredients
Remove the skillet from heat, then stir in the remaining tablespoon of butter, fresh lemon juice, and drained capers. Mix everything well, allowing the butter to melt and coat the chicken and sauce evenly, leading to that delightful tanginess that the Chicken Piccata Pasta is known for.
Step 7: Toss to Combine
Return the cooked chicken to the skillet and add the drained pasta. Toss everything together with the reserved pasta water, adding just enough to achieve your desired saucy consistency. You want to ensure the pasta is well-coated with that luscious lemon sauce, creating a harmonious blend of flavors.
Step 8: Serve
Finally, plate your Chicken Piccata Pasta in serving bowls, garnishing generously with roughly chopped parsley and a sprinkle of freshly ground pepper. This vibrant dish is now ready to be savored, providing an inviting meal that captures the essence of Italian comfort food!
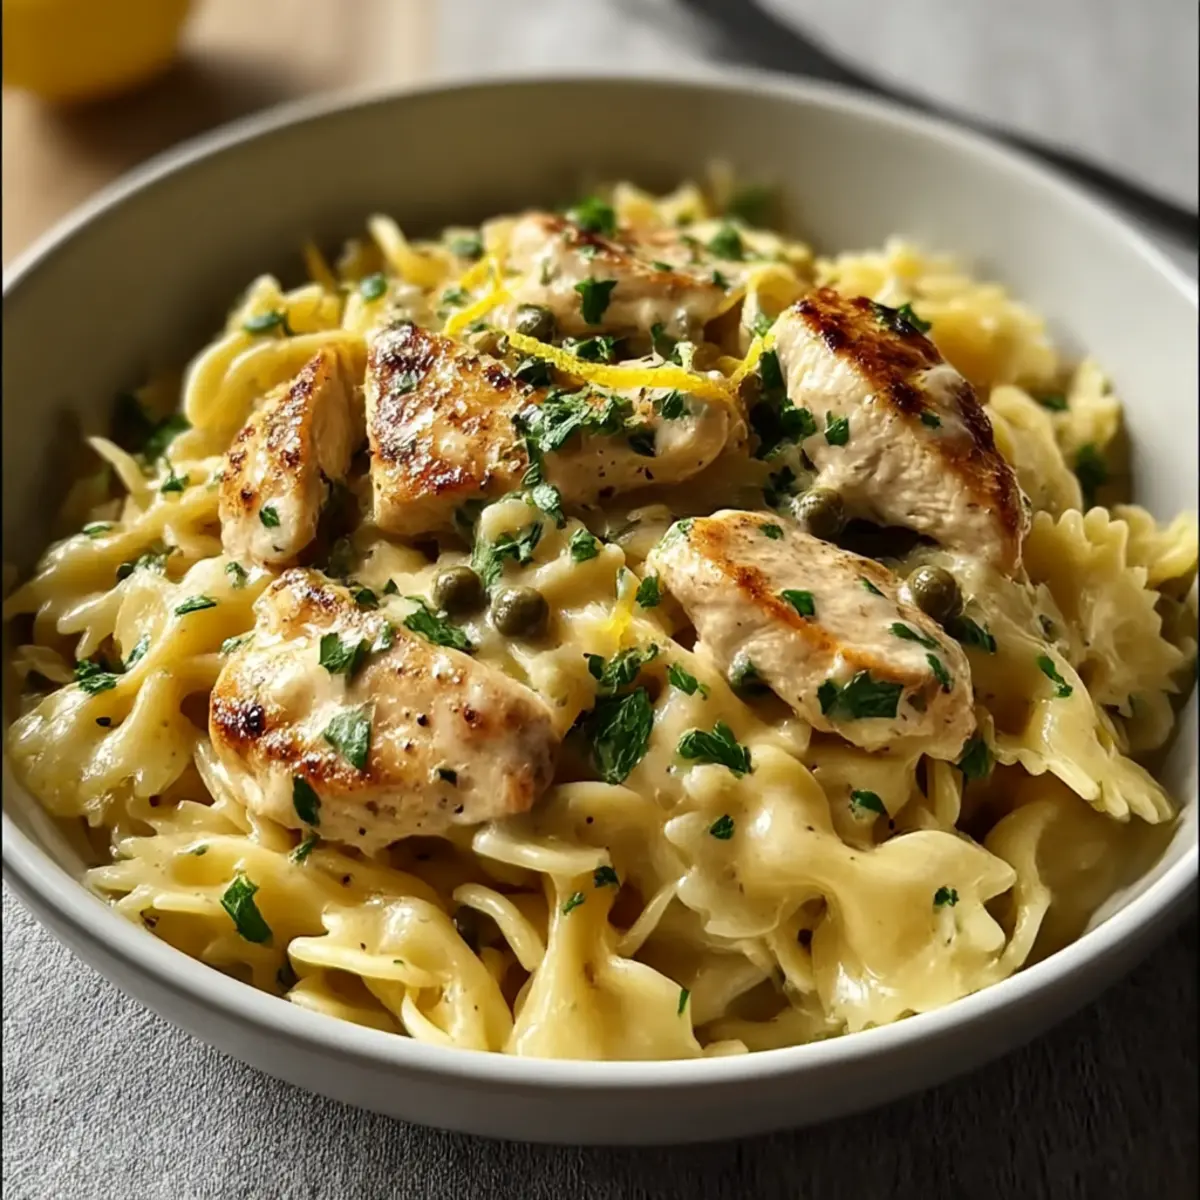
Chicken Piccata Pasta Variations
Feel free to get creative with this recipe to suit your taste buds and dietary needs!
-
Wine-Infused: Add a splash of white wine after sautéing the chicken for a delightful depth of flavor. It elevates the sauce to a whole new level of sophistication.
-
Vegetable Boost: Toss in sautéed veggies like cherry tomatoes or spinach right before combining with the pasta. This adds nutrition and a pop of color, making each bite vibrant and healthy.
-
Shrimp Option: Substitute shrimp for the chicken for a seafood twist! Cook the shrimp until pink and opaque for a lovely, briny flavor that harmonizes perfectly with the lemony sauce.
-
Whole Grain Twist: Swap farfalle with whole grain pasta for a nutty flavor and extra fiber. This makes each forkful not only heartier but more nutritious as well.
-
Creamy Variation: Stir in a splash of heavy cream or a dollop of Greek yogurt just before serving for a rich and creamy sauce that envelops the pasta beautifully.
-
Spicy Kick: Sprinkle in red pepper flakes for a hint of heat that rounds out the zesty flavors of the dish. Perfect for those who love a spicy twist!
-
Nutty Crunch: Top your pasta with toasted pine nuts or slivered almonds for a delightful crunch. Their nutty flavor adds another layer to this already flavorful dish.
For even more delicious pasta ideas, be sure to check out my Garlic Parmesan Chicken Meatloaf or dive into the richness of Steak Pasta Ready. Enjoy experimenting!
Storage Tips for Chicken Piccata Pasta
-
Fridge: Store any leftovers in an airtight container for up to 2 days to maintain freshness and flavor. Reheating is a breeze, keeping the dish delightful for another meal.
-
Freezer: Freeze portions in a freezer-safe container for up to 3 months. Let it cool completely before sealing to avoid freezer burn. Thaw overnight in the fridge before reheating.
-
Reheat: When ready to enjoy, heat in a skillet over low heat, adding a splash of chicken stock or reserved pasta water. This will help restore the creaminess of the Chicken Piccata Pasta.
-
Avoid Repeated Heating: For best taste and texture, reheat only the portion you plan to eat to prevent the pasta from becoming overly soft.
Expert Tips for Chicken Piccata Pasta
-
Dry Chicken: Ensure chicken pieces are dry before dredging in flour. This promotes an even, golden-brown crust and prevents soggy chicken.
-
Season Generously: Don’t skimp on seasoning the chicken with salt and pepper before cooking. This enhances the flavor and ensures delicious Chicken Piccata Pasta.
-
Reserve Pasta Water: Save some pasta water to help create a silky sauce that clings beautifully to the pasta. This step is vital for a luscious texture!
-
Don’t Crowd the Pan: Avoid overcrowding the skillet while cooking the chicken. Cook in batches if necessary, allowing for proper browning and avoiding steaming.
-
Taste as You Go: Always taste your sauce before serving; adjust seasoning or acidity with more lemon juice if desired to achieve the perfect balance of flavors.
What to Serve with Lemon Chicken Pasta
Elevate your dining experience by complementing this zesty dish with carefully selected sides that enhance its delightful flavors.
-
Crispy Garlic Bread: Perfect for soaking up the tangy lemon sauce, this crunchy, buttery delight adds a satisfying texture next to the tender pasta.
-
Fresh Arugula Salad: A light, peppery salad with a simple lemon vinaigrette balances the richness of the dish, adding freshness and a vibrant crunch.
-
Roasted Asparagus: The earthy flavors of roasted asparagus create a lovely contrast, while its crisp-tender texture enhances the overall meal experience.
-
Steamed Broccoli: A classic pairing, the bright green veggie not only adds color but also provides a nutritious element that complements the pasta beautifully.
-
Herbed Quinoa: For a nutty and wholesome side, serve fluffy quinoa tossed with fresh herbs; it’s a delightful way to soak up extra sauce.
-
White Wine: A chilled glass of Sauvignon Blanc or Pinot Grigio beautifully complements the citrusy notes of the pasta, enhancing the overall meal experience.
Consider these pairings to create a harmonious and satisfying dining experience that your family will love!
Make Ahead Options
These Lemon Chicken Pasta ingredients are perfect for meal prep! You can chop the chicken and dredge it in flour up to 24 hours in advance, storing it in an airtight container in the refrigerator to maintain freshness. Additionally, you can prepare the sauce components—sautéed shallots, garlic, and chicken stock—up to 3 days ahead. Just refrigerate in a sealed container until you’re ready to cook. When you’re ready to serve, simply sauté the chicken, combine it with the prepared sauce, and toss in the cooked pasta. This way, you can enjoy a delicious homemade meal with minimal effort after a busy day!
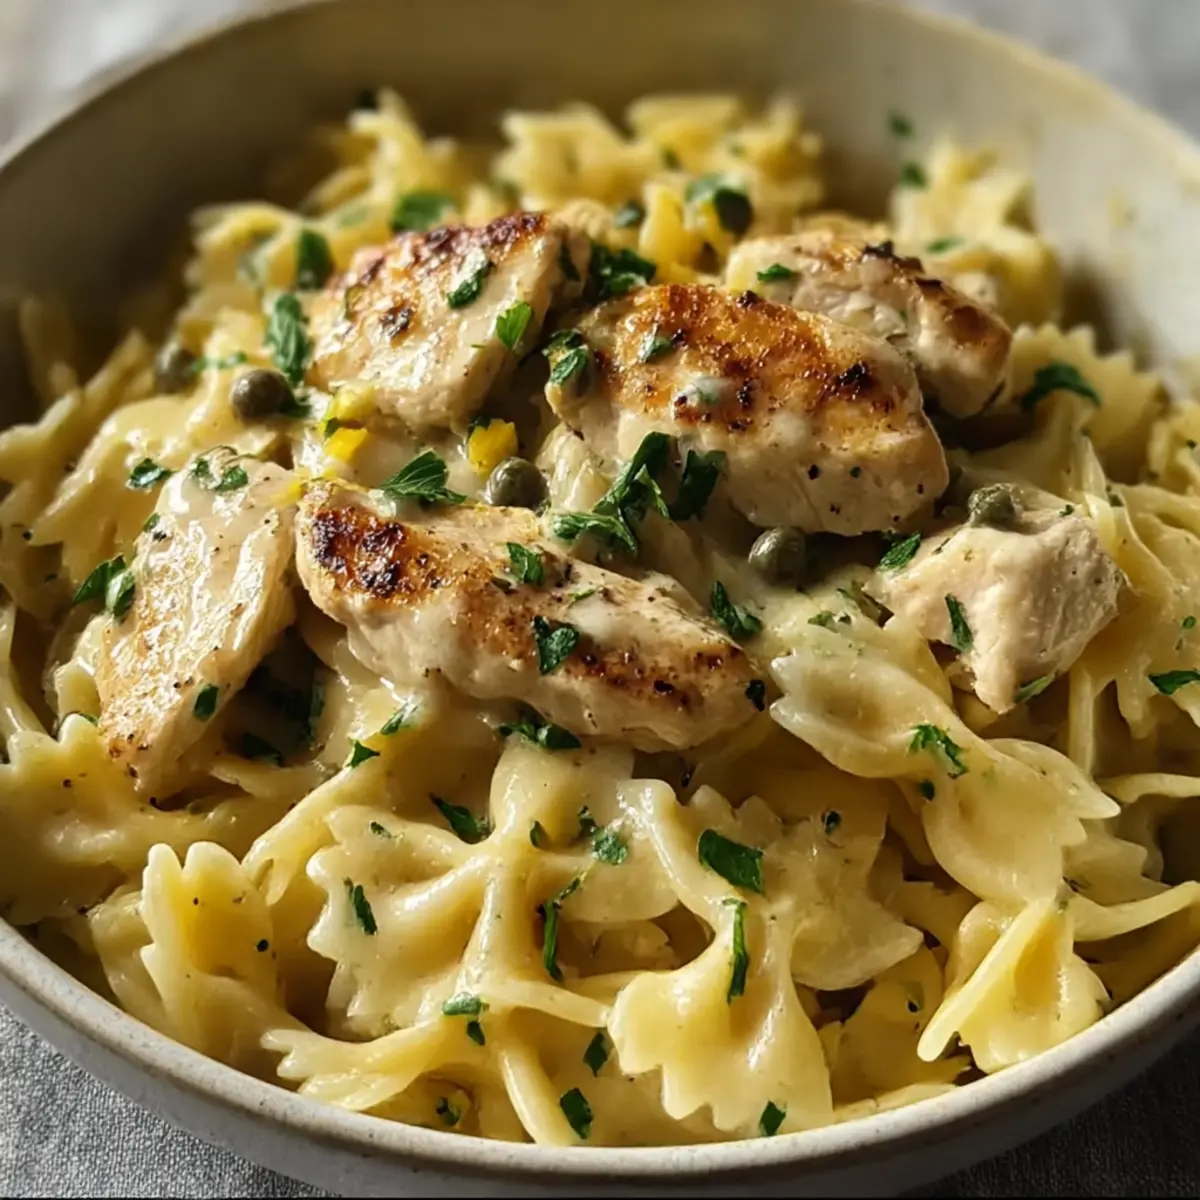
Chicken Piccata Pasta Recipe FAQs
How do I choose the right chicken for the recipe?
Absolutely! For this Chicken Piccata Pasta, I recommend using boneless, skinless chicken thighs if you prefer a juicier result, as they provide added moisture and flavor. If you’re aiming for a leaner option, boneless, skinless chicken breasts work perfectly too. Just make sure they are fresh, with no dark spots or unpleasant odors.
How should I store leftovers of Chicken Piccata Pasta?
Very! After enjoying your meal, store any leftovers in an airtight container. They will stay fresh in the fridge for up to 2 days. If you need to save it longer, freeze the dish in a freezer-safe container for up to 3 months. Make sure to cool the pasta completely before sealing it to avoid freezer burn.
Can I freeze Chicken Piccata Pasta?
Yes, you can! To freeze your Chicken Piccata Pasta, allow it to cool completely after cooking. Then, portion it into freezer-safe containers. Label with the date and freeze for up to 3 months. When you’re ready to enjoy it again, thaw overnight in the fridge before reheating. When reheating, I’d recommend adding a splash of chicken stock or reserved pasta water to maintain creaminess.
What if my sauce is too thick or too thin?
No worries! If your sauce turns out too thick, simply stir in some reserved pasta water or extra chicken stock, one tablespoon at a time, until you reach your desired consistency. Conversely, if it’s too thin, simmer it on the stove for a few more minutes; this will help concentrate the flavors and thicken the sauce.
Can pets eat leftovers from Chicken Piccata Pasta?
While the Chicken Piccata Pasta is tasty for humans, it’s best to avoid sharing it with your pets. The garlic and onions used in the recipe can be harmful to dogs and cats. If you want to share a bit, opt for plain, cooked chicken without any seasoning instead!
How can I make this dish gluten-free?
Great question! To adapt the Chicken Piccata Pasta for a gluten-free diet, simply swap the all-purpose flour with gluten-free flour when dredging the chicken. Ensure your pasta is also gluten-free; many brands offer gluten-free farfalle or similar pasta shapes. This way, everyone can enjoy this zesty meal without compromise!
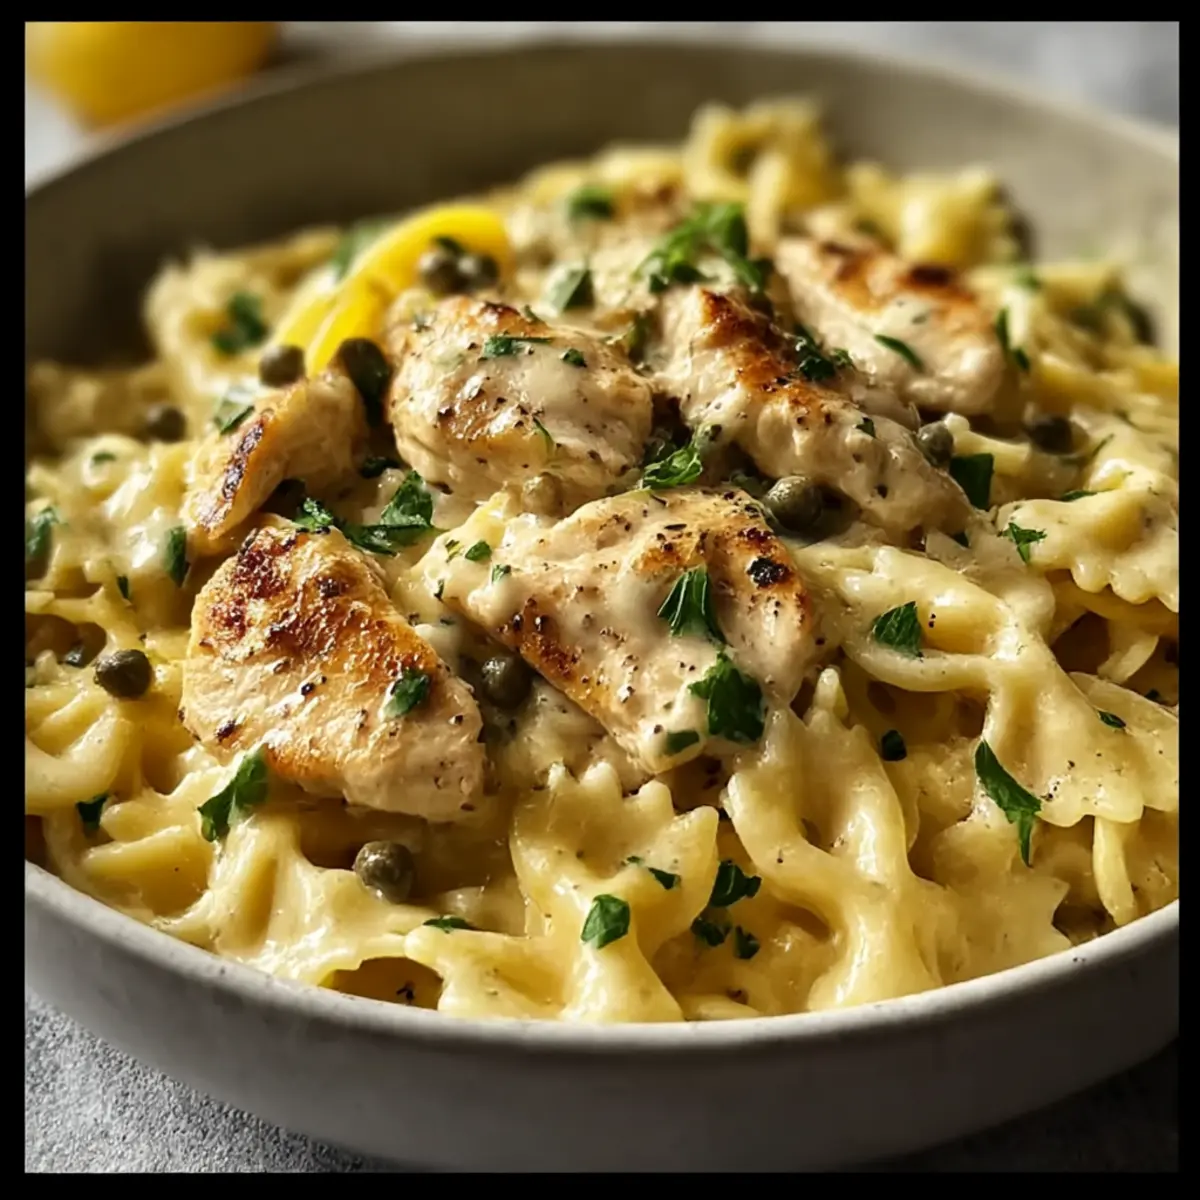
Zesty Chicken Piccata Pasta for a Delicious Weeknight Feast
Ingredients
Equipment
Method
- Begin by bringing a large pot of salted water to a rolling boil over high heat. Once boiling, add the bow tie pasta and cook according to package instructions until al dente, about 8-10 minutes. Reserve ½ cup of the pasta water before draining, then drain and set aside.
- While the water is heating, cut the chicken into ½-inch chunks. Season generously with salt and pepper, then dredge in flour, shaking off excess.
- In a large skillet, heat butter and olive oil over medium-high heat until melted and bubbling. Add chicken in a single layer, cooking for 5-7 minutes until golden and fully cooked.
- Lower the heat to medium and stir in chopped shallots and minced garlic. Sauté for 1-2 minutes until shallots soften and garlic is fragrant.
- Pour in chicken stock, stir to combine, and simmer for 3-5 minutes until it reduces by half.
- Remove from heat, stir in remaining butter, lemon juice, and capers. Mix well until butter melts and coats everything.
- Return chicken to the skillet and add the drained pasta. Toss with reserved pasta water to achieve desired saucy consistency.
- Plate the pasta, garnish with parsley and pepper. Serve and enjoy!
Leave a Reply