
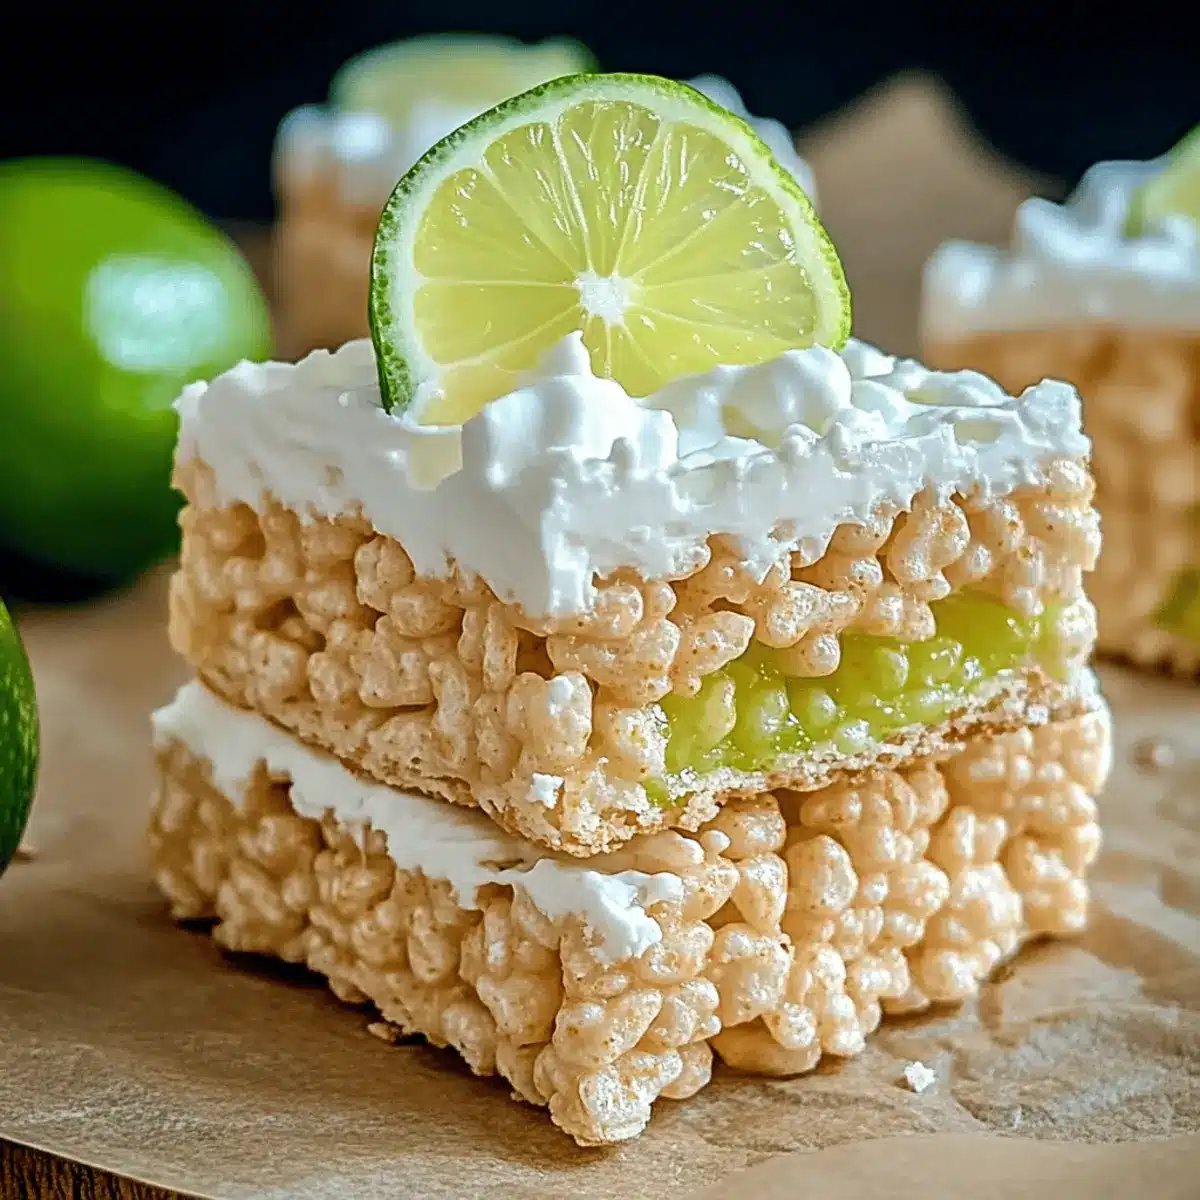
In the heart of summer, when the heat brings that unmistakable sweet tang of citrus to mind, there’s nothing quite like crafting a cool dessert. That’s where my No-Bake Key Lime Pie Rice Krispie Treats come in! This refreshing, easy dessert marries the crisp, chewy texture of classic Rice Krispie Treats with the zesty brightness of key lime pie, making it perfect for any sun-soaked gathering. With minimal prep time and zero baking required, these treats promise a delightful escape from the ordinary fast food routine. Just imagine biting into a soft, chewy square, the hint of tartness dancing on your palate, and all your summer worries melting away. Are you ready to whip up this nostalgic twist on a beloved dessert? Let’s get started!
Why are Key Lime Pie Rice Krispie Treats amazing?
Delightfully Simple: This no-bake dessert requires minimal effort but delivers maximum flavor, making it perfect for busy days.
Refreshing Zest: The combination of tangy key lime juice and sweet marshmallows creates a uniquely refreshing treat that feels like a summer getaway.
Nostalgic Chewiness: Each bite combines the classic chewy texture of Rice Krispie Treats with a fun twist, delighting both kids and adults alike.
Customizable Touch: Feel free to switch up flavors by substituting with lemon or grapefruit juice for a delightful citrus surprise.
Perfect for Any Occasion: Whether it’s a summer picnic or a casual get-together, these treats are bound to be a hit, just like other crowd-pleasers such as Cilantro Lime Steak and Taco Rice Bowl.
Storable Goodness: Made to last, these treats can be kept fresh in an airtight container for up to one week, providing sweet relief from the daily grind!
Key Lime Pie Rice Krispie Ingredients
For the Base
• Rice Krispies – Provides the classic chewy base; gluten-free options are available for those with dietary needs.
• Marshmallows – Adds sweetness and binds the ingredients; choose fresh marshmallows for the best texture.
• Butter – Essential for binding the mixture; coconut oil works as a dairy-free alternative.
For the Flavor
• Key Lime Juice – The star ingredient that gives these treats their tartness; use regular lime juice if you don’t have key lime, and add extra zest for a stronger flavor.
• Graham Cracker Crumbs – Adds crunch and mimics the crust of a key lime pie; crushed digestive biscuits make a tasty substitute.
For the Drizzle
• White Chocolate – For drizzling and adding richness; feel free to swap with dark chocolate or omit for a lighter treat.
These Key Lime Pie Rice Krispie Treats are not just mouthwatering—this easy recipe will awaken your taste buds and is sure to be a hit at any gathering!
Step‑by‑Step Instructions for Key Lime Pie Rice Krispie
Step 1: Prepare the Pan
Begin by lightly greasing a 9×13-inch baking pan with butter or non-stick spray. This ensures that your Key Lime Pie Rice Krispie Treats will release easily after they set. To save time, consider using parchment paper for an even easier release and cleanup. Set the prepared pan aside while you move on to the next step.
Step 2: Melt Ingredients
In a large saucepan, add 4 tablespoons of butter over low heat and allow it to melt fully. Once the butter is melted, add 10 ounces of marshmallows, stirring constantly until the mixture forms a smooth and creamy consistency—this should take about 5-7 minutes. Watch for bubbles forming but avoid boiling, as this can affect the texture.
Step 3: Incorporate Cereal
Once the marshmallow mixture is smooth, remove it from the heat and immediately stir in 6 cups of Rice Krispies and 1 cup of graham cracker crumbs. Use a spatula to fold the mixture gently, ensuring every piece is evenly coated with the melted marshmallows. This step should only take about 2-3 minutes, and you’ll want a nice, cohesive texture without any dry spots.
Step 4: Add Lime Juice
Pour in 1/4 cup of key lime juice into the mixture and gently mix until fully combined. The acidity of the lime juice adds that refreshing tang characteristic of Key Lime Pie. Try not to overmix; you want to preserve the fluffy texture of the treats. After a minute or so, you should see the beautiful pale green color starting to form.
Step 5: Transfer to Pan
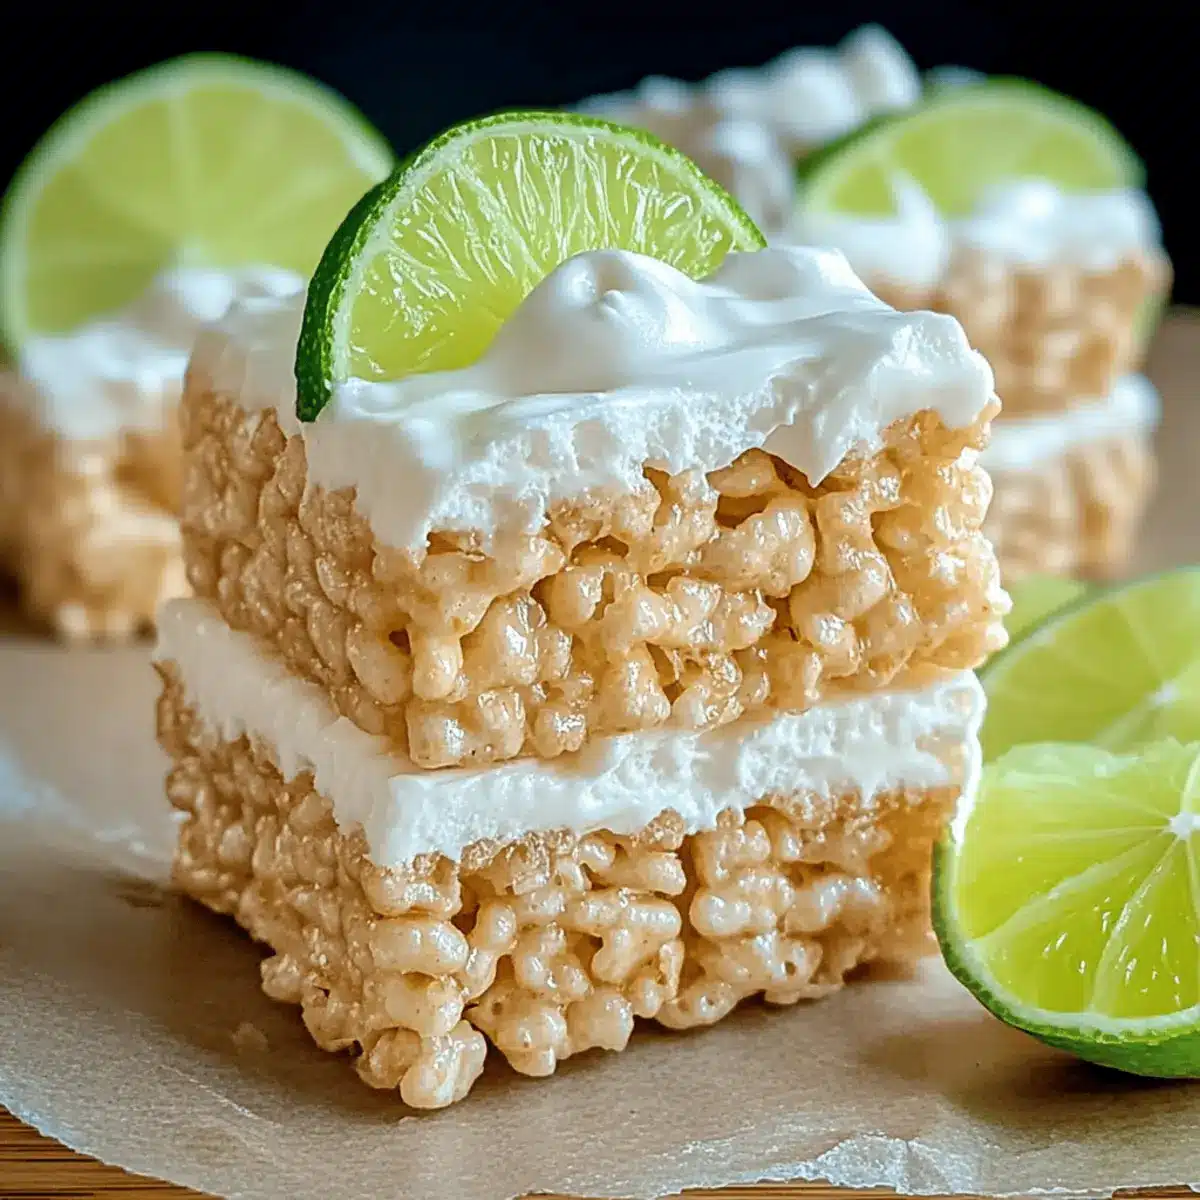
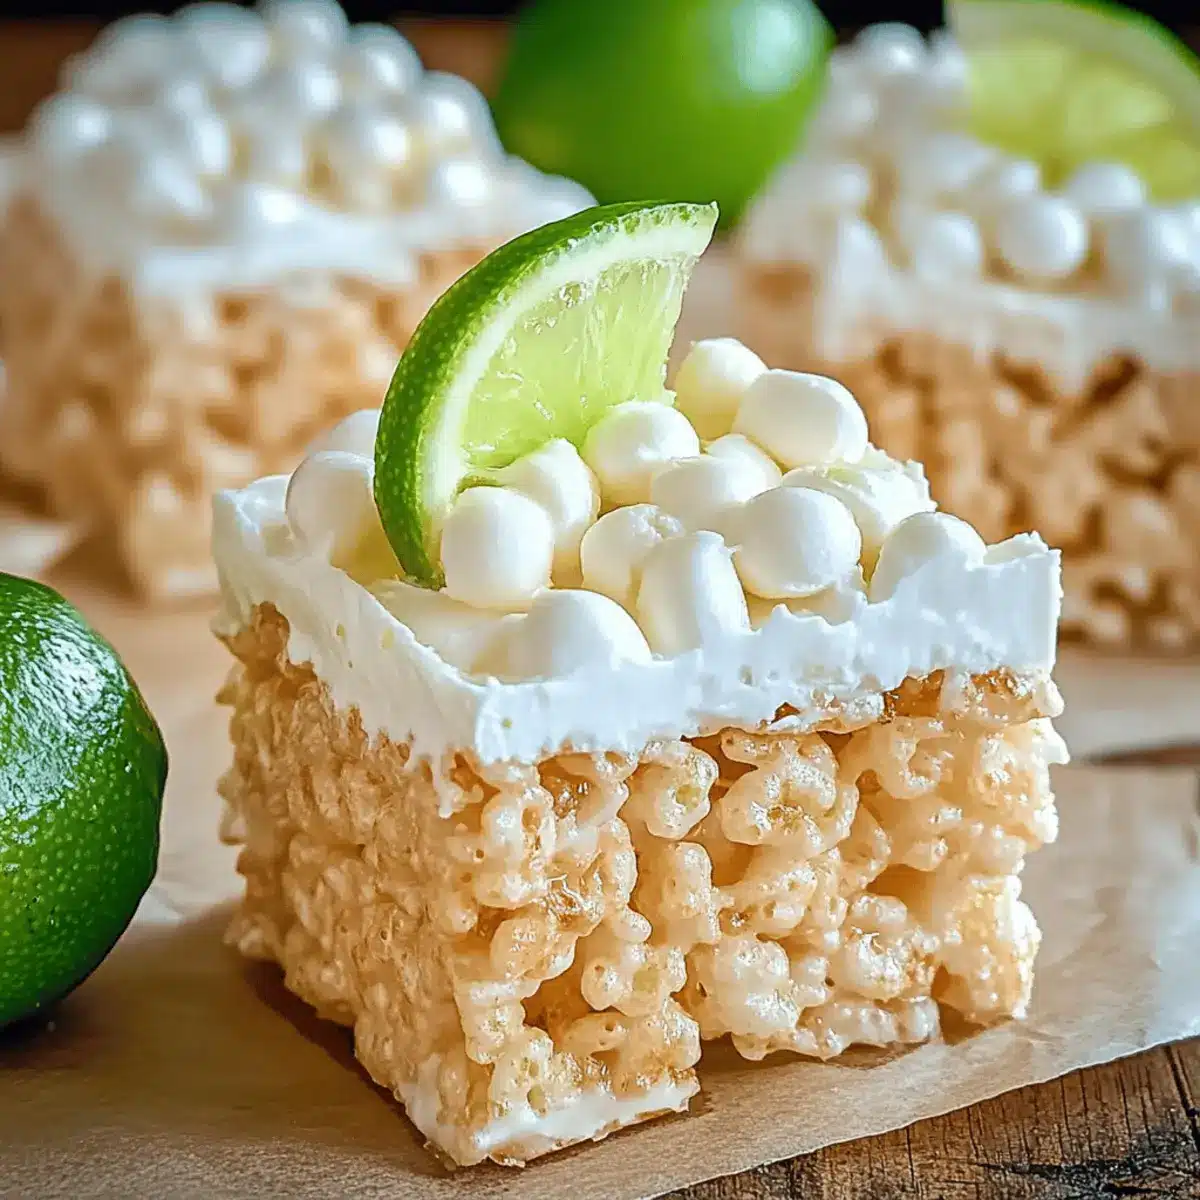
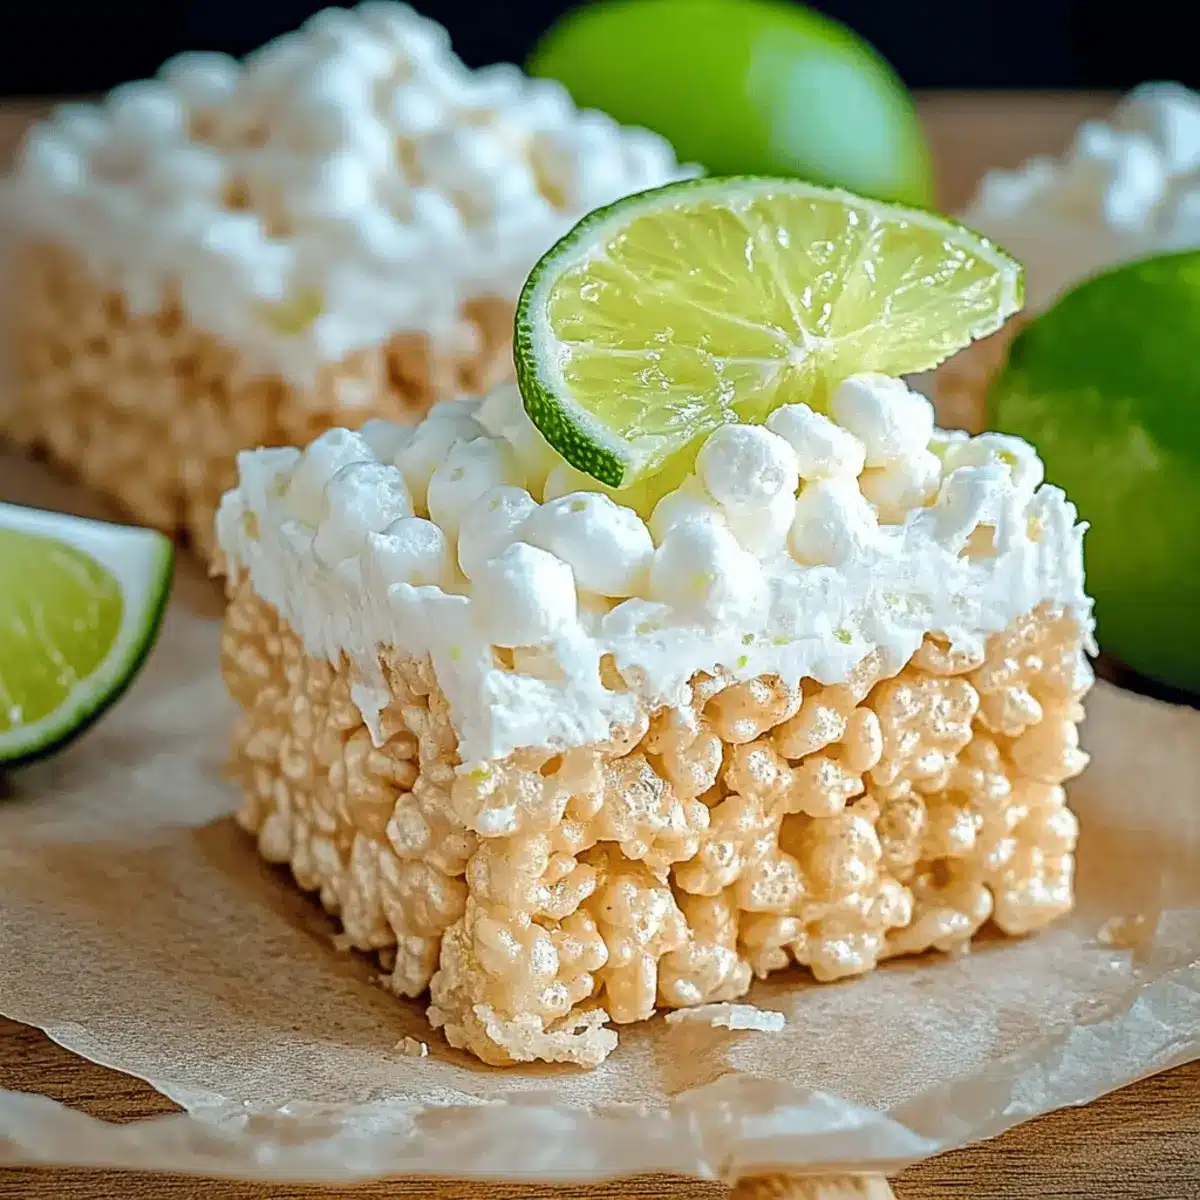
Carefully transfer the mixture into your prepared baking pan, spreading it evenly with a spatula. To avoid making the treats too dense, gently press down without over-packing; this will help keep them soft and chewy. Aim for an even layer that’s about 1-2 inches thick, allowing the mixture to cool and set as it reaches room temperature for about 10-15 minutes.
Step 6: Chill and Drizzle
Once the mixture has cooled slightly, place the pan in the refrigerator for about 30-45 minutes to fully set. Meanwhile, melt 1 cup of white chocolate in a microwave-safe bowl, heating in 30-second intervals until smooth. After the treats have chilled, remove them from the refrigerator and drizzle the melted chocolate on top for a decadent finish.
Step 7: Cut and Serve
After allowing the Key Lime Pie Rice Krispie Treats to set for at least an hour in the refrigerator, remove them from the pan. Cut into squares with a sharp knife, and serve on a platter or individual plates. Enjoy this delightful, no-bake dessert at your next summer gathering, and watch them disappear quickly!
Make Ahead Options
These Key Lime Pie Rice Krispie Treats are perfect for busy home cooks looking to save time during hectic summer days! You can prepare the whole mixture up to 24 hours in advance; simply follow the first five steps, then store the packed mixture in an airtight container in the refrigerator. To maintain the delightful chewy texture, avoid pressing the mixture too firmly when spreading it in the pan. When you’re ready to serve, drizzle the melted white chocolate on top, allow it to set, and cut into squares. With these make-ahead tips, you’ll enjoy this sweet and tangy treat without the last-minute stress!
Storage Tips for Key Lime Pie Rice Krispie Treats
Room Temperature: Store in an airtight container for up to one week, maintaining freshness. Avoid humidity to keep treats chewy.
Refrigerator: For extended freshness, refrigerate them in a sealed container for up to two weeks, but allow to soften at room temperature before serving.
Freezer: Freeze for up to three months by wrapping individual squares in plastic wrap, then placing them in a freezer-safe bag. Thaw overnight in the fridge before enjoying.
Reheating: Though best served at room temperature, if chilled, you can briefly microwave for a few seconds to soften before serving.
What to Serve with Key Lime Pie Rice Krispie Treats
Imagine a sun-soaked gathering where laughter fills the air and a refreshing dessert steals the show, bringing smiles all around.
- Coconut Sorbet: The icy creaminess of coconut sorbet adds a smooth texture that echoes the tropical vibe of key lime treats.
- Fresh Fruit Salad: A mix of ripe berries and zesty citrus adds a refreshing burst of flavor and a pop of color, enhancing the treat’s sweetness.
- Lemon Bars: For a cohesive dessert spread, serve alongside tangy lemon bars; their tartness perfectly complements the key lime flavor!
- Grilled Pineapple: Adding a charred, caramelized note, grilled pineapple lends a warm, tropical touch that contrasts with the cool, chewy treats.
- Sparkling Water: A bubbly drink option like sparkling water with a slice of lime keeps the palate refreshed without overpowering the dessert itself.
- Mint Iced Tea: The refreshing herbs in mint iced tea enhance the zesty lime, rounding out the sweet indulgence.
- Shortbread Cookies: Pair with delicate shortbread cookies for a crunchy contrast to the chewy Rice Krispie texture, bringing a satisfying balance to the bite.
- Chocolate-Covered Strawberries: For a sweet touch, add chocolate-covered strawberries; their richness beautifully complements the tangy notes of the key lime.
Variations & Substitutions for Key Lime Pie Rice Krispie
Feel free to let your creativity shine as you customize these delightful treats to suit your taste!
-
Citrus Swap: Substitute key lime juice with lemon or grapefruit juice for a fresh twist on the classic flavor.
-
Texture Boost: Add 1 cup of toasted coconut flakes or chopped nuts for an irresistible crunch that complements the chewy base.
-
Colorful Fun: A splash of green food coloring can brighten the treats, making them even more appealing for gatherings. Kids will love the vibrant visual!
-
Creamy Drizzle: Swap white chocolate for dark or even milk chocolate to personalize the flavor profile of the drizzle while satisfying your chocolate cravings.
-
Honey Sweetness: Replace marshmallows with homemade marshmallow fluff mixed with honey for a more natural sweetness and a unique twist on the texture.
-
Crunchy Crust: Use crushed digestive biscuits instead of graham cracker crumbs for a richer cookie flavor that pairs wonderfully with the tangy lime.
-
Seasonal Spices: Stir in a pinch of cinnamon or nutmeg to create a subtle warmth that elevates the flavor, perfect for cooler days.
-
Mini Treats: Consider shaping the mixture into small balls for bite-sized treats, making them easy to enjoy at parties and gatherings.
If you’re looking for more delightful dessert ideas, try making this zesty Coconut Chicken Rice or these scrumptious Rice Paper Crab to complement your sweet offerings!
Expert Tips for Key Lime Pie Rice Krispie Treats
• Use Fresh Marshmallows: Fresh marshmallows create a softer texture, making your Key Lime Pie Rice Krispie Treats delightful to chew.
• Don’t Over-Pack: Gently press the mixture into the pan to keep the treats soft and chewy. Overpacking can lead to dense, hard squares.
• Zest It Up: For an extra burst of flavor, add finely grated lime zest to the mix. It enhances the refreshing tang of the key lime.
• Drizzling Tips: Melt the white chocolate gently and drizzle while the treats are still slightly chilled for the best look and flavor.
• Storage Advice: Keep your treats in an airtight container at room temperature for up to one week to maintain freshness.
Key Lime Pie Rice Krispie Treats Recipe FAQs
How do I choose ripe key limes?
Select key limes that are firm and slightly glossy. The best ones feel heavy for their size and give slightly when gently squeezed. Also, look for key limes that have a bright green-yellow hue, as this indicates they are ripe and juicy.
What’s the best way to store Key Lime Pie Rice Krispie Treats?
Keep your treats in an airtight container at room temperature for up to one week for optimal freshness. If you notice any humidity, it’s best to refrigerate them in a sealed container for up to two weeks, though they may get a bit firmer in texture.
Can I freeze Key Lime Pie Rice Krispie Treats?
Absolutely! To freeze, wrap each individual square in plastic wrap and place them in a freezer-safe bag. They will stay fresh for up to three months. When you’re ready to enjoy them, simply thaw overnight in the fridge.
Why are my Rice Krispie Treats too hard or dense?
If your treats are too hard, it’s likely that you pressed the mixture too firmly into the pan or cooked the marshmallows too long. For the best texture, gently press the mixture into the pan and melt the ingredients just until smooth and combined.
Are there any dietary considerations for Key Lime Pie Rice Krispie Treats?
Yes! If you’re making these treats for a gathering, consider that some individuals might have allergies to marshmallows, gluten in the Rice Krispies, or dairy. You can easily substitute the butter with coconut oil for a dairy-free version, and gluten-free Rice Krispies are available as a tasty alternative.
What should I do if I want to add extra lime flavor?
For an extra zesty kick, grate some fresh lime zest into your mixture after adding the key lime juice. Start with about one teaspoon of zest, and mix it in thoroughly to elevate the flavor profile without overpowering the treat’s sweetness. Enjoy experimenting — the more the merrier!
Sweet & Tangy Key Lime Pie Rice Krispie Treats You’ll Love
Ingredients
Equipment
Method
- Grease a 9x13-inch baking pan with butter or non-stick spray and set aside.
- In a saucepan, melt 4 tablespoons of butter over low heat, then stir in 10 ounces of marshmallows until smooth, about 5-7 minutes.
- Remove from heat and stir in 6 cups of Rice Krispies and 1 cup of graham cracker crumbs until coated.
- Add 1/4 cup of key lime juice and mix gently until combined.
- Transfer mixture to the prepared pan, spreading evenly and pressing down lightly.
- Chill in the refrigerator for 30-45 minutes.
- Melt 1 cup of white chocolate and drizzle over the treats once chilled.
- Cut into squares and serve.
Leave a Reply