
The aroma of honey and ginger wafting through the kitchen can instantly transform any evening into something special. When I first whipped up this 20-Minute Honey Ginger Chicken, it was a last-minute decision that turned into a family favorite. This delightful dish marries the sweet stickiness of honey with the warm spice of fresh ginger, creating a magical glaze that kisses juicy chicken thighs—ready in just 20 minutes! Not only is it perfect for busy weeknights, but it’s also a low-calorie, gluten-free option that everyone at the table will love. And if you’re looking for a vegetarian twist, swapping in tofu makes it just as satisfying. Are you ready to impress your taste buds and make dinner a joyful experience? Let’s dive into this quick and easy recipe!
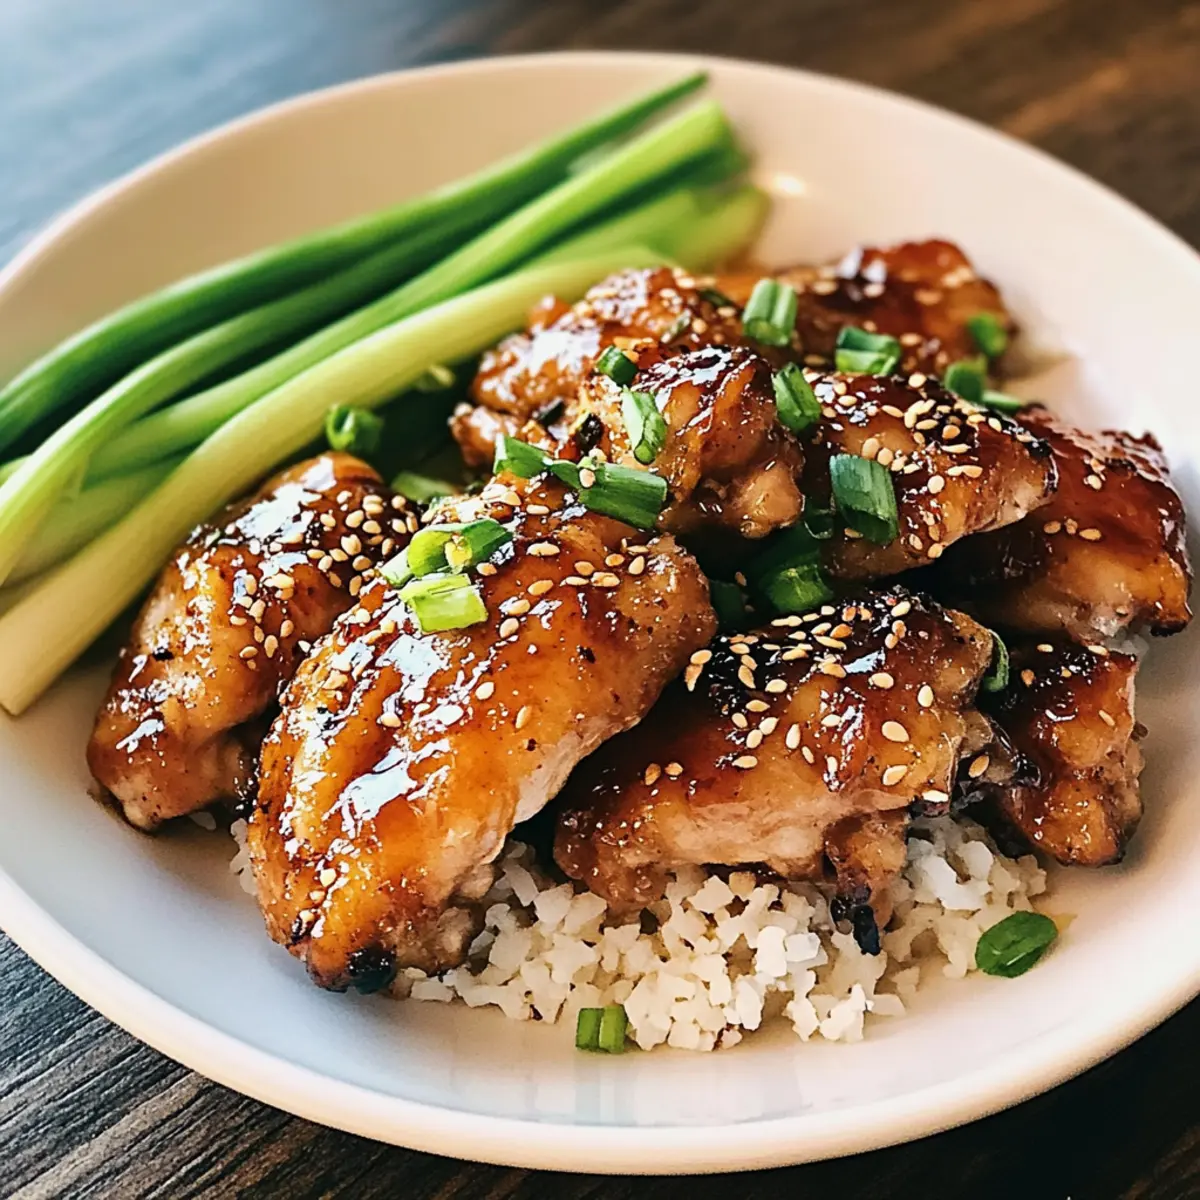
Why your taste buds will rejoice?
Quick and Easy: This 20-minute recipe is perfect for busy weeknights, helping you whip up a delicious meal without the hassle.
Flavor Explosion: With the harmony of honey and ginger, each bite is a sweet and savory delight that will satisfy your cravings.
Versatile Options: Whether you choose chicken or tofu, you can easily adapt this dish to fit your dietary preferences.
Health-Conscious: Enjoy satisfying flavor without guilt, as this meal is low in calories and can be made gluten-free with simple substitutions.
Crowd-Pleaser: Whip it up for family dinners or friendly gatherings; it’s sure to impress everyone at your table, much like my Garlic Parmesan Chicken did!
Honey Ginger Chicken Ingredients
For the Chicken
• Chicken Thighs – Juicy protein source; can substitute with chicken breast or tofu for the vegetarian version.
• Salt and Pepper – Enhances flavor; adjust to taste.
For the Coating
• Cornstarch – Provides a crispy coating; can substitute with tapioca starch or rice flour for a gluten-free alternative.
For the Sauce
• Soy Sauce – Adds umami richness; use tamari for a gluten-free version.
• Honey – Sweetens the sauce and is essential for that sticky glaze; maple syrup or agave can also be used.
• Ginger (grated) – Adds warm, spicy flavor; freshly grated is best for an authentic taste.
• Garlic (grated) – Contributes aromatic depth; fresh garlic is preferred to elevate the dish.
• Sake (optional) – Adds complexity to the sauce; omit if needed, or substitute with rice vinegar for balance.
Feel the excitement bubbling up in your kitchen as you prepare this luscious Honey Ginger Chicken!
Step‑by‑Step Instructions for Honey Ginger Chicken
Step 1: Prepare the Honey Ginger Sauce
In a medium bowl, mix together ¼ cup soy sauce, 2 tablespoons honey, 1 tablespoon freshly grated ginger, 2 minced garlic cloves, and 1 tablespoon of sake (if using). Whisk until smooth and the honey is fully dissolved. This sweet and tangy sauce will be the star of your Honey Ginger Chicken, so give it a good stir to combine the flavors while you set it aside for later.
Step 2: Season and Coat the Chicken
Take 1 pound of boneless, skin-on chicken thighs and season both sides generously with salt and pepper. Next, lightly coat each piece with cornstarch, ensuring you shake off any excess. This step helps achieve a delightful crispy texture on your Honey Ginger Chicken when pan-frying, which will make each bite extra satisfying and delicious.
Step 3: Heat the Pan
In a large skillet, heat 2 tablespoons of vegetable oil over medium-high heat. Allow the oil to shimmer slightly, indicating it’s hot enough for cooking. Once heated, carefully place the coated chicken thighs skin-side down into the pan. Searing them at this temperature will create that sought-after crispy exterior while sealing in their juices.
Step 4: Cook the Chicken
Pan-fry the chicken for about 4 to 5 minutes until it’s golden brown and crispy on the skin side. Then, using tongs, flip the chicken carefully to cook the other side for an identical 4 to 5 minutes. Look for a deep, golden crust and ensure the chicken is cooked through; it should reach an internal temperature of 165°F for food safety.
Step 5: Make the Sauce in the Pan
Once the chicken is perfectly cooked, remove it from the skillet and set it aside on a plate. Pour the prepared Honey Ginger sauce directly into the same pan. Using a spatula, scrape up any flavorful bits stuck to the bottom, and let it simmer on high heat for about 30 seconds. This process enriches the sauce’s flavor while warming it up to a delightful glaze.
Step 6: Glaze the Chicken
Return the cooked chicken thighs to the skillet, ensuring they’re well-coated in the bubbling sauce. Let them cook on high heat for about 1 minute per side, turning until they’re beautifully glazed in the sticky mixture. The chicken should glisten attractively, with the sauce thickening around each piece, creating that lovely finish your Honey Ginger Chicken is known for.
Step 7: Serve with a Smile
Once glazed, remove the skillet from heat and serve your Honey Ginger Chicken immediately. Place the chicken on a bed of steamed rice or noodles, and drizzle any remaining sauce over the top. Enjoy the savory sweetness as your family gathers around the table, eager to dig into this quick and delightful meal!
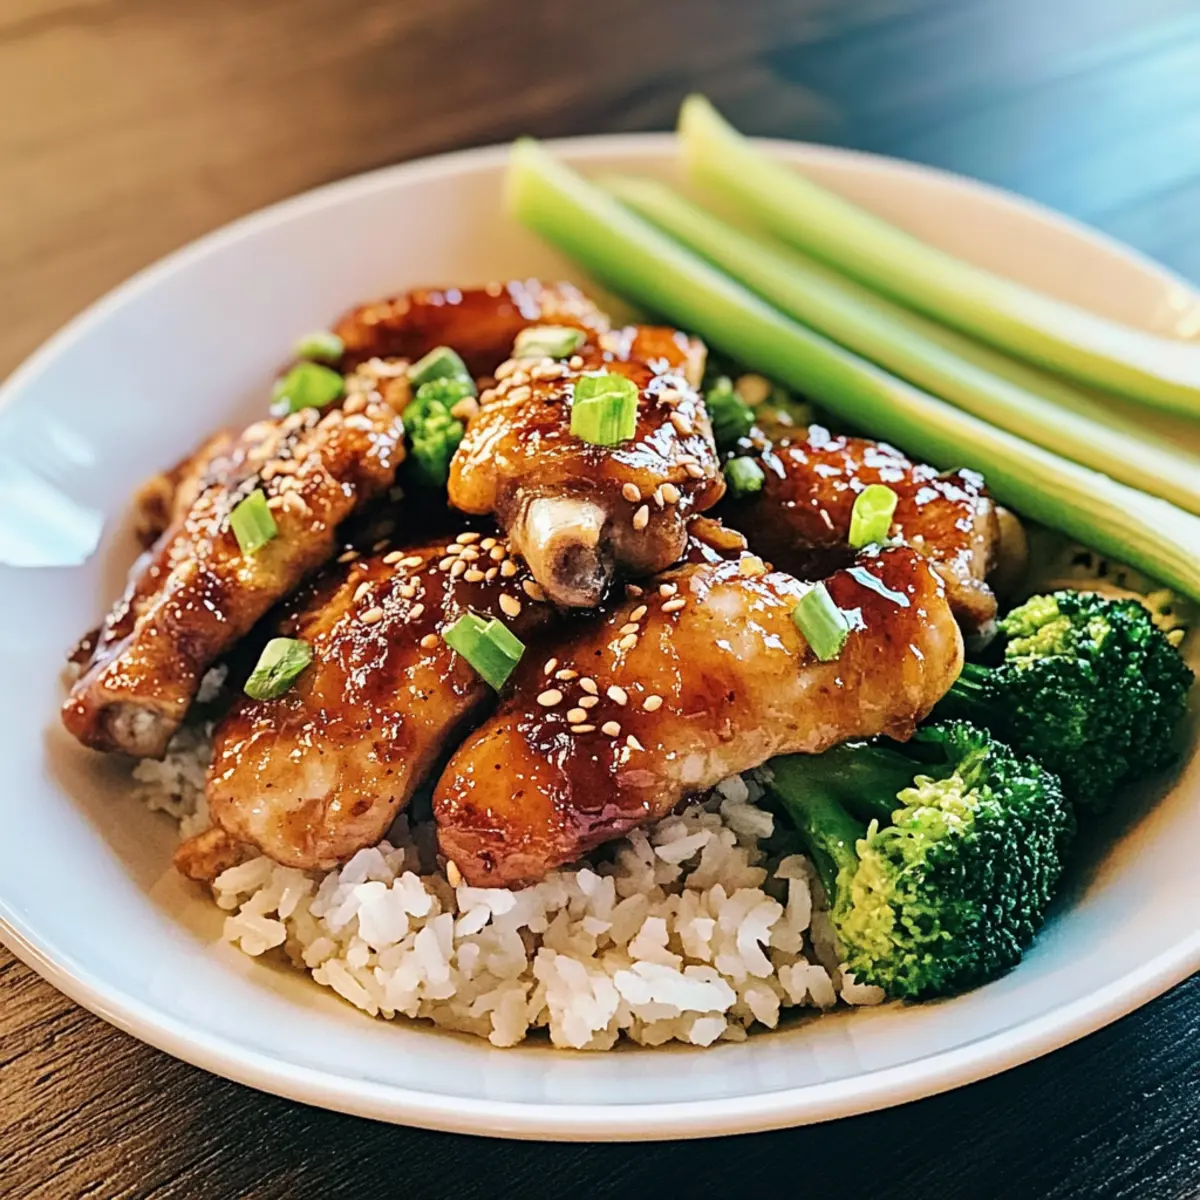
Honey Ginger Chicken Variations
Feel free to explore different twists on this delightful recipe! Customize your plate for a personal touch that tempts the taste buds.
-
Vegetarian Tofu: Replace chicken with firm tofu, coating it in cornstarch before frying for a crispy texture.
-
Add Veggies: Incorporate bell peppers or broccoli into the pan for an extra crunch and a healthy boost; they cook beautifully alongside the chicken.
-
Coconut Rice: Serve the chicken over fluffy coconut rice for a tropical flare; it pairs wonderfully with the sweet and savory sauce.
-
Noodle Bowl: Toss the chicken with cooked udon or rice noodles for a satisfying Asian-inspired noodle bowl that’ll delight the whole family.
-
Citrus Twist: Add a splash of fresh orange juice or lime juice to the sauce for a zesty kick that brightens the dish beautifully.
-
Garlic Parmesan Chicken: For a fusion twist, try a sprinkle of parmesan and garlic powder over the finished dish for a tasty umami boost, much like my delightful Garlic Parmesan Chicken.
-
Spicy Kick: Love heat? Stir in some red pepper flakes while making the sauce for an exciting spicy finish!
-
Low-Cal Options: Opt for low-calorie sweeteners instead of honey for a lighter version, without sacrificing that sweet glaze that makes this dish irresistible.
There are so many ways to make this dish your own! Whether you’re looking for a vegetarian option or just want to elevate the flavor profile, these variations will surely delight every time. Enjoy crafting your perfect plate!
How to Store and Freeze Honey Ginger Chicken
Fridge: Store leftover Honey Ginger Chicken in an airtight container for up to 3 days. Ensure it’s completely cooled before sealing to maintain freshness.
Freezer: For longer storage, freeze the chicken in a sealed freezer bag or container for up to 3 months. Make sure to label it with the date!
Reheating: To reheat, thaw in the fridge overnight, then warm gently in a pan until heated through. This helps retain the chicken’s flavorful glaze.
Tip: While this dish is best enjoyed fresh, it still tastes great even after freezing and reheating.
Expert Tips for Honey Ginger Chicken
-
Hot Pan Essential: Ensure the pan is hot before adding chicken. This is crucial for achieving that perfect crispy texture everyone loves in Honey Ginger Chicken.
-
Sauce Adjustments: Taste the sauce before adding the chicken. If you prefer a sweeter glaze, stir in a touch more honey, or for a tang, increase the ginger.
-
Cooking Time Vigilance: If using chicken breasts instead of thighs, reduce cooking time, as they tend to cook faster. Aim for that juicy texture without overcooking.
-
Gluten-Free Check: Always double-check label ingredients for gluten-free options, especially with soy sauce. Tamari is a fantastic gluten-free alternative.
-
Add a Kick: For those who enjoy a little heat, don’t hesitate to sprinkle red pepper flakes into the sauce during the simmering process.
Make Ahead Options
These Honey Ginger Chicken components are perfect for busy home cooks looking to save time during the week! You can prepare the sauce (mixing the soy sauce, honey, ginger, and garlic) up to 24 hours in advance and store it in the refrigerator in an airtight container to maintain its vibrant flavors. Additionally, you can season and coat the chicken thighs with salt, pepper, and cornstarch, then keep them refrigerated for up to 3 days. When you’re ready to enjoy your delicious Honey Ginger Chicken, simply pan-fry the coated chicken and glaze it with the prepped sauce—ensuring it remains just as delightful and crispy as if you made it fresh!
What to Serve with Honey Ginger Chicken?
The perfect sides can elevate your Honey Ginger Chicken into a complete and inviting meal that delights the senses.
-
Fluffy Steamed Rice: The subtle flavor and soft texture of rice soak up the sweet and tangy sauce beautifully.
-
Stir-Fried Vegetables: A colorful medley of bell peppers, broccoli, and snap peas adds crunch and nutrition, balancing the dish perfectly.
-
Zesty Cucumber Salad: The refreshing crunch of cucumbers tossed in a light vinegar dressing creates a delightful contrast to the warm chicken.
-
Sesame Noodles: Fulfilling and satisfying, these noodles tossed in sesame oil enhance the Asian essence, turning dinner into a cozy experience.
-
Miso Soup: A warm bowl of miso soup offers a comforting counterpoint to the dish’s rich flavors, perfect for a cozy night in.
-
Chilled Green Tea: This hydrating drink with its light earthy notes complements the dish while providing a gentle refreshment to cleanse the palate.
-
Fresh Fruit Sorbet: Serve a scoop of fruity sorbet for a sweet finale that contrasts nicely with the savory chicken while keeping things light.
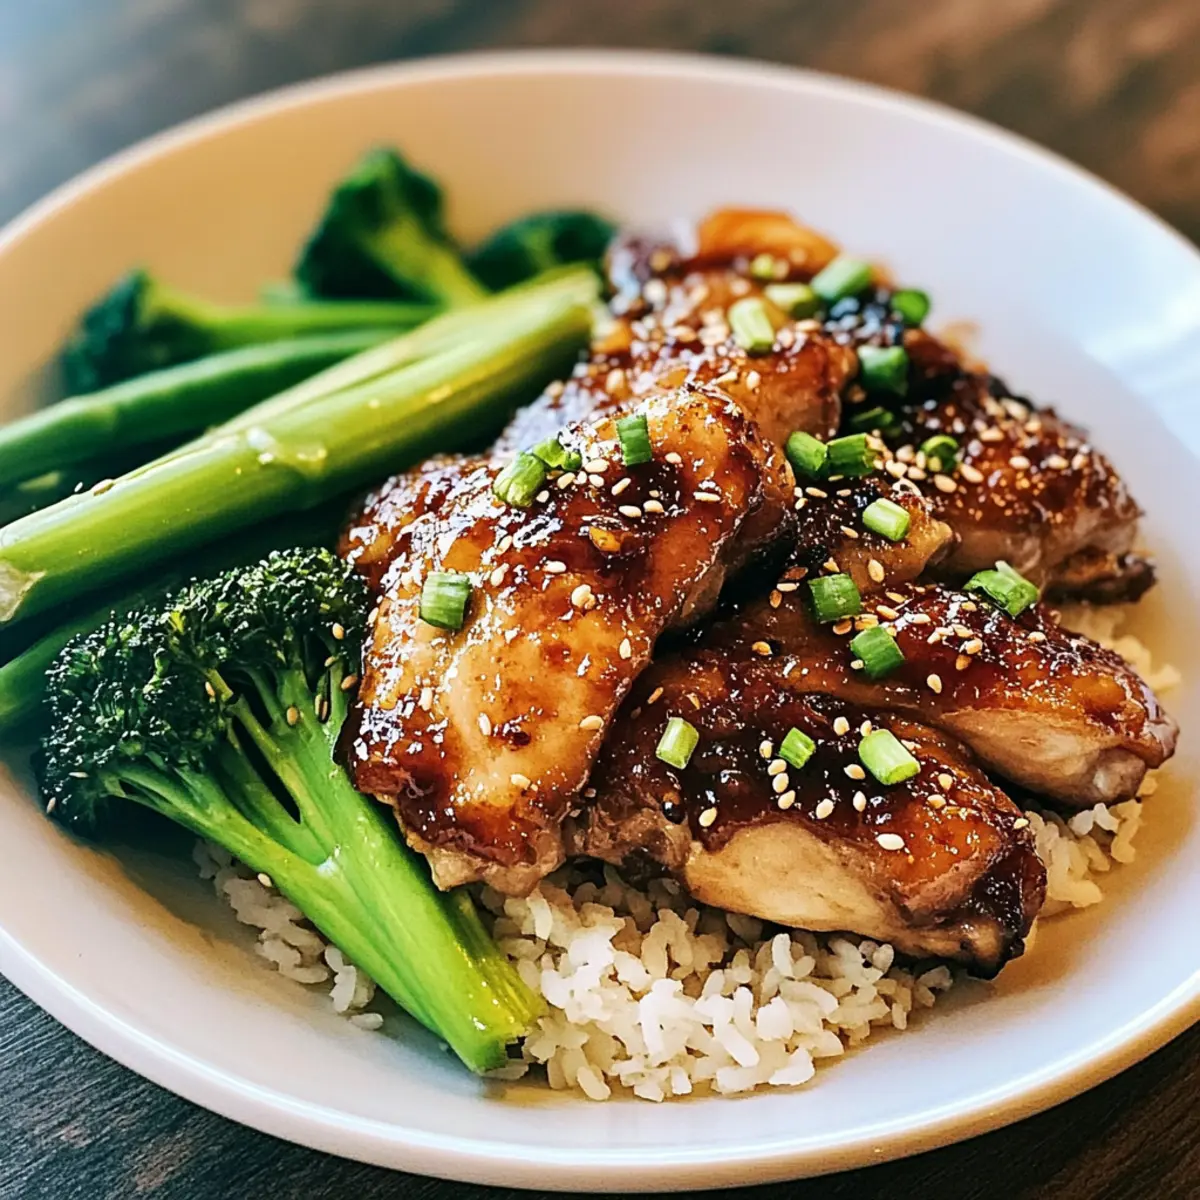
Honey Ginger Chicken Recipe FAQs
How do I choose the best ginger for my Honey Ginger Chicken?
Absolutely! When selecting ginger, look for firm, plump roots with smooth skin. Avoid pieces that are wrinkled or have dark spots all over, as these may be old or dried out. Fresh ginger provides the most flavorful and aromatic experience for your dish.
How should I store leftover Honey Ginger Chicken?
You can store leftover Honey Ginger Chicken in an airtight container in the fridge for up to 3 days. Make sure it cools completely before sealing to maintain its freshness. For better flavor retention, reheat gently in a pan on low heat, stirring in a splash of water or chicken stock to revive the sauce.
Can I freeze my Honey Ginger Chicken?
Yes, you can freeze Honey Ginger Chicken! Place the cooled chicken in a sealed freezer bag or a container and store it in the freezer for up to 3 months. When you’re ready to enjoy it again, thaw it in the fridge overnight and reheat it gently in a pan. This method helps preserve the tasty glaze!
What if my honey ginger sauce is too thick?
If your sauce thickens too much while cooking, don’t worry! Simply add a tablespoon of water or chicken broth to the pan and stir until you reach your desired consistency. This way, you’ll keep that luscious sauce, ensuring your Honey Ginger Chicken remains flavorful and saucy.
Are there any dietary considerations with this recipe?
Great question! This recipe can easily be made gluten-free by using tamari instead of regular soy sauce, and it’s naturally low-calorie due to the lean chicken thighs. If you’re cooking for family pets or anyone with allergies, always double-check the ingredients in your sauces. As for vegetarian options, swapping chicken with firm tofu still provides a equally delightful experience!
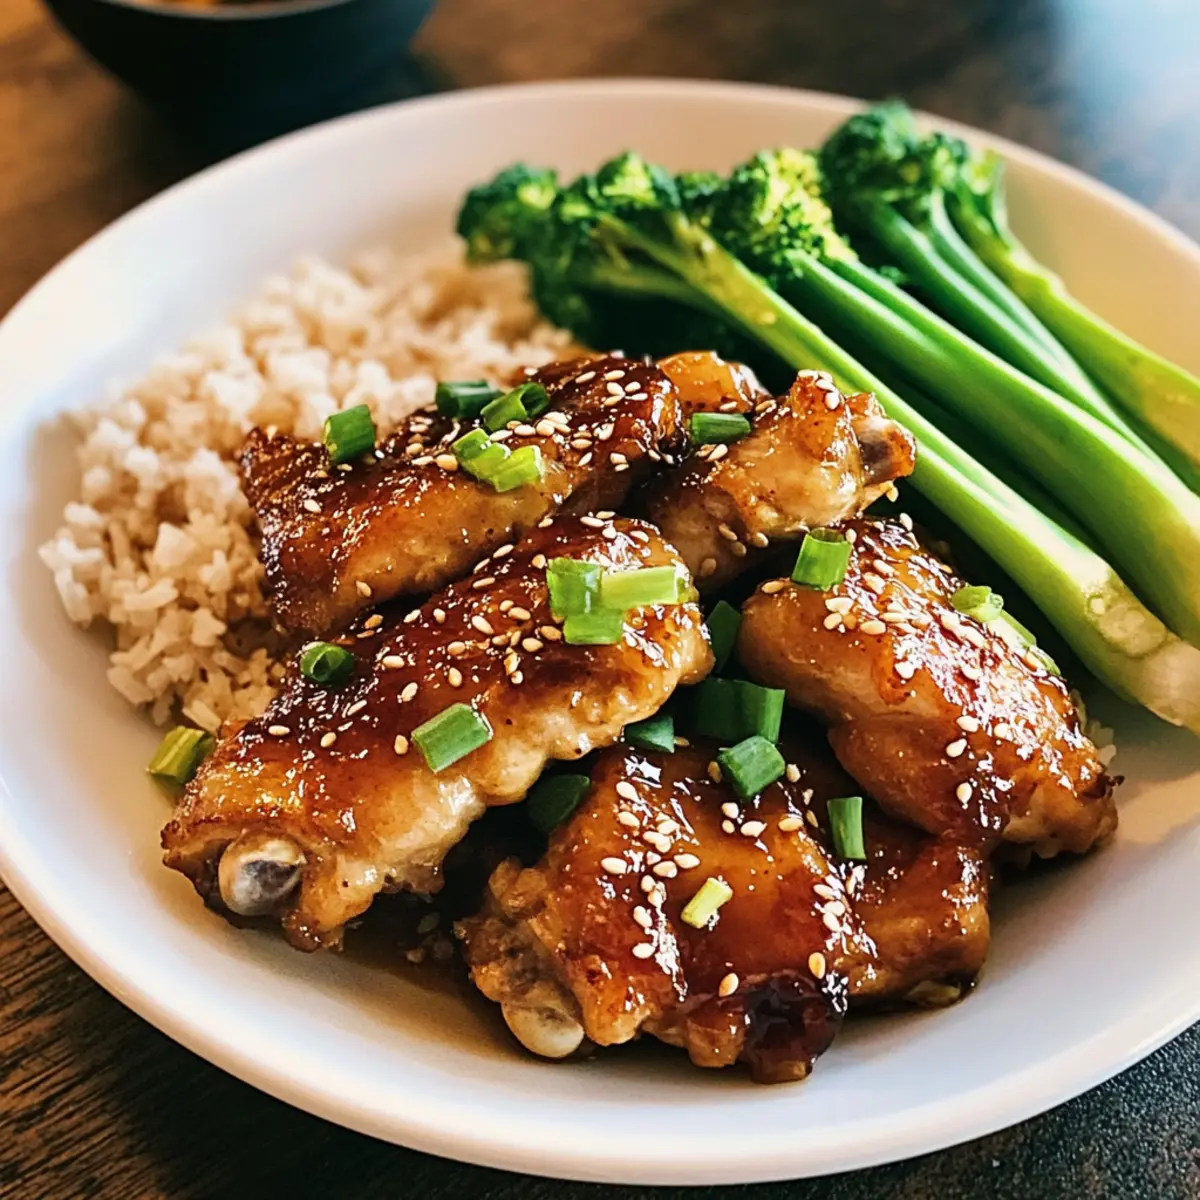
Honey Ginger Chicken: A Sweet and Savory 20-Minute Wonder
Ingredients
Equipment
Method
- In a medium bowl, mix together ¼ cup soy sauce, 2 tablespoons honey, 1 tablespoon freshly grated ginger, 2 minced garlic cloves, and 1 tablespoon of sake (if using). Whisk until smooth and set aside.
- Season 1 pound of chicken thighs generously with salt and pepper, then lightly coat with cornstarch.
- Heat 2 tablespoons of vegetable oil in a large skillet over medium-high heat.
- Pan-fry the chicken for about 4 to 5 minutes until golden brown, then flip and cook for another 4 to 5 minutes.
- Remove the chicken and add the Honey Ginger sauce to the skillet, scraping up any bits and letting it simmer for 30 seconds.
- Return the chicken to the pan, cooking for about 1 minute per side until well coated in the sauce.
- Remove from heat and serve immediately on a bed of steamed rice or noodles, drizzling with remaining sauce.
Leave a Reply