
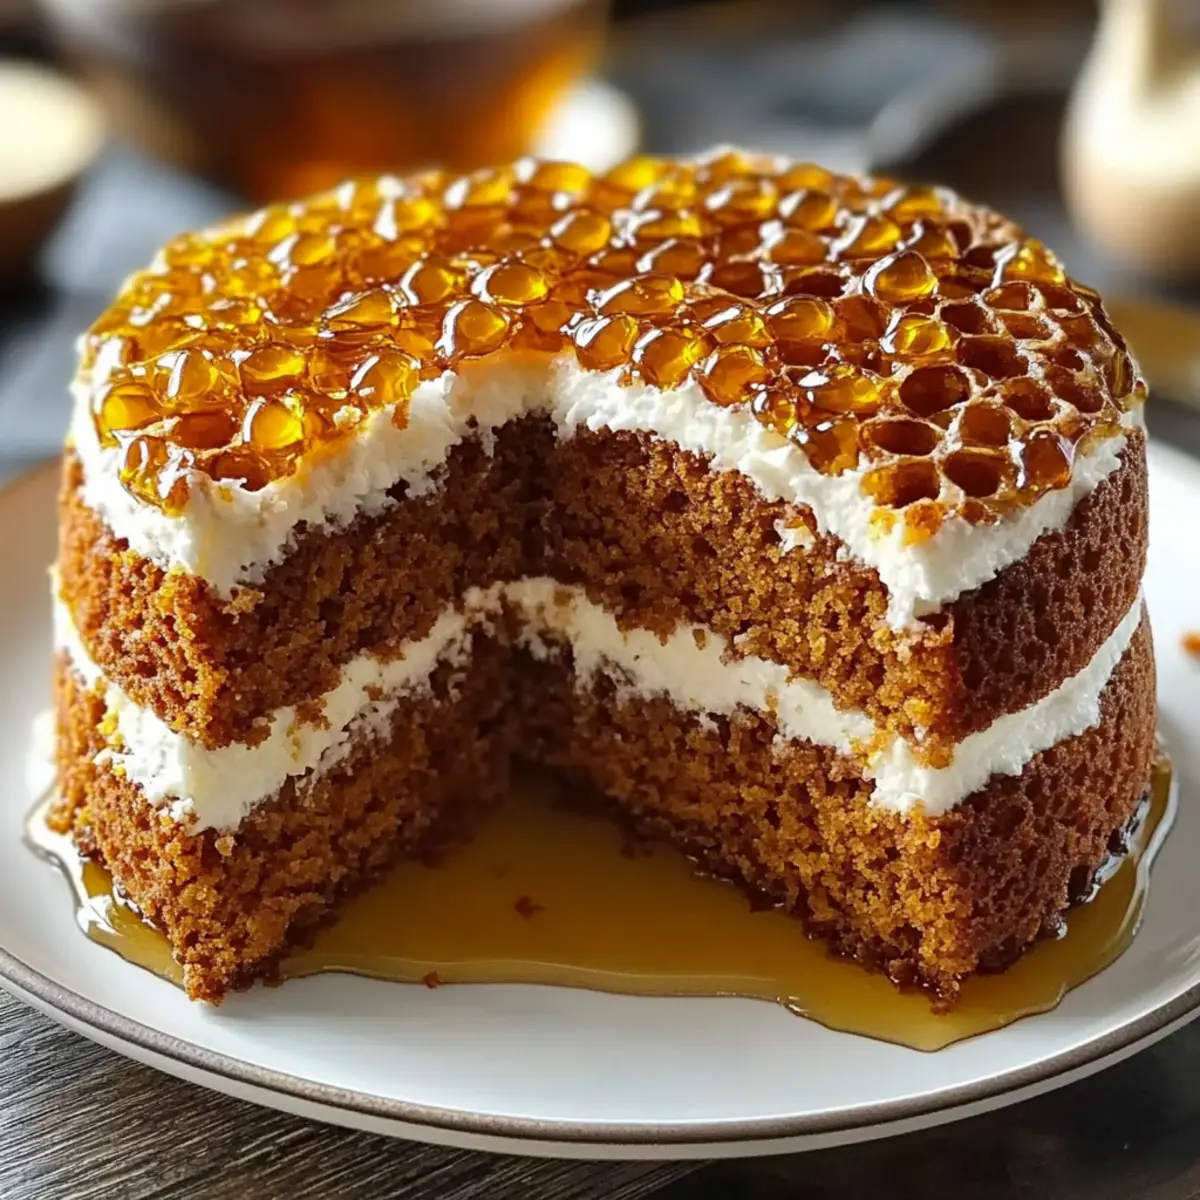
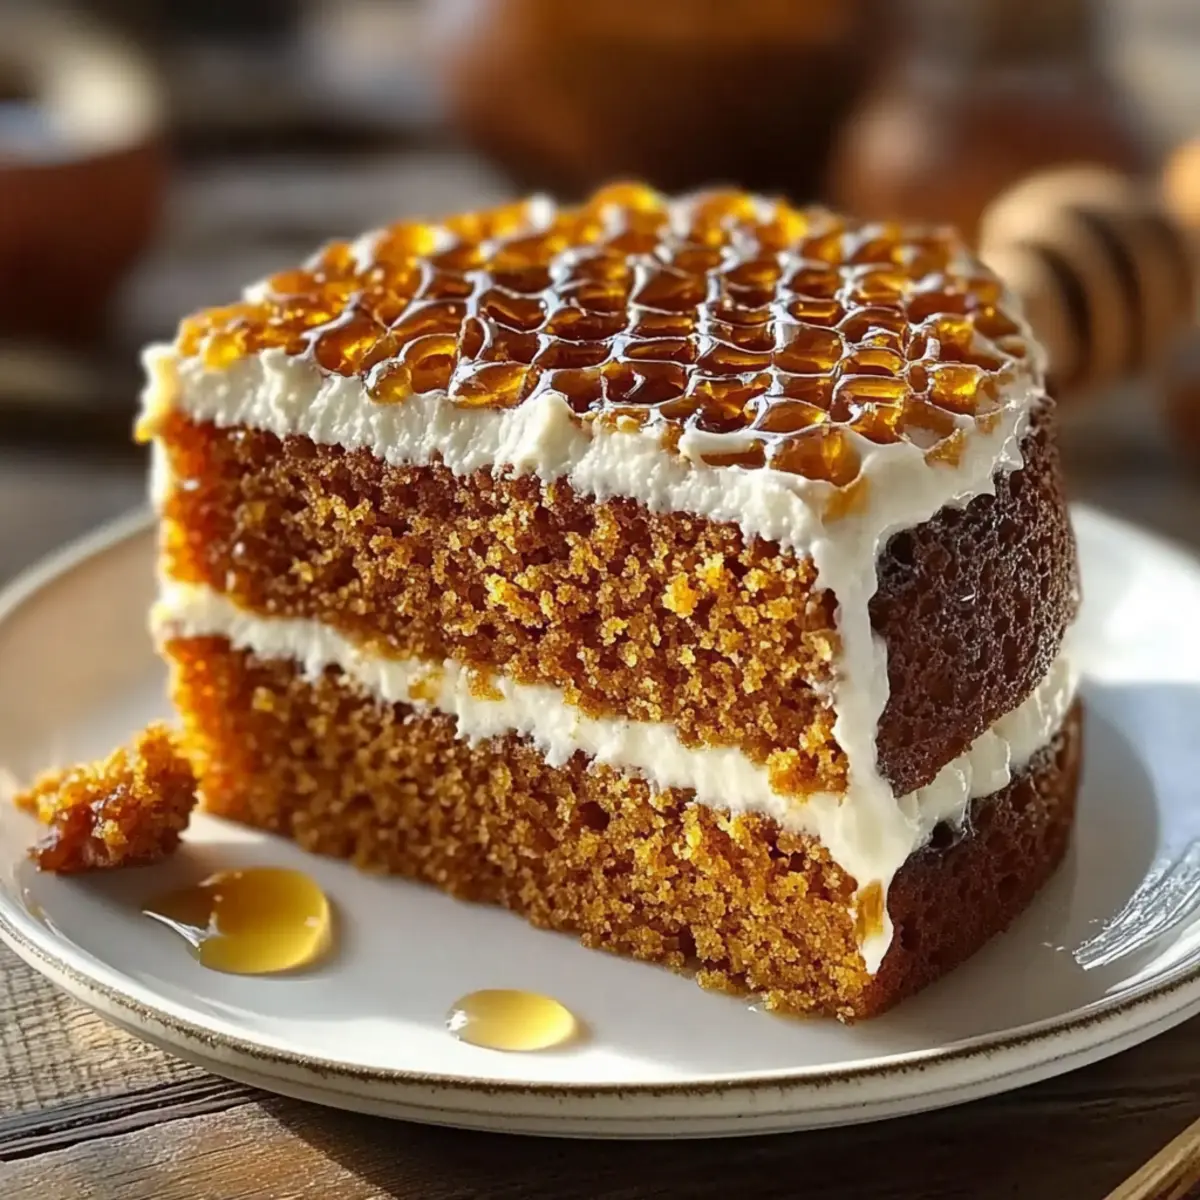
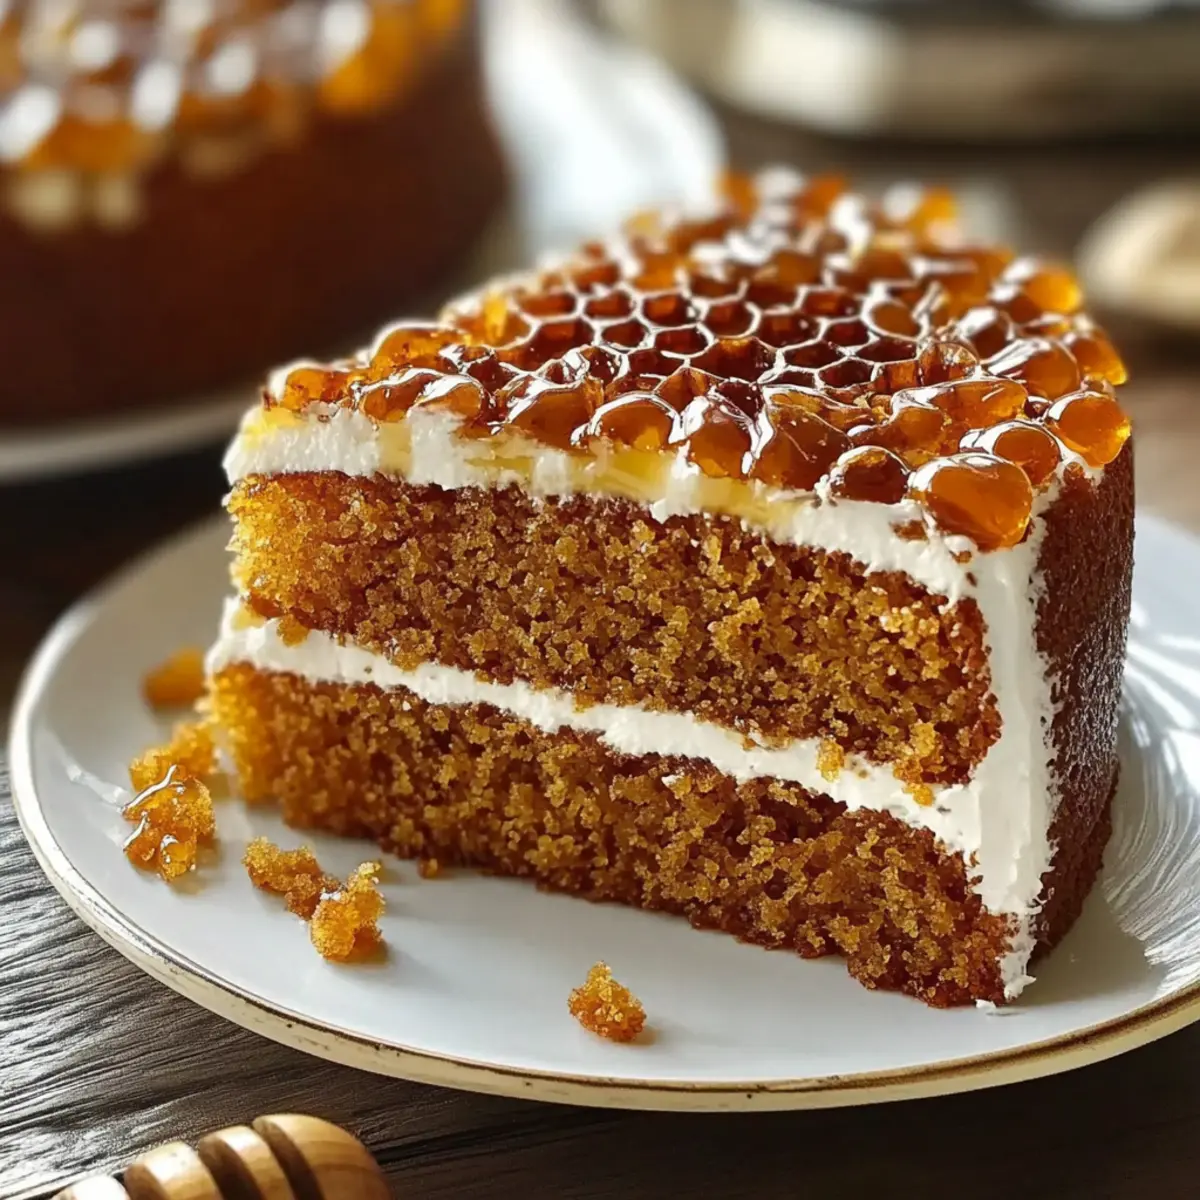
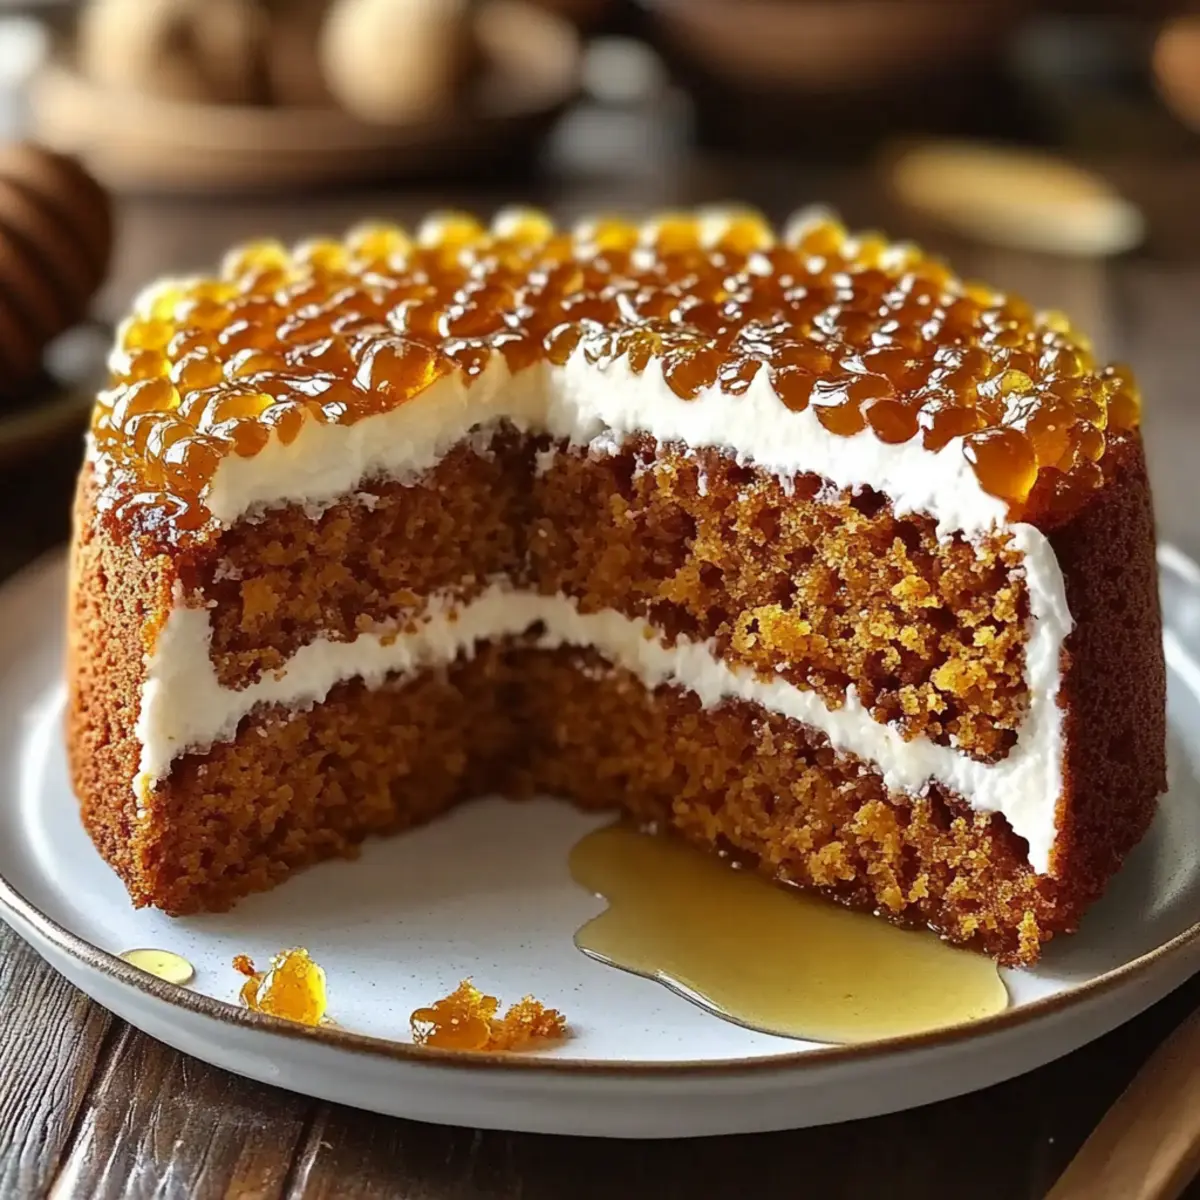
As I stood in my cozy kitchen, the sweet aroma of honey began to fill the air, instantly transforming my space into a warm embrace of comfort. This easy honey cake recipe captures that essence perfectly, making it an ideal choice for both festive gatherings and quiet afternoons at home. Moist and fragrant, this delightful cake is approachable for those just starting their baking journey while still impressing even the most seasoned chefs. With its minimal prep time and the ability to adapt with your favorite spices or add-ins, this treat is sure to become a beloved staple in your home. Are you ready to create a dessert that not only satisfies your sweet tooth but fills your kitchen with irresistible warmth?
Why is Easy Honey Cake a Must-Try?
Simplicity reigns supreme in this recipe, making it perfect for bakers of all levels. Moist and fragrant, the cake envelops you in comforting aromas that evoke memories of cherished family gatherings. Adaptable to your taste, you can easily experiment with spices or add nuts and fruits for extra dimension. Timeless treat that bridges tradition and modern taste, it’s a delightful way to celebrate any occasion. Plus, it stores well and even improves over time—perfect for when you’re tempted by a second slice! Enjoy it on its own or pair with a warm cup of tea, similar to how you’d savor Coffee Cake Cozy for an afternoon pick-me-up.
Easy Honey Cake Ingredients
For the Cake
- Honey – A natural sweetener that brings moisture and a beautiful floral flavor; for a different taste, consider using maple syrup.
- All-Purpose Flour – Provides the necessary structure; swap in whole wheat flour for a denser crumb.
- Baking Powder – Essential for leavening, ensuring your cake rises and remains light and fluffy.
- Eggs – These contribute to both texture and moisture; make sure they are at room temperature for best mixing.
- Neutral Oil – Keeps the cake soft and tender; I recommend canola or vegetable oil.
- Cinnamon and Cloves – These spices add a warm, aromatic depth, elevating the whole experience of the cake.
- Salt – A pinch to enhance flavor, balancing out the natural sweetness of the honey.
Optional Add-Ins
- Nuts – Walnuts or almonds can lend a lovely crunch and additional flavor to your moist honey cake.
- Dried Fruits – Raisins or cranberries can be folded in for a hint of tartness and chewy texture.
- Extra Spices – Consider nutmeg or ginger to tailor the cake to your taste preferences or seasonal themes.
Let this easy honey cake recipe bring warmth to your home, making every slice a celebration of simple, wholesome ingredients!
Step‑by‑Step Instructions for Easy Honey Cake
Step 1: Preheat the Oven
Begin by preheating your oven to 350°F (175°C). As this warms up, take a moment to prepare your baking pan: grease it with a bit of oil and lightly dust it with flour. This step ensures your easy honey cake will release smoothly after baking, encouraging a beautiful, intact result.
Step 2: Mix Dry Ingredients
In a medium bowl, whisk together 2 cups of all-purpose flour, 2 teaspoons of baking powder, a pinch of salt, and your chosen spices—1 teaspoon of cinnamon and ½ teaspoon of cloves. This blend not only adds structure to your cake but infuses it with a warm, inviting aroma. Set this mixture aside while you focus on the wet ingredients.
Step 3: Combine Wet Ingredients
In a separate large bowl, combine 1 cup of honey, ½ cup of neutral oil, and 3 large eggs. Beat the mixture until it’s well blended and slightly frothy, which takes about 2 minutes. The oil and honey should meld beautifully to form a smooth and inviting mixture, ready to bring moisture and sweetness to your easy honey cake.
Step 4: Integrate the Mixtures
Gradually incorporate the dry ingredients into the wet mixture, stirring with a spatula or wooden spoon until just combined. Be careful not to overmix; you want a few small lumps to remain for a tender texture. This step is where your cake starts to come together, transforming simple ingredients into a luscious batter.
Step 5: Bake the Cake
Pour the batter into your prepared pan, smoothing the top with a spatula. Place it in the preheated oven and bake for 45-55 minutes, or until golden brown. To check for doneness, insert a toothpick in the center; it should come out clean or with a few crumbs attached, indicating your easy honey cake is perfectly baked.
Step 6: Cool the Cake
Once baked, remove the pan from the oven and allow the cake to cool in the pan for about 10 minutes. This resting period helps set the cake and makes it easier to transfer to a wire rack. After the time has elapsed, gently run a knife around the edges, then carefully flip it out onto the rack to cool completely before serving.
Easy Honey Cake Variations & Substitutions
Feel free to personalize this easy honey cake to suit your taste and dietary preferences!
- Maple Syrup: Replace honey with maple syrup for a unique twist; expect a deeper flavor profile.
- Whole Wheat Flour: Use whole wheat flour instead of all-purpose for added nutrition and a nutty flavor.
- Nutty Crunch: Add ½ cup of chopped walnuts or almonds for a delightful texture contrast in each bite.
- Dried Fruits: Fold in ½ cup of raisins or chopped dried apricots to introduce sweetness and chewiness.
- Spice It Up: Swap in ginger or nutmeg for a new aromatic experience that diversifies the warm essence of the cake.
This addition can elevate the traditional flavors into something extraordinary! - Cream Cheese Frosting: Top your cake with a light cream cheese frosting to create a luscious, decadent finish.
- Vegan Option: Substitute eggs with flax eggs and omit the oil; replace with unsweetened applesauce for a moist vegan version.
- Gluten-Free: Opt for a gluten-free all-purpose flour blend to accommodate gluten sensitivities without compromising on taste.
Explore these variations to find the perfect match for your palate, or try pairing your cake with a delightful Quinoa Salad Honey for a complete meal. Each twist can breathe new life into this comforting dessert!
Expert Tips for Easy Honey Cake
• Don’t Overbake: Begin checking for doneness a few minutes earlier than the suggested time; a perfectly baked cake is moist and tender.
• Measure Flour Accurately: Spoon flour into your measuring cup and level off with a knife to avoid excess flour, which can create a dry easy honey cake.
• Room Temperature Eggs: Using eggs at room temperature will help them mix more easily into the batter, ensuring a better incorporation and texture.
• Adjust for Density: If a denser honey cake is desired, reduce the baking powder and opt for whole wheat flour to create a heartier texture.
• Keep It Fresh: Store your cake in an airtight container at room temperature for up to 5 days, or freeze slices to maintain freshness for longer.
How to Store and Freeze Easy Honey Cake
Room Temperature: Store at room temperature in an airtight container for up to 5 days to keep your easy honey cake moist and flavorful.
Freezer: Wrap slices tightly in plastic wrap and then in foil before freezing for up to 3 months. This preserves the cake’s moisture and prevents freezer burn.
Thawing: To enjoy your frozen easy honey cake, simply transfer it to the fridge overnight or leave it at room temperature for a few hours before serving.
Reheating: For a warm treat, microwave individual slices for about 15-20 seconds or pop them in a preheated oven at 350°F (175°C) for 10 minutes.
What to Serve with Easy Honey Cake?
Indulging in a slice of honey cake is just the beginning; let’s explore delightful pairings that complement its sweet, spiced goodness.
- Whipped Cream: Light and airy, a dollop of whipped cream adds creaminess and balances the cake’s sweetness beautifully.
- Fresh Berries: Juicy strawberries or blueberries provide a refreshing tartness that contrasts perfectly with the rich honey flavors.
- Greek Yogurt: A spoonful of tangy yogurt brings a creamy texture, enhancing the cake’s moisture while offering a healthful touch.
- Tea Infusion: Pair with a fragrant herbal tea, like chamomile or mint, to create a relaxing afternoon retreat enhanced by cozy fragrances.
- Spiced Coffee: Enjoy alongside a warm cup of spiced coffee for a match made in heaven, enhancing the aromatic notes in the cake.
- Chocolate Drizzle: A light drizzle of dark chocolate glaze elevates the dessert, adding depth to each bite and contrasting the cake’s sweetness.
- Aged Cheese: A small slice of sharp cheese, like aged Gouda, introduces a savory element that balances the honey’s sweetness and adds complexity.
- Cinnamon Ice Cream: Enjoying a scoop of cinnamon ice cream creates a delightful temperature contrast and enriches the spice profile of your dessert.
- Honey Glaze: A simple honey glaze brushed on top enhances the flavor and offers an enticing sheen that looks as good as it tastes.
- Pineapple Salsa: For a tropical twist, a pineapple salsa brings bright flavors and a tangy surprise that elevates the traditional honey cake experience.
Make Ahead Options
These Easy Honey Cakes are perfect for meal prep enthusiasts! You can prepare the batter up to 24 hours in advance by mixing the wet and dry ingredients separately and refrigerating them until you’re ready to bake. This approach allows the flavors to meld beautifully and saves you precious time on busy days. Additionally, you can also bake the cake and store it at room temperature in an airtight container for up to 5 days; this enhances its moistness and flavor! When you’re ready, simply slice and serve, or warm individual pieces in the microwave for a cozy, freshly-baked experience. Enjoy the convenience without sacrificing quality!
Easy Honey Cake Recipe FAQs
How do I choose the best honey for making easy honey cake?
Absolutely! When selecting honey, look for raw or pure honey with a rich floral taste. You can also consider using local honey, which may add a unique flavor profile. Avoid overly processed honey, as it often lacks the character that enhances this cake’s delightful aroma.
How should I store my easy honey cake?
Store your easy honey cake at room temperature in an airtight container for up to 5 days. This will help maintain its moist texture and rich flavor. If you find you can’t finish it in that time, don’t worry—a slice or two can be frozen!
Can I freeze easy honey cake, and if so, how?
Yes, you can freeze easy honey cake! Begin by allowing the cake to cool completely. Then, wrap individual slices tightly in plastic wrap followed by a layer of aluminum foil to prevent freezer burn. It will stay fresh for up to 3 months in the freezer. When you’re ready to enjoy, simply thaw it in the fridge overnight or leave it at room temperature for a few hours.
What should I do if my easy honey cake comes out too dry?
If you notice that your cake has turned out dry, this could be due to overbaking or excess flour. First, ensure that you are measuring flour accurately by spooning it into your measuring cup and leveling it off with a knife. If you’ve already baked it, try serving it with a dollop of whipped cream or a scoop of ice cream to add moisture back into each delicious slice!
Is this easy honey cake suitable for people with allergies?
Yes, but keep in mind that the easy honey cake contains gluten (from the flour) and eggs. If you’re baking for anyone with allergies, you can substitute the regular flour with gluten-free flour blends, and use a flax egg (1 tablespoon of ground flaxseed mixed with 2.5 tablespoons of water, let to sit for 5 minutes) as a replacement for eggs. Be sure to check the labels on your ingredients to ensure they are allergy-friendly.
Moist and Fragrant Easy Honey Cake for Cozy Afternoons
Ingredients
Equipment
Method
- Preheat your oven to 350°F (175°C) and prepare your baking pan by greasing and dusting with flour.
- In a medium bowl, whisk together flour, baking powder, salt, cinnamon, and cloves. Set aside.
- In a large bowl, combine honey, neutral oil, and eggs, beating until blended and slightly frothy.
- Gradually incorporate the dry mixture into the wet ingredients, mixing until just combined.
- Pour the batter into the prepared pan and bake for 45-55 minutes, or until golden brown.
- Allow the cake to cool in the pan for 10 minutes before transferring it to a wire rack.
Leave a Reply