
The gentle sound of laughter fills the kitchen as we gather around the counter, preparing a sweet treat that transports us back in time—Cream Cheese Mints. With just five simple ingredients, this easy homemade candy captures the spirit of the holidays and promises to charm everyone who tastes it. These delightful mints not only melt in your mouth but also serve as a perfect conversation starter at family gatherings or as thoughtful homemade gifts. As I roll each mint into pastel-colored perfection, I can’t help but feel a sense of nostalgia, remembering the joy they brought to past celebrations. Ready to create a batch that will bring smiles to your loved ones’ faces? Let’s dive into this simple recipe that combines tradition with a pinch of love!
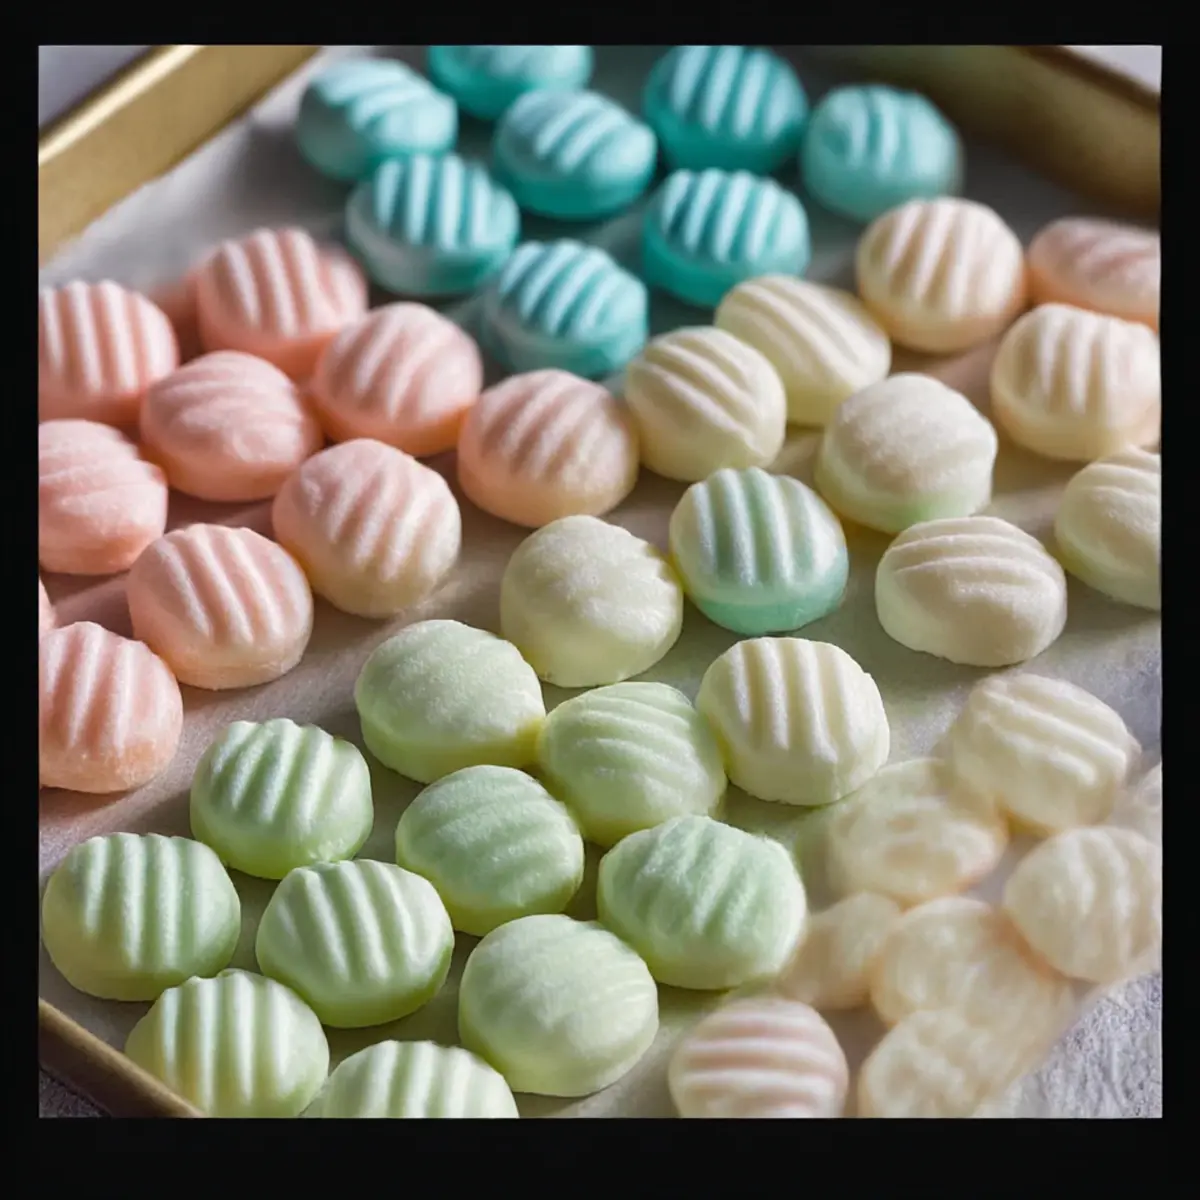
Why Are Cream Cheese Mints So Special?
Nostalgic Flavor: These mints evoke warm memories, making them a heartfelt treat for gatherings.
Minimal Ingredients: With just five components, you’ll have a delightful candy ready in no time.
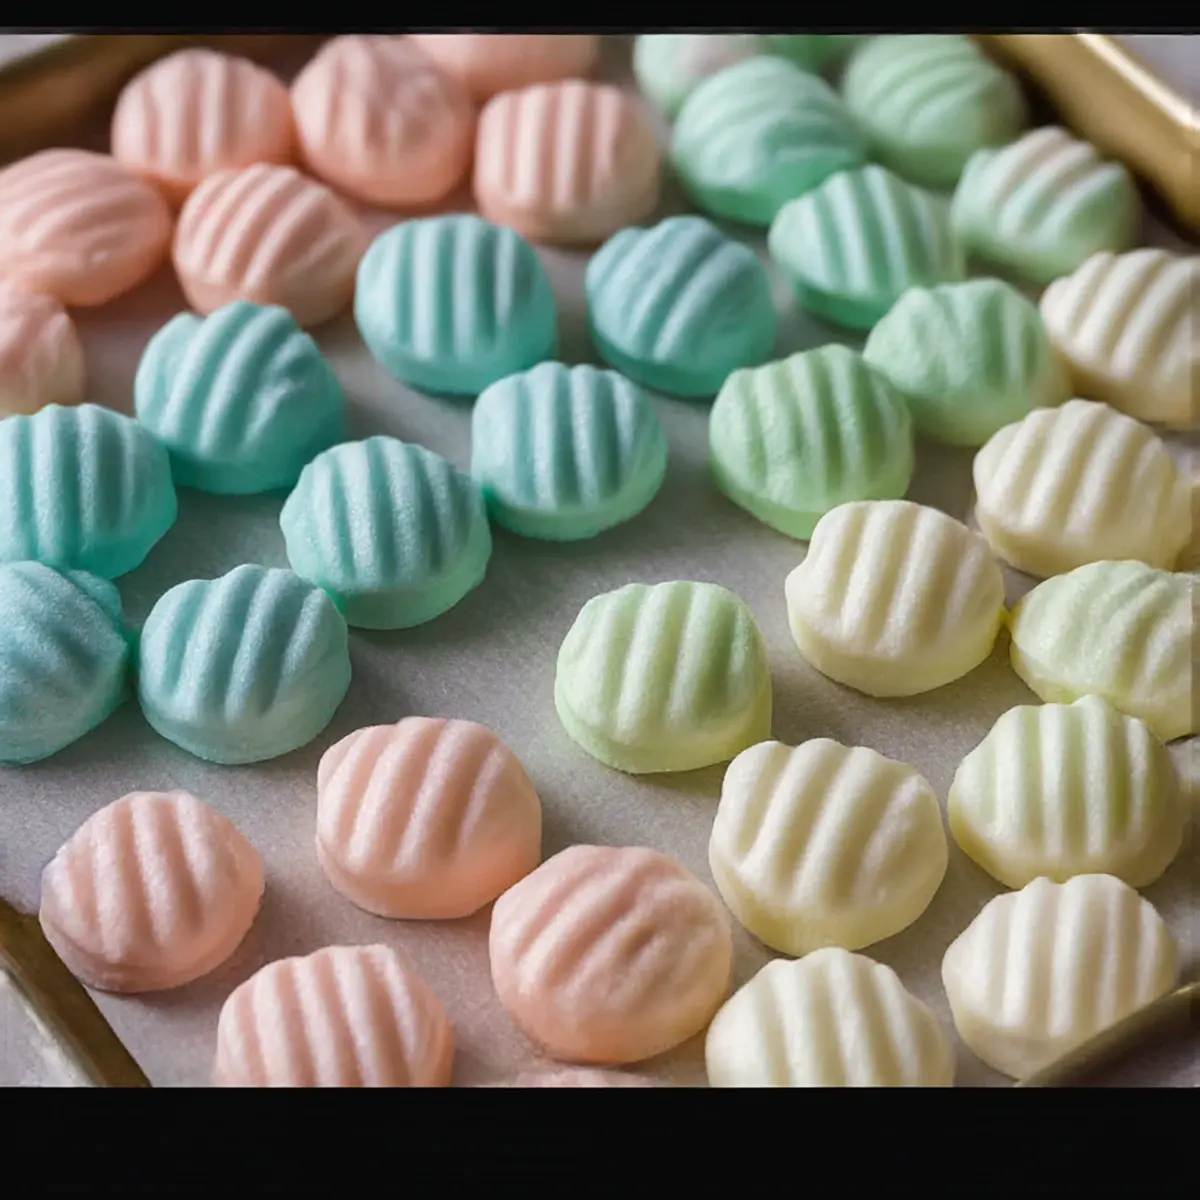
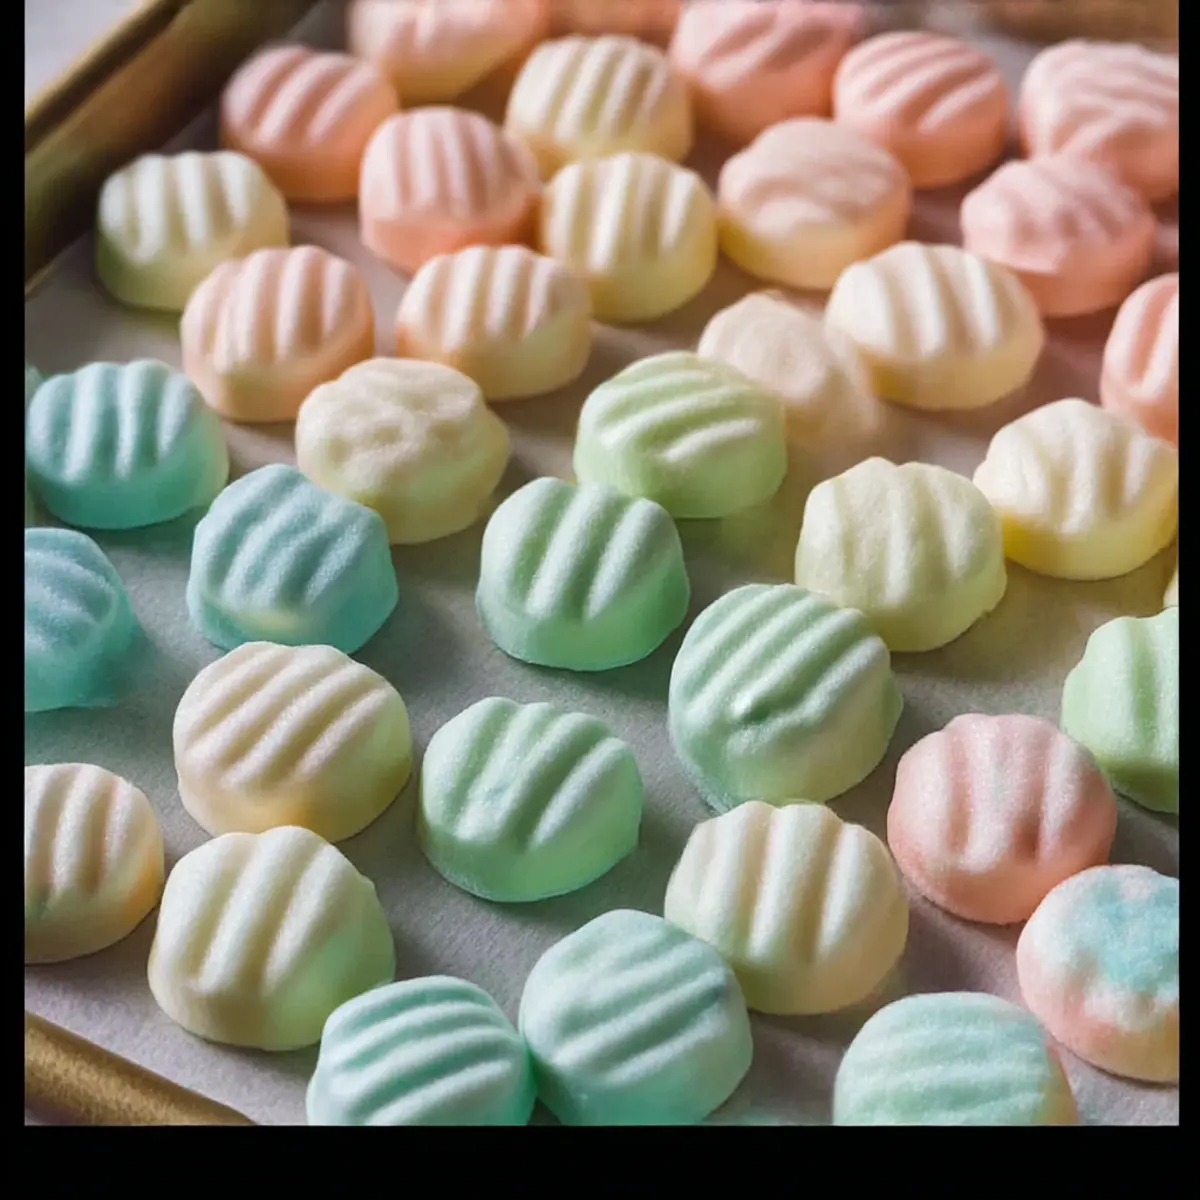
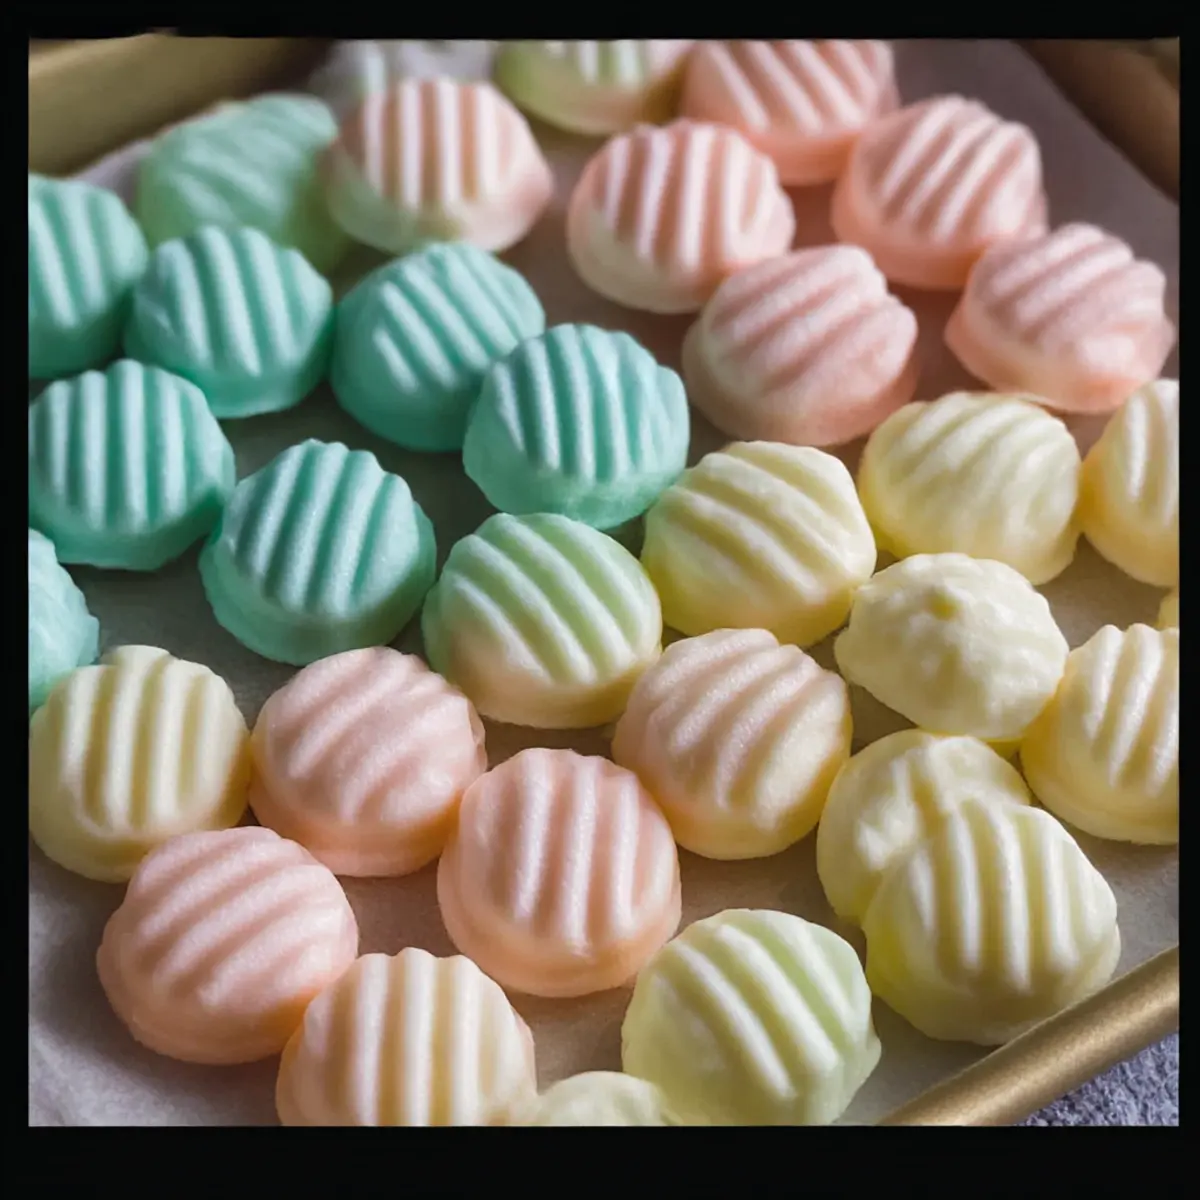
Perfect for Sharing: Their beautiful pastel colors and melt-in-your-mouth texture make them an ideal addition to dessert platters.
No Cooking Required: Simply mix and shape, making it a fun activity for both kids and adults!
Versatile Treat: Feel free to experiment with flavors like spearmint or chocolate for fun variations. If you’re looking for more easy recipes, check out my Bake Nutella Cheesecake or delicious Philly Cheesesteak Mac for your next gathering!
Cream Cheese Mints Ingredients
For the Mints
- Cream Cheese – Provides creaminess and structure for the mints; low-fat cream cheese works for a lighter option.
- Unsalted Butter – Adds richness and helps achieve a soft texture; substitute with vegan butter for a dairy-free alternative.
- Powdered Sugar – Sweetens the mints and creates a dough-like consistency; measure by weight for accuracy, as 4 cups is roughly 1 pound.
- Fine Sea Salt – Enhances flavor and balances sweetness; no substitutes necessary.
- Peppermint Extract – Infuses the mints with classic mint flavor; food-grade peppermint oil can be used but in smaller amounts.
- Gel Food Coloring (optional) – For adding color to the mints; start with one drop to achieve beautiful pastel shades.
Step‑by‑Step Instructions for Cream Cheese Mints
Step 1: Prep the Dough
Begin by softening 8 ounces of cream cheese and 4 tablespoons of unsalted butter in a stand mixer. Beat the cream cheese and butter together on medium speed until the mixture is smooth and creamy, which should take about 2 minutes. Gradually add 1/4 teaspoon of fine sea salt and 1 pound of powdered sugar, mixing until fully incorporated. Finally, add 1 teaspoon of peppermint extract and blend until you achieve a homogeneous dough-like texture.
Step 2: Coloring (optional)
If you’d like to add a splash of color to your Cream Cheese Mints, divide the dough into small bowls. Add a drop of gel food coloring to each bowl, mixing thoroughly until the desired pastel shades are achieved. Aim for even coloration throughout each batch for a beautiful presentation. This step can be a fun activity, so feel free to let your creativity shine with different colors.
Step 3: Shape the Mints
Once your colorful dough is ready, take small portions and roll them into 1-inch balls, approximately 1 teaspoon in size. Place each ball on a parchment-lined baking sheet, leaving some space between each mint to allow for slight expansion. This step creates a lovely look and ensures that each mint will be easy to flatten in the next step.
Step 4: Flatten
To create the iconic shape of your Cream Cheese Mints, dip a fork in some powdered sugar to prevent sticking. Press the fork gently onto each ball, flattening them slightly to about a half-inch thickness. This not only shapes your mints but also adds a charming touch to their appearance. Aim for an even texture without completely squishing them.
Step 5: Drying
Allow your beautifully shaped mints to rest at room temperature for at least 2 hours. This step is crucial; it helps the Cream Cheese Mints firm up perfectly. You’ll know they’re ready when they feel slightly firm to the touch but remain soft and creamy inside. If you’re short on time, you can put them in the fridge to speed up the process.
Step 6: Storage
Once your Cream Cheese Mints have dried and firmed up, carefully transfer them to an airtight container. They can be refrigerated for up to a month, ensuring they stay deliciously fresh. If you’re looking to keep them longer, consider freezing them for up to 6 months. Just be sure to layer them with parchment paper to prevent sticking.
What to Serve with Easy Cream Cheese Mints
Delight in a tasty combination that elevates these creamy delights into a well-rounded treat for every occasion.
-
Brewed Peppermint Tea: This soothing beverage complements the minty flavor, providing a refreshing balance without overshadowing the mints.
-
Chocolate-Covered Pretzels: The salty crunch adds a delightful contrast, creating a fun mix of flavors and textures on your dessert platter.
-
Fresh Fruit Salad: A medley of vibrant fruits brings a burst of color and freshness, enhancing the overall sweetness of the mints.
-
Mini Cheesecake Bites: These rich, creamy desserts harmonize beautifully with the mints, creating a decadent pairing worthy of any gathering.
-
Buttery Shortbread Cookies: Their crumbly texture and subtle flavor make them an ideal counterpart, highlighting the rich creaminess of the mints.
-
Holiday Punch: A fruity, sparkling punch ties the meal together with festive flair, making the entire experience feel like a celebration.
-
Dark Chocolate Truffles: Indulge your guests with rich truffles; the bitterness of dark chocolate rounds out the sweetness of the mints perfectly.
-
Classic Eggnog: This rich, spiced beverage delivers holiday cheer and complements the minty freshness with its creamy texture.
-
Creamy Vanilla Cupcakes: Their light sweetness and fluffy texture make them a delightful addition, perfect for serving alongside your homemade mints.
Expert Tips for Cream Cheese Mints
-
Perfectly Soft Ingredients: Ensure your cream cheese and butter are room temperature for easy mixing. If in a hurry, cut them into small cubes and microwave for 10-15 seconds.
-
Sift the Sugar: For a smoother consistency, sift your powdered sugar before measuring. This helps avoid lumps in your Cream Cheese Mints.
-
Measuring by Weight: When using powdered sugar, weigh your ingredients for accuracy. 4 cups is roughly 1 pound, providing the best balance for your mints.
-
Avoid Overmixing: Mix just until combined when incorporating the powdered sugar and peppermint extract. Overmixing can lead to cracks in your mints.
-
Storage Tips: Keep your mints in an airtight container in the fridge for up to a month. For longer storage, layer them with parchment paper and freeze for up to 6 months.
Make Ahead Options
These Cream Cheese Mints are perfect for meal prep enthusiasts! You can prepare the dough up to 24 hours in advance; just mix your ingredients and shape them into balls before refrigerating. This helps them maintain their freshness while allowing the flavors to meld beautifully. After chilling, simply flatten the mints with a powdered sugar-dipped fork, and let them dry at room temperature for about 2 hours before serving. If you want to prep further ahead, freeze the shaped mints for up to 6 months, separating layers with parchment paper. This way, you’ll have delicious homemade treats ready to wow your guests with minimal effort!
Cream Cheese Mints Variations & Substitutions
Invite your creativity to shine as you explore these delightful twists on the classic Cream Cheese Mints!
-
Dairy-Free: Swap unsalted butter for vegan butter to create a luscious, dairy-free version without sacrificing texture.
-
Flavor Explosion: Replace peppermint extract with other flavor extracts like spearmint, almond, or even a splash of vanilla for a fun, unique twist.
-
Nutty Goodness: Incorporate a tablespoon of finely chopped nuts such as walnuts or almonds into the dough for added crunch and flavor.
-
Chocolate Lovers: Mix in cocoa powder or melted chocolate to the dough for a rich, chocolatey version that’s sure to please the cocoa fans in your life.
-
Mold It: Use silicone molds to create cute shapes, adding an extra dash of creativity for special occasions like weddings or birthdays.
-
Heat Things Up: For those who enjoy a little heat, a hint of cinnamon or cayenne pepper can create an unexpectedly delightful flavor contrast.
-
Colorful Creations: Don’t be shy with the food coloring! Blend different shades together or even experiment with a tie-dye effect for an eye-catching presentation.
As always, these variations are just the beginning! If you enjoy experimenting in the kitchen, consider adding a batch of my Italian Herbs Cheese to your platter or try a slice of the flavorful Pineapple Carrot Cream for a refreshing complement. Enjoy your culinary adventure!
How to Store and Freeze Cream Cheese Mints
Fridge: Store your Cream Cheese Mints in an airtight container in the refrigerator for up to 1 month, ensuring they remain fresh and creamy.
Freezer: If you’d like to keep them longer, freeze the mints for up to 6 months. Layer them with parchment paper to prevent sticking.
Thawing: To enjoy, thaw frozen mints in the refrigerator for several hours before serving, allowing them to regain their delightful texture.
Room Temperature: Avoid leaving the mints out for more than 2 hours to maintain their freshness and soft consistency.
Cream Cheese Mints Recipe FAQs
How do I choose ripe cream cheese for the mints?
Absolutely! When selecting cream cheese, look for a block that is firm yet creamy without any dark spots. The packaging should be intact, and the expiration date must be current for the best flavor.
How should I store Cream Cheese Mints to keep them fresh?
Very important! Place your Cream Cheese Mints in an airtight container in the refrigerator, where they can stay fresh for up to 1 month. If you want to keep them longer, the freezer is your best friend; they can last for up to 6 months if layered with parchment paper to avoid sticking.
Can I freeze Cream Cheese Mints, and if so, how?
Of course! To freeze your Cream Cheese Mints, line a baking sheet with parchment paper and place the mints in a single layer. Freeze them for about 1-2 hours until solid, then transfer them to an airtight container or resealable bag. Be sure to separate layers with parchment paper. To thaw, simply leave them in the refrigerator for several hours before serving.
What if my mints crack during preparation?
No worries! Cracking can happen if the mixture is overworked. If you notice cracks forming, it’s likely due to overmixing or using cold ingredients. Ensure your cream cheese and butter are at room temperature prior to mixing. For a smoother dough, mix just until fully combined, and refrigerate them a bit before shaping to help with consistency.
Are there any dietary considerations for pets or allergies?
Absolutely! While Cream Cheese Mints are a delightful treat for humans, they contain ingredients like dairy and sugar that are not suitable for pets. If you’re serving these to guests who might have allergies, let them know about the cream cheese and butter contents. For a dairy-free option, you can substitute with vegan butter and low-fat cream cheese alternatives. Always check with guests for specific allergy needs!
Delicious Cream Cheese Mints You’ll Love for Any Occasion
Ingredients
Equipment
Method
- Begin by softening cream cheese and unsalted butter in a stand mixer. Beat until smooth and creamy, about 2 minutes.
- Gradually add fine sea salt and powdered sugar, mixing until fully incorporated. Add peppermint extract and blend to a dough-like texture.
- If using, divide the dough into small bowls, add gel food coloring, and mix for even pastel shades.
- Roll small portions into 1-inch balls and place on a parchment-lined baking sheet with space in between.
- To flatten, dip a fork in powdered sugar and press gently on each ball to about half-inch thickness.
- Allow mints to dry at room temperature for at least 2 hours until slightly firm but soft inside.
- Transfer dried mints to an airtight container. They can be refrigerated for up to a month or frozen for up to 6 months.
Leave a Reply