
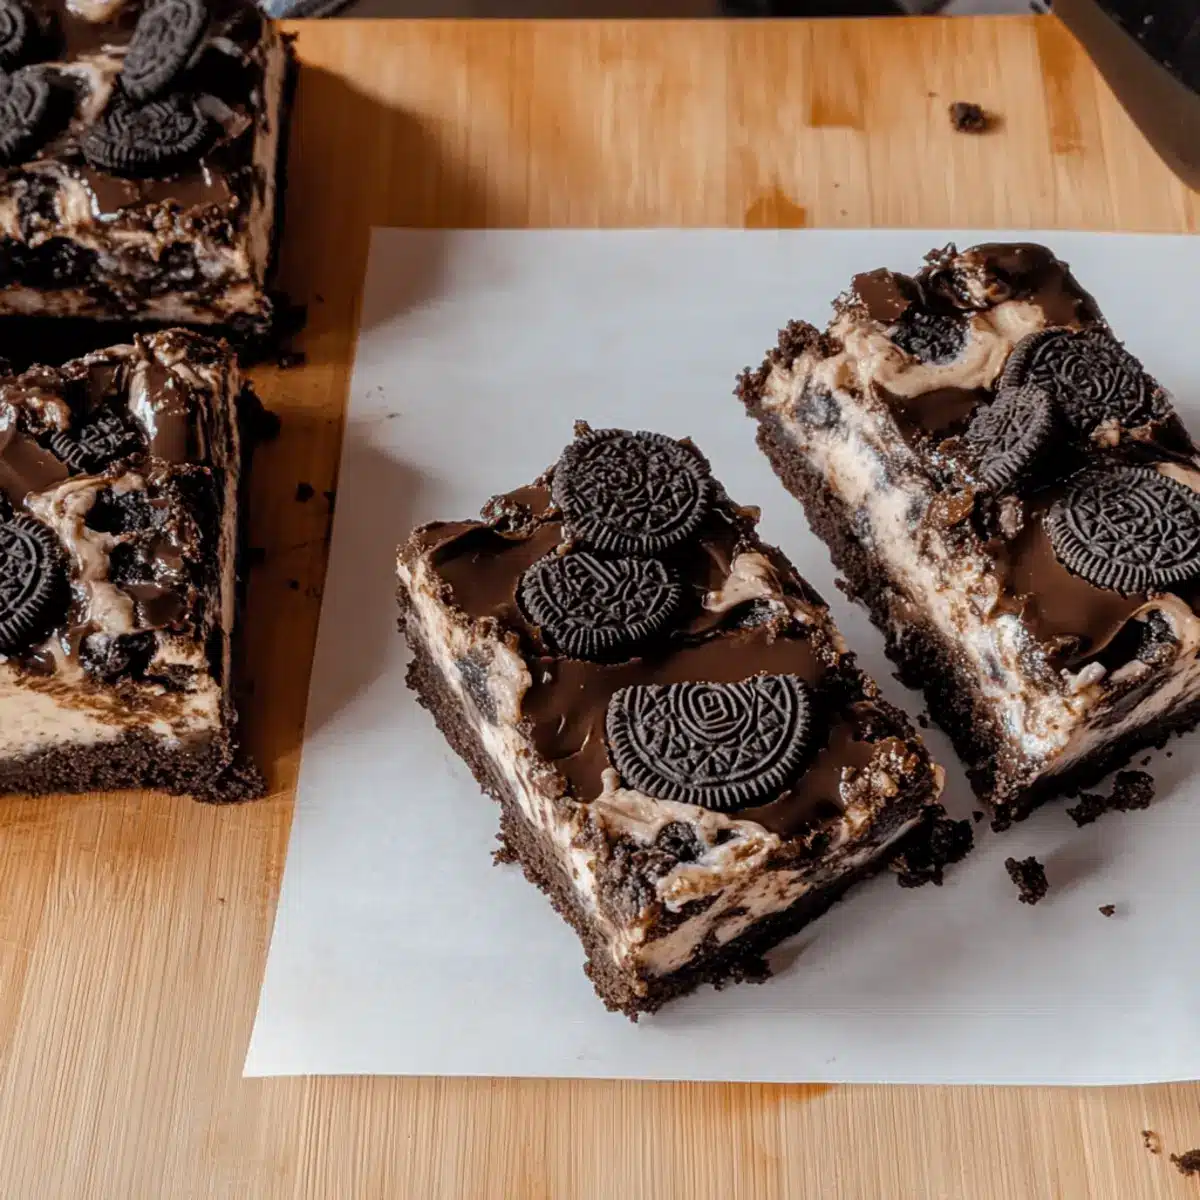
The aroma of freshly baked brownies wafted through my kitchen, transporting me back to my childhood—those joyous after-school treats everyone adored. Today, I’m thrilled to share a recipe for Brownie Cheesecake Bars with Oreo Ganache that takes those cherished memories to the next level! These delightful bars marry the rich, fudgy goodness of brownies with a smooth, creamy cheesecake layer and a luscious Oreo ganache, making it a perfect crowd-pleaser for any occasion. Not only are they surprisingly simple to whip up, but they also deliver a flavor combination that satisfies both sweet cravings and impresses guests. Whether you’re hosting a gathering or just indulging on a cozy evening in, these bars will quickly become a favorite. Are you ready to learn how to create this show-stopping dessert?
Why Are Brownie Cheesecake Bars So Irresistible?
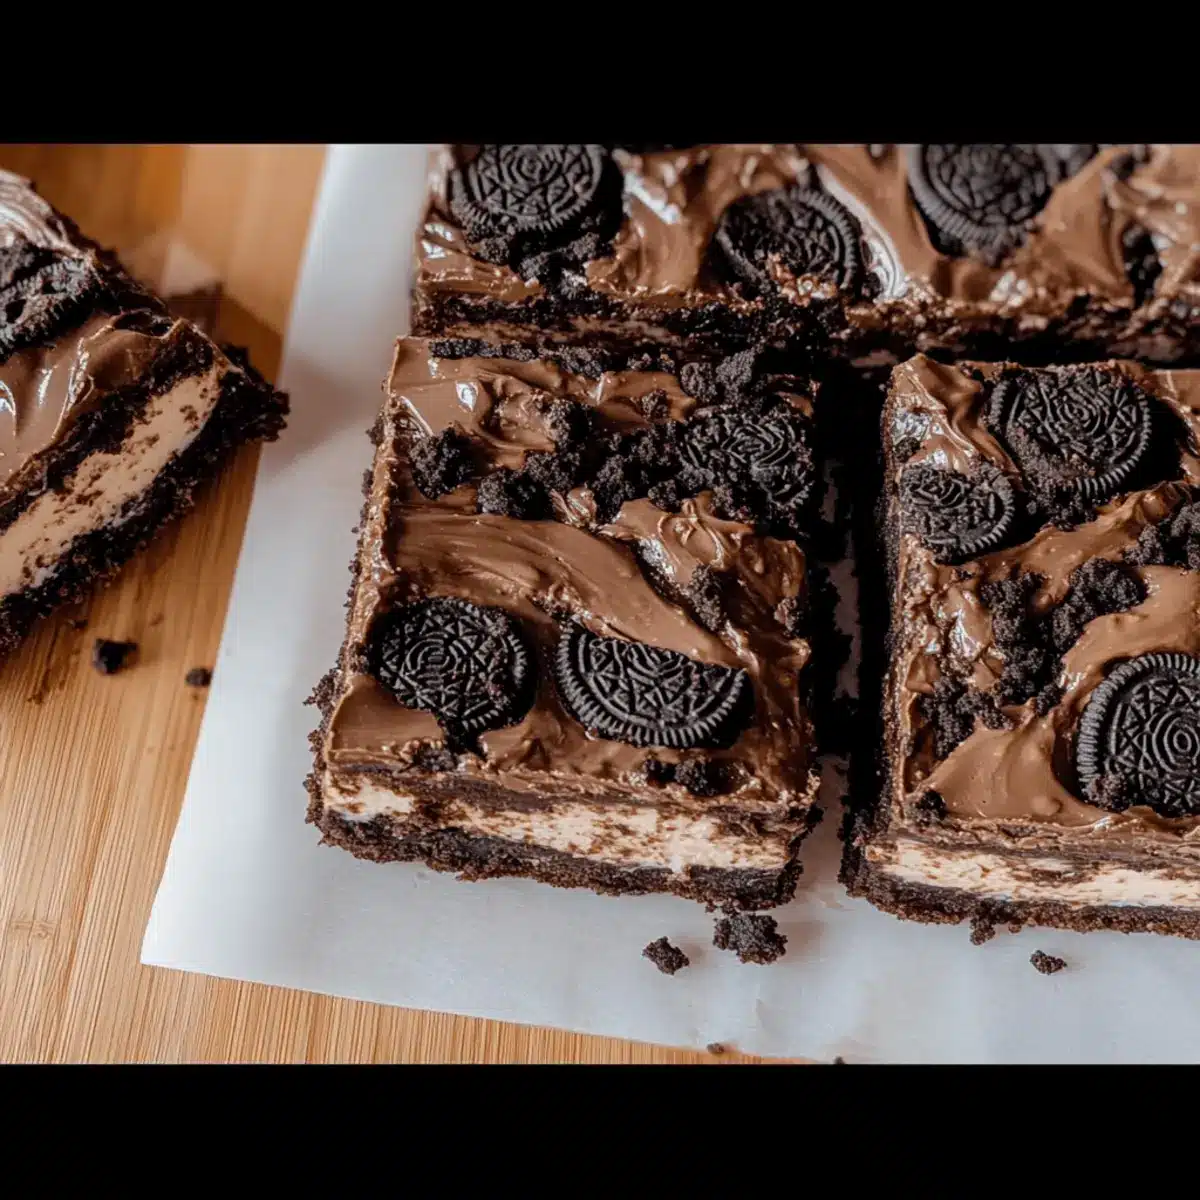
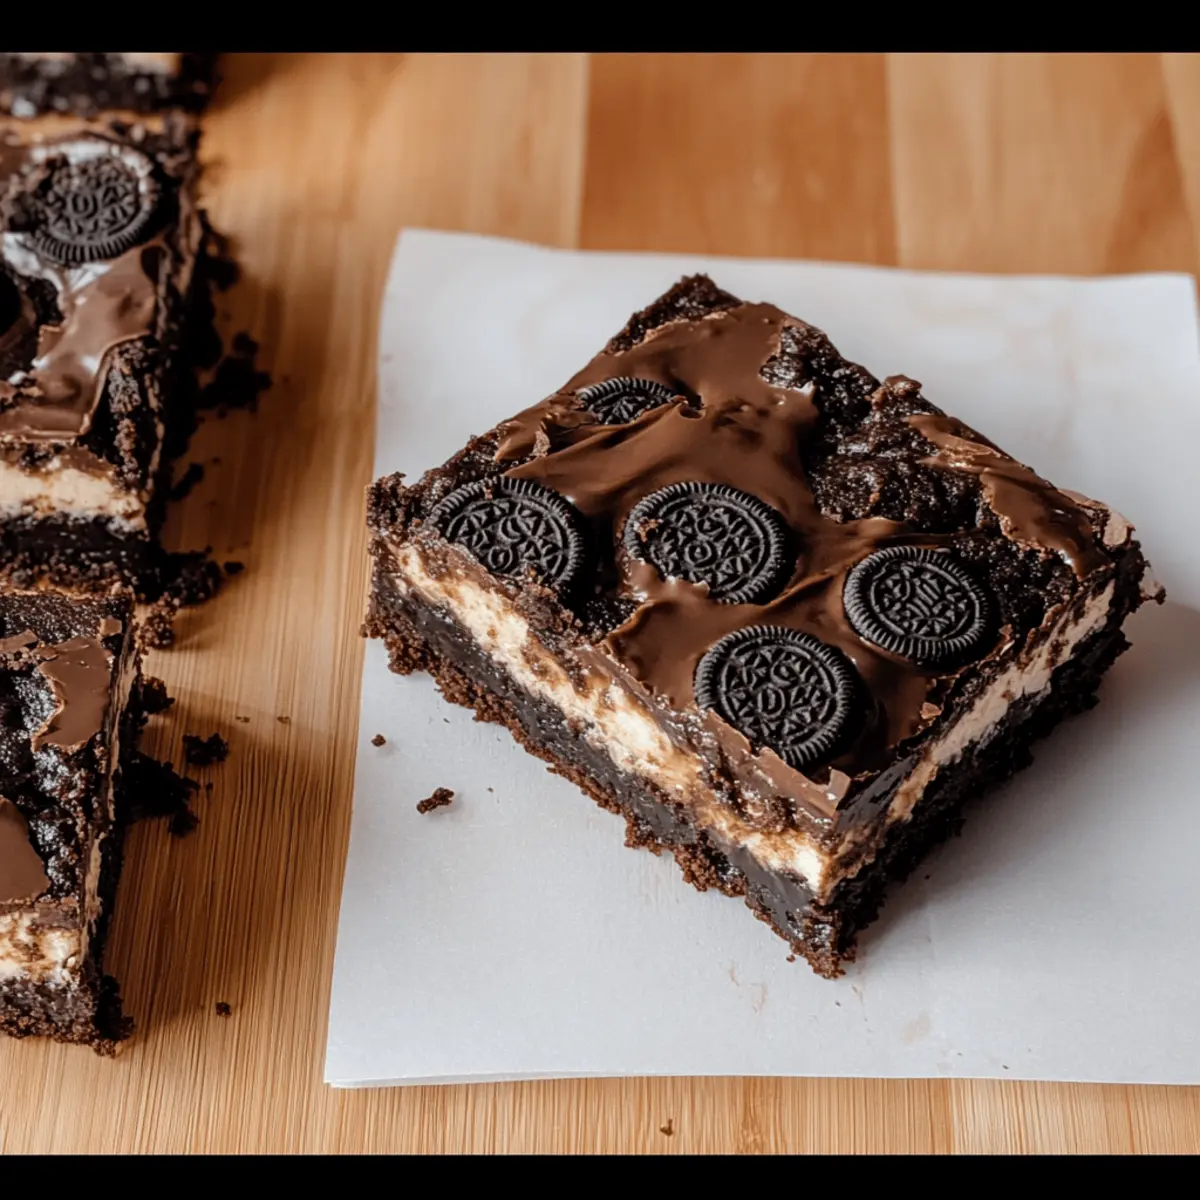
Decadent Layers: Each bite reveals a rich brownie base topped with a creamy cheesecake, making for a dessert that’s both indulgent and satisfying.
Versatile Variations: Tailor the recipe to your taste—try the Mint Oreo Cheesecake Bars or the Salted Caramel Version for delightful twists.
Kid-Approved: These bars are a guaranteed hit among kids and adults alike, making them perfect for bake sales or family gatherings.
Quick & Easy: Simple to make, even for novice bakers, so you can whip up a batch in no time!
Stunning Presentation: The Oreo ganache topping not only adds flavor but also creates a gorgeous finish that impresses guests.
With its unique combination of flavors and textures, these Brownie Cheesecake Bars promise to elevate your dessert game and keep everyone asking for seconds! You can even serve them alongside Apple Crumble Cheesecake as a delightful pairing.
Brownie Cheesecake Bars Ingredients
For the Brownie Layer
• Brownie Mix – A rich foundation for the bars; choose your favorite brand or try a homemade mix for added flair.
• Oreo Cookies (11, chopped) – Adds a delicious crunch that enhances flavor; feel free to experiment with different Oreo varieties.
For the Cheesecake Layer
• Cream Cheese (8 ounces, softened) – Provides a smooth and creamy texture that balances the brownie layer.
• Egg (1 large) – Essential for structure and moisture in the cheesecake filling.
• Vanilla Extract (1 teaspoon) – Boosts the flavor profile of the cheesecake; pure vanilla works best for depth.
• Granulated Sugar (1/4 cup) – Sweetens the cheesecake, creating a delightful contrast to the brownie.
• Sour Cream (2 tablespoons) – Contributes moisture and creaminess; Greek yogurt is an excellent alternative.
For the Ganache Topping
• Chocolate Chips (1/4 cup) – Adds richness and gloss to the ganache; mix with heavy cream for a smooth finish.
• Heavy Whipping Cream (1/4 cup) – Combines with chocolate chips to create a luscious ganache.
As you gather these ingredients, imagine the sweetness and joy they will bring to your kitchen, creating unforgettable moments with each bite of these irresistible Brownie Cheesecake Bars. Enjoy delighting your family and friends with this crowd-pleasing dessert!
Step‑by‑Step Instructions for Brownie Cheesecake Bars
Step 1: Prepare the Brownie Layer
Preheat your oven to 350°F (175°C) and line a 9×13 inch baking dish with parchment paper for easy removal. In a mixing bowl, prepare the brownie mix according to the package directions. Once mixed, pour the batter into the prepared pan and spread it evenly. Press half of the chopped Oreo cookies into the brownie batter, creating a delightful crunch that will enhance the Brownie Cheesecake Bars. Bake for 20-25 minutes, until the top is set yet soft.
Step 2: Make the Cheesecake Layer
While the brownie layer bakes, prepare the cheesecake filling. In a large mixing bowl, beat the softened cream cheese with an electric mixer until smooth and creamy. Gradually add granulated sugar, followed by the egg, vanilla extract, and sour cream. Mix until fully combined and silky. Carefully pour the cheesecake mixture over the baked brownie layer, spreading it evenly. Return the baking dish to the oven and bake for an additional 25-30 minutes, or until the center of the cheesecake layer is slightly jiggly but set.
Step 3: Add the Ganache and Toppings
In a small saucepan, combine the chocolate chips and heavy whipping cream over medium heat. Stir continuously until the mixture is smooth and glossy, creating a rich ganache. Once your Brownie Cheesecake Bars have finished baking and cooled slightly, pour the ganache over the cheesecake layer. Gently sprinkle the remaining chopped Oreos on top, pressing them down lightly for an extra crunch. Allow the bars to cool at room temperature before chilling in the refrigerator for at least 2 hours, or overnight for optimal flavor and easier slicing.
Brownie Cheesecake Bars Variations
Feel free to play around with these ideas to make the Brownie Cheesecake Bars your own!
-
Mint Oreo Cheesecake Bars: Swap regular Oreos with Mint Oreos and add a splash of peppermint extract to the filling. The refreshing twist will tantalize your taste buds!
-
Salted Caramel Version: Drizzle warm caramel sauce over the ganache and sprinkle with sea salt. This sweet and salty combo is pure bliss and a sure crowd-pleaser.
-
Holiday-Ready Red Velvet Bars: Use red velvet brownie mix and top with crushed Mint Oreos to create a festive and colorful twist, perfect for holiday gatherings.
-
Peanut Butter Swirl: Incorporate creamy peanut butter into the cheesecake layer for a nutty flavor explosion. Just drop spoonfuls on top and swirl before baking!
-
Mocha Delight: Add espresso powder to the brownie mix and a coffee-flavored ganache. Coffee lovers will be in heaven with this rich, caffeinated variation!
-
Fruit-Topped Bliss: Add layers of fresh fruit like raspberries or strawberries on top of the ganache. Not only does this add a burst of color, but it also lightens up the dessert.
-
Spicy Kick: Include a pinch of cayenne pepper in the brownie batter for a surprising heat. This will elevate the chocolate flavor while keeping your guests guessing!
And for a delightful side, pair these decadent bars with a scoop of vanilla ice cream or serve them alongside some Fried Strawberry Cheesecake for an unforgettable dessert spread!
How to Store and Freeze Brownie Cheesecake Bars
Fridge: Keep these Brownie Cheesecake Bars in an airtight container for up to 5-6 days. Enjoy them chilled, as the flavors intensify after a day in the fridge.
Freezer: For longer storage, wrap individual bars tightly in plastic wrap or aluminum foil, then place them in a freezer bag. They can be frozen for up to 3 months.
Thawing: Thaw frozen bars overnight in the fridge before serving. This allows them to regain their creamy texture and delightful flavor.
Reheating: If you prefer to serve them warm, microwave a bar gently for about 10-15 seconds. Be careful not to overheat, as this may alter the cheesecake texture.
Expert Tips for Brownie Cheesecake Bars
-
Chill for Perfection: Allow the bars to chill overnight; this step not only enhances the flavors but also helps achieve cleaner cuts when slicing.
-
Use a Serrated Knife: For best results, a serrated knife makes slicing the chilled Brownie Cheesecake Bars a breeze, preventing squishing the layers.
-
Don’t Rush the Baking: Keep an eye on the baking time; overbaking can lead to a dry texture. A slight jiggle in the center means it’s just right!
-
Oven Temperature Matters: Confirm that your oven is calibrated correctly—an unreliable oven can lead to inconsistent baking results.
-
Experiment with Toppings: Get creative! You can drizzle caramel sauce or add seasonal fruits for variations that make your Brownie Cheesecake Bars even more scrumptious.
Make Ahead Options
These Brownie Cheesecake Bars are perfect for meal prep lovers! You can prepare the brownie layer and cheesecake filling up to 24 hours in advance. To do this, bake the brownie base and allow it to cool completely, then layer the cheesecake mixture on top. Cover the dish tightly with plastic wrap and refrigerate. The ganache can be made up to 3 days ahead as well; simply store it in an airtight container in the fridge. When you’re ready to serve, pour the ganache over the chilled cheesecake layer, add Oreos, and let it sit for about an hour at room temperature for the best results. This way, you can enjoy delicious Brownie Cheesecake Bars with minimal effort on busy days!
What to Serve with Brownie Cheesecake Bars
These luscious Brownie Cheesecake Bars invite a full meal experience, from delightful drinks to complementary sides.
- Fresh Berries: The juicy acidity of raspberries or strawberries cuts through the richness, creating a refreshing contrast in every bite.
- Vanilla Ice Cream: Silky and creamy, a scoop of vanilla ice cream perfectly balances the decadent layers, enhancing the overall flavor.
- Whipped Cream: Light and airy, freshly whipped cream adds a soft texture and sweetness, making each piece of bar feel extra indulgent.
- Coffee: A steaming cup of coffee enhances the chocolatey flavors, providing a delicious balance that enriches this dessert experience.
- Caramel Sauce: Drizzling warm caramel adds an additional layer of sweetness and a chewy texture that elevates the enjoyment of the bars.
- Mint Leaves: Fresh mint leaves as a garnish not only beautify the dish but also provide a refreshing note that complements the chocolate flavors.
Completing your dessert spread, consider pairing these bars with a light salad or a fruity sorbet to balance the rich flavors and textures!

Brownie Cheesecake Bars Recipe FAQs
What type of brownie mix should I use?
Absolutely! You can use your favorite store-bought brownie mix for simplicity, or if you’re feeling adventurous, a homemade mix can elevate the flavor profile. Just ensure it’s a classic fudge brownie mix for the best results!
How do I store leftover Brownie Cheesecake Bars?
For sure! Store the Brownie Cheesecake Bars in an airtight container in the refrigerator for up to 5-6 days. This allows the flavors to meld together beautifully. If you want to keep them fresh longer, consider freezing them!
Can I freeze Brownie Cheesecake Bars?
Very much so! To freeze, wrap individual bars tightly in plastic wrap or aluminum foil, then place them in a freezer bag. These bars can be frozen for up to 3 months. Just remember to thaw them overnight in the fridge before serving for the best texture and flavor!
What should I do if my cheesecake layer is too runny?
If your cheesecake layer comes out runny, it’s likely due to underbaking or not using room temperature cream cheese. Be sure to bake until it’s slightly jiggly but set in the center. For a firmer texture, you can also add an extra tablespoon of flour to the cheesecake mixture next time.
Can I use a sugar substitute in this recipe?
Of course! If you’re looking for a healthier alternative, you can use sugar substitutes like Stevia or erythritol. Just remember to check the conversion rates since they often differ from granulated sugar amounts. Adjusting it may slightly vary the taste, but it should still be delicious!
Are there any allergens to be aware of in this recipe?
Definitely! This recipe contains common allergens such as dairy (cream cheese and heavy cream) and gluten (brownie mix). If serving to guests, it’s always wise to mention these ingredients. For gluten-free options, substitute with a gluten-free brownie mix and ensure all other ingredients, like the Oreos, are gluten-free as well.
Irresistible Brownie Cheesecake Bars for Sweet Tooth Bliss
Ingredients
Equipment
Method
- Preheat your oven to 350°F (175°C) and line a 9x13 inch baking dish with parchment paper. Prepare the brownie mix according to package directions and pour into the pan, pressing half of the chopped Oreos into the mix. Bake for 20-25 minutes until set yet soft.
- While the brownie layer bakes, beat softened cream cheese until smooth. Add granulated sugar, egg, vanilla extract, and sour cream, mixing until fully combined. Pour cheesecake mixture over baked brownie layer and bake for another 25-30 minutes until slightly jiggly but set.
- Combine chocolate chips and heavy whipping cream in a saucepan over medium heat until smooth. Pour ganache over cooled cheesecake layer and sprinkle remaining Oreos on top. Cool at room temperature before chilling for at least 2 hours or overnight.
Leave a Reply