
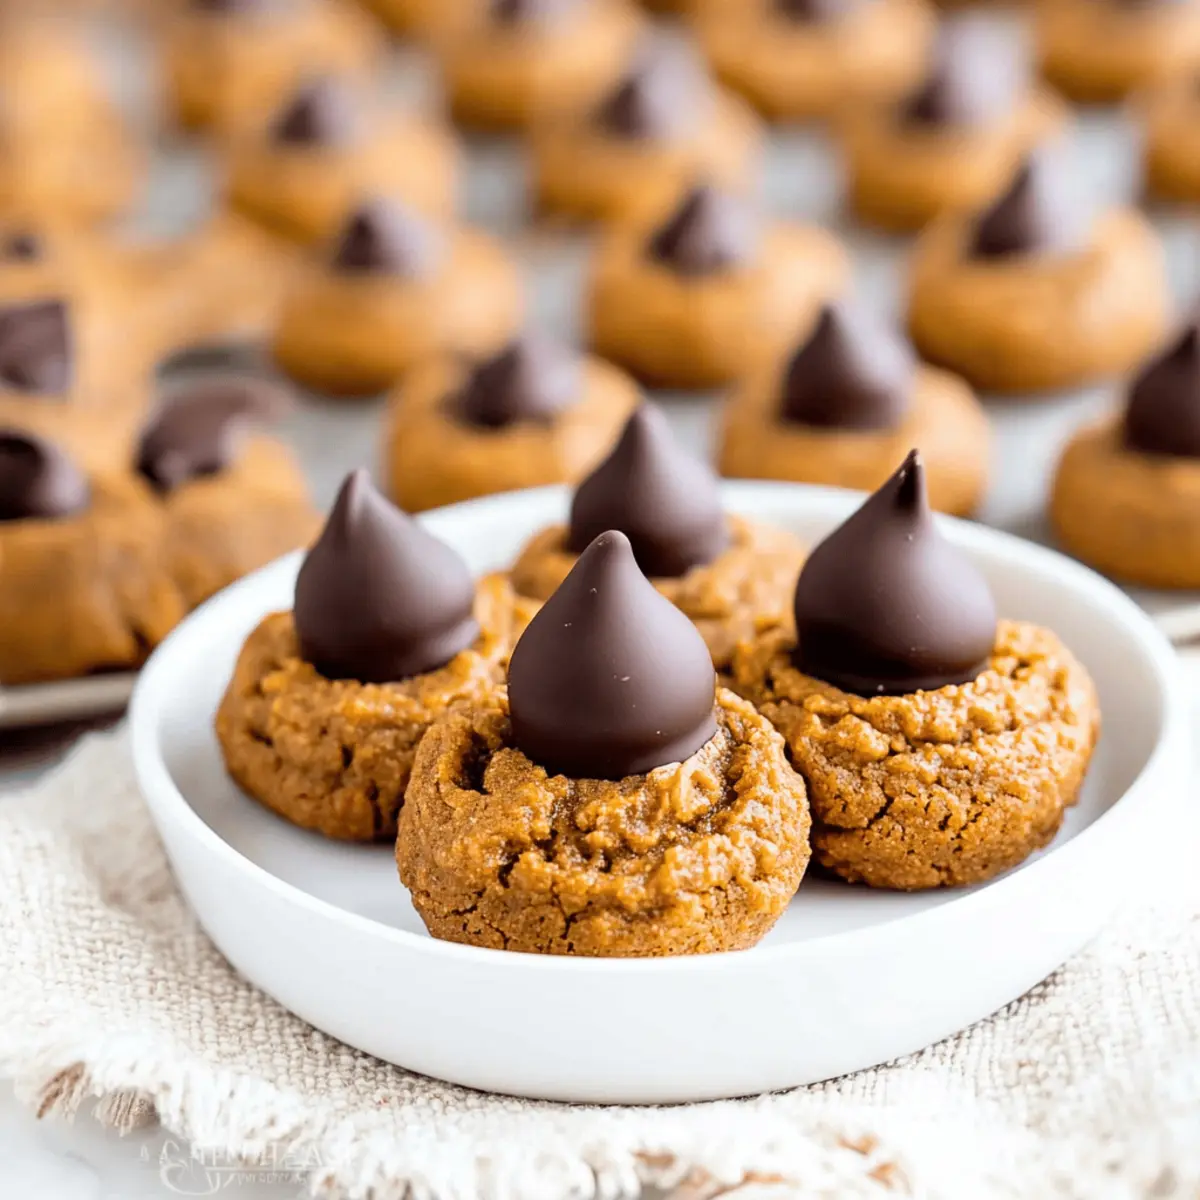
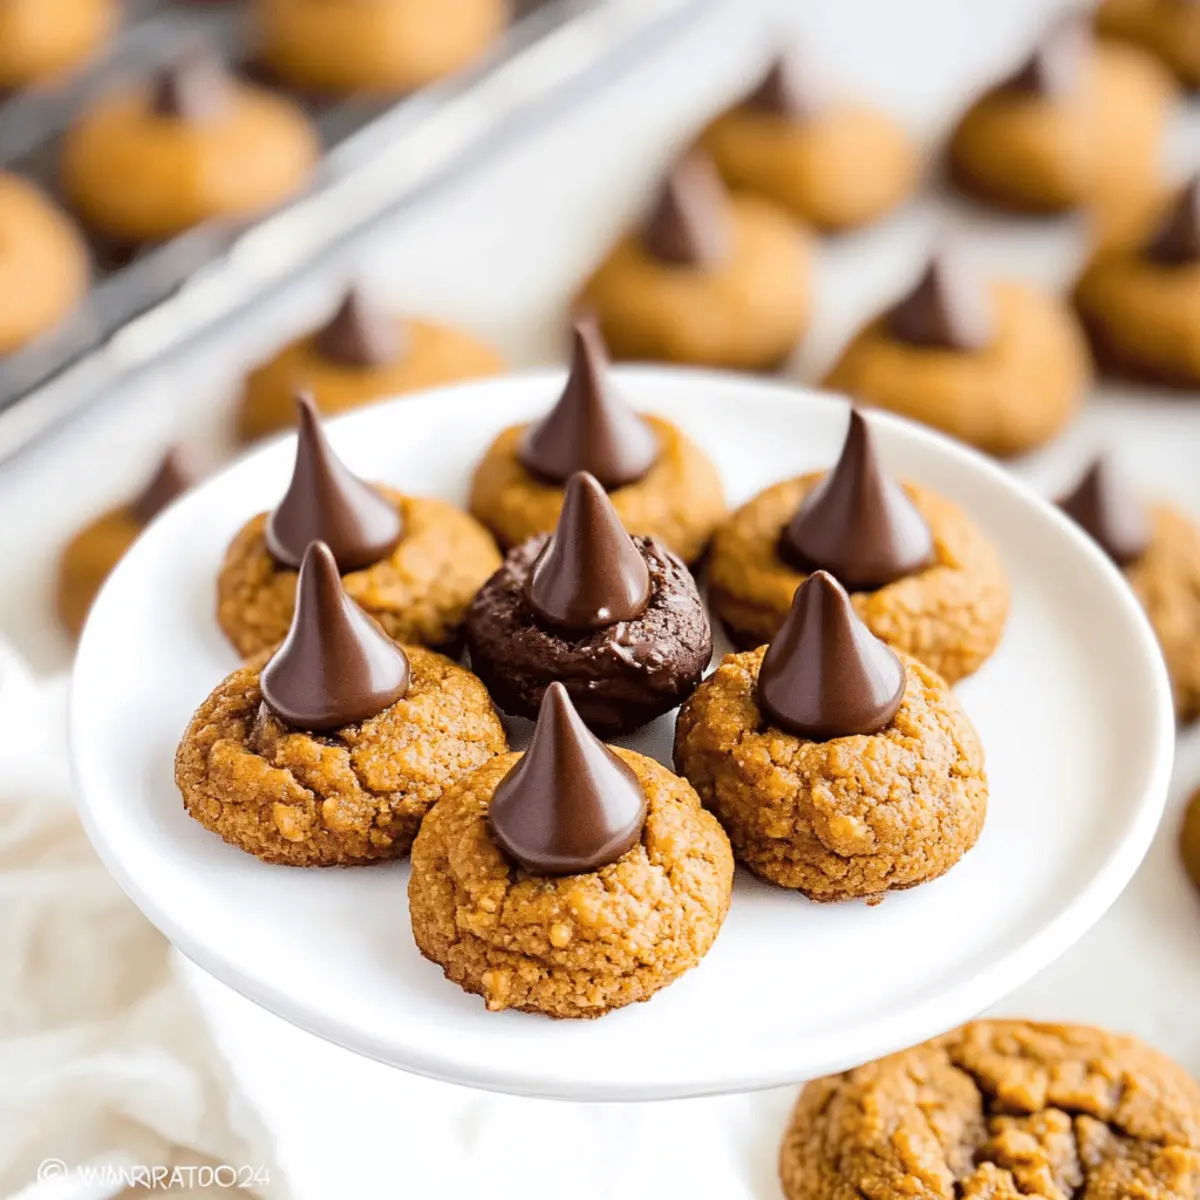
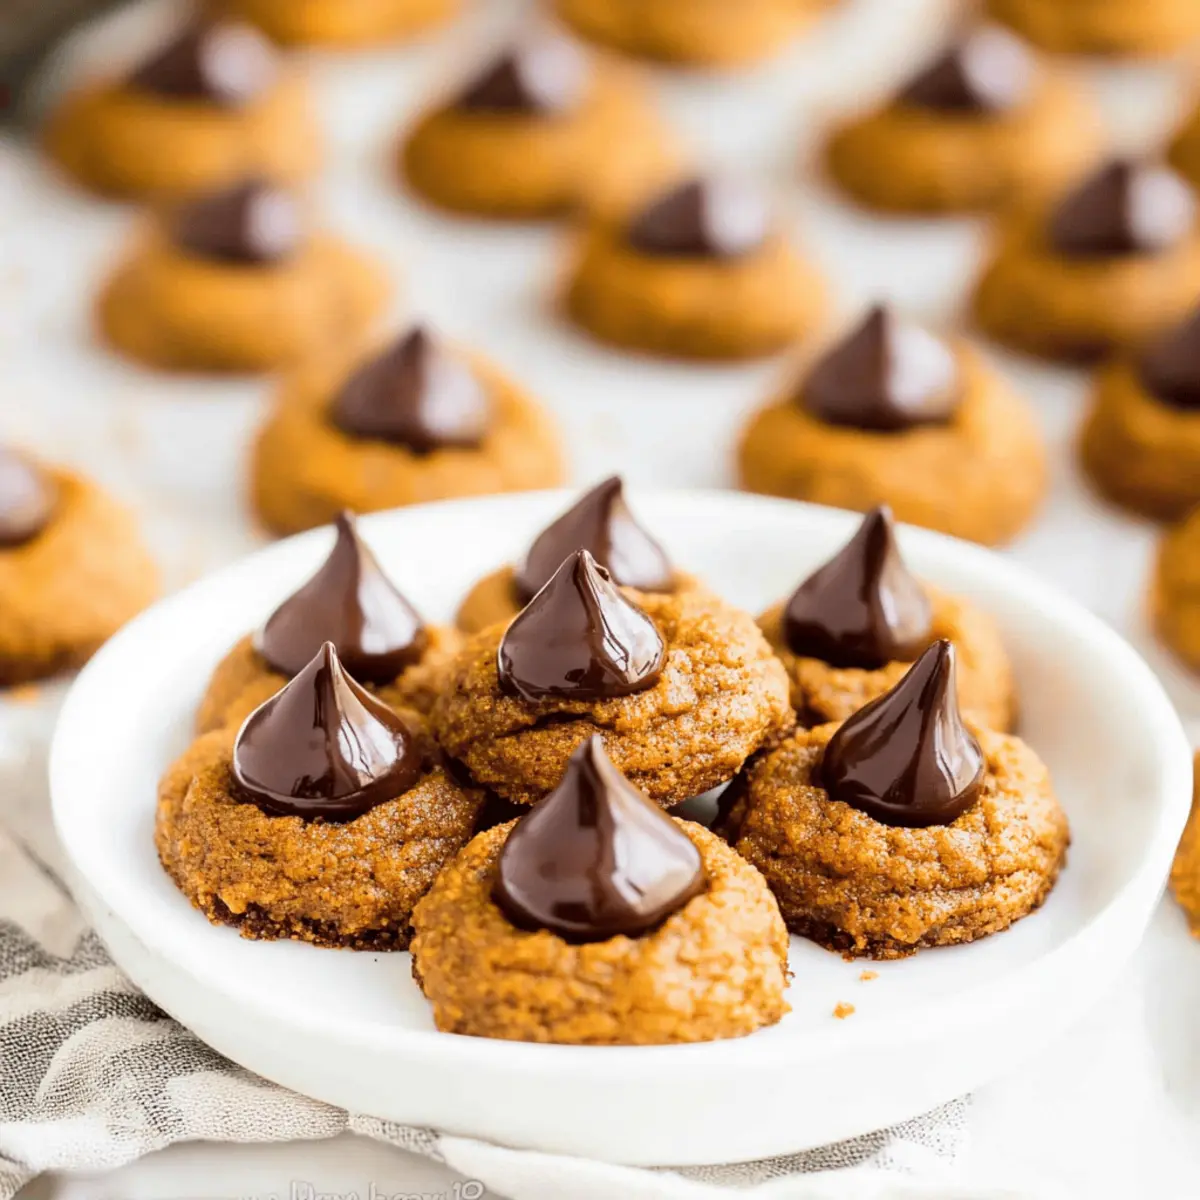
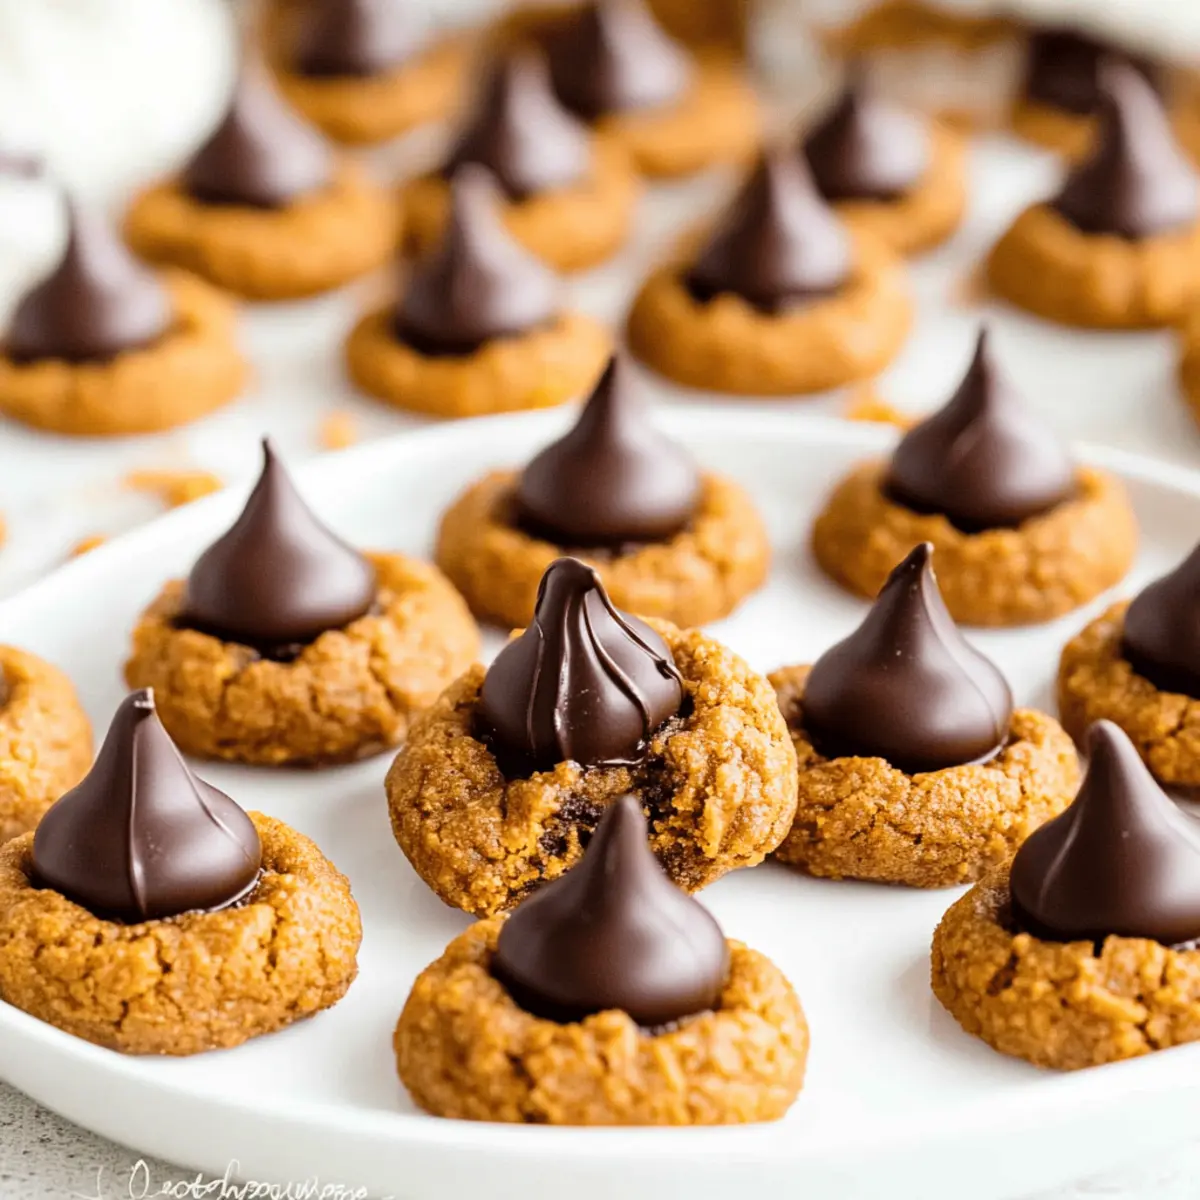
As the leaves begin to change and a crispness fills the air, I can’t help but dream of cozy treats that capture all the magic of fall. Enter my Healthy Pumpkin Blossoms with Dark Chocolate Kisses—a delightful combination of chewy pumpkin cookies spiced with warm cinnamon and crowned with a rich chocolate kiss. With only 61 calories per cookie, this recipe not only satisfies your sweet tooth but aligns perfectly with clean eating principles, using wholesome ingredients and natural sweeteners. These little gems are perfect for any occasion, whether you’re hosting a gathering or just want to indulge in a guilt-free snack. Are you ready to make your kitchen smell like autumn bliss? Let’s dive in!
Why Are Healthy Pumpkin Blossoms a Must-Try?
Deliciously Chewy: These cookies boast a perfectly soft texture that melts in your mouth, making them the ultimate treat for fall lovers.
Guilt-Free Indulgence: With only 61 calories per cookie, enjoy the sweetness without any refined sugar or guilt.
Versatile Variations: Easily adapt this recipe to fit your lifestyle—try gluten-free or keto options without losing flavor!
Simple Ingredients: Made with wholesome components like pumpkin purée and maple syrup, these cookies make clean eating easy and enjoyable.
Fall-Inspired Flavor: The spices create an inviting aroma, reminiscent of cozy autumn evenings, perfect for sharing at gatherings or enjoying on your own.
Healthy Pumpkin Blossoms Ingredients
• Perfect for a cozy fall treat!
For the Cookie Dough
- White Whole Wheat Flour – Provides structure and a lighter texture; can use regular whole wheat for a different taste.
- Cinnamon – Adds warmth and spice; substitute with pumpkin pie spice for an extra flavor kick.
- Pumpkin Purée – Keeps cookies moist and egg-free; ensure you use pure pumpkin purée, not pie filling.
- Butter or Coconut Oil – Adds richness; coconut oil is a great vegan alternative.
- Pure Maple Syrup – A natural sweetener that replaces refined sugar; honey can be used but will change the flavor slightly.
For the Topping
- Dark Chocolate Kisses – Sweet topping that complements the pumpkin flavor; try pumpkin spice kisses for a seasonal twist.
Step‑by‑Step Instructions for Healthy Pumpkin Blossoms
Step 1: Combine Dry Ingredients
In a medium bowl, whisk together 1 ½ cups of white whole wheat flour and 1 teaspoon of cinnamon. Ensure there are no lumps, and the mixture is well blended. This step adds structure to your Healthy Pumpkin Blossoms, so take a moment to mix thoroughly.
Step 2: Mix Wet Ingredients
In a separate large bowl, combine 1 cup of pumpkin purée, ½ cup of melted butter or coconut oil, and ⅓ cup of pure maple syrup. Use a whisk to mix until smooth and creamy, ensuring all wet ingredients are incorporated. This creates the deliciously moist base of your cookies.
Step 3: Combine Mixtures
Gradually add the dry ingredients into the wet mixture, stirring gently with a spatula until well combined. Be careful not to overmix; you want the dough to remain soft and slightly sticky. This is where the magic happens for your chewy Healthy Pumpkin Blossoms.
Step 4: Chill Dough
Cover the bowl with plastic wrap and refrigerate the cookie dough for at least 30 minutes. Chilling is crucial for helping the dough hold its shape while baking and preventing excessive spreading. You’ll know it’s ready when it firms up a bit.
Step 5: Shape Cookies
Preheat your oven to 350°F (175°C). Line a baking sheet with parchment paper. Use a spoon or a cookie scoop to portion the dough, then use a spatula to gently flatten each mound slightly. Make them round and slightly wider than the bottom of the chocolate kiss to ensure they maintain their shape.
Step 6: Bake
Place the shaped cookie dough on the prepared baking sheet and bake in the preheated oven for 12-15 minutes. Keep an eye on them; they should look set and slightly golden around the edges when ready. This will give you the perfect chewy texture for your Healthy Pumpkin Blossoms.
Step 7: Add Chocolate Kisses
Remove the cookies from the oven and immediately press a dark chocolate kiss into the center of each cookie while they’re still warm. Allow the cookies to cool on the baking sheet for a few minutes before transferring them to a wire rack. The chocolate will melt slightly, creating a delightful finish to your cookies.
What to Serve with Chewy Healthy Pumpkin Blossoms with Dark Chocolate Kisses?
As you indulge in these delectable pumpkin cookies, think of the delightful accompaniments that can elevate your experience even further.
-
Creamy Mashed Potatoes: This classic side offers a velvety texture that contrasts beautifully with the cookie’s chewiness, creating a satisfying meal balance.
-
Warm Apple Cider: The spices in the cider enhance the cozy flavors of the pumpkin blossoms, making for a perfect autumn-inspired drink.
-
Vanilla Ice Cream: A scoop of creamy vanilla ice cream is a heavenly pairing, especially when the warm cookies melt the ice cream just slightly.
-
Chai Latte: The warm spiciness of chai complements the cinnamon in the cookies, making each bite feel like a hug on a chilly day.
-
Caramel Sauce: Drizzling caramel over the cookies adds a touch of sweetness, enhancing the flavors of the dark chocolate and pumpkin bliss.
-
Spiced Hot Chocolate: Rich and comforting, a cup of hot chocolate topped with whipped cream is the ideal way to enjoy your cookies.
-
Mixed Berry Salad: A refreshing side of berries provides a tart contrast that brightens up the sweetness of the cookies, creating a well-rounded treat.
-
Pumpkin Spice Tea: Enhance the pumpkin theme with a warm cup of pumpkin spice tea—it’s like having a cozy conversation with every sip.
-
Greek Yogurt: A dollop of Greek yogurt topped with honey provides a creamy, tangy contrast, elevating the overall indulgence of your dessert platter.
Healthy Pumpkin Blossoms Variations & Substitutions
Let your creativity shine as you adapt these delightful cookies to fit your taste and dietary needs!
-
Gluten-Free: Substitute white whole wheat flour with a gluten-free blend to enjoy these cookies without the gluten.
-
Keto-Friendly: Switch to almond flour and use erythritol as a sweetener for a deliciously low-carb version.
-
Dairy-Free: Use coconut oil instead of butter, making this recipe perfect for those avoiding dairy.
-
Nut-Free: Opt for sunflower seed butter instead of nut butter, still keeping that rich creamy texture.
-
Pumpkin Spice Bliss: For added warmth, try substituting dark chocolate kisses with pumpkin spice kisses for a seasonal flavor boost.
-
Add Nuts: Mix in some chopped pecans or walnuts for an extra crunch and rich flavor in your cookies.
-
Vegan Option: Ensure all ingredients are plant-based, including the chocolate, or substitute with vegan chocolate chips.
-
Cinnamon Sugar Coating: Roll your cookie dough balls in a mixture of cinnamon and sugar before baking for a sweet touch on the outside.
These variations can easily elevate your Healthy Pumpkin Blossoms, creating a unique treat each time you bake! If you’re looking for more pumpkin-inspired goodness, consider trying my Pumpkin Cornbread Cinnamon or take a look at my delightful Spiced Pumpkin Streusel for a different twist on pumpkin flavors!
Make Ahead Options
These Healthy Pumpkin Blossoms are perfect for meal prep enthusiasts! You can prepare the dough up to 24 hours in advance by following the initial steps of combining the ingredients and chilling the dough. Simply cover the bowl tightly with plastic wrap and refrigerate. For optimal freshness, you can also shape the cookies and refrigerate them for up to 3 days before baking, ensuring to place parchment paper in between layers to prevent sticking. When you’re ready to enjoy these delectable treats, bake them straight from the fridge, adding the chocolate kisses immediately after removing them from the oven for that gooey, melty finish. With these make-ahead tips, you’ll have warm, freshly baked cookies ready in no time!
How to Store and Freeze Healthy Pumpkin Blossoms
Airtight Container: Store your Healthy Pumpkin Blossoms in an airtight container for up to one week at room temperature to keep them fresh and chewy.
Refrigeration: If you want extended freshness, store them in the fridge for up to two weeks. Make sure to wrap them well to avoid drying out.
Freezing: To freeze, place cookies in a single layer on a baking sheet to freeze individually. Once firm, transfer them to a freezer-safe bag for up to three months.
Reheating: When you’re ready to enjoy, thaw in the fridge overnight or microwave for a few seconds until warm. This will revive the delicious, chewy texture perfectly!
Expert Tips for Healthy Pumpkin Blossoms
Chill Dough: Ensure you refrigerate the dough for at least 30 minutes; it helps the cookies keep their shape during baking, preventing them from spreading too thin.
Measure Flour Correctly: Spoon and level your flour instead of scooping directly from the bag. This avoids adding too much flour, which results in dry Healthy Pumpkin Blossoms.
Opt for Pure Pumpkin Puree: Always choose pure pumpkin puree over pumpkin pie filling to maintain the healthiness and integrity of your cookies.
Watch Baking Time: Since ovens can vary, keep an eye on your cookies as they bake, aiming for a slightly golden edge for that chewy texture.
Customize Toppings: Feel free to switch out dark chocolate kisses for caramel-filled or pumpkin spice kisses to add a unique twist to your Healthy Pumpkin Blossoms.
Healthy Pumpkin Blossoms Recipe FAQs
How should I select ripe pumpkin purée?
Absolutely! When selecting pumpkin purée, look for a can that states “100% pure pumpkin” with no added sugars or spices. The purée should have a deep orange color and a thick, smooth consistency. Avoid any products labeled as “pumpkin pie filling,” as these contain added sugars and spices that can alter your cookie’s flavor.
What’s the best way to store Healthy Pumpkin Blossoms?
For optimal freshness, store your Healthy Pumpkin Blossoms in an airtight container at room temperature for up to one week. If you want to keep them longer, place them in the refrigerator where they can last for up to two weeks. Just be sure to wrap them well to prevent them from drying out!
Can I freeze Healthy Pumpkin Blossoms?
Absolutely! To freeze your cookies, first arrange them in a single layer on a baking sheet to freeze individually. Allow them to chill in the freezer until solid, which typically takes about 1-2 hours. Once frozen, transfer the cookies to a freezer-safe bag or container, ensuring to remove as much air as possible to prevent freezer burn. They can be stored this way for up to three months. When you’re ready to enjoy, simply thaw them in the fridge overnight or quickly warm them in the microwave.
What if my cookies spread too much while baking?
If your Healthy Pumpkin Blossoms spread too much, it’s likely due to the dough not being chilled long enough or using too much flour. To prevent this, ensure you chill the dough for at least 30 minutes before baking, and be sure to measure the flour accurately by spooning it into the measuring cup and leveling it off. If they do spread, don’t worry too much—just reshape them with a spatula once they come out of the oven!
Are there any allergens I should consider?
Very! If you’re preparing these for guests or family members with allergies, keep in mind that this recipe includes potential allergens: wheat (from the flour), dairy (if using butter), and chocolate (if someone has a sensitivity to cocoa). For a gluten-free option, swap white whole wheat flour with almond or oat flour. You can also use coconut oil instead of butter for a dairy-free cookie. Always check product labels to be sure!
Chewy Healthy Pumpkin Blossoms with Sweet Chocolate Kisses
Ingredients
Equipment
Method
- In a medium bowl, whisk together the flour and cinnamon until well blended.
- In a separate large bowl, combine pumpkin purée, melted butter or coconut oil, and maple syrup; mix until smooth and creamy.
- Gradually add the dry ingredients into the wet mixture, stirring gently until well combined.
- Cover with plastic wrap and refrigerate the dough for at least 30 minutes.
- Preheat your oven to 350°F (175°C) and line a baking sheet with parchment paper.
- Spoon or scoop the dough onto the baking sheet, shaping them slightly wider than the chocolate kiss.
- Bake for 12-15 minutes or until set and slightly golden around the edges.
- Remove from oven and immediately press a chocolate kiss into the center of each cookie while still warm.
Leave a Reply