
As the sun begins to warm the air and flowers start to bloom, I find myself craving something bright and refreshing. That’s when these Hibiscus Lemon Bars always come to mind—a delightful twist on a classic dessert that brings a little taste of summer straight to your table. The combination of floral hibiscus and zesty lemon creates a mouthwatering harmony that’s not only refreshing but also visually stunning. With a buttery crust and a smooth, pink-hued filling, they’re perfect for parties or as a standout treat in your dessert lineup. Plus, they can easily be adapted to fit gluten-free and vegan diets—making them a versatile option for everyone. So, are you ready to dive into this colorful creation that’s sure to make your taste buds dance?
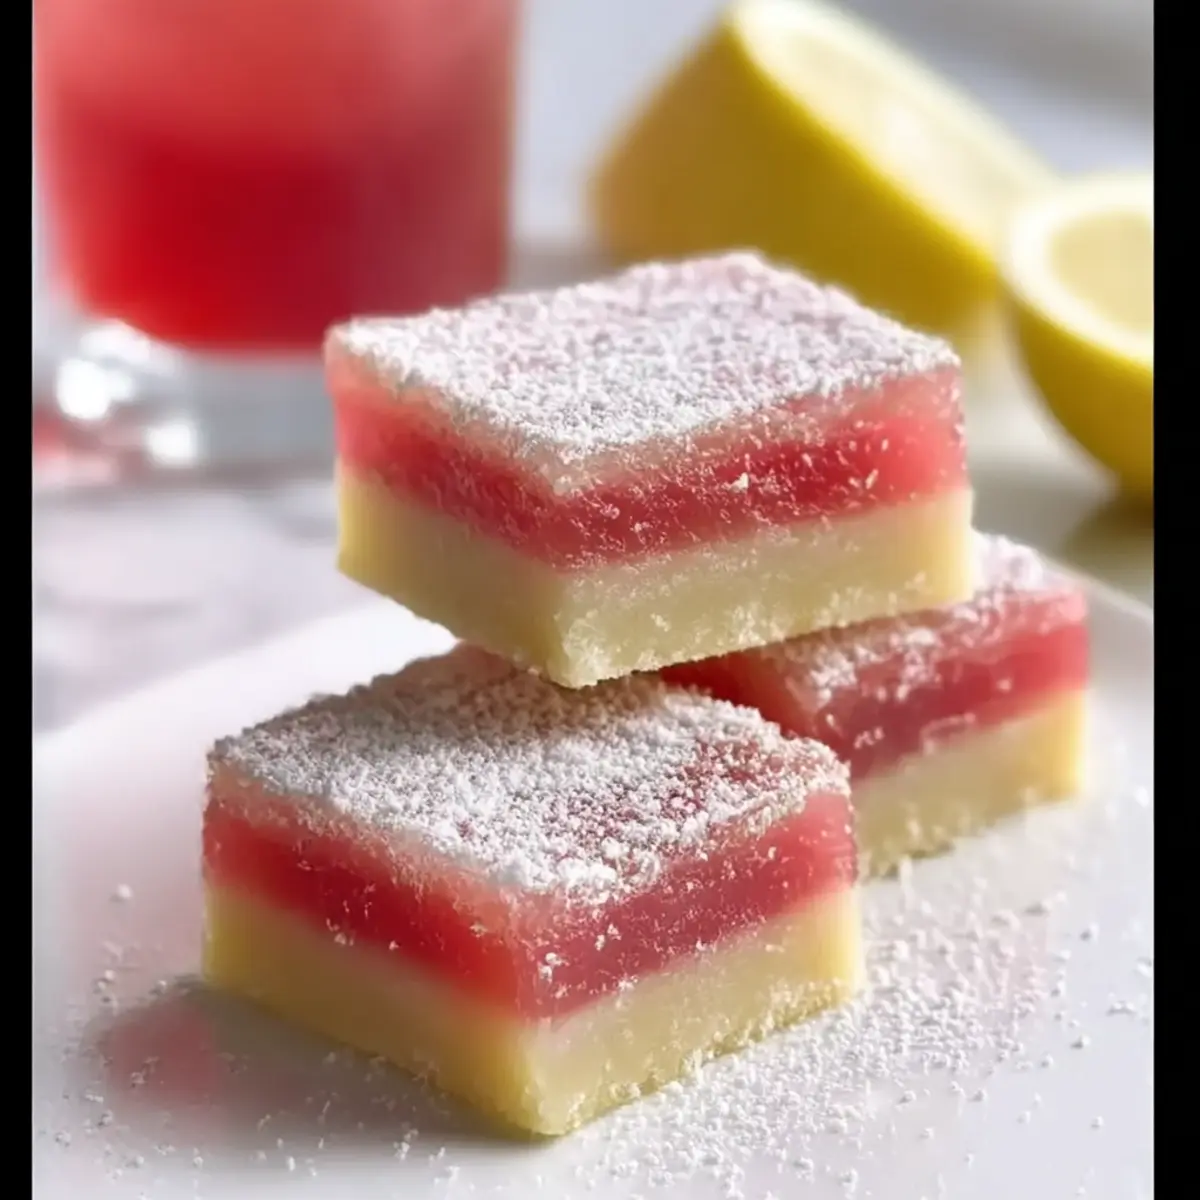
Why Choose Hibiscus Lemon Bars?
Unique Floral Twist: These bars combine the traditional lemon flavor you love with the vibrant complexity of hibiscus, offering a delightful surprise.
Visually Stunning: Their pink-hued filling is not just delicious; it makes for an eye-catching dessert that will impress your guests.
Versatile Options: Easily adaptable for both gluten-free and vegan diets, ensuring that everyone can enjoy this sweet treat.
Refreshing Delight: Perfect for warm weather, these Hibiscus Lemon Bars bring a refreshing and bright taste to your summer picnic or gathering.
Effortless Preparation: With simple ingredients and straightforward steps, you’ll have a stunning dessert without spending all day in the kitchen. If you’re seeking more delightful twists, check out my Gluten Free Cookies or the indulgent Brownie Cheesecake Bars!
Hibiscus Lemon Bars Ingredients
For the Crust
- Butter – Provides richness and structure; substitute with vegan butter for a dairy-free option.
- Granulated Sugar – Adds sweetness to both crust and filling; can be replaced with coconut sugar for a deeper flavor.
- Vanilla Bean Paste – Enhances flavor depth; vanilla extract works well in its place.
- All-Purpose Flour – Creates a tender crust; use a gluten-free blend for a gluten-free variation.
- Salt – Balances sweetness and enhances flavor; essential for depth in taste.
For the Filling
- Dried Hibiscus – Infuses a floral taste and vibrant color to the filling; fresh hibiscus can also be used if available.
- Fresh Lemon Juice – Provides the necessary tanginess, crucial for flavor balance.
- Eggs – Adds structure to the filling; for a vegan option, use flaxseed or chickpea flour as substitutes, keeping in mind different textures.
Now you’re all set to create these delightful Hibiscus Lemon Bars, which promise to brighten up your dessert table!
Step‑by‑Step Instructions for Hibiscus Lemon Bars
Step 1: Preheat the Oven
Begin by preheating your oven to 350°F (175°C). This ensures a perfectly baked crust for your Hibiscus Lemon Bars. While the oven warms, you can prep your baking pan. Line a 9×9 inch baking pan with parchment paper, allowing some overhang to make it easier to remove the bars later.
Step 2: Cream the Butter Mixture
In a large mixing bowl, cream together ½ cup of softened butter, ½ cup of granulated sugar, and 1 teaspoon of vanilla bean paste using an electric mixer. Beat at medium speed until the mixture becomes light and fluffy, about 3-4 minutes. This step is crucial as it creates a tender base for your crust.
Step 3: Combine Dry Ingredients
Sift in 1 cup of all-purpose flour and a pinch of salt into the creamed butter mixture. Mix on low speed until just combined; be careful not to overmix, as this can lead to a tough crust. You want a crumbly texture that holds together when pressed.
Step 4: Press the Dough into the Pan
Transfer the dough to your prepared baking pan and press it evenly across the bottom to form a solid crust. Use the back of a measuring cup or your fingers to ensure it’s packed tightly. Chill the crust in the refrigerator for about 15 minutes while you prepare the filling.
Step 5: Bake the Crust
Remove the chilled crust from the refrigerator and bake it in the preheated oven for about 15 minutes, or until the edges are lightly golden. Keep an eye on it! Once baked, let it cool slightly in the pan while you prepare the filling for your delightful Hibiscus Lemon Bars.
Step 6: Infuse the Lemon Juice
In a small bowl, combine ¼ cup of dried hibiscus with ½ cup of fresh lemon juice. Allow this mixture to steep for about 15 minutes, which will extract the beautiful floral flavors and vibrant color. After steeping, strain the mixture to remove the hibiscus pods, ensuring a smooth filling.
Step 7: Prepare the Filling
In a separate bowl, whisk together 2 large eggs and 1 cup of granulated sugar until well combined. Gradually add the hibiscus-infused lemon juice along with 2 tablespoons of all-purpose flour, whisking until smooth. This luscious mixture will create the perfect topping for your Hibiscus Lemon Bars.
Step 8: Bake the Filling
Pour the hibiscus lemon filling evenly over the cooled crust. Bake the bars for 20-25 minutes, or until the filling is set but still slightly jiggly in the center. A good indicator is that the edges will be firm while the middle retains a delightful softness; it will continue to firm as it cools.
Step 9: Cool and Slice
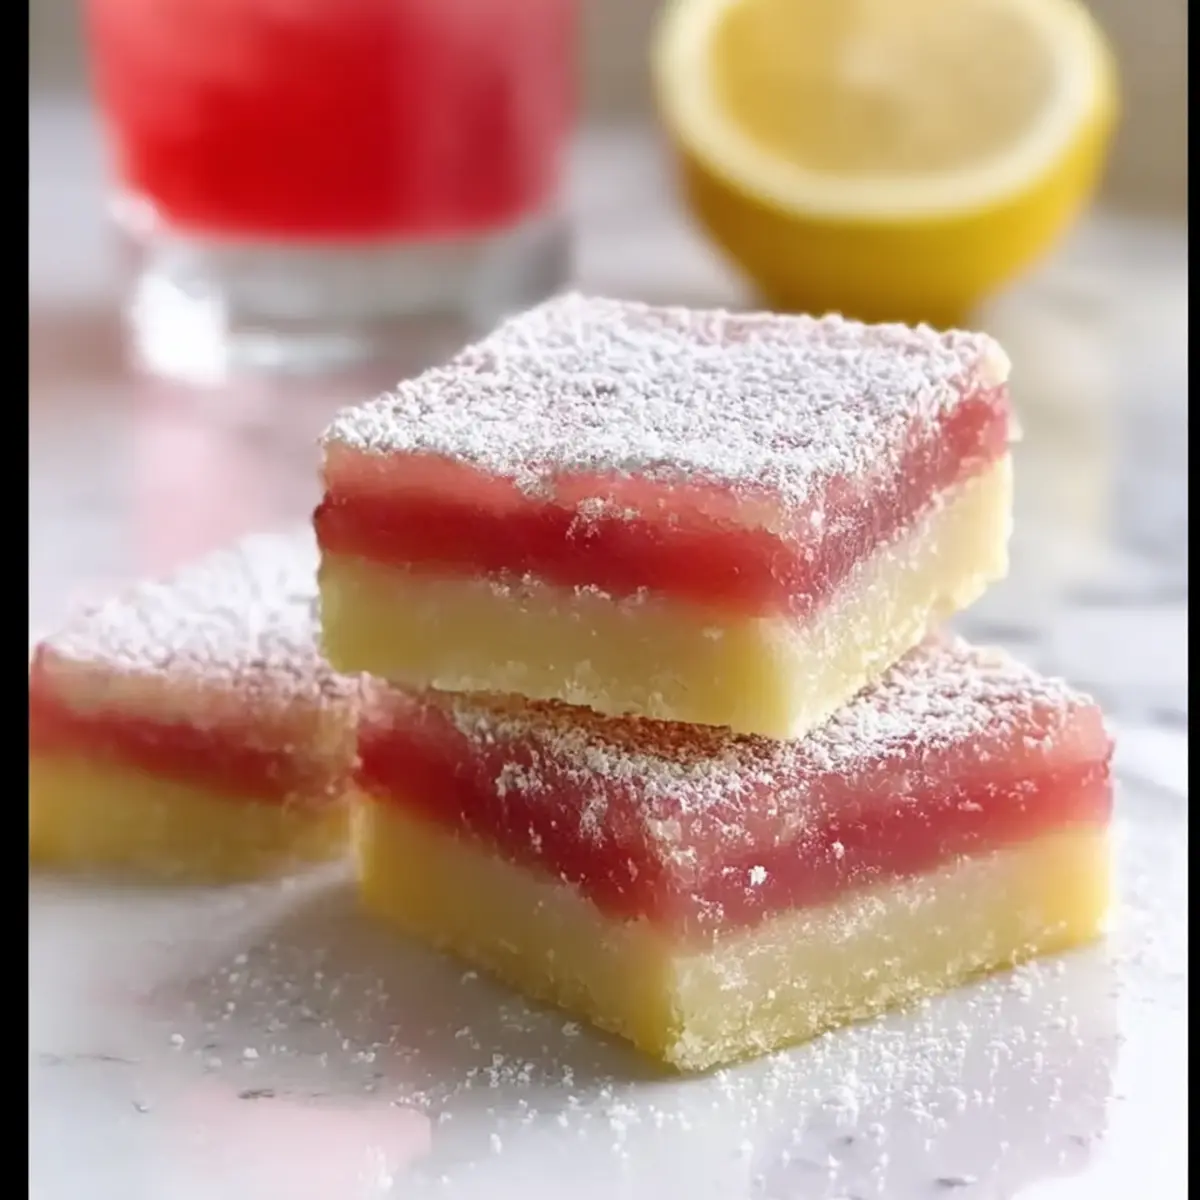
Allow your Hibiscus Lemon Bars to cool completely in the pan on a wire rack. Once cool, lift them out using the parchment overhang and cut them into squares. For an extra touch, dust the tops with confectioner’s sugar before serving. This not only adds sweetness but enhances the visual appeal of this stunning dessert!
Make Ahead Options
These Hibiscus Lemon Bars are perfect for meal prep enthusiasts looking to save time without compromising on flavor! You can prepare the crust up to 24 hours in advance by pressing it into your baking pan and storing it covered in the refrigerator. Additionally, you can make the hibiscus-infused lemon filling ahead of time and refrigerate it for up to 3 days—just be sure to give it a gentle stir before pouring it over the crust. When you’re ready to serve, simply bake the bars according to the recipe instructions, allowing those vibrant flavors to meld beautifully once again. These make-ahead tips ensure perfectly delicious Hibiscus Lemon Bars with minimal effort on the day of your gathering!
Variations & Substitutions for Hibiscus Lemon Bars
Feel free to get creative with these Hibiscus Lemon Bars, experimenting with flavors and textures that excite your palate!
-
Gluten-Free: Replace all-purpose flour with a gluten-free flour blend to maintain the texture without compromising on taste.
Gluten-free baking can be a delightful challenge, adding new dimensions to your favorite desserts while ensuring everyone can enjoy this treat. -
Vegan: Substitute eggs with flaxseed meal or chickpea flour and replace butter with vegan butter for a plant-based version.
Your friends won’t even miss the eggs! The creamy filling remains decadent and satisfying for all dietary preferences. -
Flavor Infusions: Experiment by swapping hibiscus for other floral flavors like chamomile or rose for a unique twist.
Each bloom brings its own personality to the dish, letting you carve out your signature flavor, perfect for impressing guests! -
Graham Cracker Crust: For a sweeter, more textured base, create a crust using crushed graham crackers mixed with melted butter or vegan alternative.
The crunchiness of this crust will complement the creaminess of the filling, making for a delightful experience. -
Mini Versions: Bake in a mini muffin tin for bite-sized versions of these bars, perfect for parties or picnics.
These little treats make serving a breeze, and they disappear faster than you can say “Hibiscus Lemon Bars!” -
Extra Zest: Add lemon zest to the filling for an extra punch of citrus flavor.
This little addition can brighten the overall taste, intensifying that refreshing summer vibe you crave. -
Herbal Touch: Infuse the lemon juice with fresh mint or basil for a refreshing herbaceous note.
Herbs can elevate your dessert, creating a surprising element that intrigues and delights the taste buds. -
Coconut Cream Topping: Top with whipped coconut cream for a tropical touch that pairs well with the floral notes.
This addition adds a lovely creaminess that balances the tangy Hibiscus Lemon Bars beautifully.
These variations and substitutions will help you make these Hibiscus Lemon Bars uniquely yours! If you’re curious about other delightful options, check out my scrumptious Gluten Free Cookies or indulge in rich Brownie Cheesecake Bars. Happy baking!
What to Serve with Hibiscus Lemon Bars?
As you prepare to delight your guests with these colorful treats, consider pairing them with complementary flavors and textures to create a memorable dessert spread.
-
Fresh Berries: Juicy strawberries, blueberries, or raspberries enhance the tartness of the lemon bars and add a burst of color. These berries provide a refreshing contrast that perfectly balances the sweetness of the hibiscus lemon bars.
-
Whipped Cream: A dollop of lightly sweetened whipped cream adds a creamy richness, enhancing the dessert’s overall indulgence. You can also infuse the cream with vanilla or a hint of hibiscus for an extra special touch.
-
Mint Sprigs: Fresh mint leaves offer a cooling herbal note that elevates the floral flavors of the hibiscus. Garnishing the bars with mint not only looks gorgeous but also brings a burst of freshness with every bite.
-
Sparkling Wine: A glass of bubbly complements the vibrant flavors of the bars, while its effervescence cleanses the palate. Choose a light, fruity sparkling wine to keep the mood festive and celebratory.
-
Coconut Macaroons: These chewy, sweet coconut cookies introduce a delightful texture contrast to the tender lemon bars. Their subtly tropical flavor resonates beautifully with the hibiscus and lemon pairing.
-
Chamomile Tea: The soothing floral notes of chamomile tea pair perfectly with hibiscus lemon bars, creating a tranquil yet flavorful experience. Serve it warm to enhance the overall comfort of your dessert table.
Expert Tips for Hibiscus Lemon Bars
-
Crust Tenderness: Avoid overmixing the dough while preparing the crust. This will ensure your Hibiscus Lemon Bars have a light, flaky texture.
-
Perfectly Baked Filling: Check for doneness by ensuring the edges are firm while the center remains slightly jiggly. It will continue to set as it cools.
-
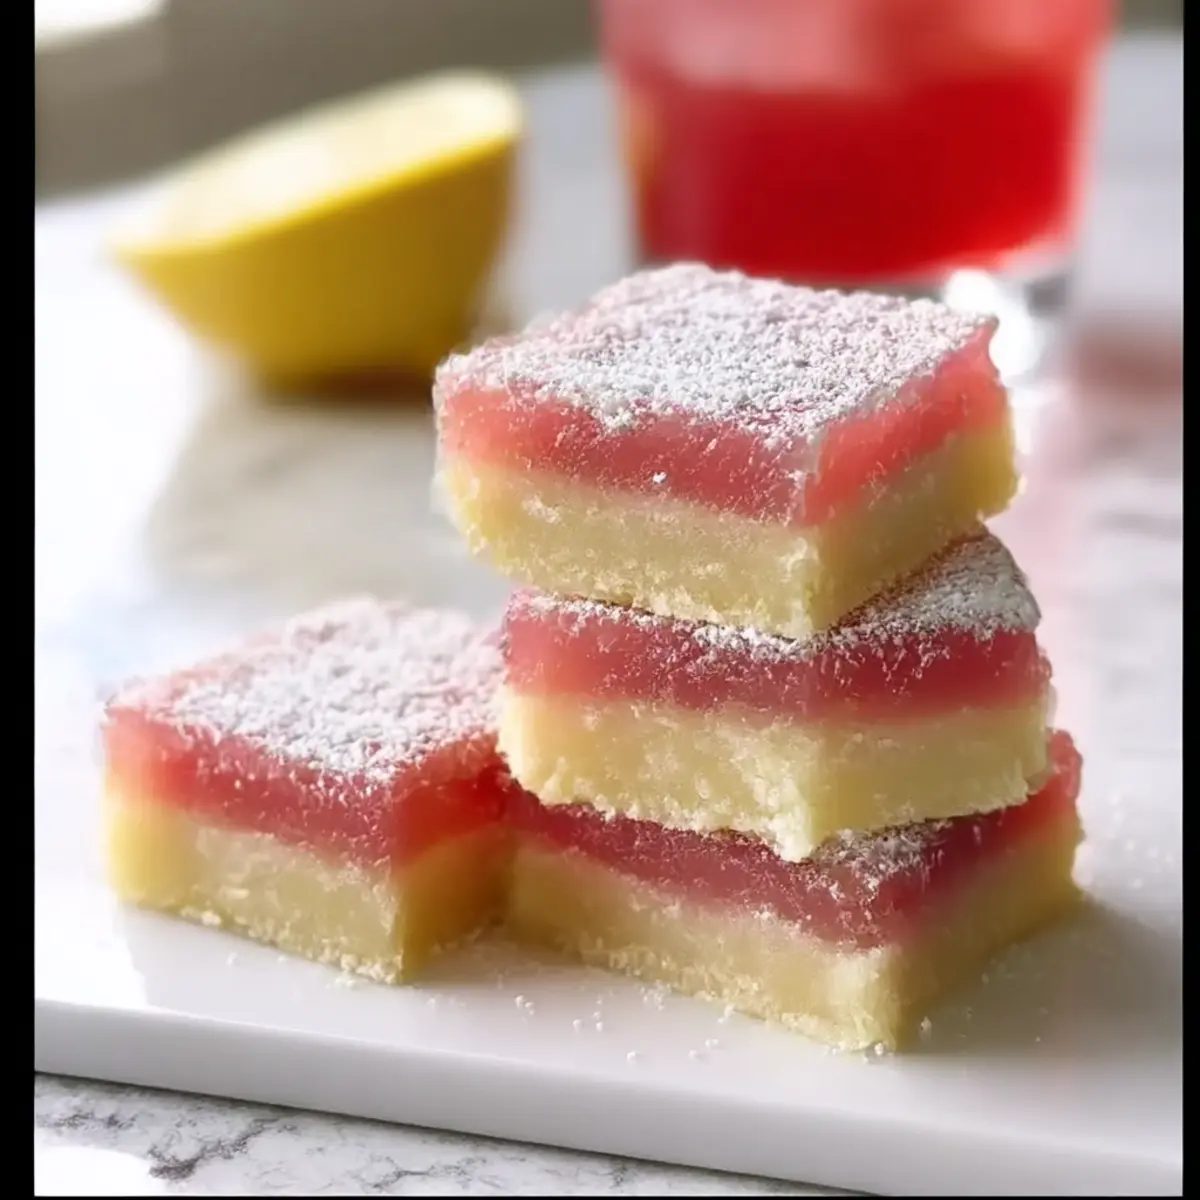
Cooling Before Slicing: Allow the bars to cool completely before cutting them into squares. This helps maintain clean edges and prevents the filling from spilling out.
-
Vibrant Color Tip: For an extra pop of color, consider replacing half of the sugar with hibiscus-infused sugar for added sweetness and floral flavor.
-
Experiment with Toppings: Dust with confectioner’s sugar just before serving for an elegant finish. Serve with fresh berries or a dollop of whipped cream to enhance the hibiscus lemon flavor.
How to Store and Freeze Hibiscus Lemon Bars
-
Room Temperature: Hibiscus Lemon Bars can be stored at room temperature for up to 2 hours. If left out longer, it’s best to return them to the fridge to ensure freshness.
-
Fridge: Store leftovers in an airtight container in the fridge for 4-5 days. This keeps the bars moist and prevents them from absorbing other food flavors.
-
Freezer: For long-term storage, cut the bars into squares and freeze them on a baking sheet until firm. Then transfer them to an airtight container or freezer bag; they can be kept for up to 2 months.
-
Thawing: To enjoy frozen Hibiscus Lemon Bars, let them thaw overnight in the fridge before serving. This helps maintain their creamy filling and delicious flavor.
Hibiscus Lemon Bars Recipe FAQs
What kind of hibiscus should I use for the filling?
Absolutely! Dried hibiscus flowers are ideal for this recipe as they infuse a wonderful floral flavor and vibrant color into the lemon filling. If you have access to fresh hibiscus, you can use that, but keep in mind that it needs to be used sparingly to avoid overwhelming the taste.
How long can I store Hibiscus Lemon Bars in the fridge?
Hibiscus Lemon Bars can be stored in an airtight container in the fridge for about 4-5 days. Keeping them chilled helps maintain their moisture and freshness, so you can enjoy them at their best for several days after baking!
Can I freeze Hibiscus Lemon Bars?
Yes, you can definitely freeze these delicious bars! Cut them into squares and arrange them on a baking sheet to freeze until solid. Then transfer the squares to an airtight container or freezer bag. They can be kept in the freezer for up to 2 months. To serve, simply thaw them overnight in the fridge before enjoying.
What should I do if my filling is too runny?
If your filling turns out too runny, it’s likely undercooked. Make sure you bake the bars until the edges are firm and the center is just slightly jiggly. If you’re still having trouble, a tbsp more of flour can be whisked into the filling mix before baking to help thicken it up.
Are Hibiscus Lemon Bars safe for pets?
While hibiscus is considered non-toxic for dogs, it is best to avoid sharing any dessert with your pets, especially one that contains sugar and lemon, which can upset their stomachs. Always keep treats like Hibiscus Lemon Bars safely out of reach!
Can I make these bars gluten-free?
Very! To make Hibiscus Lemon Bars gluten-free, simply replace all-purpose flour with a gluten-free flour blend. Many brands are available that will maintain the crust’s tender texture while catering to gluten sensitivity. Enjoy your baking adventure!
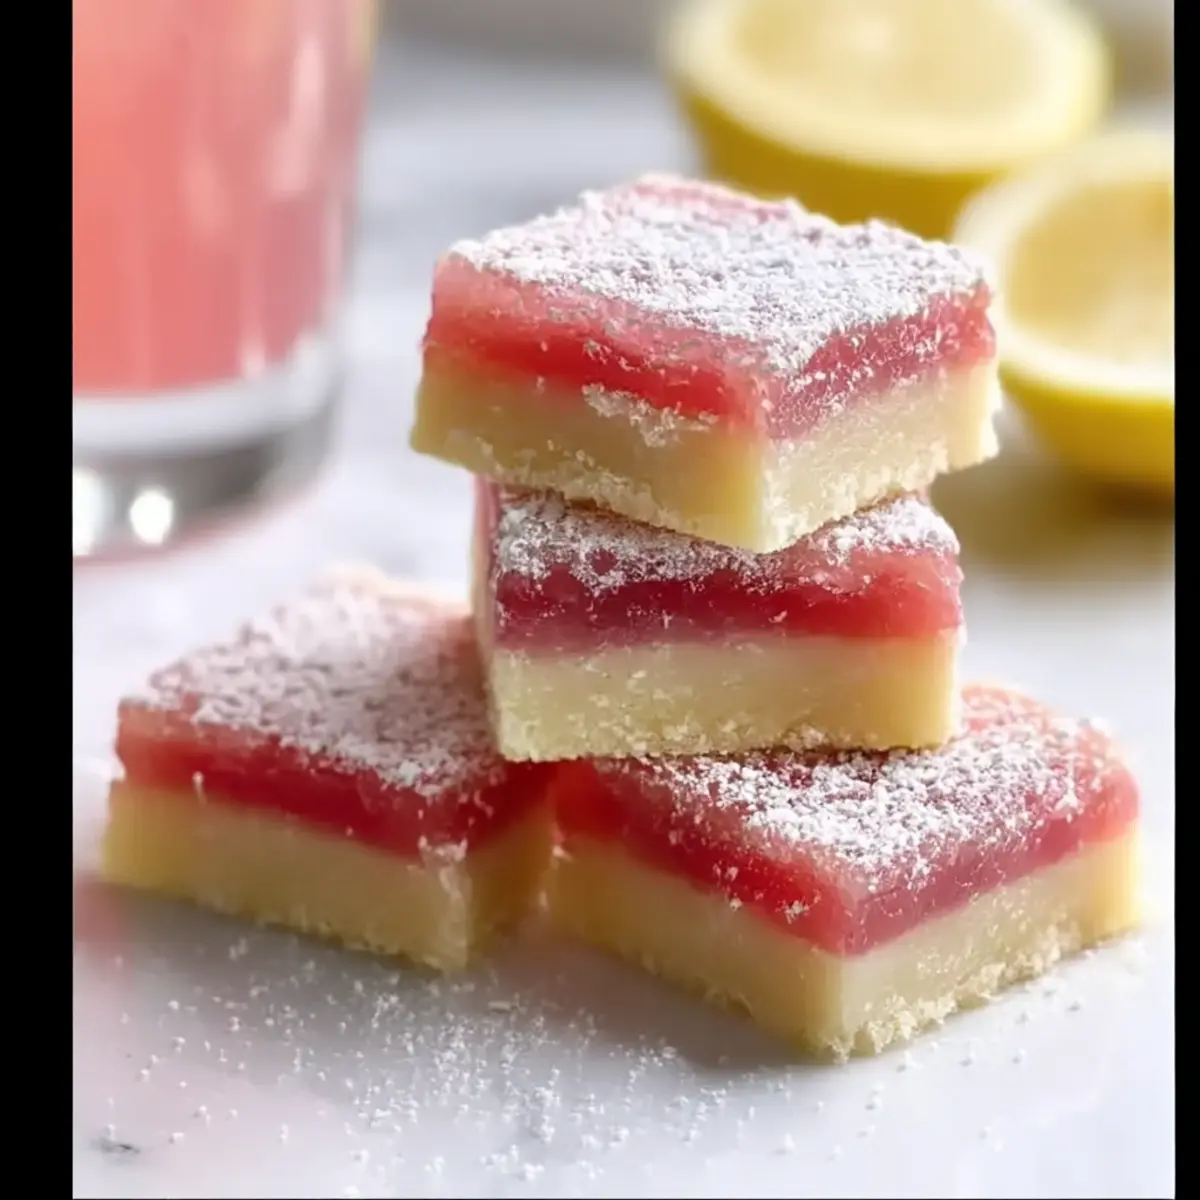
Hibiscus Lemon Bars That Brighten Up Your Summer Treats
Ingredients
Equipment
Method
- Preheat your oven to 350°F (175°C) and line a 9x9 inch baking pan with parchment paper.
- Cream together the softened butter, granulated sugar, and vanilla bean paste in a mixing bowl until light and fluffy, about 3-4 minutes.
- Sift in the all-purpose flour and pinch of salt. Mix on low speed until just combined to avoid overmixing.
- Press the dough evenly into the bottom of the prepared baking pan and chill in the refrigerator for about 15 minutes.
- Remove the chilled crust and bake for about 15 minutes, or until lightly golden on the edges. Let it cool slightly.
- Combine dried hibiscus and fresh lemon juice in a small bowl and steep for about 15 minutes, then strain the mixture.
- In a separate bowl, whisk together the eggs and granulated sugar. Gradually add the hibiscus-infused lemon juice and flour, whisking until smooth.
- Pour the filling over the cooled crust and bake for 20-25 minutes until set but slightly jiggly in the center.
- Allow the bars to cool completely, then lift out using the parchment and cut into squares. Dust with confectioner’s sugar before serving.
Leave a Reply