
When I first discovered the effortless joy of crispy oven-baked chicken tenders, it felt like unlocking a secret treasure buried beneath layers of takeout menus. With this easy and delicious Crunchy Chicken Tenders recipe, you can create a guilt-free alternative that rivals your favorite fried versions—all from the comfort of your kitchen. Not only are they a healthier choice without the hassle of frying, but they also boast that satisfying crunch that makes each bite a delightful experience. Perfect for family dinners or casual snacking, these tenders are easily customizable to suit every palate. So, are you ready to dive into the world of homemade goodness? Let’s get cooking!
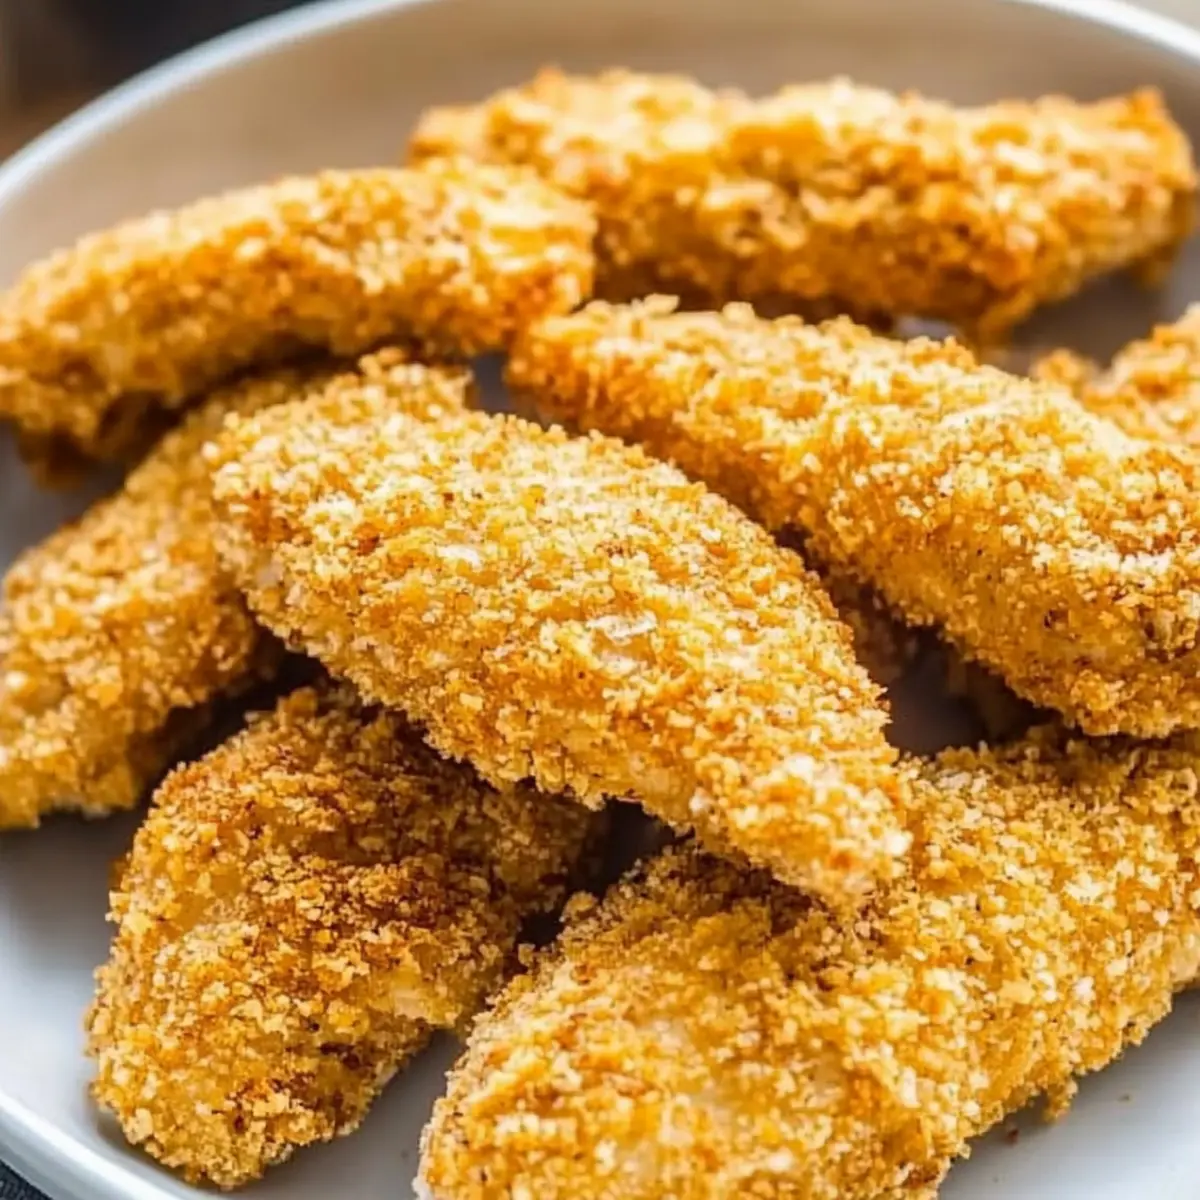
Why Are These Chicken Tenders So Irresistible?
Crispy, Oven-Baked Perfection: Each tender is baked to a beautiful golden brown, offering an unbeatable crunch without the guilt of frying.
Healthy Alternative: With no frying required, these tenders are a lighter choice for those craving comfort food without the calories.
Customizable Delight: Whether you fancy a spicy kick or a herb-infused flavor, mix it up with your favorite spices or marinades for personal touch.
Easy Preparation: Whip these up on a busy weeknight; they require minimal prep, making cooking feel like a breeze.
Family-Friendly Meal: Perfectly versatile, these tenders are a hit among both kids and adults, whether served as a snack or part of a meal, just like in Chicken Teriyaki Noodles.
Crunchy Chicken Tenders Ingredients
For the Chicken
• Chicken Tenderloins – the star of the show, providing juicy protein; boneless skinless chicken breasts work too.
For the Coating
• Panko Breadcrumbs – these create the irresistible crunch; swap for gluten-free panko for a gluten-free option.
• Plain Flour (All-Purpose) – helps the batter adhere; gluten-free flour can be used instead for dietary needs.
• Salt – enhances flavor and moisture, especially when brining the chicken; optional if you skip the brining step.
• Ground Black Pepper – adds a bit of heat and depth to the flavor profile.
For the Binding Mixture
• Eggs – they serve as a binding agent to secure the crispy coating; a vegan egg replacer works for a vegetarian version.
• Water – thins your batter for a perfect coating texture.
For Seasoning
• Onion Powder – injects a savory depth to the mixture, enhancing the overall taste.
• Garlic Powder – provides a lovely savory note that complements the chicken perfectly.
For Toasting
• Oil – this helps toast the breadcrumbs to a golden color and adds crunch; any neutral oil will suit the purpose.
With these simple ingredients in hand, you’ll be on your way to making the most delightful Crunchy Chicken Tenders that promise to be a family favorite!
Step‑by‑Step Instructions for Crunchy Chicken Tenders
Step 1: Brine the Chicken
Start by mixing the chicken tenderloins with salt in a bowl to enhance flavor and moisture. Let them sit in the refrigerator for 30-40 minutes; this helps to brine the chicken properly. Afterward, rinse the salt off gently and pat the chicken dry with paper towels, ensuring it’s ready for the next steps in the Crunchy Chicken Tenders recipe.
Step 2: Toast Breadcrumbs
Preheat your oven to 180°C (350°F). In a mixing bowl, combine the panko breadcrumbs with a drizzle of your chosen oil, which will help them achieve that golden crunch. Spread the mixture evenly on a lined baking sheet and bake for 8-10 minutes. Keep an eye on them; you’re looking for a toasted, golden hue that brings depth to the crunchy coating.
Step 3: Prepare Batter
In a separate bowl, whisk together the eggs, water, and flour, ensuring there are no lumps. Add in the onion powder, garlic powder, ground black pepper, and salt to taste, depending on whether you performed the brining step. This mixture is your binding agent for the Crunchy Chicken Tenders, creating a flavorful coating that adheres beautifully to the chicken.
Step 4: Coat Chicken
Take the brined and dried chicken tenderloins and dip each piece into the prepared batter, ensuring they are fully coated. Next, press each tenderloin into the toasted panko breadcrumbs, allowing them to adhere entirely. This step is key for getting a deliciously crunchy exterior on your chicken tenders, making them extra satisfying with every bite.
Step 5: Bake
Arrange the coated chicken tenders on a lined baking sheet, ensuring there’s enough space between each piece for even cooking and crunch. Bake them in the preheated oven at 200°C (400°F) for 10-12 minutes, or until they’re golden brown and cooked through. Check that the internal temperature reaches 75°C (165°F) for perfectly safe and juicy Crunchy Chicken Tenders.
Step 6: Serve
Once your chicken tenders are beautifully golden and crispy, remove them from the oven. Let them cool for a few minutes before serving. Enjoy them as they are or pair with your favorite dips like sweet chili sauce or ranch dressing, making this homemade delight perfect for family dinners or a delightful snack.

Storage Tips for Crunchy Chicken Tenders
Fridge: Store cooked crunchy chicken tenders in an airtight container for up to 3 days, ensuring they stay fresh and flavorful.
Freezer: Freeze the cooked tenders for up to 3 months. Place them in a single layer on a baking sheet to freeze first, then transfer to a zip-top bag.
Reheating: For best results, reheat in the oven at 180°C (350°F) for about 10-15 minutes to restore the crunch and warmth. Avoid microwaving to maintain that crispy texture.
Make-Ahead: Consider preparing the coating and chicken, storing them separately in the fridge for up to 2-3 days, then bake fresh when you’re ready for your delightful Crunchy Chicken Tenders!
Make Ahead Options
These Crunchy Chicken Tenders are perfect for meal prep enthusiasts! You can brine the chicken and coat them up to 24 hours in advance, storing them in the refrigerator. For best results, place the coated tenders on a baking sheet lined with parchment paper and cover them tightly with plastic wrap to prevent them from drying out. When you’re ready to serve, simply bake them directly from the fridge, adding a couple extra minutes to the cooking time for perfectly crispy tenders. This method not only saves you time on busy weeknights but also ensures that your homemade Crunchy Chicken Tenders are just as delicious as fresh out of the oven!
Expert Tips for Crunchy Chicken Tenders
Brining Bonus: Flavor boost: Brine your chicken for an hour to enhance tenderness and flavor, making those crunchy chicken tenders even more delicious.
Breadcrumb Magic: Toasted texture: Always toast your panko breadcrumbs before coating; this step is essential for achieving that irresistible crunch.
Spacing Matters: Baking tips: Space your chicken tenders on the baking sheet to allow proper air circulation, ensuring an even, crunchy texture all over.
Don’t Rush the Bake: Cooking timing: Always check internal temperature reaches 75°C (165°F) for juicy, safe-to-eat crunchy chicken tenders.
Seasoning Flexibility: Spice it up: Personalize by adding your favorite spices—paprika or cayenne pepper can elevate the flavor of your crunchy chicken tenders.
What to Serve with Crunchy Chicken Tenders
Pairing your crispy creation with delicious sides elevates the family-friendly experience to a whole new level.
-
Creamy Mashed Potatoes: The rich, buttery texture complements the crispy chicken, creating a comforting contrast everyone will love. A drizzle of gravy only enhances this classic pairing!
-
Fresh Coleslaw: The crunchy, tangy slaw refreshes your palate, balancing the savory richness of the tenders with bright flavors and a variety of textures. It’s a perfect match for summer cookouts!
-
Honey Mustard Dipping Sauce: This sweet and tangy sauce contrasts beautifully with the crispy chicken, enhancing its flavor while offering a delightful twist. A crowd-pleaser for dipping!
-
Steamed Broccoli: This vibrant green side adds a nutritious boost and a slight crunch, perfectly offsetting the crispy tenders while keeping your meal wholesome and satisfying.
-
Sweet Potato Fries: Crispy and slightly sweet, these fries are a playful take on a classic side that pairs perfectly with your crunchy chicken tenders. A delightful, healthier alternative to regular fries!
-
Garlic Bread: The warm, toasty flavors of garlic bread make it a lovely companion, adding a satisfying crunch that’s perfect for soaking up any leftover dips.
-
Sparkling Lemonade: Refreshing and bubbly, this drink brightens the meal and cleanses the palate between bites, making it an ideal choice for the whole family.
-
Chocolate Chip Cookies: For dessert, warm, gooey chocolate chip cookies bring a comforting conclusion to your meal, making it feel like a special treat everyone will cherish.
Crunchy Chicken Tenders Variations & Substitutions
Feel free to make these chicken tenders your own with these fun and delicious twists!
- Gluten-Free: Use gluten-free panko breadcrumbs and flour for a completely gluten-free version that everyone can enjoy.
- Spicy Kick: Marinate your chicken in hot sauce for 30 minutes before brining to infuse it with a zesty flavor.
- Cornflake Crunch: Swap panko for crushed cornflakes for a delightfully different texture that adds extra crunch.
- Herb Infusion: Mix dried Italian herbs or smoked paprika into the breadcrumb mixture for an aromatic flavor boost.
- Vegan Delight: Replace eggs with a flaxseed meal or a store-bought vegan egg replacer to make this recipe vegan-friendly.
- Lemon Zest: Add the zest of a lemon into your batter for a refreshing citrusy note that brightens up the dish.
- Buttermilk Soak: Soak your chicken tenders in buttermilk for an hour before brining to enhance tenderness and flavor.
- Sweet Crunch: Drizzle honey over the chicken tenders just before serving for a sweet contrast to the savory crunch.
These variations can take your Crunchy Chicken Tenders to a whole new level, just like trying out different styles in dishes such as Chicken Alfredo Lasagna or adding a unique twist to your meals like in Cajun Chicken Pasta. Enjoy experimenting!
Crunchy Chicken Tenders Recipe FAQs
How do I select the best chicken tenderloins?
Absolutely! Look for chicken tenderloins that are plump and slightly moist. Avoid any tenderloins with dark spots or a slimy texture, as this indicates spoilage. Fresh tenderloins should have a light pink hue with no off odors. If you’re opting for boneless skinless chicken breasts, make sure they are also fresh and well-packed.
What’s the best way to store leftover crunchy chicken tenders?
You can store your cooked crunchy chicken tenders in an airtight container in the fridge for up to 3 days. Just ensure they’re cooled completely before sealing to avoid any moisture build-up. If you want to keep them for a longer time, freeze them. They can be frozen for up to 3 months, placed in a single layer on a baking sheet to freeze individually, and then transferred to a zip-top bag.
Can I freeze the crunchy chicken tenders? If so, how?
Yes, you can freeze them! After baking, allow the chicken tenders to cool completely. Then, arrange them in a single layer on a baking sheet and freeze for about 1-2 hours until firm. Transfer the tenders into a zip-top freezer bag, removing as much air as possible. You can bake them from frozen, just remember to add an extra 5-10 minutes to the baking time.
What should I do if my chicken tenders are not crispy?
If you find your crunchy chicken tenders are lacking that desired crunch, it could be due to a couple of reasons. Ensure you toast your panko breadcrumbs until golden before coating them; this step is vital. Also, make sure the tenders are spaced apart on the baking sheet during baking to allow for proper air circulation. If they still turn out soft, consider re-baking them for 3-5 minutes at a higher temperature to help restore that crispiness!
Are these chicken tenders suitable for gluten-free diets?
Very! You can easily make these crunchy chicken tenders gluten-free by using gluten-free panko breadcrumbs and substituting the all-purpose flour with a gluten-free flour blend. Just be sure to check any additional seasonings for gluten content to ensure they’re safe for gluten-sensitive individuals.
Can I prepare the chicken tenders in advance?
Certainly! You can prepare the chicken tenders and store them raw in the fridge for up to 2-3 days prior to baking. Keep the coated chicken tenders tightly wrapped in plastic wrap or in a container. When you’re ready to cook, just pop them in the oven!
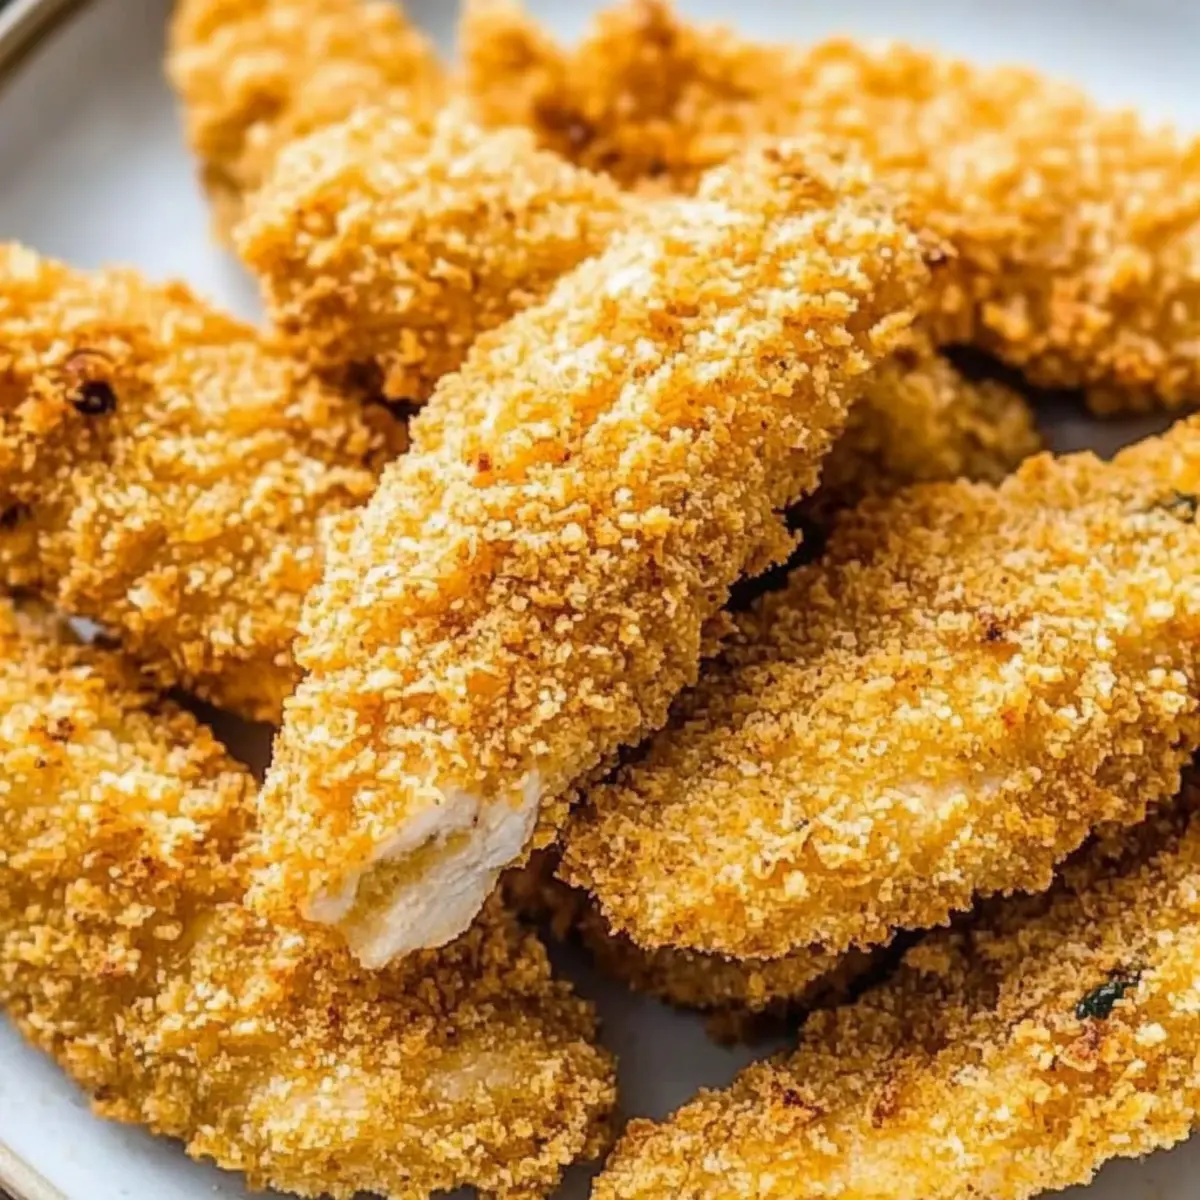
Crispy Crunchy Chicken Tenders Baked to Perfection
Ingredients
Equipment
Method
- Start by mixing the chicken tenderloins with salt in a bowl to enhance flavor and moisture. Let them sit in the refrigerator for 30-40 minutes.
- Preheat your oven to 180°C (350°F) and combine the panko breadcrumbs with oil. Spread evenly on a lined baking sheet and bake for 8-10 minutes.
- In a bowl, whisk together eggs, water, and flour. Add onion powder, garlic powder, ground black pepper, and salt to taste.
- Dip the brined chicken tenderloins into the batter, then press into the toasted panko breadcrumbs to coat.
- Arrange the coated chicken tenders on a lined baking sheet, bake at 200°C (400°F) for 10-12 minutes until golden brown.
- Let the chicken tenders cool for a few minutes before serving. Enjoy them plain or with favorite dips.
Leave a Reply