
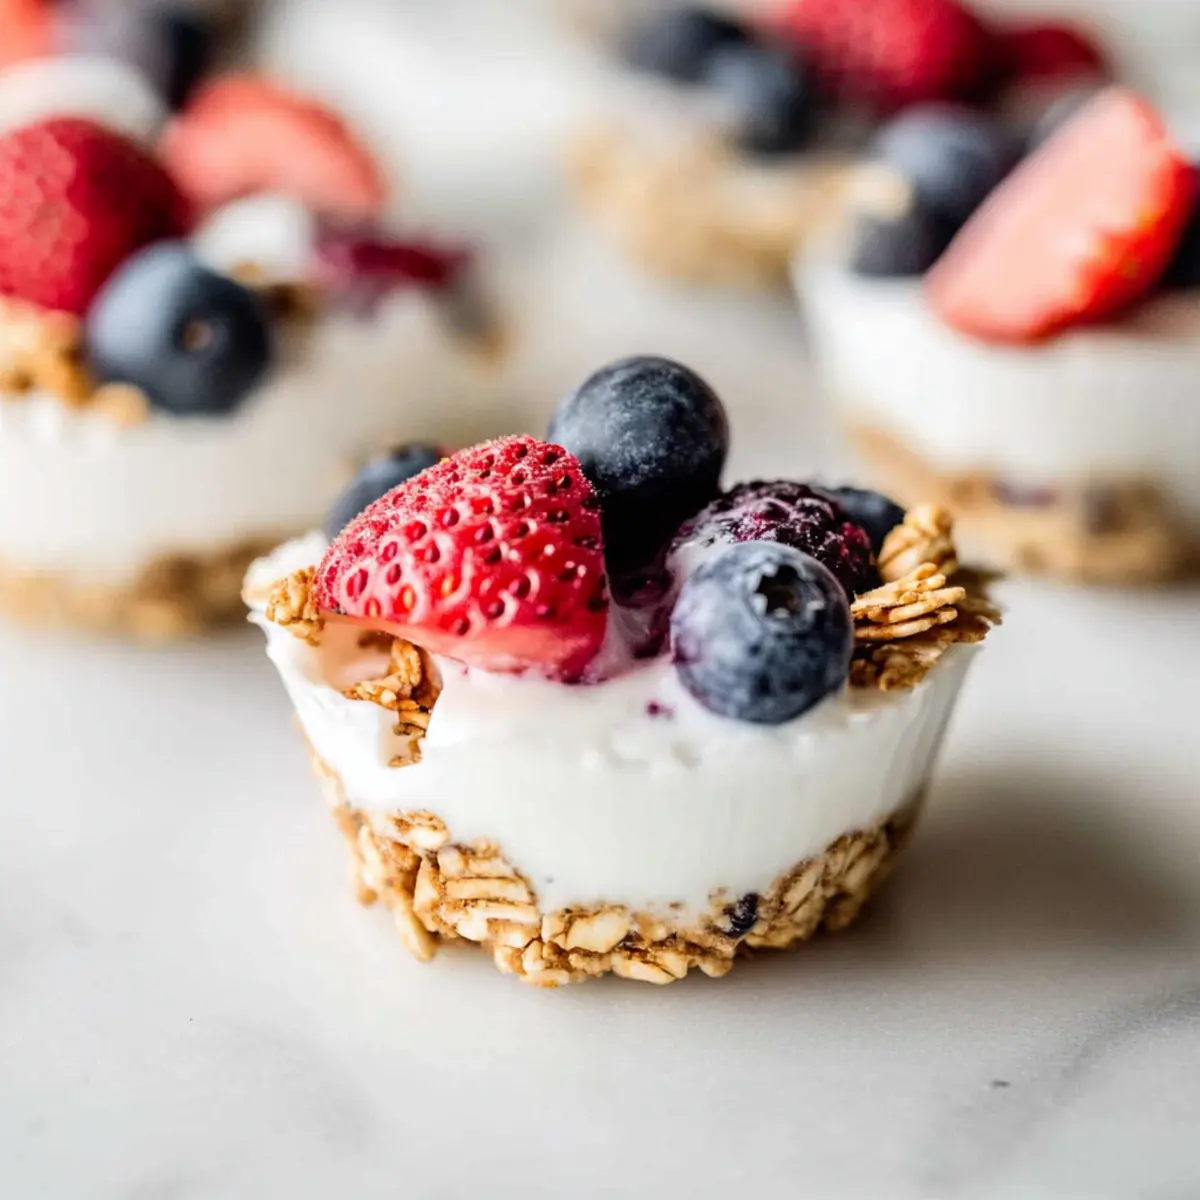
As I stood in my kitchen, a summer afternoon sun streaming through the window, I knew I wanted something refreshing yet guilt-free. That’s when my mind drifted to these delightful Frozen Yogurt Granola Cups. They bring together the creamy goodness of Greek yogurt and the crunchy texture of oats, making them perfect for any time of day. Not only can you whip them up in just 15 minutes, but they’re also incredibly versatile—feel free to customize them to fit your dietary needs, whether you’re vegan or simply want to mix up the toppings! These little cups of joy are a convenient and wholesome snack, keeping fast food at bay. Curious how to create your own batch? Let’s dive in!
Why Are These Granola Cups Irresistible?
Versatile by Nature: You can easily customize these Frozen Yogurt Granola Cups with your favorite toppings and flavors. Whether you prefer fresh strawberries, chocolate chips, or nut butter swirls, the options are endless!
Quick and Easy: With just a 15-minute prep time, you can have a deliciously healthy snack ready to freeze, making this recipe perfect for busy days.
Packed with Goodness: These cups are loaded with protein, fiber, and vitamins—ideal for satisfying sweet cravings while keeping your health goals on track.
Dairy-Free Option: You won’t miss out if you’re vegan or lactose-intolerant—the swap to dairy-free yogurt is seamless and delicious!
Perfect for Meal Prep: Make a batch ahead of time and store them for a quick snack or dessert option that’s ready to grab and enjoy anytime—no more fast food!
Give them a try, and don’t forget to check out other healthy snacks for more ideas on delicious treats that fit your lifestyle!
Frozen Yogurt Granola Cups Ingredients
• Ready to create your own delicious Frozen Yogurt Granola Cups? Here’s what you’ll need!
For the Granola Base
- Oats – Provide structure and crunch; feel free to substitute with gluten-free oats for a gluten-free version.
- Cinnamon – Adds warmth and flavor; optional if you prefer a spice-free version.
- Almond Butter – Binds granola together while providing healthy fats; peanut butter is a tasty alternative.
- Honey or Maple Syrup – Sweetens the mixture; maple syrup is a great vegan option for this recipe.
- Vanilla Extract – Enhances the overall flavor; choose pure vanilla for the best taste.
For the Yogurt Filling
- Greek Yogurt – Offers creaminess and protein; swap it for dairy-free yogurt if you want a vegan version.
For Toppings
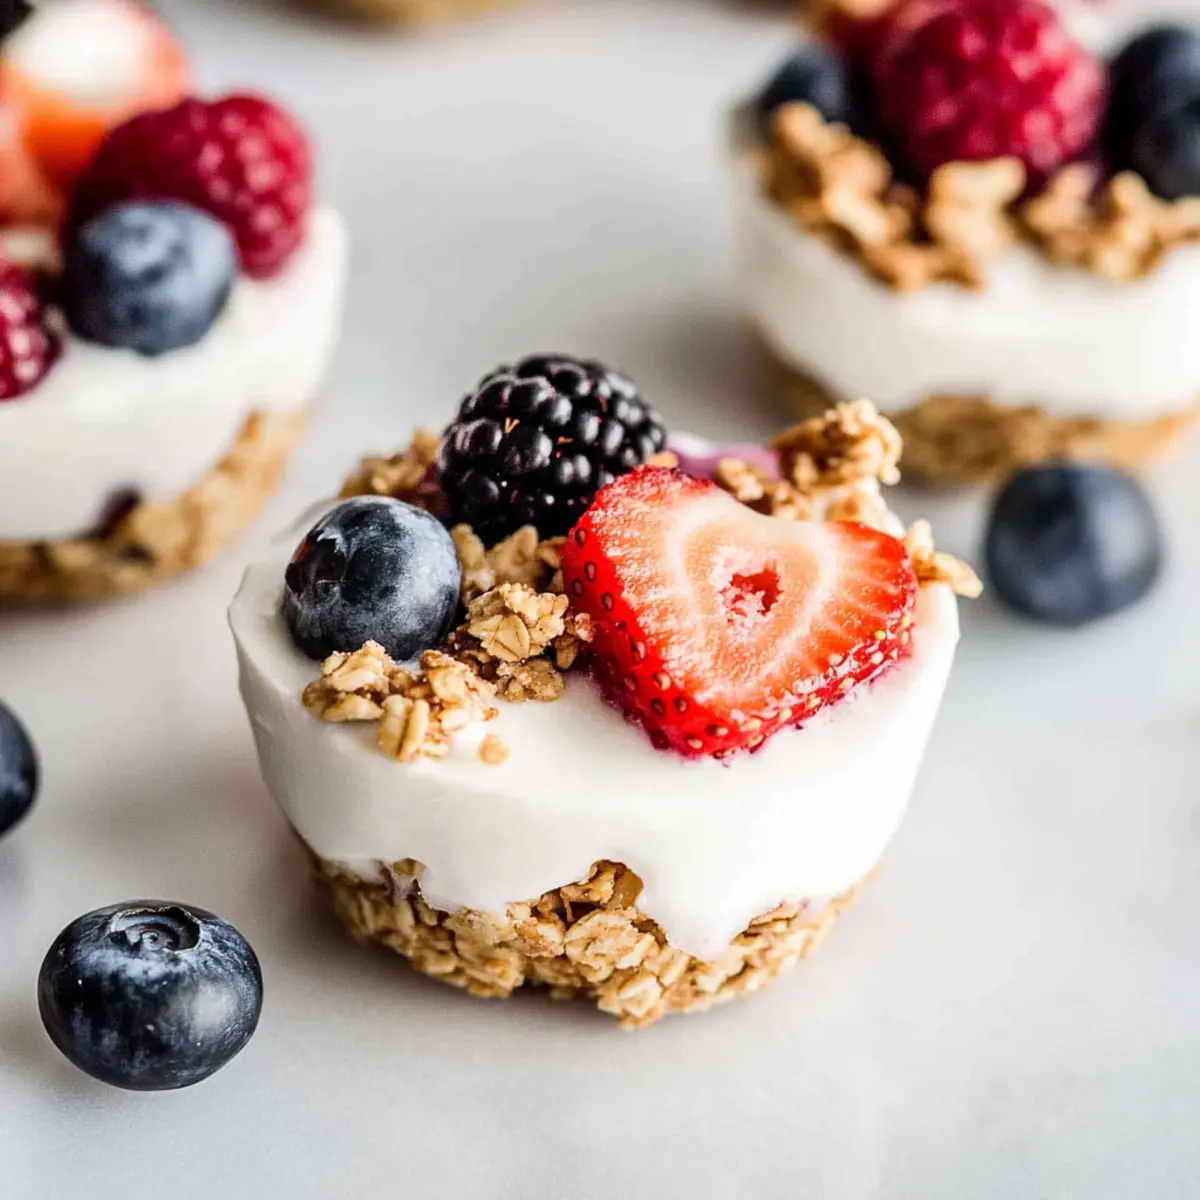
- Fresh Berries – Add natural sweetness and a burst of flavor; feel free to use your favorites or whatever’s in season.
- Extra Granola – Sprinkle on top for added texture and crunch; it also makes for a beautiful presentation!
Gather these simple ingredients, and you’ll be on your way to whipping up the most delightful Frozen Yogurt Granola Cups!
Step‑by‑Step Instructions for Frozen Yogurt Granola Cups
Step 1: Prepare Granola Mixture
In a spacious mixing bowl, combine oats, cinnamon, almond butter, honey, and vanilla extract. Use a spatula to mix these ingredients thoroughly until they’re completely integrated, forming a sticky mixture. This should take about 2–3 minutes of mixing; the granola mixture should hold together yet remain crumbly.
Step 2: Form the Cup Base
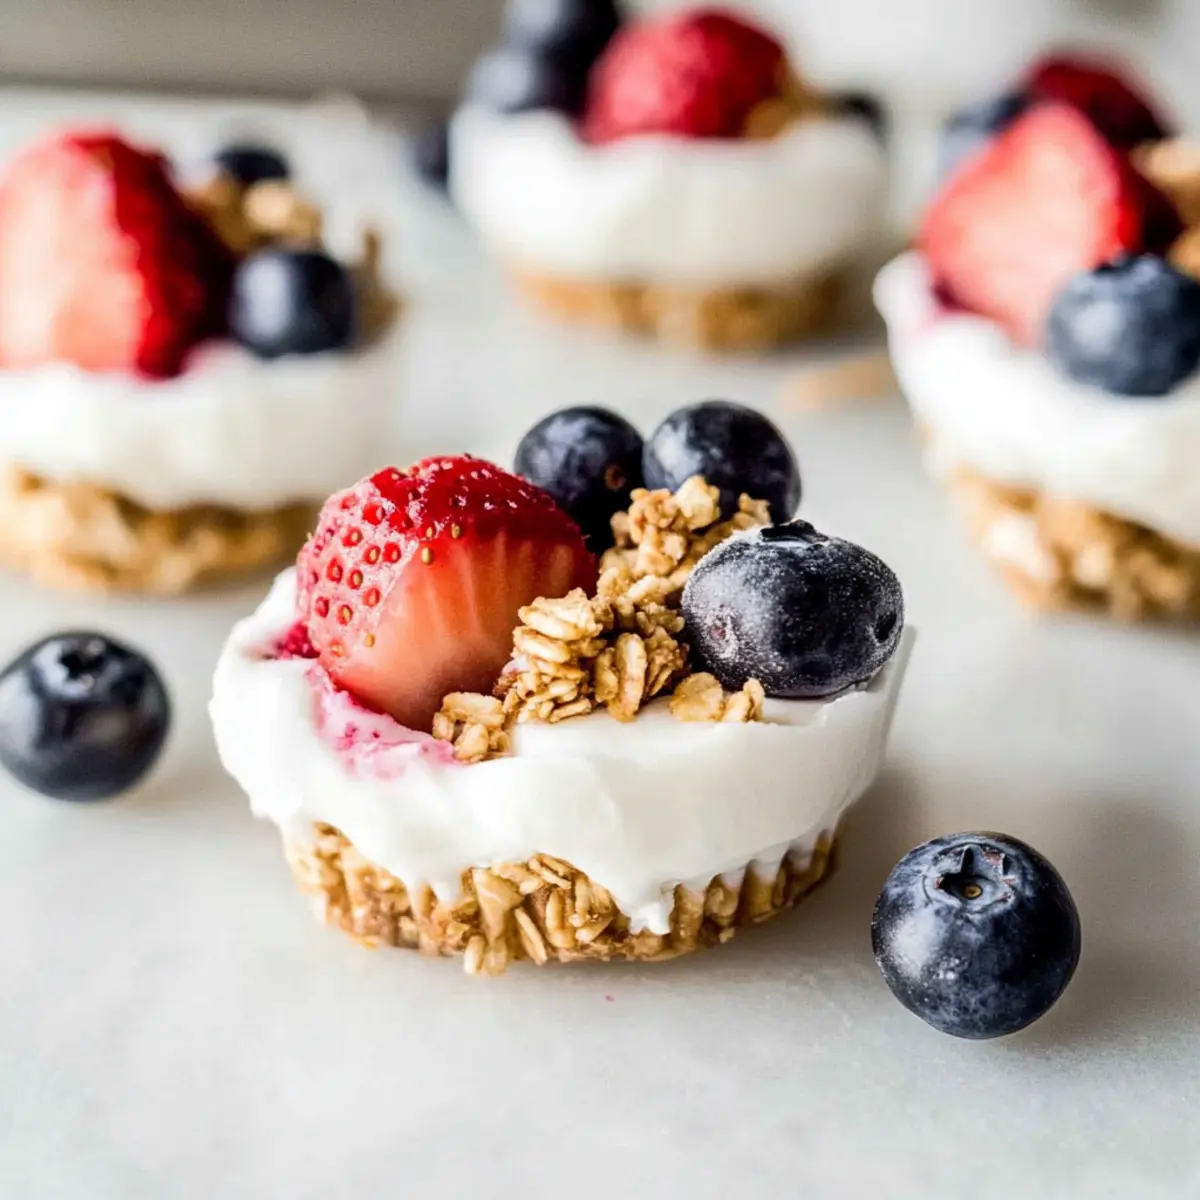
Line a standard muffin pan with paper liners for easy removal. With clean hands, press the granola mixture evenly into the bottom of each cup, creating a small well. Aim for about 1/4-inch thickness, ensuring you make a sturdy base for your Frozen Yogurt Granola Cups. This step should take around 5 minutes.
Step 3: Add Yogurt Filling
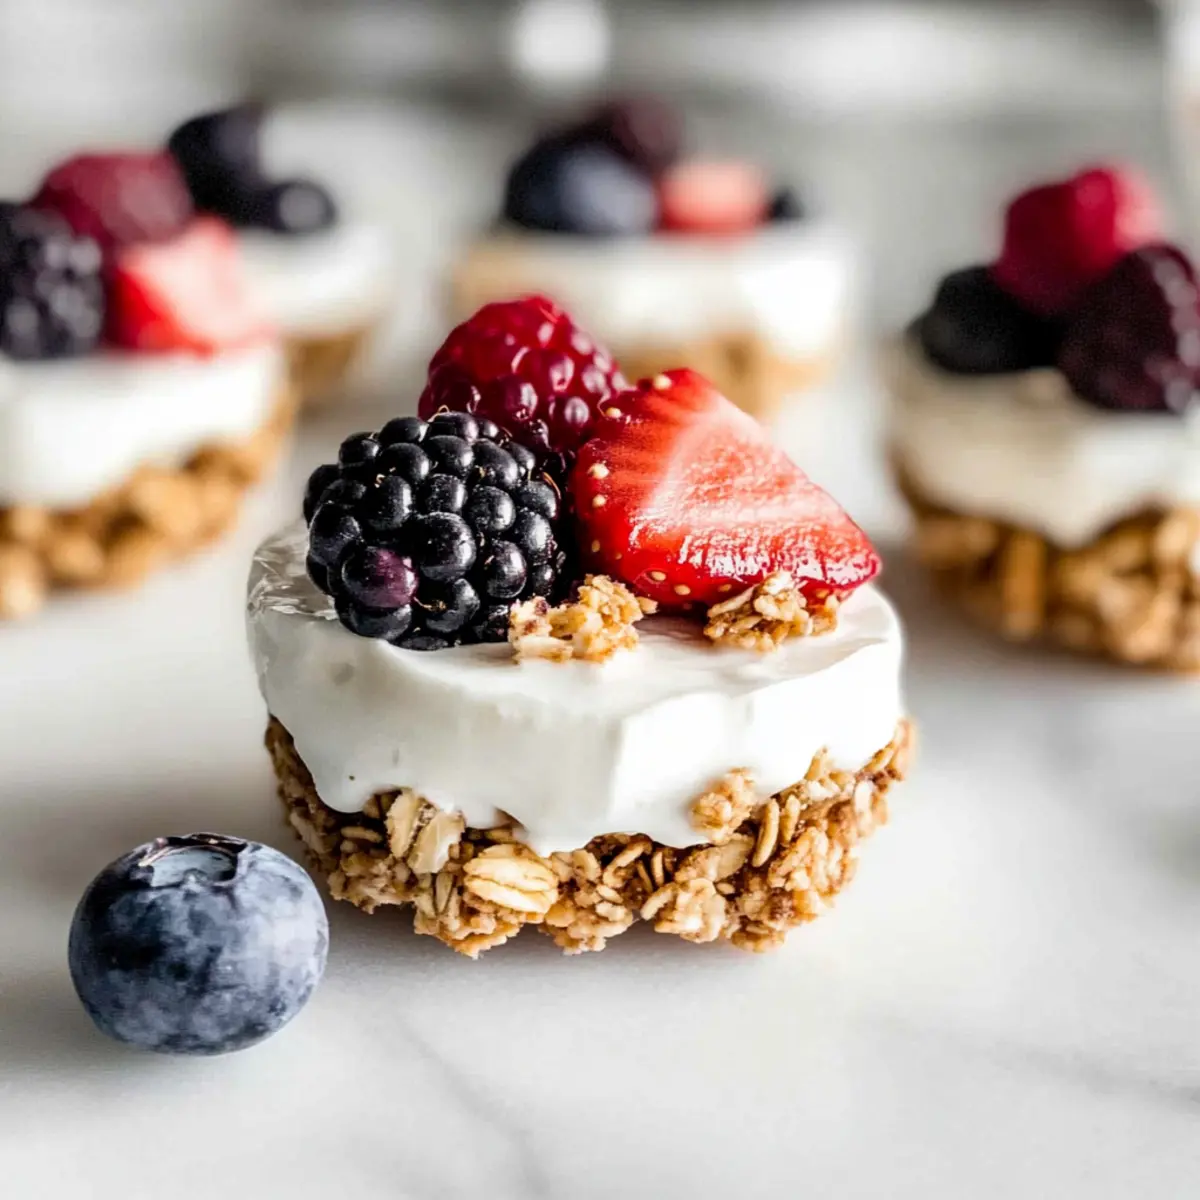
Spoon Greek yogurt into each granola cup, filling them generously to the top without spilling over. Smooth the yogurt with the back of a spoon to create an even surface. Depending on the cup’s depth, this should only take about 3 minutes. The mixture should beautifully contrast the golden granola below.
Step 4: Top with Fresh Berries
Sprinkle a handful of fresh berries on top of the yogurt in each cup. Feel free to mix and match your favorite fruits for a vibrant look! This should only require a couple of minutes. Adding berries will enhance both texture and flavor, making your Frozen Yogurt Granola Cups even more delicious.
Step 5: Freeze the Cups
Place the muffin pan in the freezer and allow the cups to freeze for a minimum of 3 hours. Ensure they are completely firm to the touch before removing them. Check on them after 3 hours; they should feel solid, perfect for enjoying whenever cravings hit.
Step 6: Serve and Enjoy
When you’re ready to indulge, take the cups out of the freezer and let them sit at room temperature for about 5-10 minutes. This helps them thaw slightly, making them easier to bite into. Once softened slightly, these Frozen Yogurt Granola Cups are ready for your enjoyment!
How to Store and Freeze Frozen Yogurt Granola Cups
-
Room Temperature: It’s best not to store these cups at room temperature, as they can soften and lose structure.
-
Fridge: If you must refrigerate, enjoy them within up to 3 days for optimal freshness, but be aware they may lose their crunch.
-
Freezer: Store in an airtight container or freezer bag for up to 2 months. When ready to enjoy, let them thaw for 5-10 minutes at room temperature.
-
Reheating: There’s no need to reheat, but for a slightly softer texture, you can microwave them for about 10 seconds. Enjoy your Frozen Yogurt Granola Cups any time!
Frozen Yogurt Granola Cups Variations
Feel free to take these Frozen Yogurt Granola Cups to the next level of deliciousness—customizing is part of the fun!
-
Dairy-Free: Swap Greek yogurt for a creamy dairy-free yogurt to make a vegan-friendly treat.
-
Nut Butter Variation: Try using cashew or sunflower seed butter instead of almond butter for a different flavor profile.
-
Natural Sweeteners: Substitute honey with agave nectar or date syrup for a naturally sweetened option.
-
Add Spices: Kick up the warmth by adding a pinch of nutmeg or ginger to your granola mixture for an exotic twist.
-
Topping Ideas: Enhance your cups with a layer of coconut flakes or a sprinkle of chia seeds for an extra crunch and nutritional boost.
-
Fruit Swaps: Use seasonal fruits like mango, peaches, or even pomegranate seeds for a refreshing change, keeping your cups vibrant and exciting.
-
Chocolate Lovers: Fold in mini chocolate chips or cacao nibs before freezing for a delightful chocolatey surprise in every bite.
-
Heat It Up: If you love a little kick, add a dash of cayenne pepper or chili powder to the granola mixture for a surprising heat that makes the flavors pop!
Explore the endless possibilities, and for more inspiration, check out these healthy snack options that you can prepare ahead of time!
Expert Tips for Frozen Yogurt Granola Cups
Press Firmly: Ensure you press the granola mixture firmly into the muffin pan to create a sturdy base that won’t crumble.
Thaw Before Eating: Let the cups thaw for 5-10 minutes to soften slightly before enjoying. This will prevent them from being too hard to bite into.
Sweetness Balance: Adjust the amount of honey or maple syrup based on your yogurt’s tartness level. Plain yogurt may need a bit more sweetness in your Frozen Yogurt Granola Cups.
Single Layer Toppings: For added texture, sprinkle toppings in a single layer rather than piling them high. This will help keep the cups neat and manageable.
Storage Matters: Keep the Frozen Yogurt Granola Cups in an airtight container to maintain freshness for up to 2 months, ensuring they’re always ready to grab as a quick snack.
What to Serve with Frozen Yogurt Granola Cups
Brighten your snack time or dessert table with delightful accompaniments that will enhance the flavors and textures of these Frozen Yogurt Granola Cups.
-
Fresh Fruit Salad: A medley of seasonal fruits adds refreshing sweetness and color, perfectly balancing the creamy yogurt cups.
-
Nutty Trail Mix: A sprinkle of nutty trail mix will introduce a variety of textures—crunchy, chewy, and savory—that complement the creamy and sweet notes of the cups.
-
Coconut Whipped Cream: For an indulgent twist, serve a dollop of coconut whipped cream alongside, offering a light, fluffy texture that enhances the sweet flavor profile.
-
Iced Herbal Tea: The light and refreshing nature of iced herbal tea, perhaps with hints of mint or chamomile, can cleanse the palate and elevate the overall experience.
-
Dark Chocolate Shavings: A sprinkle of dark chocolate shavings over the yogurt adds a rich, decadent touch that kids and adults alike will love, contrasting beautifully with the sweet berries.
-
Greek Yogurt Dip: An extra serving of flavored Greek yogurt as a dip invites a delightful interactive element, perfect for dunking additional fresh fruits or granola.
These pairings not only enhance the taste journey but also invite a full experience, making snack time or dessert feel extra special!
Make Ahead Options
These Frozen Yogurt Granola Cups are perfect for those busy weeknights and meal prep enthusiasts! You can prepare the granola base and fill the cups with yogurt up to 24 hours in advance. Simply follow the initial steps by mixing the granola ingredients, pressing them into the muffin pan, and adding the yogurt filling. Cover and refrigerate the prepared cups to maintain their freshness. When you’re ready to enjoy them, just add the fresh berries right before serving to prevent sogginess and ensure vibrant flavor. This way, you’ll have a delightful, nutritious treat ready to grab when those sweet cravings strike!
Frozen Yogurt Granola Cups Recipe FAQs
How do I choose ripe berries for my Frozen Yogurt Granola Cups?
Absolutely! When selecting fresh berries, look for vibrant colors and plumpness. Avoid berries with dark spots or mold. Strawberries should be red and firm, blueberries should be deep blue or purple, and raspberries should be bright and intact. Ripe berries not only taste better but also enhance the look of your cups!
How should I store my Frozen Yogurt Granola Cups?
I recommend storing your Frozen Yogurt Granola Cups in an airtight container or freezer bag. They can stay fresh in the freezer for up to 2 months. If you store them in the fridge, they’re best consumed within 3 days, though they may lose some crunchiness over time. Enjoy them straight from the freezer for the best texture!
Can I freeze any leftover cups?
Absolutely! Freezing is a great way to enjoy these cups later. If you need to freeze them, after the initial freeze, simply transfer the cups to a freezer-safe container or bag. To thaw, simply leave them at room temperature for 5-10 minutes before sneaking a bite. They’ll be just as delicious when you want them!
What should I do if my granola cups are too crumbly?
Very often, this happens if the granola mixture isn’t pressed firmly enough into the muffin pan. If they seem too crumbly after freezing, don’t fret! The next time you make them, press that granola mixture down really well—aim for about 1/4-inch thickness. Additionally, making sure your almond butter is well-blended can help bind everything together better.
Are these cups suitable for people with nut allergies?
Good question! If you’re catering to nut allergies, you can easily substitute almond butter with sunflower seed butter or omit it altogether. Just ensure to adjust the sweetener accordingly. Additionally, feel free to swap out ingredients as needed—just remember to check for allergens in any substitutes you opt to use!
How long can I keep these cups in the refrigerator?
If you store them in the refrigerator, aim to enjoy them within 3 days. They will taste best when fresh, though I do recommend freezing for long-term storage. If they’re left too long in the fridge, the crunchy texture may diminish, but they’ll still be tasty!
Delicious Frozen Yogurt Granola Cups You Can Customize!
Ingredients
Equipment
Method
- In a spacious mixing bowl, combine oats, cinnamon, almond butter, honey, and vanilla extract. Mix thoroughly to form a sticky mixture.
- Line a muffin pan with paper liners and press the granola mixture evenly into the bottom of each cup, creating a small well.
- Spoon Greek yogurt into each granola cup, filling them to the top and smoothing the yogurt with the back of a spoon.
- Sprinkle fresh berries on top of the yogurt in each cup, mixing and matching your favorite fruits.
- Place the muffin pan in the freezer and allow the cups to freeze for a minimum of 3 hours.
- Take the cups out of the freezer and let them sit at room temperature for 5-10 minutes before enjoying.
Leave a Reply