
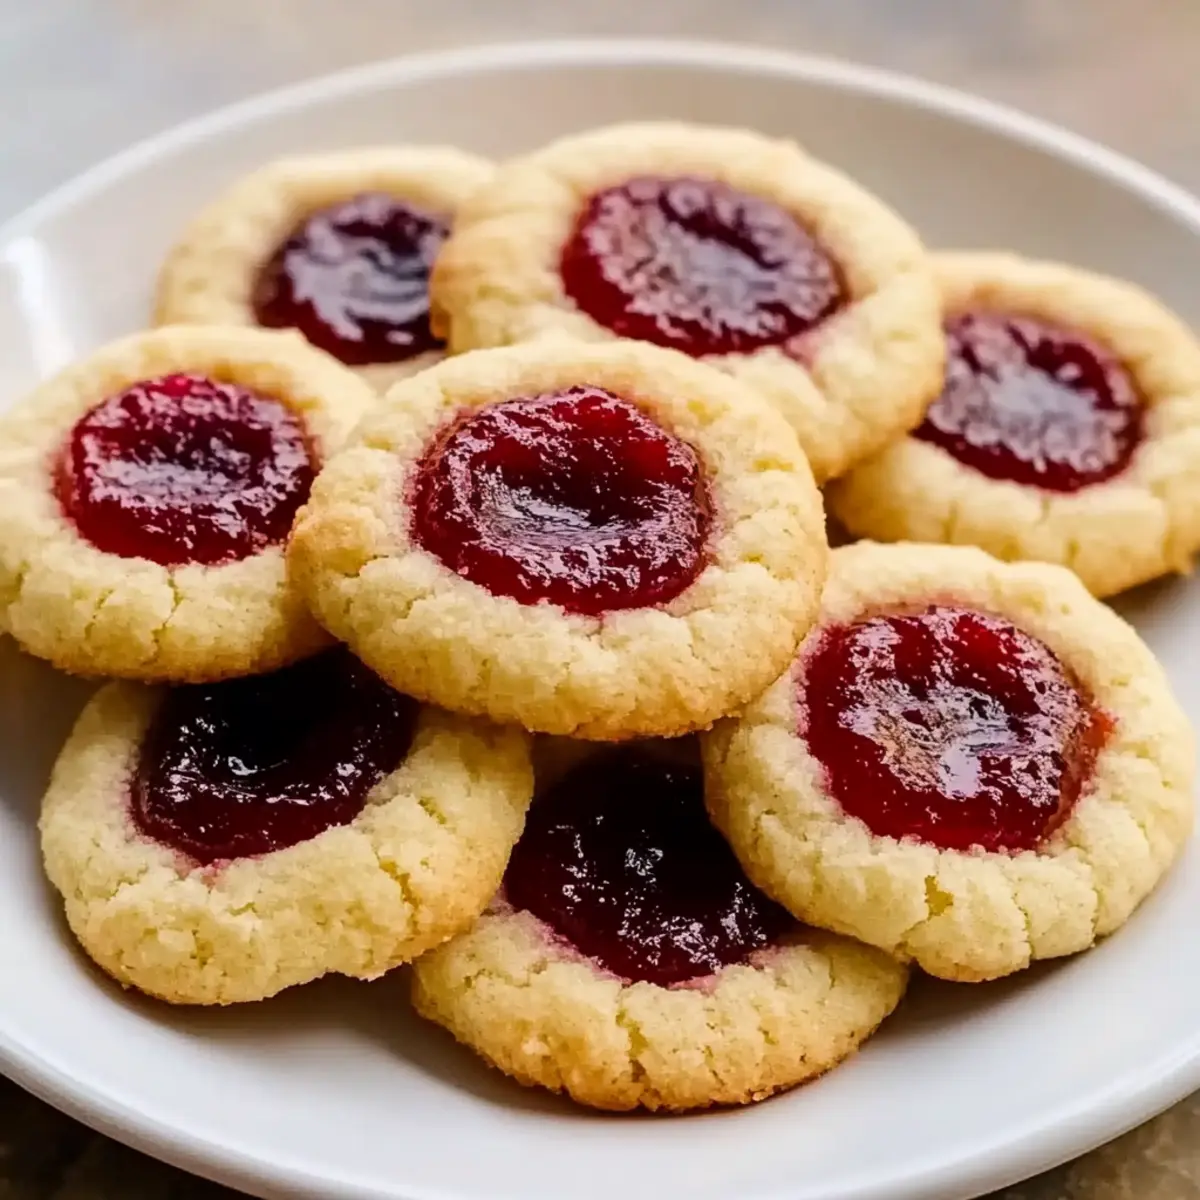
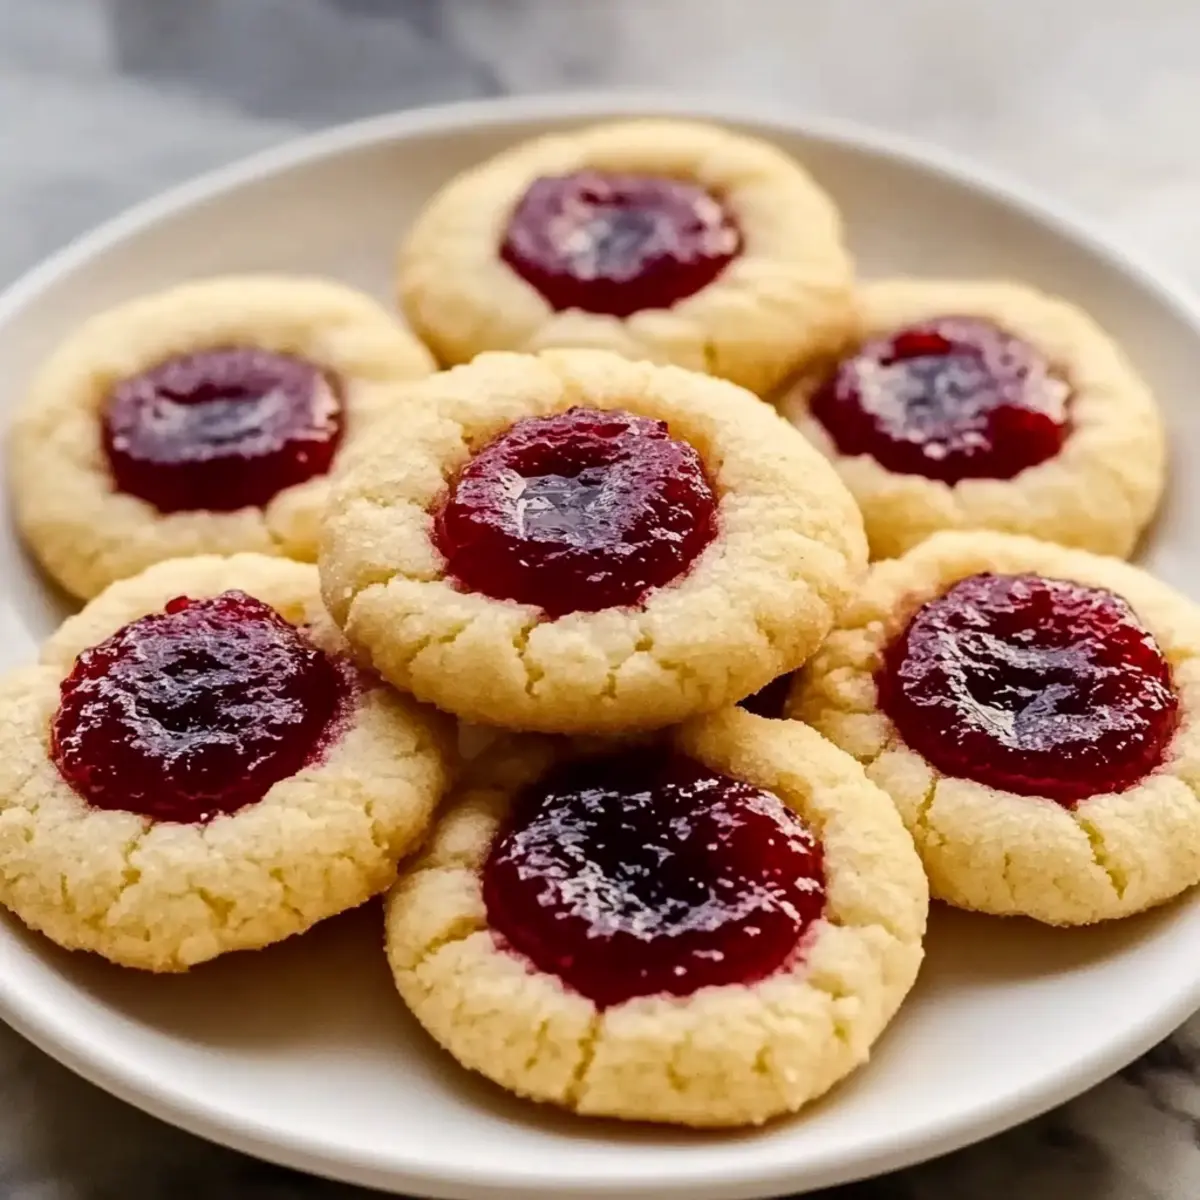
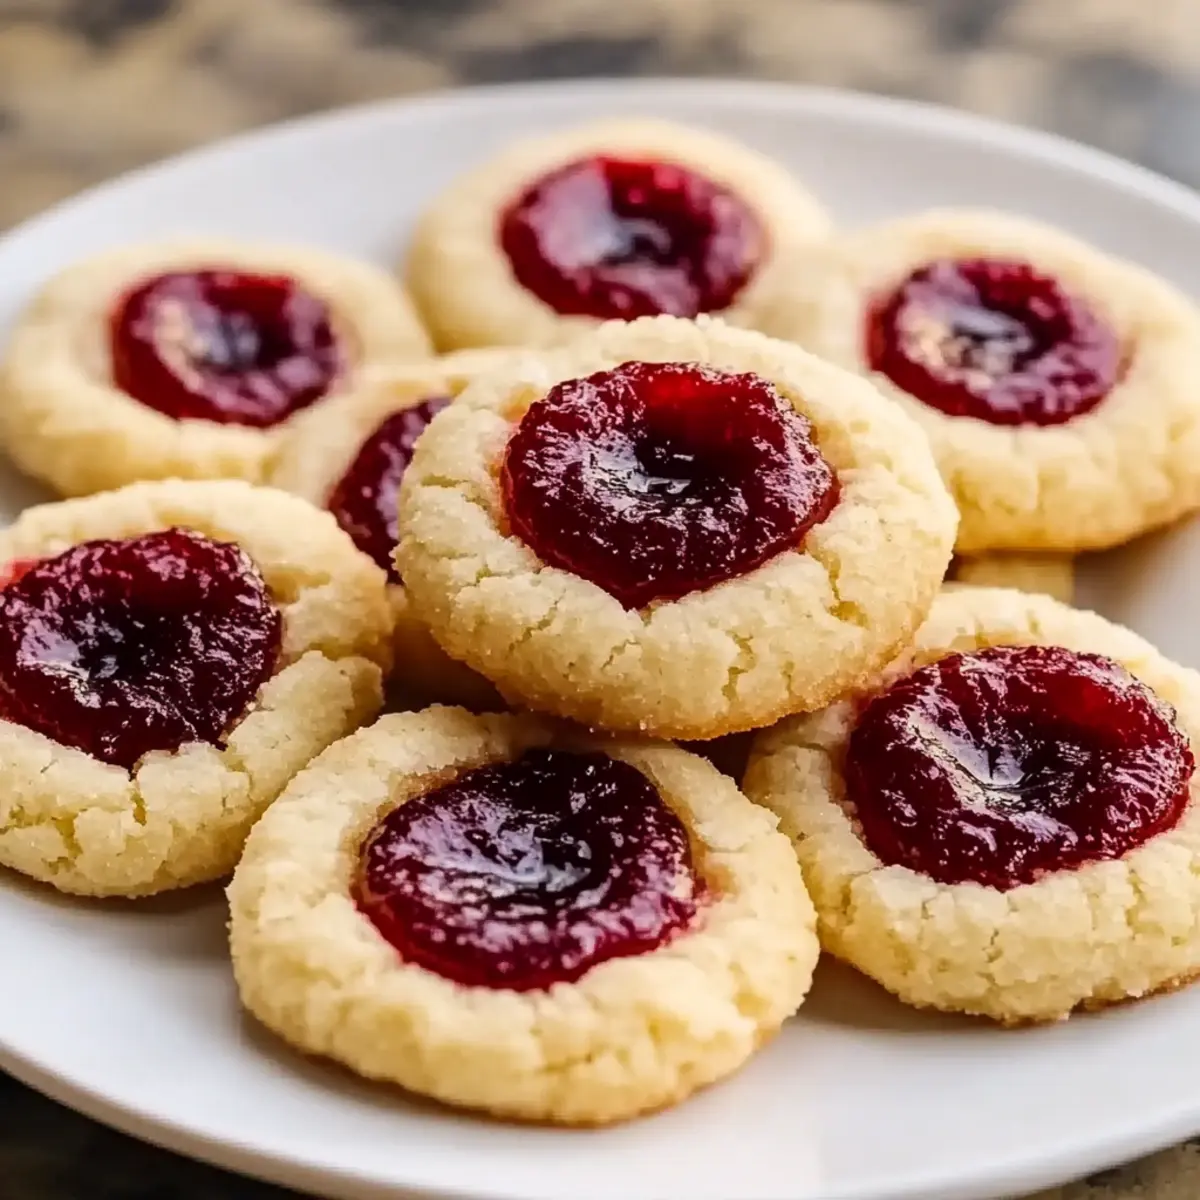
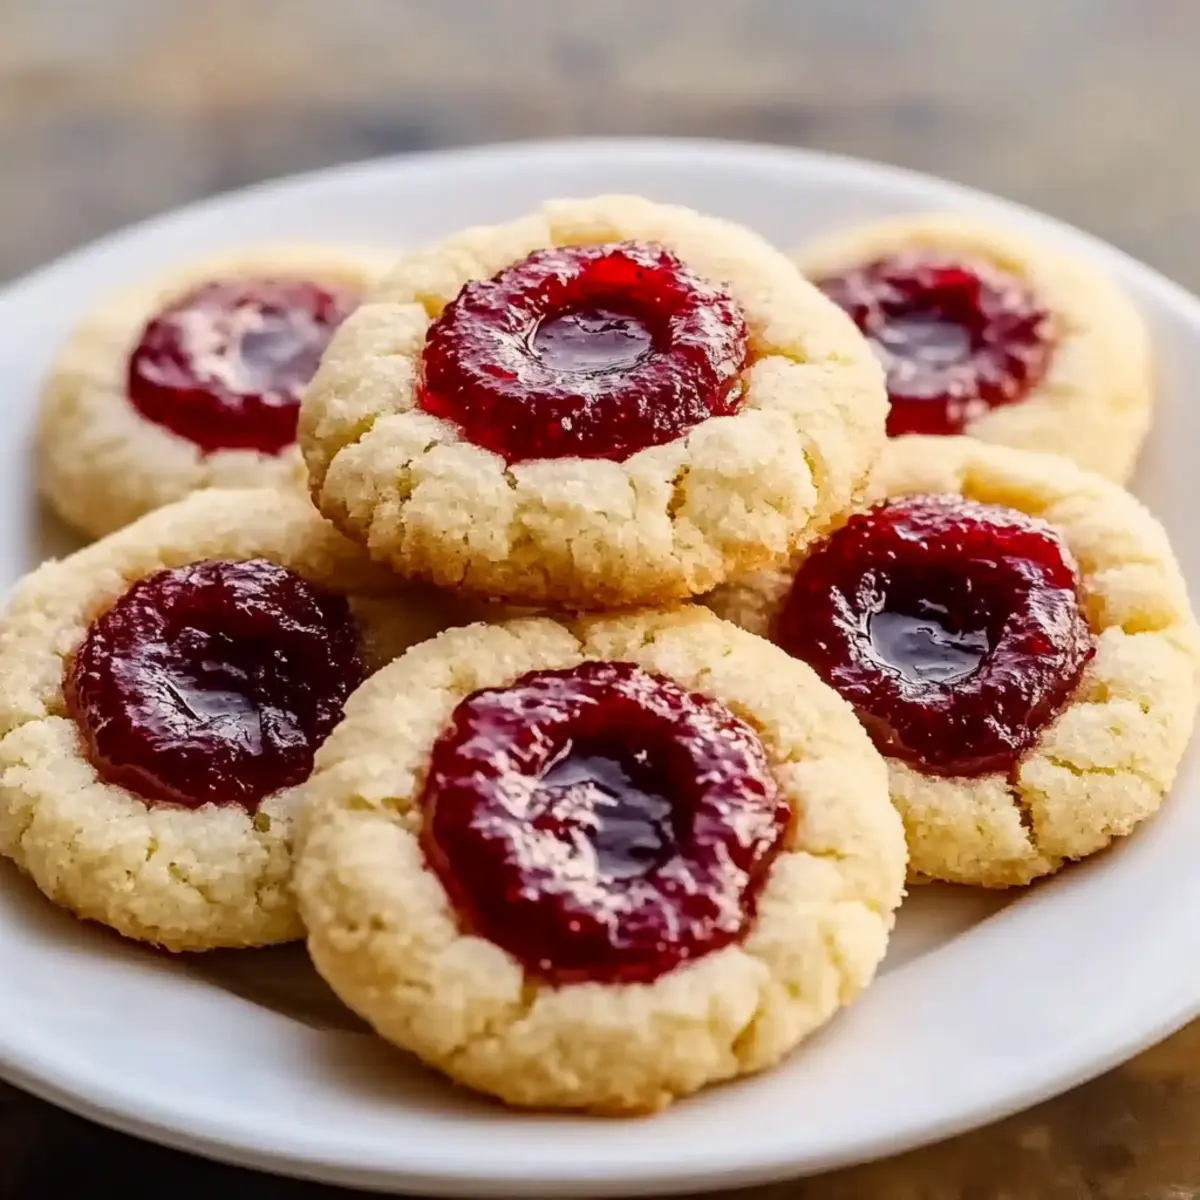
As I walked into my kitchen, the aroma of sweet, buttery dough interrupted my thoughts like a warm embrace. Today, I’m excited to share my beloved Thumbprint Cookies Recipe, a delightful combination of a tender cookie with a vibrant jam center that never fails to charm. This classic treat is not only simple to make but also impresses guests, making it perfect for any occasion, from cozy afternoon teas to festive gatherings. Plus, you can easily customize these little gems with different fillings like Nutella or fruity jams, allowing for endless variations. With their delightful texture and comforting flavors, these cookies are sure to evoke nostalgia and warmth. Are you ready to fill your home with the irresistible scent of freshly baked cookies? Let’s dive in!
Why Are Thumbprint Cookies So Loved?
Delightful Texture: The contrast of the crisp edges with a tender, buttery center creates a cookie experience that satisfies every craving.
Endless Customization: Whether you prefer classic raspberry jam or rich Nutella, these cookies adapt beautifully to your taste, making them a hit for everyone.
Easy to Make: This recipe ensures that even novice bakers can shine, thanks to its straightforward steps and minimal ingredients.
Great for Any Occasion: Perfect for holiday gatherings or simply as a treat to brighten your afternoon, these cookies never miss the mark!
Comforting Memory: Each bite brings a sense of nostalgia, reminiscent of warm family kitchens. Enjoy them with a cup of tea or as part of a dessert spread alongside other sweet treats like Tiramisu Sandwich Cookies for an unforgettable experience.
Thumbprint Cookies Recipe Ingredients
For the Dough
- Unsalted Butter – Essential for flavor and tenderness; using high-quality butter will elevate your cookies.
- Granulated Sugar – This adds sweetness and creates that desired crisp edge.
- Light Brown Sugar – Brings moisture and a gentle hint of caramel flavor to the mix.
- Egg Yolk – Enriches the dough for a tender texture; consider a flax egg for a non-dairy alternative.
- All-Purpose Flour – The main structural component, ensuring a light and crumbly texture.
- Cornstarch – A secret weapon for a softer bite; feel free to swap it out with arrowroot powder or tapioca starch.
For the Filling
- Jam (for filling) – A delightful burst of sweetness; feel free to substitute with Nutella or your favorite spread for a twist.
Optional Extras
- Crushed Nuts – Rolling the dough balls in crushed nuts like pistachios or almonds adds an appealing crunch.
- Citrus Zest – A sprinkle of zest can brighten the flavor of your cookies beautifully.
This Thumbprint Cookies Recipe not only invites creativity but guarantees warmth and comfort in every bite!
Step‑by‑Step Instructions for Thumbprint Cookies Recipe
Step 1: Cream the Butter and Sugars
Start by preheating your oven to 375°F (190°C). In a large mixing bowl, using an electric mixer, beat 1 cup of softened unsalted butter on medium speed until it’s creamy and smooth. Gradually add ½ cup of granulated sugar and ½ cup of light brown sugar, mixing well until the mixture is fluffy and pale, about 2-3 minutes. This will form the flavorful base for your Thumbprint Cookies.
Step 2: Mix in the Wet Ingredients
Next, add 1 large egg yolk and 1 teaspoon of vanilla extract to the butter-sugar mixture. Continue mixing on low speed until everything is well combined, ensuring the wet ingredients are incorporated seamlessly into the buttery foundation. The mixture should look uniform and slightly thickened, providing a rich flavor that will carry through your thumbprint cookies.
Step 3: Combine the Dry Ingredients
In a separate bowl, whisk together 2 cups of all-purpose flour, 1/2 cup of cornstarch, and a pinch of salt. Gradually add this dry mixture to the wet ingredients, mixing on low speed until the dough begins to form. The dough should look slightly crumbly but hold together when pressed, which ensures a tender texture for your Thumbprint Cookies.
Step 4: Shape the Cookie Dough
With your hands, take about 1 tablespoon of dough and roll it into a smooth ball, ensuring no cracks are visible. For an added touch, you can roll the dough balls in granulated sugar for sweetness and texture. Place the shaped cookie dough balls on a baking sheet lined with parchment paper, leaving space between each ball to allow for expansion during baking.
Step 5: Create Indentations
Using your thumb or the back of a spoon, gently press into the center of each dough ball to create a small indentation. This is where the jam or filling will go, so make sure it’s deep enough to hold a generous dollop. The indentations not only add character but also ensure that your Thumbprint Cookies have a delightful burst of flavor.
Step 6: Chill the Cookie Dough
Place the baking sheet with the shaped cookie dough in the freezer for about 30 minutes. Chilling the dough is crucial as it helps maintain the shape during baking, resulting in perfectly round Thumbprint Cookies without spreading too much. While waiting, you can prepare your jam or filling to ensure it’s ready for when the cookies come out of the oven.
Step 7: Prepare the Jam Filling
While the dough chills, take your preferred jam (or Nutella) and slightly warm it in a small saucepan over low heat or in the microwave for about 15-20 seconds. The warming process makes the jam easier to pour and ensures it fills the indentations perfectly without overflowing later while baking.
Step 8: Bake the Cookies
After chilling, remove the dough from the freezer and carefully fill each indentation with your prepared jam, avoiding overfilling to prevent spillage. Bake the cookies in the preheated oven for about 11-13 minutes, or until the edges are lightly golden brown. The centers should remain soft, promising that tender bite when you enjoy your Thumbprint Cookies.
Step 9: Cool the Cookies Properly
Once baked, remove the cookies from the oven and allow them to cool on the baking sheet for about 5 minutes. This step prevents the warm jam from overflowing and helps the cookies set properly before transferring them to a wire rack to cool completely. The contrast between the warm jam-filled center and the crisp edges will be worth the wait!
How to Store and Freeze Thumbprint Cookies
Room Temperature: Store cookies in an airtight container at room temperature for up to 4 days to maintain their freshness and softness.
Fridge: If you prefer chilled cookies, store them in the refrigerator in an airtight container for up to 1 week, ensuring they stay tasty and firm.
Freezer: For longer storage, freeze the thumbprint cookies in a freezer-safe bag or container for up to 3 months. To enjoy, thaw and reheat in the oven to restore their warmth.
Reheating: To refresh your thumbprint cookies, simply reheat them in a preheated oven at 350°F (175°C) for about 5-7 minutes, bringing them back to that fresh-baked flavor.
What to Serve with Classic Thumbprint Cookies?
Creating the perfect spread alongside these delicate cookies enhances every morsel of their buttery goodness.
-
Freshly Brewed Coffee: The rich, bold flavor complements the sweet jam and balances the cookie’s tenderness, making for a delightful pairing.
-
Herbal Tea: A soothing chamomile or peppermint tea offers a calming contrast, enhancing the cookies’ cozy flavors.
-
Cheese Platter: Add some cream cheese or Brie; the creamy texture and subtle tang elevate the sweet notes of the cookies beautifully.
-
Fruit Salad: A refreshing medley of seasonal fruits adds a splash of color and natural sweetness, balancing the dessert’s richness.
-
Chocolate Milk: For a nostalgic twist, serve classic chocolate milk, creating a sweet treat reminiscent of childhood.
-
Cold Milk: No dessert table feels complete without it! The creaminess of milk pairs harmoniously with the cookies, making for a comforting classic.
-
Mini Cheesecakes: Their creamy texture with slightly tangy flavors complements the cookies without overpowering their sweet notes, creating a delightful dessert duet.
With these delicious accompaniments, you’ll create a memorable treat that invites friends and family to gather and savor the sweet moments together.
Thumbprint Cookies Recipe Variations
Feel free to let your creativity shine with these delightful variations that will make your Thumbprint Cookies truly unique!
-
Jam Swaps: Substitute traditional jams with seasonal favorites, like raspberry or apricot, for a fruity twist. Nutella is another fantastic option for a rich, chocolatey surprise!
-
Citrus Zest: Add lemon or orange zest to the dough for an invigorating flavor boost. This brightens each bite, enhancing the overall taste.
-
Nutty Coating: Roll the dough balls in crushed almonds or pistachios before baking for a crunchy texture. The nuts add a wonderful contrast to the rich cookie base.
-
Spicy Surprise: Incorporate a pinch of cinnamon or nutmeg into the dough for a hint of warmth. These spices can elevate your cookies, making them even more comforting and aromatic.
-
Oatmeal Crunch: Fold in some quick oats into the cookie dough for added texture. This gives the cookies a heartier feel, perfect for a cozy snack.
-
Chocolate Drizzle: Once baked and cooled, drizzle melted dark chocolate over the cookies for a decadent finish. This little touch can turn an already delicious treat into an indulgent dessert.
-
Dairy-Free Delight: Replace the butter with coconut oil and use a flax egg for a dairy-free alternative. The cookies will remain tasty while accommodating dietary preferences.
-
Savory Twist: Experiment by filling the centers with savory spreads like pesto or sun-dried tomato tapenade for a unique appetizer variation. This unexpected twist can wow guests at your next gathering!
By incorporating these fun twists, you can create Thumbprint Cookies that reflect your personal palate while delighting everyone who’s lucky enough to enjoy them. Just as you can find joy in variations for your cookies, don’t forget to check out delicious treats like Chocolate Chip Cookies or Brown Sugar Cookies for more baking inspiration!
Expert Tips for Thumbprint Cookies
-
Perfect Dough Balls: Roll dough balls tightly to prevent cracks, ensuring a smooth, uniform shape that bakes evenly and looks delightful.
-
Warm Jam Trick: Slightly warming your jam or Nutella makes it easier to fill the cookies without spilling over; just avoid overfilling to keep your cookies tidy.
-
Chill for Success: Don’t skip chilling the dough for at least 30 minutes. This helps maintain their shape during baking, preventing spreading.
-
Avoid Store-Bought Dough: For the best texture, always use homemade dough in your Thumbprint Cookies Recipe; it makes a noticeable difference in taste.
-
Freezing Dough: You can prepare the dough ahead of time and freeze it. Just bake the cookies straight from frozen, adding a couple of extra minutes to the baking time.
Make Ahead Options
These Thumbprint Cookies are perfect for busy home cooks looking to save time during the week! You can prepare the cookie dough up to 24 hours in advance and store it wrapped in plastic wrap in the refrigerator. For longer storage, freeze the rolled dough balls for up to 3 months. Just make sure to chill them again for about 30 minutes when you’re ready to bake, which keeps them from spreading. To finish, simply fill the pre-chilled indentations with your jam or Nutella, bake as instructed, and enjoy the taste of freshly baked Thumbprint Cookies without the last-minute rush.
Thumbprint Cookies Recipe FAQs
How do I choose the right jam for thumbprint cookies?
Absolutely! Selecting the right jam can elevate your thumbprint cookies. Look for fruit preserves that are thick and rich in flavor, such as raspberry, apricot, or strawberry. Avoid thin or runny jams that might spill over during baking, and feel free to use homemade jam for an extra burst of flavor!
How should I store leftover thumbprint cookies?
I recommend storing your thumbprint cookies in an airtight container at room temperature for up to 4 days. If you want to keep them longer, you can refrigerate them for up to a week or freeze them for up to 3 months. Just remember to let them cool completely before storing to keep them fresh and soft.
Can I freeze the dough for thumbprint cookies?
Very! If you want to make your baking even more convenient, simply prepare the dough, shape it into balls, and freeze them on a baking sheet for about 30 minutes. Once firm, transfer the dough balls to a freezer bag. When you’re ready to bake, just fill them with jam while frozen and pop them into the oven with a few extra minutes on the bake time for delicious fresh cookies!
What should I do if my cookies spread too much while baking?
Oh no! If your thumbprint cookies spread too much, it could be due to the butter being too soft or the dough not chilled enough prior to baking. To avoid this, make sure your butter is softened, not melted, and don’t skip the chilling step. If you find your cookies spreading, simply refrigerate the dough for an additional 10–15 minutes before baking next time.
Can I make thumbprint cookies dairy-free?
Definitely! To adapt this thumbprint cookies recipe for a dairy-free option, use vegan butter in place of the unsalted butter and substitute the egg yolk with a flax egg (1 tablespoon ground flaxseed mixed with 3 tablespoons water, let it sit for about 5 minutes). This maintains the texture while ensuring everyone can enjoy this comforting treat!
Delicious Thumbprint Cookies Recipe with Jam and Nutella Variations
Ingredients
Equipment
Method
- Preheat your oven to 375°F (190°C). Cream the butter and sugars until fluffy.
- Mix in the egg yolk and vanilla extract until combined.
- Combine dry ingredients and add to wet mixture, mixing until dough forms.
- Shape about 1 tablespoon of dough into balls and place on a baking sheet.
- Create indentations in each ball for filling.
- Chill the cookie dough in the freezer for about 30 minutes.
- Warm your preferred jam or Nutella slightly for easier filling.
- Fill the indentations with jam or Nutella, then bake for 11-13 minutes.
- Cool the cookies for 5 minutes on the baking sheet before transferring to a wire rack.
Leave a Reply