
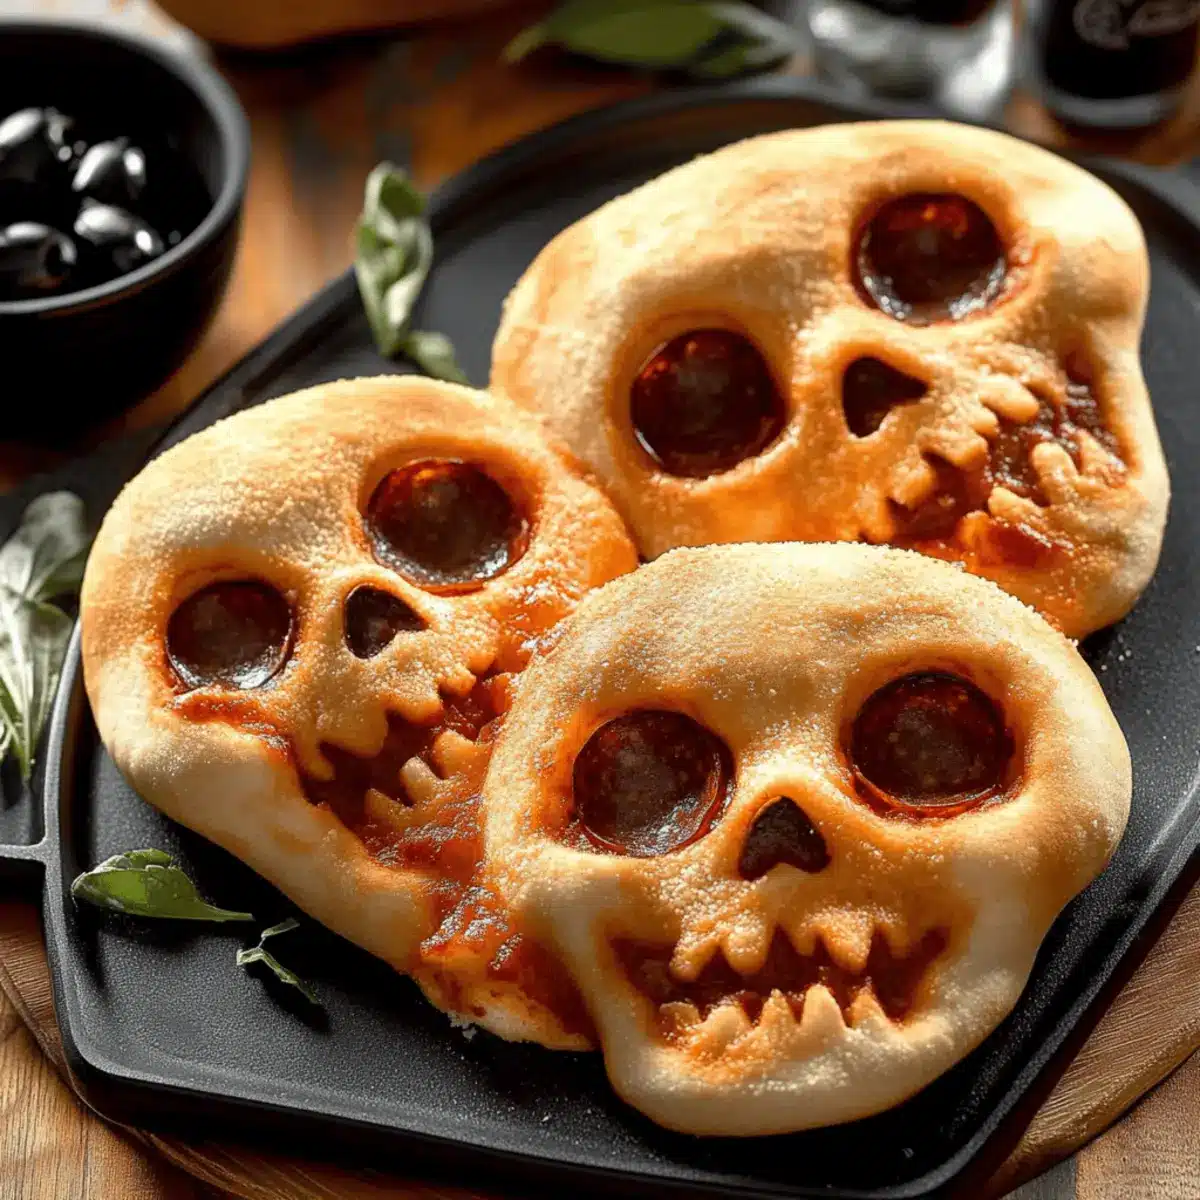
As I wandered through a local Halloween market, the enticing smell of baked goods wrapped around me, triggering a rush of memories from childhood—dressing up, laughing with friends, and indulging in seasonal treats. This year, I wanted to recreate that magic in my own kitchen with these Cheesy Halloween Pizza Skulls. Perfectly customizable and delightfully spooky, they’re a hit for both kids and adults at any Halloween gathering. But the best part? They’re incredibly easy to make, allowing you to spend less time in the kitchen and more time enjoying the festivities. With a golden, crispy exterior and a cheesy, savory filling, these little skulls will undoubtedly impress your family and guests alike. Curious to discover the secret to making this crowd-pleaser? Let’s dive in!
Why Are Pizza Skulls a Must-Try?
Unleash your creativity: With countless topping combinations, these Cheesy Pizza Skulls can be tailored to suit everyone’s tastes, making them a fun culinary adventure.
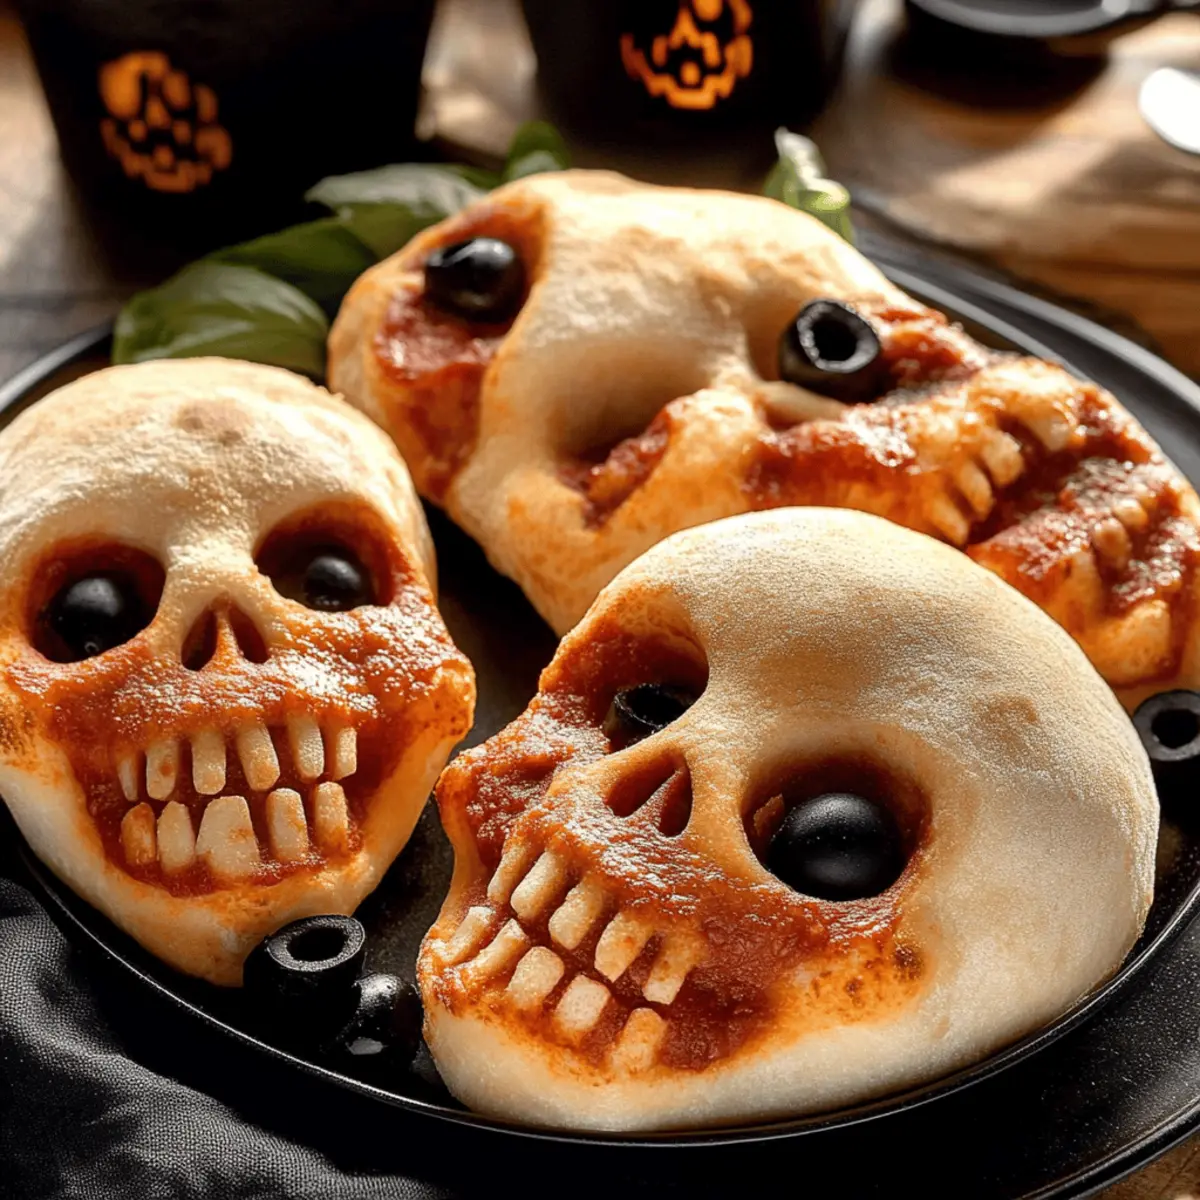
Spooky presentation: They’re not just tasty; their skull shape adds a festive flair, perfect for Halloween parties and gatherings.
Quick and easy: This recipe is designed to save you time, allowing you to whip up a batch with minimal fuss—perfect for busy weeknights or last-minute invites.
Family-friendly fun: Kids love getting involved in the filling process, making this a fun family activity and a great way to bond.
Amazing crowd-pleaser: Whether served at a spooky soirée or as a tasty snack, these pizza skulls are bound to be a hit—just like our Cheesy Pepperoni Pizza and Roll Taco Pizza!
Halloween Pizza Skulls Ingredients
For the Skulls
- Pre-made Pizza Dough – Main structure of the skulls; feel free to use boxed or fresh dough for convenience.
- Pizza Sauce – Provides moisture and flavor; substitute with marinara sauce if you want a different taste experience.
- Shredded Mozzarella – Melts beautifully and adds flavor; cheddar can be a great alternative if you’re looking for something sharper.
For the Cheesy Filling
- Cooked Sausage (8 oz) – This savory addition packs in protein; pepperoni is a great substitute or leave it out for a vegetarian option.
- Mini Pepperoni (6 oz) – Enhances the classic pizza flavor; feel free to replace with your preferred meat or plant-based options.
- Parmesan Cheese – Adds a savory depth to the filling; nutritional yeast can work for a vegan twist.
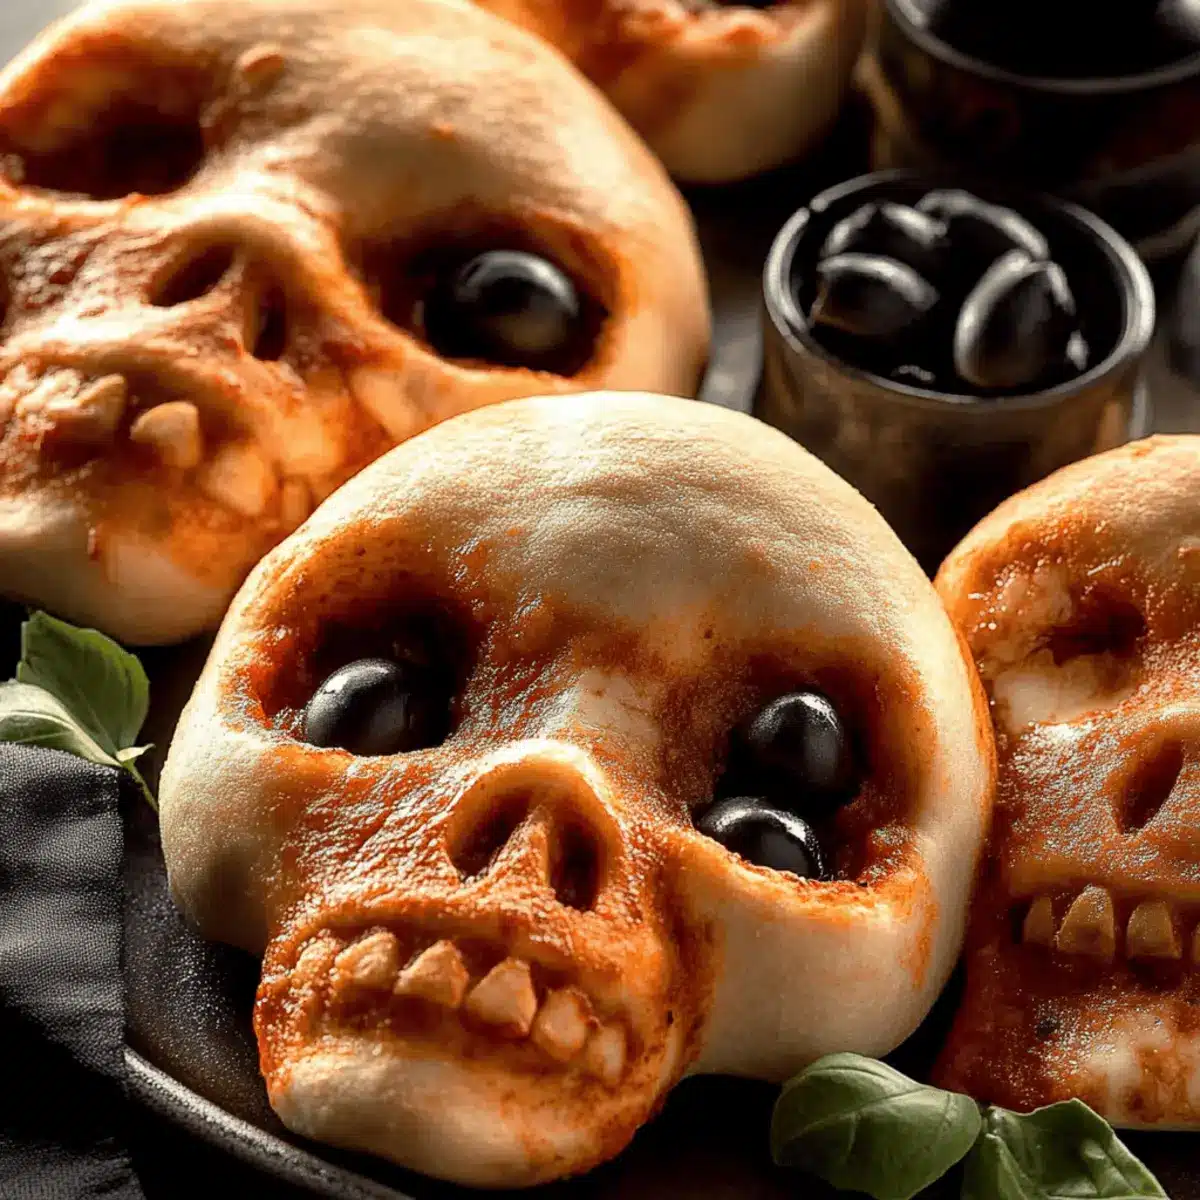
- Black Olives – Provides a nice texture; green olives can be used as an alternative, or omit for those who aren’t fans.
- Sliced Ham – Adds meatiness; turkey is a good swap, or simply leave it out for a vegetarian delight.
- Crispy Bacon – Brings crunch and flavor; can be substituted with turkey bacon or omitted entirely for a lighter option.
- Mini Italian Meatballs – Adds heartiness; consider using vegetarian meatballs for a meat-free creation.
- Cooked Corn Kernels – Introduces a touch of sweetness and texture; optional to skip if you prefer a more classic filling.
- Baby Spinach & Fresh Basil – Freshness and color are key here; swap with any greens you prefer for a pop of color.
For Dipping
- Marinara Sauce – Boosts flavor when serving; ranch or any favorite dip can make a tasty alternative.
- Chopped Parsley or Basil – A simple garnish that enhances presentation; optional but highly recommended for a pretty plate!
Crafting these whimsical Halloween Pizza Skulls invites a blend of flavors and a sprinkle of fun, making them not just a meal but a spook-tacular experience!
Step‑by‑Step Instructions for Halloween Pizza Skulls
Step 1: Prepare Baking Pan
Start by greasing the skull baking tin with a generous layer of cooking spray. This step is crucial to prevent the Cheesy Pizza Skulls from sticking. Make sure to coat every nook and cranny to ensure a smooth release after baking, and set the prepared tin aside while you work on the dough.
Step 2: Dough Prep
Roll out your pre-made pizza dough on a lightly floured surface until it reaches about 1/4-inch thickness. Using a sharp knife or pizza cutter, cut the dough into 6 rectangles, ensuring they’re large enough to fill the skull cavities. This will form the base of your Halloween Pizza Skulls, so aim for an even thickness for consistent baking.
Step 3: Fill the Skulls
Gently press each rectangle of dough into the skull cavities, making sure the edges are snug against the sides. Layer on a spoonful of pizza sauce, followed by an assortment of shredded mozzarella and your desired toppings like sausage, olives, or pepperoni. Don’t forget to leave some space at the top for sealing; overfilling may cause spillage during baking!
Step 4: Seal the Skulls
Carefully place another piece of dough on top of each filled skull. Pinch the edges together firmly to create a seal, ensuring no filling escapes. This step is essential for keeping the flavors locked inside the Cheesy Pizza Skulls during the baking process and achieving that delightful, cheesy interior.
Step 5: Chill Dough
Once all the skulls are filled and sealed, refrigerate the tray for about 15-20 minutes while you preheat your oven to 400°F (200°C). Chilling the dough helps maintain its shape during baking, yielding perfectly formed Halloween Pizza Skulls with crisp exteriors and gooey interiors.
Step 6: Bake
Carefully place the chilled tray into the preheated oven and bake for 16-20 minutes. Keep an eye on them; they should turn a beautiful golden brown and puff slightly as they cook. This visual cue indicates they’re ready, with the cheese inside melting deliciously.
Step 7: Cool & Serve
Once baked, remove the pan from the oven and allow the Cheesy Pizza Skulls to cool in the tin for about 5 minutes. Gently unmold them, and serve warm alongside marinara sauce for dipping. This finishing touch elevates your spooky presentation and adds an extra layer of flavor to your Halloween-themed meal!
Variations & Substitutions for Halloween Pizza Skulls
Get ready to unleash your culinary creativity and transform these Halloween Pizza Skulls into a personalized masterpiece!
-
Vegetarian Option: Swap out all meats for chopped vegetables like bell peppers, mushrooms, and zucchini for a delightful veggie-packed version.
Mixing in your favorite seasonal veggies not only adds nutrition but also vibrant colors, perfect for the Halloween theme! -
Gluten-Free Dough: Use a gluten-free pizza dough instead of traditional pizza dough to cater to gluten-sensitive friends and family.
This simple swap ensures everyone can enjoy the spooky fun without compromising on taste or texture! -
Cheese Lover’s Delight: Experiment with a blend of gouda, provolone, or even blue cheese for an elevated cheesy experience.
Combining different cheeses can create a delightful melty interior and results in flavor explosions that’ll leave everyone wanting more. -
Spicy Kick: Add sliced jalapeños or a drizzle of hot sauce to the filling for a spicy twist that’ll wake up your taste buds!
A little heat can make your Halloween Pizza Skulls truly unforgettable, especially for those who love a bit of spice. -
Sweet & Savory Combo: Try adding some apple slices or caramelized onions for a sweet twist that pairs beautifully with the savory elements.
This unexpected combination will surprise your guests and add a gourmet touch to your spooky creations. -
Fresh Herb Infusion: Incorporate fresh herbs like oregano, thyme, or rosemary into your filling for a burst of aromatic flavor.
These earthy notes not only enhance the taste but also fill the kitchen with irresistible scents as they bake. -
Sauce Swaps: Instead of classic pizza sauce, experiment with pesto or BBQ sauce for a flavorful base that takes these skulls to the next level.
Changing the sauce can give them a whole new personality and can turn the festive mood up a notch! -
Mini Skulls: Create bite-sized versions using a mini skull mold for party platters or fun appetizers that are perfect for little hands.
These petite treats are sure to be a hit, allowing for a greater variety of flavors on your Halloween table.
Discovering new ways to enjoy these Cheesy Pizza Skulls can turn your Halloween into a culinary adventure. Whichever variation you choose, they’re sure to be a spooky success—just like our cozy Cheesy Pepperoni Pizza or the flavorful Roll Taco Pizza!
What to Serve with Cheesy Halloween Pizza Skulls
As you gather around the table for a spooktacular feast, create a memorable experience with delightful sides that complement these whimsical pizza treats.
-
Crispy Garden Salad: A crunchy, fresh salad adds a vibrant contrast to the rich flavors of the pizza skulls, brightening your meal. Toss together mixed greens, cherry tomatoes, and a light vinaigrette for a refreshing touch.
-
Roasted Garlic Bread: Soft on the inside with a crunchy exterior, garlic bread makes the perfect companion for dipping in marinara sauce, enhancing the overall flavor profile.
-
Creamy Tomato Soup: Rich and velvety tomato soup offers warmth and a touch of nostalgia, creating a cozy atmosphere and complementing the pizza essence beautifully.
-
Spooky Fruit Platter: Arrange seasonal fruits like clementines, apple slices, and grapes into playful Halloween shapes. This adds a sweet, healthful touch that balances the savory skulls perfectly.
-
Pumpkin Spice Latte: For a festive drink, serve homemade pumpkin spice lattes. The warm spices echo the season’s flavors, making every sip a delicious celebration.
-
Chocolate-Covered Pretzels: These sweet and salty treats are the ultimate finger snack. The crunchy pretzel texture contrasts beautifully with the soft pizza skulls, ideal for noshing before or after the main event.
By pairing these delightful sides with your Cheesy Pizza Skulls, you’ll create a well-rounded, festive meal that brings joy and flavor to your Halloween celebration.
Storage Tips for Halloween Pizza Skulls
Room Temperature: Enjoy your Halloween Pizza Skulls fresh out of the oven for the best taste. If left out, consume within 2 hours to ensure quality.
Fridge: Store leftovers in an airtight container in the refrigerator for up to 3 days. Reheat in the oven or microwave to restore their crispy texture.
Freezer: For longer storage, freeze the assembled but unbaked Halloween Pizza Skulls in an airtight container for up to 2 months. Bake straight from frozen; just add a few extra minutes to the baking time.
Reheating: To reheat, place in a preheated oven at 350°F (180°C) for about 10-15 minutes until warmed through and crispy. Avoid sogginess by skipping the microwave if possible!
Expert Tips for Halloween Pizza Skulls
-
Chill for Shape: Chilling the filled skulls for 15-20 minutes before baking helps maintain their shape, ensuring they come out perfectly formed without spilling.
-
Grease Well: Always grease your baking pan generously to prevent the Halloween Pizza Skulls from sticking. A few extra seconds can save you a lot of frustration later!
-
Don’t Overfill: Leave some space at the top when filling the skulls. Overfilling can lead to messy spills during baking, ruining their spooky appearance.
-
Use Metal Pans: For evenly cooked pizza skulls, opt for traditional metal baking pans. They retain heat better and promote a golden-brown finish.
-
Experiment with Toppings: Feel free to mix and match toppings according to personal taste! Exploring unique flavor combinations can make family dinners fun and exciting.
Make Ahead Options
These Cheesy Halloween Pizza Skulls are perfect for busy home cooks looking to save time during the festive season! You can prepare the filling (meats, cheeses, and veggies) up to 3 days in advance, storing them in an airtight container in the fridge to maintain their freshness. Additionally, you can assemble the pizza skulls 24 hours ahead of time; just make sure to refrigerate them until you’re ready to bake. When you’re set to serve, simply preheat your oven to 400°F (200°C) and bake them directly from the fridge for 16-20 minutes. This ensures every bite remains just as delicious and gooey, making your Halloween gatherings stress-free and tasty!
Halloween Pizza Skulls Recipe FAQs
What type of pizza dough should I use?
Absolutely! You can use pre-made pizza dough from the store or make your own at home if you’re feeling adventurous. If you prefer a specific texture, whole-wheat or gluten-free dough are also great options that work beautifully for these Halloween Pizza Skulls.
How should I store leftover Halloween Pizza Skulls?
For the best enjoyment, keep any leftovers in an airtight container in the refrigerator for up to 3 days. When you’re ready to dive back in, reheat them in the oven at 350°F (180°C) for about 10-15 minutes until they are crispy again. Avoid using the microwave to maintain their delightful crunch!
Can I freeze Halloween Pizza Skulls?
Yes, you can! Simply prepare the pizza skulls up until the point of baking, then place them in an airtight container or freezer bag before freezing them. They can last up to 2 months in the freezer. When you’re ready to bake, go ahead and bake them straight from frozen, adding an extra few minutes to the cooking time for perfect results.
What if I need to adjust ingredients for dietary needs?
Very! This recipe is highly customizable. If you have allergies or dietary preferences, feel free to substitute ingredients. For instance, you can replace sausages with veggie alternatives, use dairy-free cheese, or even skip all meats to create a delicious vegetarian version! Always check labels for allergens when trying new products.
How can I tell when the Halloween Pizza Skulls are fully baked?
Look for a beautiful golden brown color on the outside, which usually takes about 16-20 minutes at 400°F (200°C). The cheese inside should be bubbly and melted, giving you that perfect, gooey satisfaction. If they’re puffed up and golden, they’re ready to be devoured!
Cheesy Halloween Pizza Skulls for Spooky Family Fun
Ingredients
Equipment
Method
- Prepare Baking Pan: Grease the skull baking tin with a generous layer of cooking spray.
- Dough Prep: Roll out your pre-made pizza dough on a floured surface until it's 1/4-inch thick and cut into 6 rectangles.
- Fill the Skulls: Press each rectangle of dough into the skull cavities and layer with pizza sauce, shredded mozzarella, and desired toppings.
- Seal the Skulls: Place another piece of dough on top and pinch the edges firmly to create a seal.
- Chill Dough: Refrigerate the tray for 15-20 minutes while preheating the oven to 400°F (200°C).
- Bake: Bake for 16-20 minutes until golden brown and puffed.
- Cool & Serve: Let cool for 5 minutes, unmold, and serve with marinara sauce.
Leave a Reply