
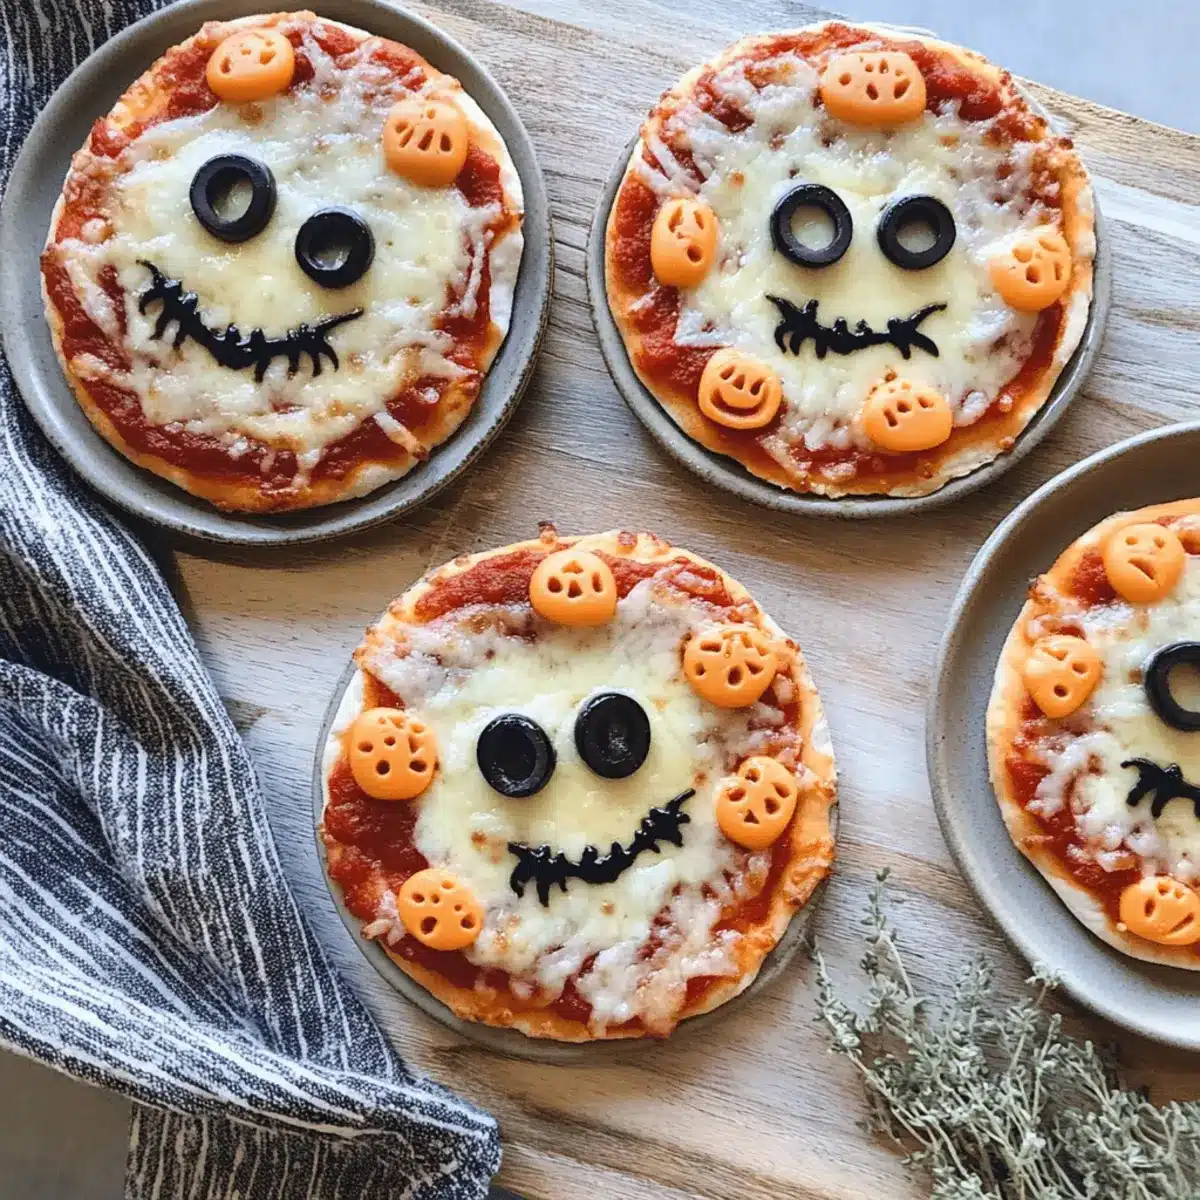
As I rushed through the grocery store, a spark of creativity struck me amidst the Halloween decorations and candy aisles: why not combine the festive spirit with some homemade fun? That’s how I stumbled upon the delightful world of Halloween Mini Pizzas. These charming little treats aren’t just a feast for the eyes—with playful toppings like olive-spiders and bell pepper jack-o’-lanterns—they’re also a family-friendly, quick-cooking activity that will get everyone in the kitchen. In just a few simple steps, you can create these spooktacular mini pizzas perfect for any Halloween gathering or casual night in. Plus, they’re sure to please both kids and adults alike. Aren’t you curious about crafting your own cauldron of cheesy goodness? Let’s dive in!
Why Make Halloween Mini Pizzas?
Family-Friendly Fun: These mini pizzas are perfect for the whole family to create together, sparking joy and teamwork in the kitchen.
Quick and Easy: With just a few ingredients, you’ll have delicious treats ready in no time, making them a fantastic last-minute option for Halloween gatherings.
Endless Creativity: Let your imagination run wild! Customize toppings to suit your taste or dietary needs—think of colorful veggies and fun shapes.
Crowd-Pleaser: Whether at a party or a cozy night in, these playful pizzas will impress both kids and adults alike, becoming a beloved holiday tradition.
Meal Prep Ready: Cook a batch and freeze for easy future snacks—perfect for busy weeks ahead! Ready to dive into this spooky, savory adventure?
Halloween Mini Pizzas Ingredients
• Get ready to create deliciously spooky treats with the perfect ingredients!
For the Crust
- Mini Pizza Crusts – Personal-size bases that can be store-bought or homemade; just ensure they are oven-safe for the best results.
For the Sauce
- Pizza Sauce – 3/4 cup for spreading; feel free to substitute with marinara or pesto for a burst of flavor.
For the Cheese
- Mozzarella Cheese – 1 cup, shredded for that perfect melt; vegan cheese or low-fat cheese works as lighter options too.
For the Toppings
- Black Olives – 1/4 cup, sliced for creating spooky spider bodies and eyes; green olives can be a fun alternative.
- Mini Pepperoni – 1/4 cup (optional) for an extra savory kick; try turkey or vegetarian pepperoni for a twist.
- Orange & Green Bell Peppers – Thin strips for festive jack-o’-lantern faces; any color bell pepper will do, or skip for simplicity.
- String Cheese – 4 sticks, pulled apart to craft adorable mummy decorations; any cheese sticks can serve this purpose.
- Fresh Basil – 2 tbsp, chiffonade for garnish; fresh parsley is a lovely substitute or feel free to omit.
- Olive Oil Spray – Lightly mist the baking sheet; a non-stick spray can be an effective alternative.
Step‑by‑Step Instructions for Halloween Mini Pizzas
Step 1: Preheat the Oven
Begin by preheating your oven to 425°F (220°C). While the oven warms up, grab a baking sheet and lightly mist it with olive oil spray to prevent the mini pizzas from sticking. This ensures a beautifully crisp crust once baked, setting the stage for your delightful Halloween Mini Pizzas.
Step 2: Sauce the Crusts
Next, take each mini pizza crust and spread 1–2 tablespoons of pizza sauce on top, carefully leaving a small border around the edge. This border will ensure the crust gets that lovely golden-brown finish while also holding all the toppings in place. Lay out your sauced crusts on the prepared baking sheet to prepare for topping.
Step 3: Add the Cheese
On half of your mini pizzas, sprinkle a generous amount of shredded mozzarella cheese. Lay string cheese pieces over the cheese in a criss-cross pattern to create the appearance of mummies. This will give a fun twist to your Halloween Mini Pizzas, making them not only delicious but also entertaining to look at!
Step 4: Create Spooky Designs
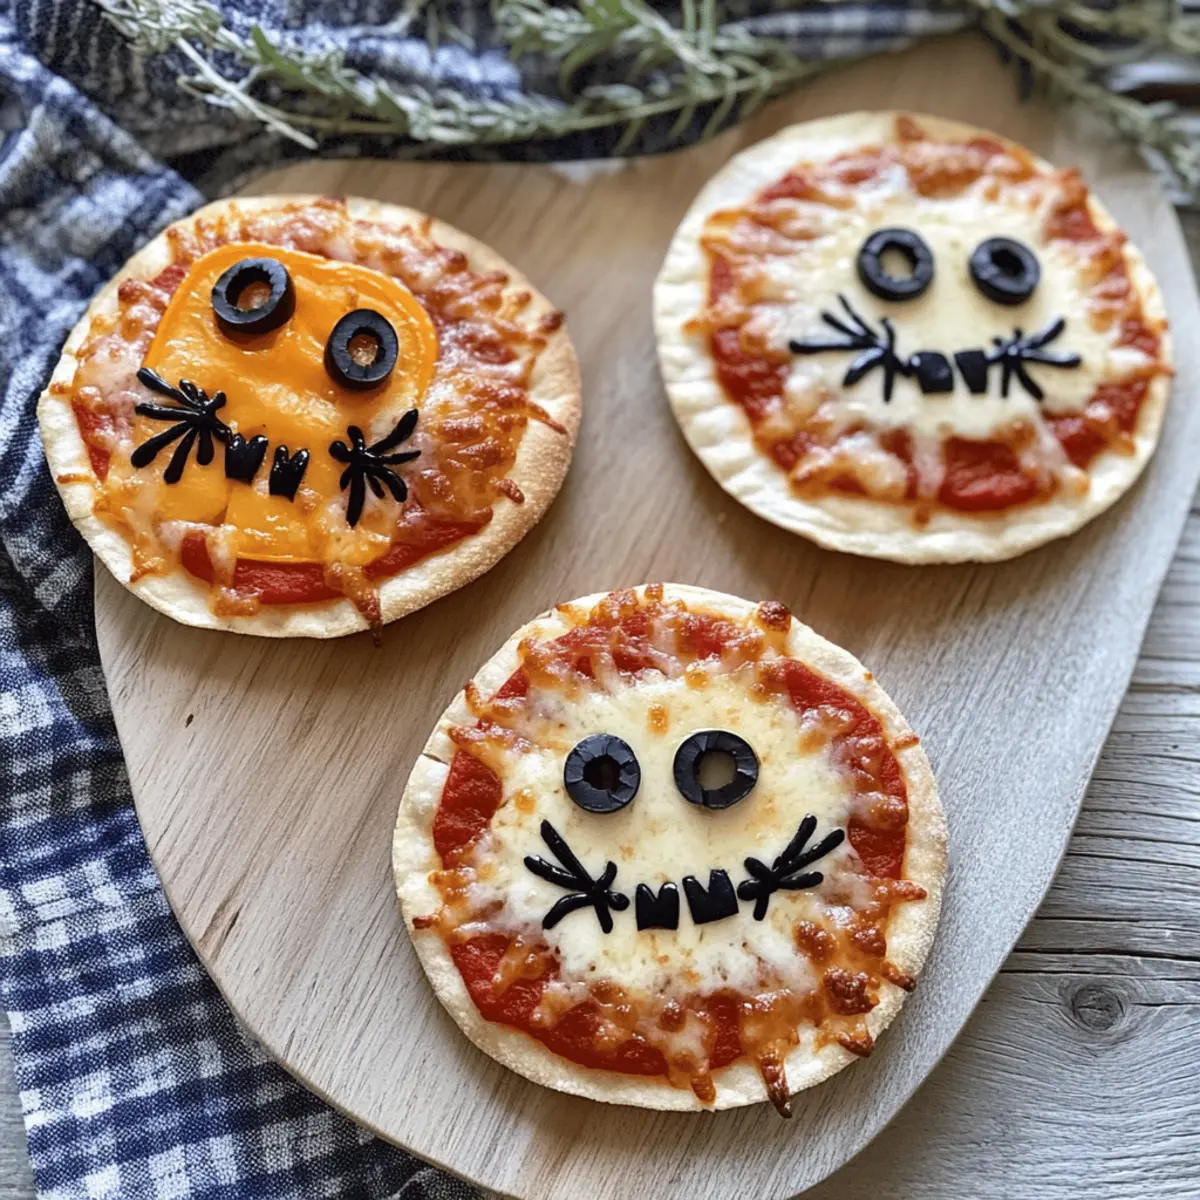
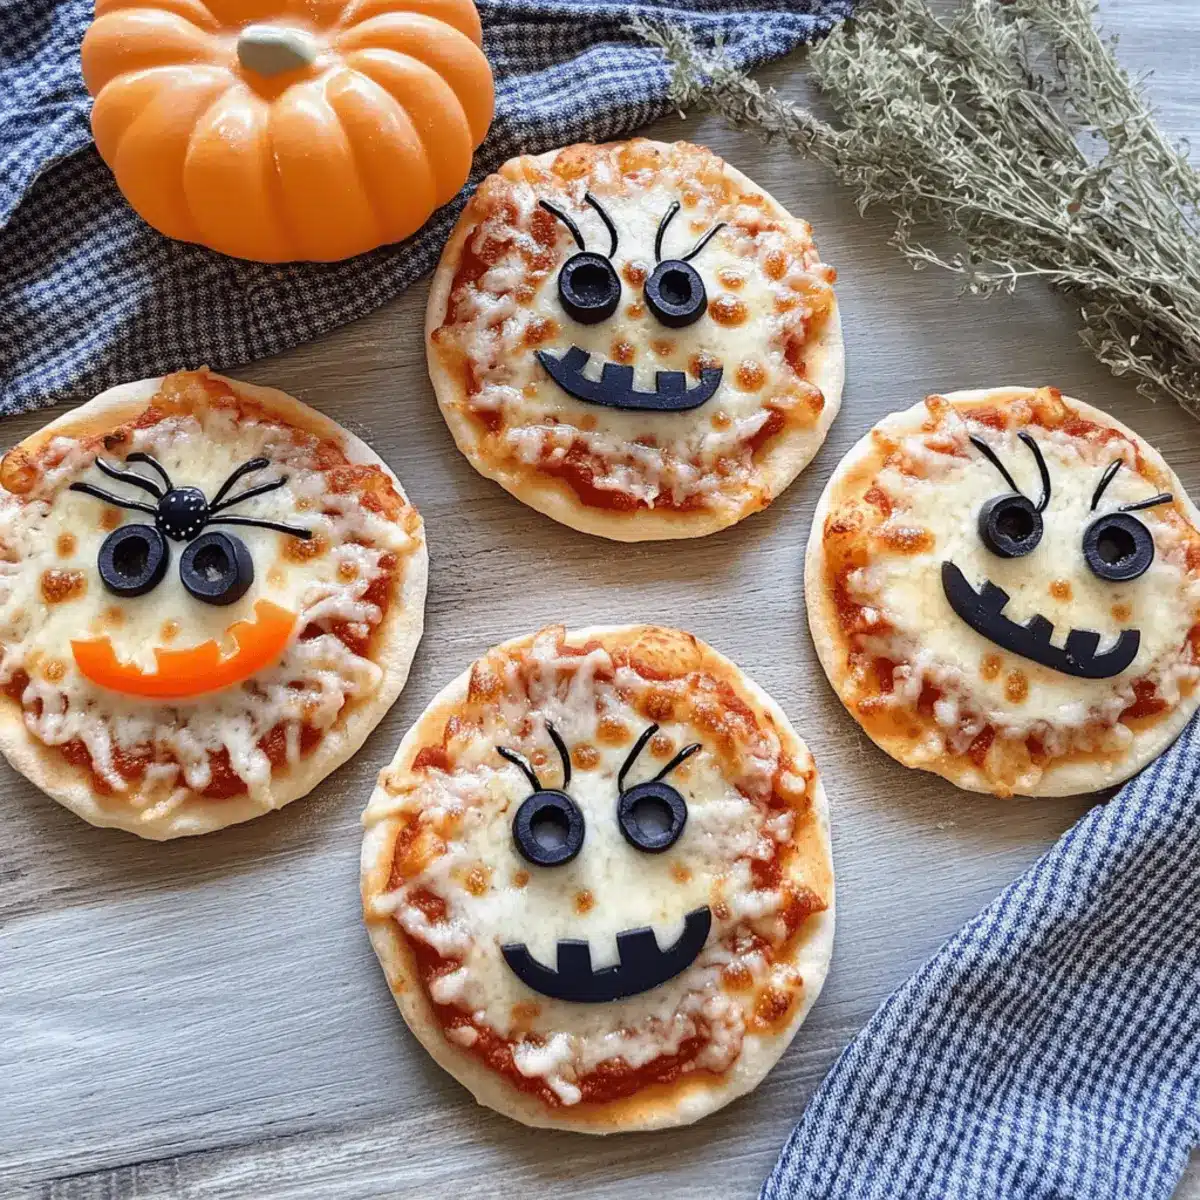
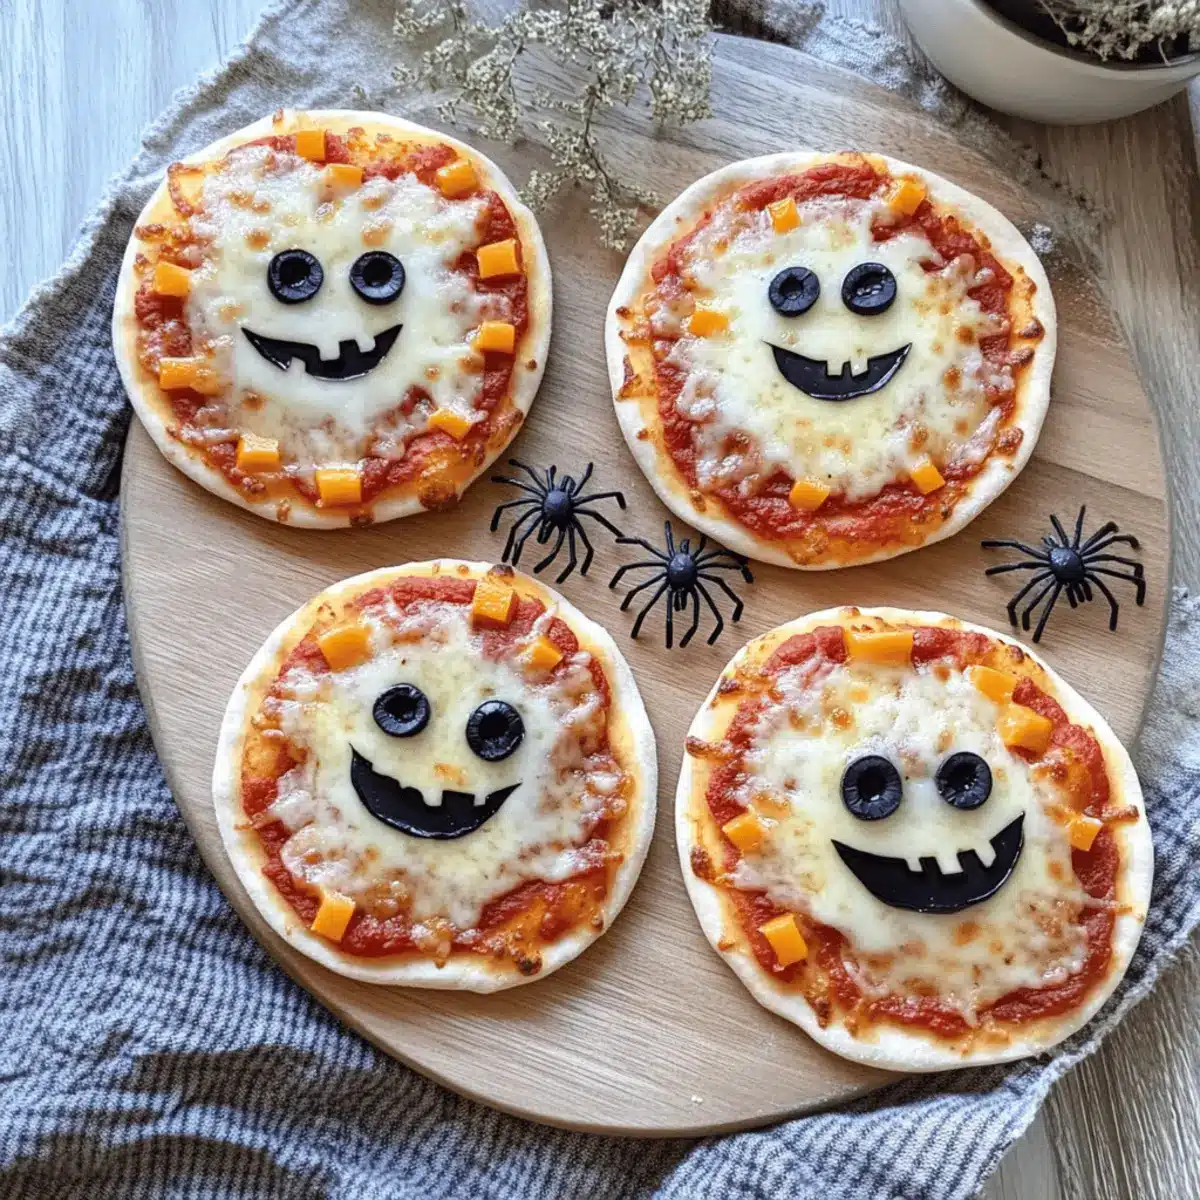
Now, it’s time to get creative! Decorate the other mini pizzas with sliced black olives as spider bodies and eyes, then use strips of orange and green bell peppers to add smiles reminiscent of jack-o’-lanterns. If you’re including mini pepperoni, scatter that on top as desired for an extra touch of flavor.
Step 5: Bake the Pizzas
With the toppings arranged, place the baking sheet in the preheated oven. Bake the Halloween Mini Pizzas for about 10–12 minutes, or until the crusts are golden brown and the cheese is bubbling. For even cooking, be sure to rotate the pan halfway through the baking time, ensuring that every pizza gets its moment in the spotlight.
Step 6: Cool and Garnish
After removing the baking sheet from the oven, let the mini pizzas cool for about 2 minutes. This allows the cheese to set slightly, making them easier to handle. Just before serving, garnish your Halloween Mini Pizzas with fresh basil to add an inviting touch of color and flavor, then enjoy!
Storage Tips for Halloween Mini Pizzas
-
Room Temperature: Serve freshly baked pizzas immediately for the best taste. If they must sit out, consume within 2 hours to ensure safety.
-
Fridge: Store any leftover Halloween Mini Pizzas in an airtight container for up to 3 days. To keep them fresh, place parchment paper between layers if stacking.
-
Freezer: For longer storage, freeze assembled mini pizzas in a single layer on a baking sheet before transferring to a freezer bag. They can last up to 3 months, allowing for quick reheating later.
-
Reheating: When ready to enjoy leftovers, reheat in an oven or air fryer at 350°F (175°C) for about 10-15 minutes, restoring that crispy crust while melting the cheese beautifully.
Make Ahead Options
These Halloween Mini Pizzas are perfect for busy home cooks looking to save time without sacrificing fun! You can prepare the mini pizza crusts and store them in the refrigerator for up to 24 hours or freeze them for longer storage—just keep them in an airtight container or tightly wrapped in plastic wrap. Additionally, pre-chop your toppings like bell peppers and olives, and refrigerate them in separate containers for up to 3 days. When you’re ready to bake, simply add your sauce and toppings to the crusts and pop them in the oven. This way, you’ll enjoy delicious, spooky treats with minimal effort, just as delightful as if they were made fresh on Halloween night!
Halloween Mini Pizzas Customization Ideas
Feel free to let your imagination run wild as you customize these delightful mini pizzas with fun twists and substitutions!
-
Gluten-Free: Use cauliflower crusts or gluten-free pitas to create a tasty alternative for those with dietary restrictions.
-
Veggie Boost: Add sliced mushrooms, spinach, or zucchini for an extra nutritional punch. Elevate the fun with colorful toppings that catch the eye!
-
Cheese Variety: Switch up the cheeses by trying out cheddar, gouda, or even a sprinkle of feta for distinct flavor dynamics. Each cheese brings its own unique taste to this festive dish.
-
Spicy Kick: For those who love heat, sprinkle crushed red pepper flakes or drizzle spicy olive oil over the top before baking. It’s a simple way to add that extra zing!
-
Meat Lovers: Incorporate turkey bacon or prosciutto for a savory upgrade. These crispy additions will bring an exciting flavor contrast to your Halloween treats.
-
Herbal Touch: Swap fresh basil for fresh oregano or thyme to give your pizzas a fragrant, garden-fresh vibe. Each herb opens up new layers of flavor.
-
Fun Shapes: Use cookie cutters to cut out toppings from veggies or cheeses—think ghost shapes from mozzarella or bat wings from peppers. Kids will adore the creativity!
-
Mini Desserts: Create a sweet version of the mini pizza using chocolate spread or cream cheese as the base, topped with fruit slices and a drizzle of honey—it’s a delightful Halloween treat!
Expert Tips for Halloween Mini Pizzas
-
Let Kids Decorate: Encourage children to express their creativity by assembling and decorating their own Halloween Mini Pizzas with various toppings. This makes for a fun activity!
-
Avoid Sogginess: To prevent a soggy crust, store leftover sauce separately when prepping bases in advance. This keeps each pizza deliciously crisp.
-
Freeze for Later: If you’re prepping ahead, freeze par-baked crusts or fully assembled mini pizzas. They make for quick snacks on busy days ahead!
-
Reheat Smartly: For the ultimate crispiness when reheating leftovers, use an oven or air fryer. This way, you can enjoy that freshly-baked texture again.
-
Mix It Up: Don’t hesitate to try different cheeses or toppings. Using various vegetables or meat alternatives can add fun and flavor to your Halloween Mini Pizzas while accommodating dietary preferences.
What to Serve with Halloween Mini Pizzas?
These delightful mini pizzas set the stage for a festive gathering filled with laughter, creativity, and delicious flavors.
-
Spooky Fruit Salad: A colorful mix of seasonal fruits can bring a refreshing contrast to cheesy pizzas, offering a light and sweet balance.
-
Witch’s Brew Soup: A creamy pumpkin soup adds a warm, comforting element to the spread, perfect for chilly Halloween evenings. Serve it in hollowed-out mini pumpkins for added fun!
-
Crispy Veggie Platter: Fresh, crunchy vegetables like celery, carrots, and bell peppers provide a vibrant, healthful complement. Pair with a zesty dip to entice everyone to munch away.
-
Ghoulish Ghost Cupcakes: Mini cupcakes adorned with vanilla frosting and ghostly decorations create a delightfully sweet ending to your Halloween feast. Kids will love their fun appearance!
-
Monster Mocktail: Serve up a fizzy drink with green soda and gummy worms for a whimsical twist. This festive mocktail will keep both spirits and energy high throughout your gathering!
-
Caramel Apple Slices: The sweet and tart flavors of caramel-dipped apple slices evoke autumn vibes and serve as a delightful dessert to round out the meal.
-
Chilling Cider: Warm apple cider, spiced with cinnamon and nutmeg, can wrap your guests in cozy comfort while echoing the season’s spirit.
Elevate your Halloween Mini Pizzas into a feast that captivates both young and old with these fun, festive accompaniments!
Halloween Mini Pizzas Recipe FAQs
What kind of pizza crust should I use for Halloween Mini Pizzas?
I recommend using mini pizza crusts that are either store-bought or homemade. Just ensure they’re oven-safe for the best results. If you’d like a healthier option, you can also consider cauliflower or gluten-free pizza bases.
How should I store leftover Halloween Mini Pizzas?
You can store any leftover Halloween Mini Pizzas in an airtight container in the refrigerator for up to 3 days. This keeps them fresh and perfect for quick snacks or meals later on.
Can I freeze Halloween Mini Pizzas?
Absolutely! To freeze, layer parchment paper between fully assembled mini pizzas and place them in a freezer bag. They’ll keep well for up to 2 months. When you’re ready to enjoy, reheat them in the oven at 375°F (190°C) for about 10-12 minutes or until warmed through. This will help maintain that delightful crunch.
What if I have dietary restrictions or allergies?
No worries! You can easily adapt this recipe. Substitute mozzarella with vegan cheese or a low-fat alternative. If anyone has allergies to olives or specific toppings, feel free to switch them out for ingredients that suit your dietary needs—bell peppers, spinach, or other veggies work wonderfully as replacements!
How can I prevent sogginess when making mini pizzas ahead of time?
To avoid sogginess, store any leftover pizza sauce separately when prepping the bases. This way, the crust will remain crisp when stored and you’ll enjoy better texture when you assemble and heat them later. Just remember to only add sauce just before baking or reheating!
Can kids help make Halloween Mini Pizzas?
Very much so! Involving children in the assembly and decoration of their own pizzas is not only a fun activity but also encourages creativity in the kitchen. Let them design their pizzas with different toppings, and you’ll make wonderful memories together!
Halloween Mini Pizzas: Fun, Cheesy Treats for Spooky Nights
Ingredients
Equipment
Method
- Preheat your oven to 425°F (220°C) and mist a baking sheet with olive oil spray.
- Spread 1–2 tablespoons of pizza sauce on each mini pizza crust, leaving a small border.
- Sprinkle shredded mozzarella cheese on half of the mini pizzas and lay string cheese in a criss-cross pattern.
- Decorate the other mini pizzas with sliced black olives and strips of bell peppers. Add mini pepperoni if desired.
- Bake for 10–12 minutes, until crusts are golden brown and cheese is bubbling; rotate halfway through.
- Let cool for 2 minutes, garnish with fresh basil, and enjoy!
Leave a Reply