
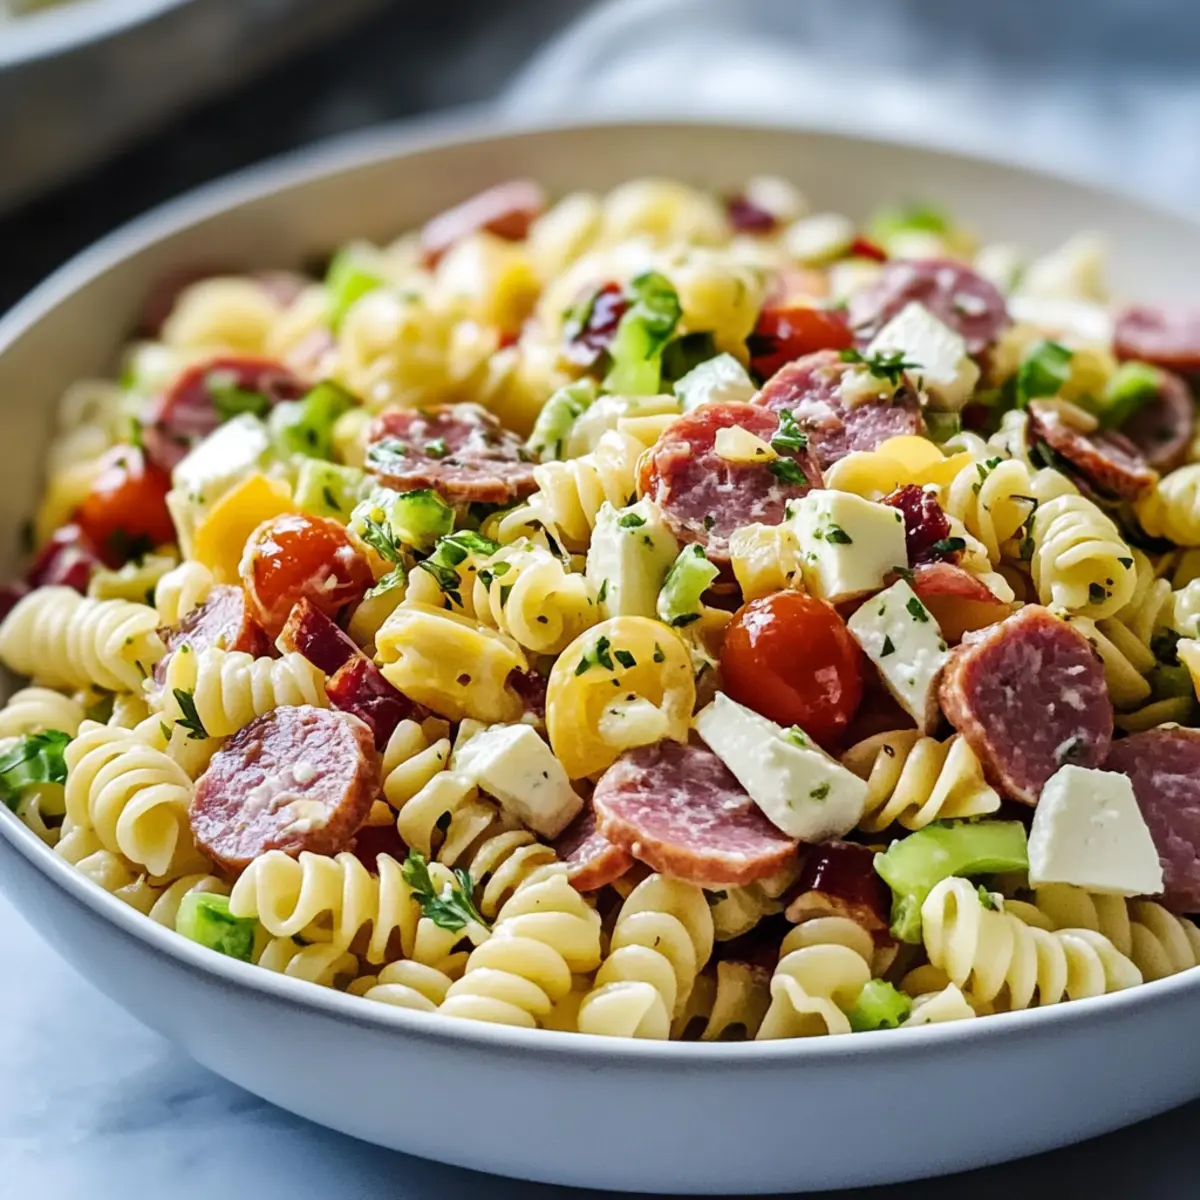
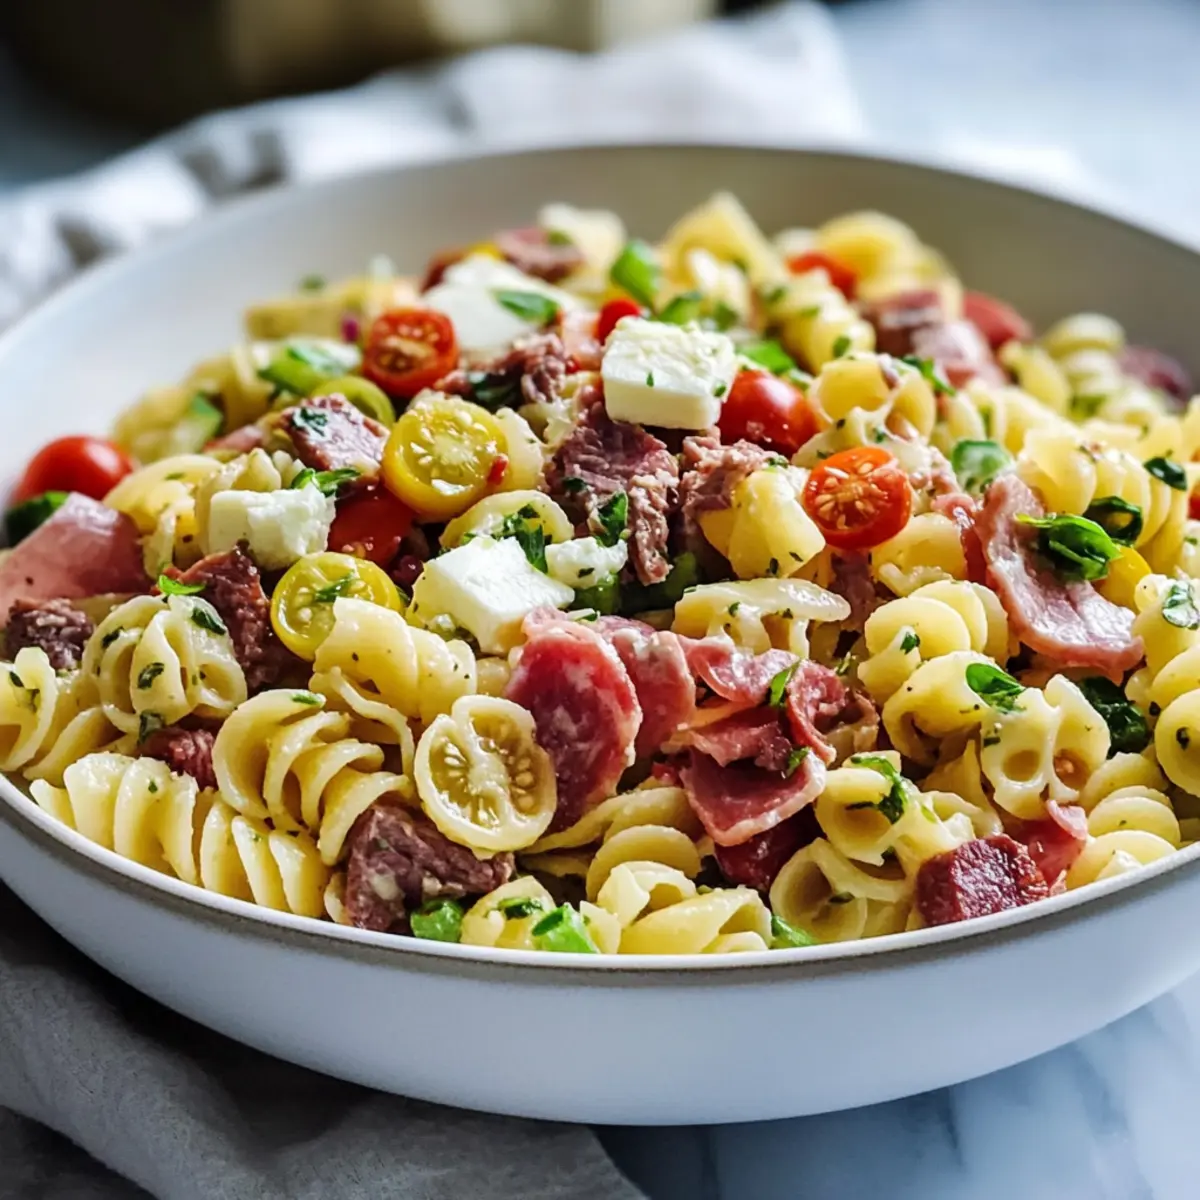
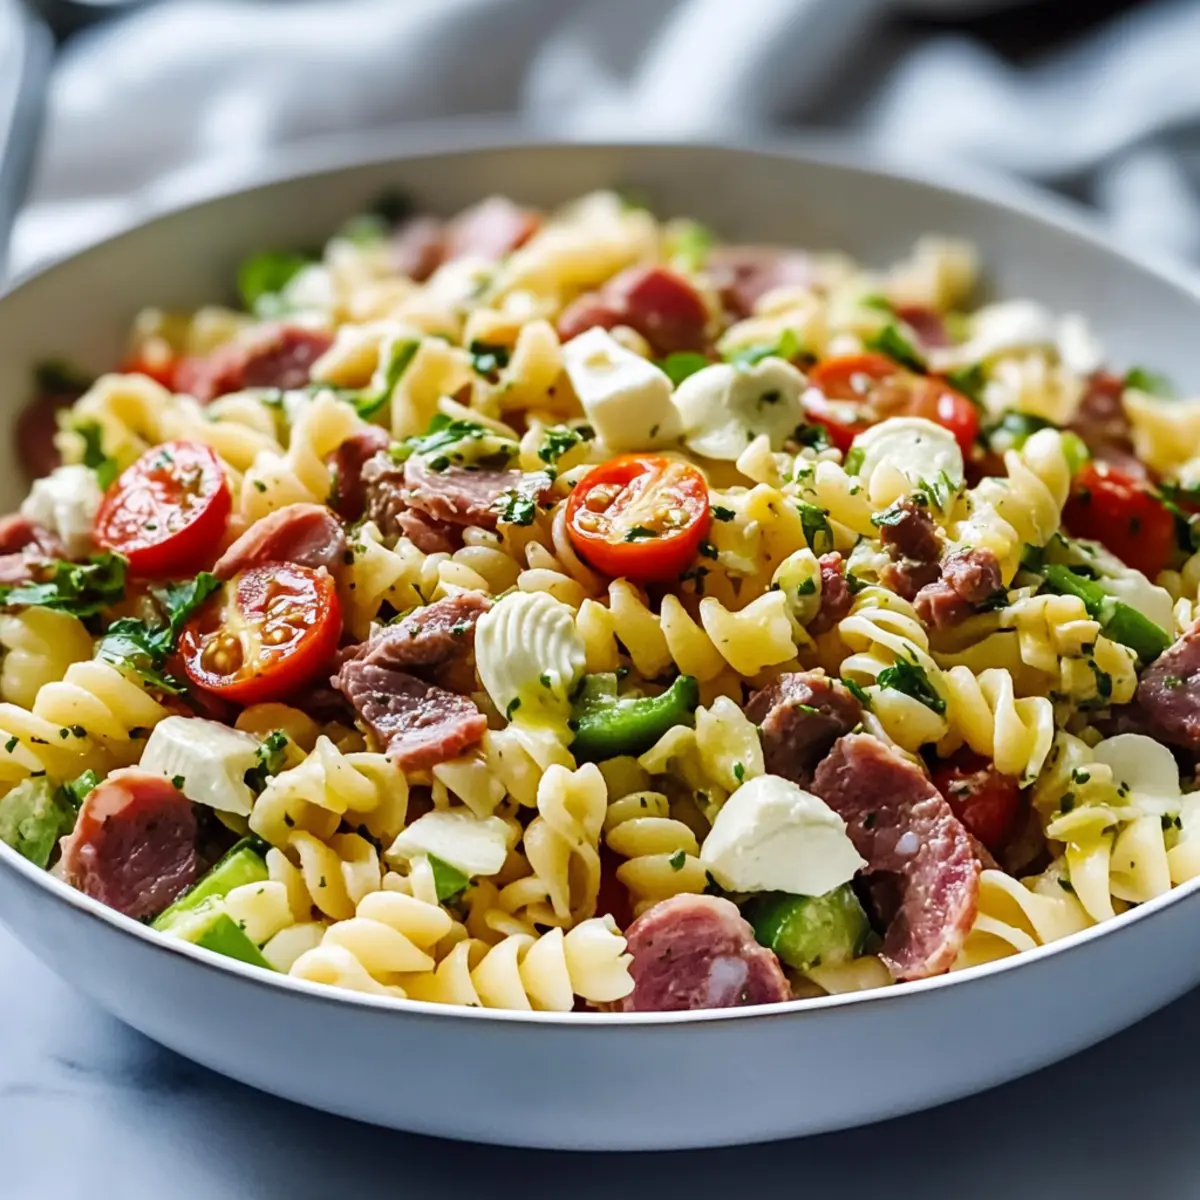
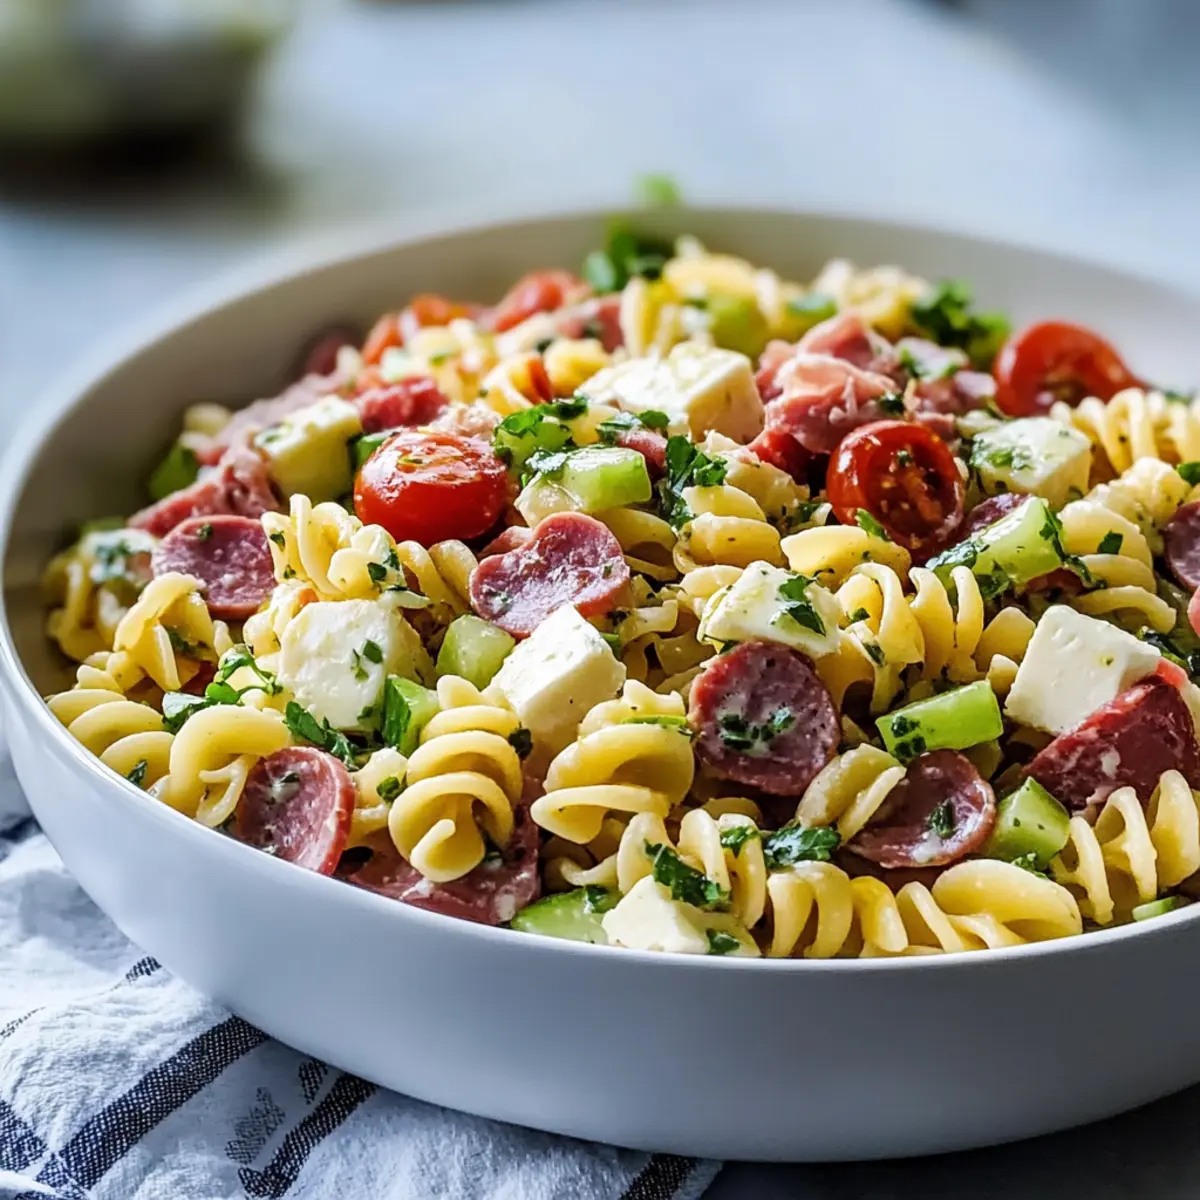
As I tossed the vibrant colors of fresh veggies with the hearty pasta, I couldn’t help but feel the anticipation building for our summer gathering. This Italian Grinder Pasta Salad is the ultimate crowd-pleaser, combining the classic flavors of the beloved Italian grinder sandwich into a refreshing, versatile dish. Imagine the delightful crunch of crisp bell peppers mingling with savory deli meats and rich cheese, making it a perfect addition to any barbecue or potluck. What truly sets this recipe apart is not just its incredible taste; it’s also a breeze to prepare and can be easily customized to meet your guests’ preferences or dietary needs. Are you ready to elevate your pasta salad game and impress your friends and family? Let’s dive in!
Why is this Grinder Pasta Salad special?
Vibrant, this salad bursts with color, making it visually appealing for any gathering. Savory flavors from the beef deli meats and creamy cheese create a satisfying bite, reminiscent of a delicious sandwich. Versatile by nature, it can easily adapt to your guests’ dietary preferences—swap meats, add veggies, or try new cheeses! Time-saving and straightforward to make, it’s perfect for busy cooks. Crowd-pleasing, it will have everyone asking for seconds, just like the popular Creamy Garlic Shrimp Pasta or Parmesan Chicken Pasta you love. Embrace the deliciousness and simplicity of this Italian Grinder Pasta Salad!
Grinder Pasta Salad Ingredients
For the Pasta
• Rotini or Penne – These shapes absorb flavors beautifully, making them the foundation of your delightful grinder pasta salad. Gluten-free pasta works well if needed.
For the Meats
• Beef-Based Deli Meats – Varieties like salami, ham, or pepperoni add savory depth and protein, giving your salad that delicious sandwich-inspired flavor.
For the Cheese
• Sharp Provolone or Mozzarella – These cheeses contribute creamy richness; you can substitute with dairy-free options if desired.
For the Fresh Vegetables
• Bell Peppers, Cherry Tomatoes, Red Onion – Packed with crunch and freshness, feel free to swap any crunchy veggies that suit your taste.
For the Dressing
• Herby Vinaigrette – Whip up a tangy dressing using olive oil, vinegar, oregano, and Italian seasoning to elevate your grinder pasta salad.
For the Lettuce (optional)
• Romaine or Mixed Salad Greens – Adding greens provides extra freshness and a lovely presentation that your guests will appreciate.
Step‑by‑Step Instructions for Grinder Pasta Salad
Step 1: Cook the Pasta
Begin by bringing a large pot of salted water to a boil. Add your rotini or penne pasta, then cook according to package instructions until al dente, usually about 8-10 minutes. Once done, drain the pasta in a colander and rinse it under cold water to halt the cooking process. Set it aside to cool completely before mixing with the rest of the ingredients.
Step 2: Prepare the Vegetables
While the pasta cools, chop your fresh vegetables. Dice the bell peppers, halved cherry tomatoes, and red onion into bite-sized pieces, ensuring a consistent size for even mixing. Arrange the vibrant colors beautifully to inspire anticipation for your Grinder Pasta Salad. This combination of fresh veggies will add crunch and a pop of flavor to your dish.
Step 3: Mix the Dressing
In a medium bowl, whisk together the herby vinaigrette ingredients. Combine olive oil, vinegar, oregano, and Italian seasoning, blending until the mixture is well-emulsified and smooth. Taste and adjust seasonings as needed. This tangy dressing is essential for enhancing the flavors in your Grinder Pasta Salad, so make sure it’s well-prepared and ready to marry the other components.
Step 4: Combine Ingredients
In a large mixing bowl, combine the cooled pasta, chopped deli meats, cheese, and prepared vegetables. Drizzle the herby vinaigrette over the mixture and gently toss everything together until all ingredients are evenly coated. Aim for a harmonious balance of textures and flavors—this is what will make your Grinder Pasta Salad truly crowd-pleasing!
Step 5: Add Lettuce
If you choose to include lettuce, chop it into bite-sized pieces and gently fold it into the pasta mixture. This will add an extra layer of freshness and a delightful crunch to your salad. Be careful not to over-mix at this stage to keep the lettuce vibrant and intact in your Grinder Pasta Salad.
Step 6: Chill Before Serving
Cover your bowl with plastic wrap or transfer the salad to an airtight container. Refrigerate for at least 30 minutes to allow the flavors to meld beautifully. Chilling the salad not only enhances its taste but also ensures a refreshing experience when serving it to your friends and family at gatherings.
How to Store and Freeze Grinder Pasta Salad
Fridge: Keep your Grinder Pasta Salad in an airtight container in the refrigerator for up to 3 days. The flavors will continue to meld, but the fresh veggies may lose some crunch.
Freezer: It’s best not to freeze this pasta salad as the texture of vegetables and cheese may suffer during freezing and thawing. Enjoy fresh for optimal taste!
Reheating: If you do have leftovers, serve it straight from the fridge, as it’s delicious chilled. However, if you prefer warm pasta, gently heat it on the stove with a splash of olive oil until warmed through.
Extra Tip: To maintain the salad’s freshness, consider storing any leftover lettuce separately. This keeps the Grinder Pasta Salad vibrant and crisp for your next meal.
Make Ahead Options
These Italian Grinder Pasta Salad ingredients are perfect for meal prep enthusiasts looking to save time on busy weekdays! You can chop the vegetables and deli meats up to 24 hours in advance, storing them in separate airtight containers in the refrigerator to maintain freshness. The herby vinaigrette can also be prepared ahead of time—just give it a good shake before tossing everything together. When you’re ready to serve, combine the prepped ingredients with the cooled pasta and cheese, then chill for at least 30 minutes to let the flavors meld. This way, you’ll have a deliciously vibrant pasta salad ready to impress without the last-minute scramble!
Expert Tips for Grinder Pasta Salad
-
Chill Time: Allow the salad to chill for at least 30 minutes. This resting period helps the flavors marry beautifully, enhancing your Grinder Pasta Salad.
-
Vegetable Freshness: Avoid adding delicate ingredients like tomatoes until right before serving. This prevents sogginess and keeps your salad crisp.
-
Uniform Chopping: Ensure all vegetables are chopped to the same size. This guarantees even distribution in every delightful bite of your Grinder Pasta Salad.
-
Herby Vinaigrette: Adjust the dressing to your taste. If you love a tangier flavor, add a splash more vinegar—a simple tweak can elevate your pasta salad immensely.
-
Mixing Technique: Toss gently to combine ingredients. Over-mixing can break down the veggies, so treat your salad with care for that perfect texture.
What to Serve with Italian Grinder Pasta Salad
Savor the delightful symphony of flavors and textures as you enhance your dining experience with perfectly chosen sides.
- Garlic Bread: The warm, buttery crunch of garlic bread provides a satisfying contrast to the fresh pasta salad.
- Caprese Skewers: These vibrant skewers of mozzarella, basil, and tomatoes add a refreshing bite and colorful presentation to your table.
- Grilled Vegetables: A medley of grilled zucchini, bell peppers, and asparagus complements the salad with smoky flavors and a delicious char.
- Antipasto Platter: An assortment of olives, marinated artichokes, and cured meats mirrors the flavors of the grinder salad while offering delightful variety.
- Raspberry Lemonade: This refreshing, tangy drink is perfect for summer gatherings, perfectly balancing the savory notes of the pasta salad.
- Lemon Sorbet: A light and refreshing dessert, it cleanses the palate and adds a bright finish to your meal. Its sweet-tart flavor is like a kiss of summer!
Grinder Pasta Salad Variations
Feel free to mix things up and create your perfect version of this delightful salad!
-
Swap Meats: Use turkey or chicken for a lighter twist, still packed with the same fantastic flavor.
-
Cheese Alternatives: Try feta or goat cheese for a tangy kick that enhances the salad’s freshness and dimension.
-
Add Nuts/Seeds: Incorporate pine nuts or sunflower seeds, bringing an extra layer of crunch and nutrition, perfect for a satisfying bite.
-
Extra Veggies: Add artichoke hearts or olives for a briny flavor burst. These ingredients complement the savory components beautifully!
-
Herb Infusion: Toss in fresh herbs like basil or parsley for an aromatic lift that elevates the salad’s profile.
-
Spicy Kick: Mix in sliced jalapeños or red pepper flakes to turn up the heat and offer a zesty surprise in each serving.
-
Gluten-Free: Swap the pasta with gluten-free alternatives to cater to those with dietary preferences, ensuring everyone enjoys the dish.
-
Balsamic Twist: Drizzle balsamic glaze on top before serving for an additional layer of flavor that harmonizes beautifully with the other ingredients.
For a heartwarming meal that resonates with everyone at your gathering, consider pairing with a vibrant Mexican Quinoa Salad with Honey Lime Vinaigrette or indulging in Creamy Steak Pasta Ready to give your table a delicious spread. Enjoy personalizing your Grinder Pasta Salad!
Grinder Pasta Salad Recipe FAQs
What type of pasta is best for Grinder Pasta Salad?
Absolutely! I recommend using rotini or penne for the best texture as they absorb the flavors beautifully. If you’re looking for gluten-free options, there are many fantastic gluten-free pasta varieties available that work just as well.
How should I store leftover Grinder Pasta Salad?
Store any leftover Grinder Pasta Salad in an airtight container in the refrigerator for up to 3 days. Just keep in mind that the fresh veggies may lose some of their crunch over time, so it’s best enjoyed within the first couple of days.
Can I freeze Grinder Pasta Salad?
It’s best not to freeze this salad, as the texture of the fresh vegetables and cheese can suffer during freezing and thawing. Instead, enjoy it fresh for optimal taste! If you have extra pasta, you can freeze just the pasta on its own and mix it fresh with the ingredients later.
What can I do if my pasta salad turns out too soggy?
If you find your salad is soggy, you might have added the vegetables too far ahead of time or used too much dressing. To remedy this, you can add more pasta or fresh greens to balance the texture. Also, consider serving the salad immediately after mixing instead of letting it rest too long.
Are there any dietary considerations for pets regarding the ingredients?
Yes, it’s important to remember that while the ingredients used in Grinder Pasta Salad are safe for humans, some can be harmful to pets. For example, onions can be toxic to dogs, so it’s best to keep any leftovers out of their reach and avoid sharing this salad with your furry friends.
Can I customize ingredients in the Grinder Pasta Salad?
Very! This recipe is incredibly versatile. Feel free to swap out meats, try different cheeses, or add nuts or seeds for extra crunch. You can make it your own based on what you have at home or your guests’ dietary preferences!
Grinder Pasta Salad That's Bursting with Flavor and Freshness
Ingredients
Equipment
Method
- Cook the Pasta: Bring a large pot of salted water to a boil. Add your rotini or penne pasta, then cook according to package instructions until al dente, about 8-10 minutes. Drain and rinse under cold water, then set aside to cool completely.
- Prepare the Vegetables: While the pasta cools, chop your fresh vegetables. Dice bell peppers, halved cherry tomatoes, and red onion into bite-sized pieces.
- Mix the Dressing: In a medium bowl, whisk together the herby vinaigrette ingredients: olive oil, vinegar, oregano, and Italian seasoning until well-emulsified.
- Combine Ingredients: In a large mixing bowl, combine the cooled pasta, chopped deli meats, cheese, and vegetables. Drizzle the vinaigrette over and toss gently to coat.
- Add Lettuce: If using, chop lettuce and fold gently into the pasta mixture.
- Chill Before Serving: Cover and refrigerate for at least 30 minutes to allow flavors to meld.
Leave a Reply