
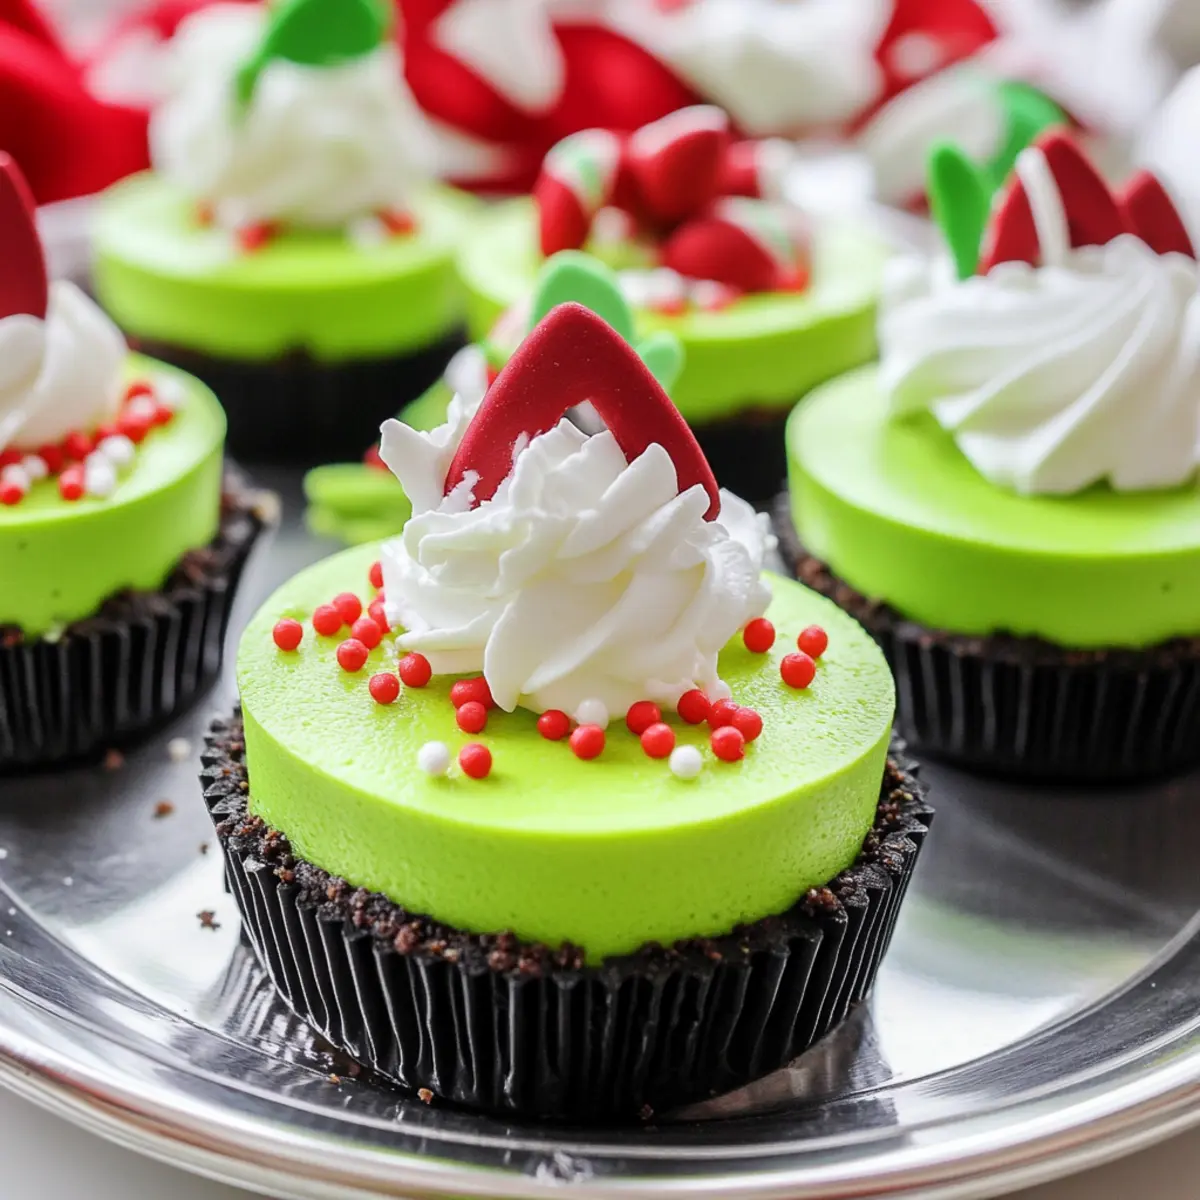
It was a chilly December evening when I caught a glimpse of my friend’s holiday gathering, laughter bubbling over the sounds of Christmas music. Everyone was raving about these vibrant green treats on the dessert table—the Grinch Mini Cheesecakes! With their playful color and creamy texture, these festive delights quickly stole the spotlight. Not only are they a showstopper, but their easy preparation makes them a must-have for busy holiday cooks. Imagine the joy on your guests’ faces when they bite into these delightful cheesecakes, bringing smiles to kids and adults alike. Whether for a cozy family dinner or a festive party, these charming little desserts offer a sweet escape from the ordinary. Are you ready to spread some holiday cheer with this delicious recipe? Let’s dive in!
Why Will You Adore These Cheesecakes?
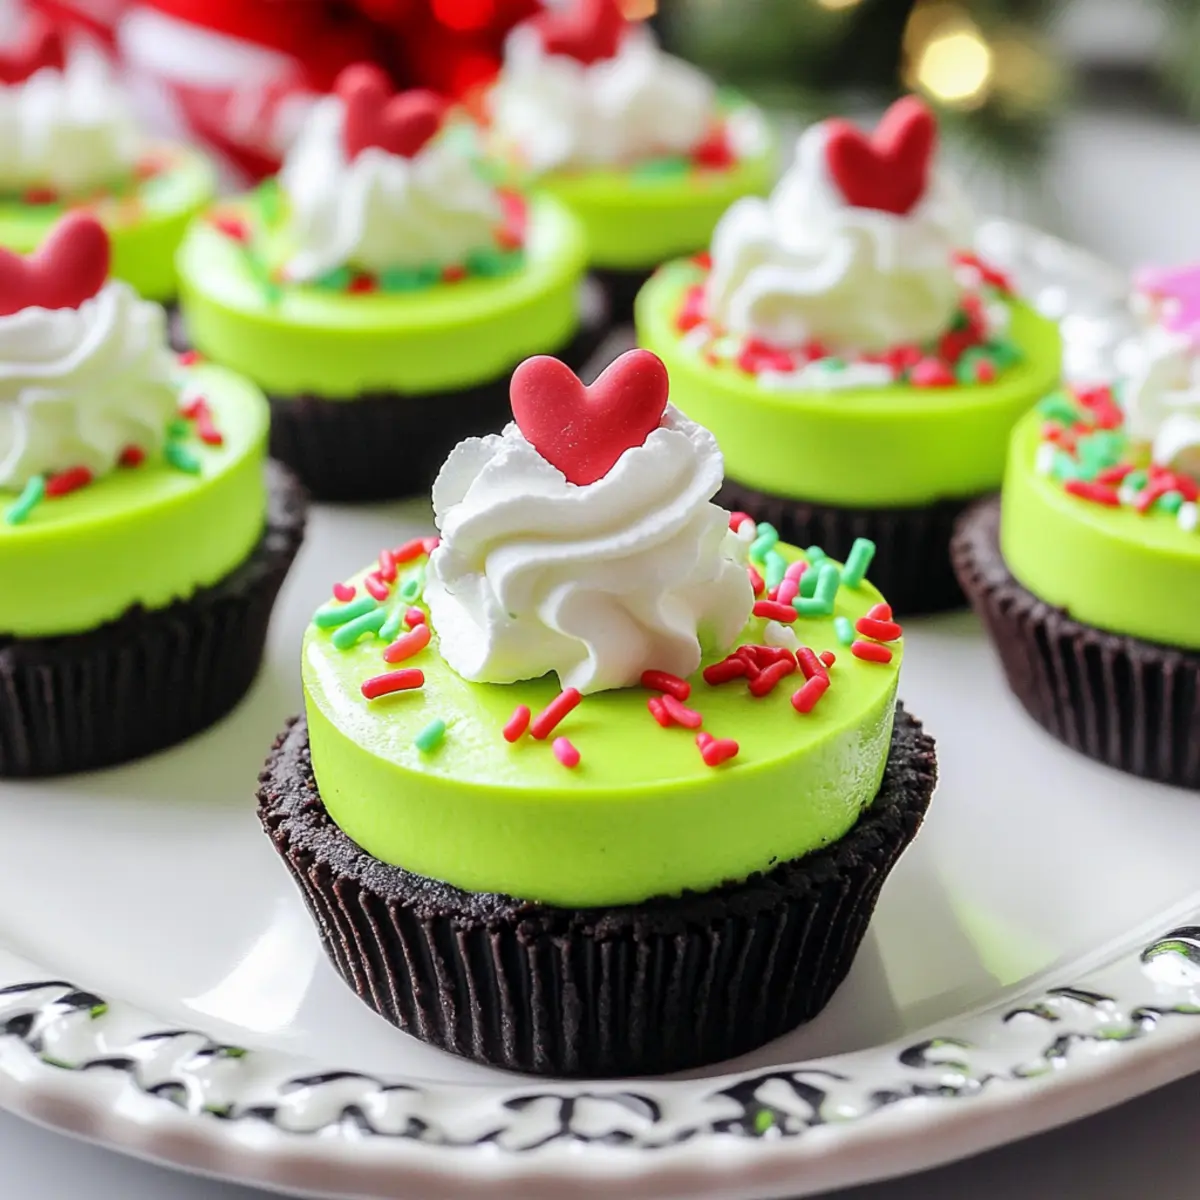
Festive Fun: These Grinch Mini Cheesecakes bring holiday joy with their vibrant green hue, making them visually appealing at any gathering.
Ease of Preparation: With simple steps and accessible ingredients, even beginner bakers can whip up delightful treats that impress.
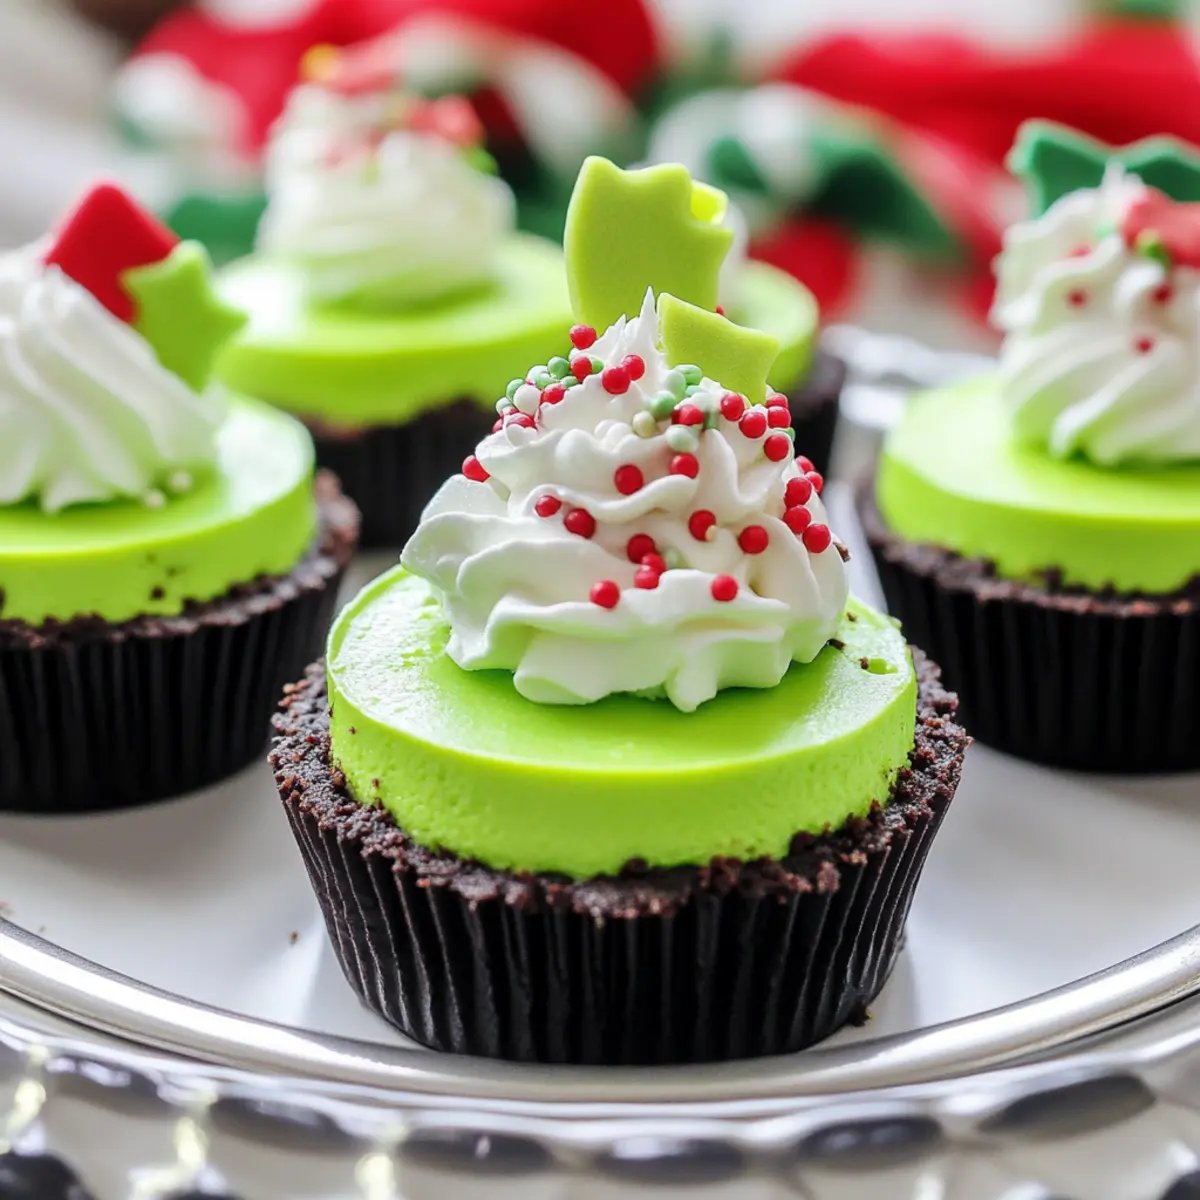
Flavor Explosion: Creamy cheesecakes with a chocolatey Oreo crust create a delicious contrast, ensuring every bite is indulgent and satisfying.
Versatile Variations: Feel free to experiment with flavored extracts or festive toppings, like crushed candy canes, to personalize these delightful desserts.
Crowd-Pleasing Delight: Perfect for holiday parties, these cheesecakes are a hit with kids and adults alike, making them a go-to dessert for any occasion.
Make-Ahead Convenience: Prepare them a day in advance, allowing you to enjoy the festivities without the last-minute stress.
Grinch Mini Cheesecakes Ingredients
For the Cheesecake Base
• Cream Cheese – Provides the creamy base for the cheesecake; ensure it’s softened for easy mixing.
• Sugar – Adds sweetness to balance the richness of the cream cheese; can be substituted with a sugar alternative if desired.
• Eggs – Acts as a binding agent, helping the cheesecake set; use room temperature eggs for better incorporation.
• Vanilla – Enhances flavor depth; pure vanilla extract is recommended.
• Neon Green Food Coloring – Adds a festive touch and vibrant color; use gel or liquid food coloring as preferred.
For the Crust
• Oreo Crumbs – Forms the crust base, providing a chocolatey flavor; you can substitute with graham cracker crumbs for a different taste.
• Butter (Melted) – Binds the crust ingredients together; melted is essential for proper consistency.
These Grinch Mini Cheesecakes not only delight your taste buds but also offer a colorful addition to your holiday spread!
Step‑by‑Step Instructions for Grinch Mini Cheesecakes
Step 1: Preheat Your Oven
Begin by preheating your oven to 350°F (175°C). While it warms, line a cupcake pan with festive cupcake liners. The liners will make it easy to remove your Grinch Mini Cheesecakes later while also adding a cheerful touch to your holiday dessert presentation.
Step 2: Prepare the Crust
In a food processor, pulse about 10-11 Oreos into fine crumbs. Once the crumbs are ready, transfer them to a mixing bowl and combine with melted butter until fully integrated. The mixture should be wet and crumbly; this will form the delectable crust for your mini cheesecakes.
Step 3: Form Your Crusts
Evenly divide the Oreo mixture among the lined cupcake cups, pressing firmly down with your fingers or a small measuring cup to form sturdy crusts. This step is essential for ensuring each Grinch Mini Cheesecake has a solid base. Bake the crusts in the preheated oven for 5 minutes, then remove and allow them to cool slightly.
Step 4: Mix the Cheesecake Filling
In a large bowl, beat the softened cream cheese and sugar using an electric mixer until the mixture is smooth and creamy. This process should take about 2-3 minutes. Next, add in the eggs one at a time, blending well after each addition, followed by the vanilla extract. The filling should be well-combined and free of lumps.
Step 5: Add Some Color
To achieve that signature Grinch green hue, incorporate the neon green food coloring into your cheesecake mixture. Mix gradually until you reach your desired shade, typically a vibrant green. This step will not only add color but also make your cheesecakes eye-catching and festive.
Step 6: Fill the Crusts
Using a spoon or a measuring cup, carefully fill each crust with approximately 1/4 cup of the cheesecake filling. Ensure you distribute the filling evenly among all the crusts for consistent results. The filling will look rich and creamy, ready to be baked into delightful mini cheesecakes.
Step 7: Bake the Mini Cheesecakes
Place the filled cupcake pan in the oven and bake for 15-17 minutes. The centers should be slightly jiggly when you remove them, which indicates they are perfectly baked. Avoid overbaking to maintain that luscious, creamy texture that characterizes the Grinch Mini Cheesecakes.
Step 8: Cooling Time
Once baked, remove the pan from the oven and let the cheesecakes cool completely in the pan for about 30 minutes. This step allows them to set properly before moving them. The cooling process helps prevent cracks and ensures a better texture.
Step 9: Refrigerate and Set
After cooling, transfer the cheesecakes to the refrigerator and let them chill for at least 2 hours, allowing them to firm up nicely. This waiting time is crucial for achieving the perfect creamy consistency and ensures your Grinch Mini Cheesecakes are ready for that festive unveiling.
Step 10: Optional Toppings
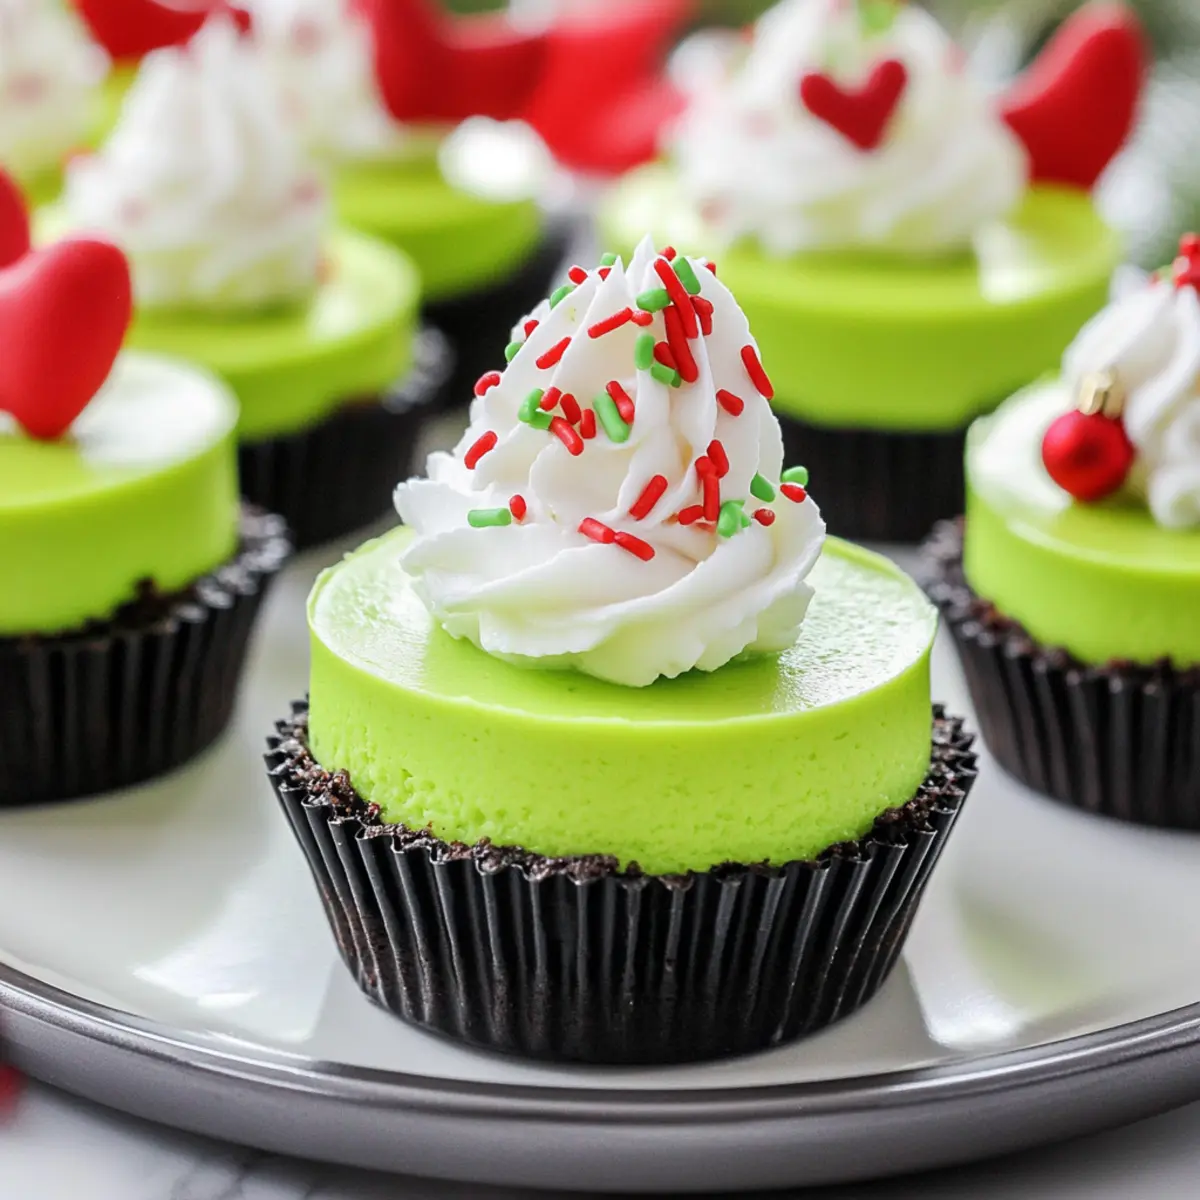
Before serving, feel free to top your chilled Grinch Mini Cheesecakes with whipped cream and festive sprinkles. This extra touch adds a delightful finishing touch that enhances both their taste and appearance, making them irresistibly appealing for your holiday gatherings.
Expert Tips for Grinch Mini Cheesecakes
• Soften the Cream Cheese: Ensure your cream cheese is fully softened before mixing to achieve a silky, lump-free filling that elevates your Grinch Mini Cheesecakes.
• Room Temperature Eggs: Using eggs at room temperature helps them blend better into the cheesecake mixture, promoting a smooth and even consistency.
• Don’t Overbake: Keep an eye on the baking time; the centers should remain slightly jiggly for that perfectly creamy texture everyone loves in Grinch Mini Cheesecakes.
• Chill Before Serving: Refrigerating the cheesecakes for at least 2 hours allows them to firm up and enhances the flavors, making them more enjoyable for guests.
• Fun Toppings: Get creative with toppings! Whipped cream and sprinkles can add a festive flair, making your Grinch Mini Cheesecakes stand out on the dessert table.
• Storage Tips: Store any leftovers in an airtight container in the fridge for up to 3 days, ensuring they remain fresh and delicious for your holiday celebrations.
What to Serve with Grinch Mini Cheesecakes
Imagine a colorful holiday spread that dazzles your guests and delights their taste buds with every bite.
- Festive Fruit Salad: A vibrant mix of seasonal fruits adds a refreshing contrast, balancing the rich cheesecakes with natural sweetness.
- Chocolate-Dipped Pretzels: The salty crunch pairs beautifully, offering a delightful contrast to the creamy desserts, making each bite fun and addictive.
- Peppermint Hot Chocolate: Cozy up your dessert experience with this warm, chocolaty drink, infused with a hint of peppermint that echoes the holiday spirit.
- Gingerbread Cookies: These spiced treats bring warmth and nostalgia to the table, creating a wonderful companionship with the sweet cheesecakes.
- Spiced Apple Cider: A warm beverage with cinnamon notes complements the festive flavors, making for a cozy holiday gathering.
- Whipped Cream Topping: Elevate each cheesecake with a dollop of light, fluffy whipped cream to enhance their creamy texture and add visual appeal.
- Crushed Candy Canes: Sprinkle these over the cheesecakes for a delightful crunch and a pop of festive color, adding an extra layer of holiday cheer.
- Eggnog Milkshake: A creamy blend of traditional eggnog brings a festive flair that pairs nicely with the rich, sweet flavor of the cheesecakes.
- Vanilla Ice Cream: A scoop of classic vanilla ice cream served alongside adds a delightful creaminess, creating an indulgent dessert experience.
Grinch Mini Cheesecakes Variations & Substitutions
Feel free to get creative with these delicious Grinch Mini Cheesecakes and tailor them to your taste buds!
-
Dairy-Free: Substitute the cream cheese with a dairy-free cream cheese alternative for a rich and creamy filling everyone can enjoy.
-
Sugar-Free: Use a sugar substitute like erythritol or monk fruit sweetener to cater to those watching their sugar intake. This keeps the sweetness without the calories.
-
Graham Cracker Crust: Swap out Oreo crumbs for graham cracker crumbs for a lighter, classic flavor that still pairs wonderfully with the cheesecake.
-
Minty Fresh: Add a few drops of peppermint extract to the filling for a refreshing twist that’s perfect for the holidays. Everyone loves a little minty goodness!
-
Chocolate Drizzle: Top your mini cheesecakes with a drizzle of melted chocolate for added decadence. This simple step transforms them into a gourmet treat!
-
Festive Sprinkles: Instead of or in addition to whipped cream, consider festive sprinkles or crushed candy canes for a delightful crunch and holiday flair.
-
Fruit Topping: For a fruity twist, add a layer of your favorite fruit preserves or fresh berries on top before serving; strawberries or raspberries would be particularly delicious!
-
Spiced Up: Incorporate a pinch of cinnamon or nutmeg into the filling for a warm, spiced flavor that takes these cheesecakes to the next level of cozy holiday treats.
Experimenting with these variations will not only spark creativity but also ensure you create a special and memorable dessert for everyone at your holiday gathering. Enjoy the festive fun and feel free to try these delightful options!
How to Store and Freeze Grinch Mini Cheesecakes
Fridge: Store uneaten Grinch Mini Cheesecakes in an airtight container in the refrigerator for up to 3 days to keep them fresh and delicious.
Freezer: If you want to enjoy these treats later, freeze them in an airtight container for up to 2 months. Thaw them in the fridge overnight before serving.
Reheating: These cheesecakes are best enjoyed cold or at room temperature. Simply remove them from the fridge and let them sit for a few minutes before serving.
Make-Ahead: Consider preparing your Grinch Mini Cheesecakes a day in advance for added convenience during busy holiday festivities.
Make Ahead Options
These Grinch Mini Cheesecakes are a fantastic option for meal prep, allowing busy cooks to enjoy a stress-free holiday season! You can prepare the cheesecakes up to 24 hours in advance by making the crusts and cheesecake filling separately. Simply mix the Oreo crumbs with melted butter and press them into the cupcake liners, then store the crusts in an airtight container at room temperature. Meanwhile, prepare the cheesecake filling and refrigerate it until ready to use. When you’re ready to bake, fill the crusts with the filling and bake as instructed. This method ensures that your treats taste just as delicious, with perfect texture and flavor, when it’s time to serve!
Grinch Mini Cheesecakes Recipe FAQs
What type of cream cheese should I use?
Absolutely! It’s important to choose full-fat cream cheese that is well-softened for a creamy, lump-free filling. Look for brick-style cream cheese rather than spreadable varieties. I recommend leaving the cream cheese out at room temperature for about 30 minutes before mixing to ensure it blends smoothly.
How should I store uneaten cheesecakes?
For the best results, store your Grinch Mini Cheesecakes in an airtight container in the refrigerator for up to 3 days. This will keep them fresh and preserve their delightful flavor. If you’re making them ahead of time, they can also be prepared a day in advance to save you some stress during your holiday gatherings.
Can I freeze these mini cheesecakes?
Yes, you can definitely freeze your Grinch Mini Cheesecakes! To freeze, place them in a single layer in an airtight container, separated by parchment paper if needed, and store them for up to 2 months. When you’re ready to enjoy them, simply transfer them to the fridge to thaw overnight—this prevents condensation from forming on the surface.
What should I do if my cheesecakes are too jiggly after baking?
No worries! If they look too jiggly after baking, it could mean they need just a few more minutes in the oven. You want them to have a slight jiggle in the center, which is normal, but if they seem overly wobbly, give them an additional minute or two. Remember, they will continue to set as they cool. A bit of patience allows for that perfect creamy texture we all love!
Are there any dietary considerations I should know about?
Definitely! While these Grinch Mini Cheesecakes are vegetarian-friendly, they do contain dairy and eggs, so keep that in mind for those with allergies. If you’re looking for an alternative, consider using a non-dairy cream cheese for a vegan option, but make sure your substitute can set properly for the best results! Always check ingredient labels for allergens, especially if you have guests with specific dietary needs.
Can I modify the flavor of these mini cheesecakes?
Very! You can personalize your Grinch Mini Cheesecakes by incorporating flavored extracts, such as peppermint or almond, for a festive twist. You can also top them with crushed candy canes or holiday-themed sprinkles. The more, the merrier—experiment to find your favorite combination!
Grinch Mini Cheesecakes That Will Wow Your Holiday Guests
Ingredients
Equipment
Method
- Preheat your oven to 350°F (175°C) and line a cupcake pan with festive cupcake liners.
- In a food processor, pulse about 10-11 Oreos into fine crumbs and combine with melted butter in a mixing bowl.
- Evenly divide the Oreo mixture among the lined cupcake cups, pressing firmly down to form sturdy crusts.
- Bake the crusts in the preheated oven for 5 minutes, then remove and allow them to cool slightly.
- In a large bowl, beat the softened cream cheese and sugar until smooth, then add eggs one at a time followed by vanilla extract.
- Incorporate the neon green food coloring into the cheesecake mixture gradually until you achieve the desired hue.
- Carefully fill each crust with approximately 1/4 cup of the cheesecake filling.
- Place the filled cupcake pan in the oven and bake for 15-17 minutes until the centers are slightly jiggly.
- Let the cheesecakes cool completely in the pan for about 30 minutes.
- Transfer the cheesecakes to the refrigerator and chill for at least 2 hours.
- Before serving, top with whipped cream and festive sprinkles if desired.
Leave a Reply