
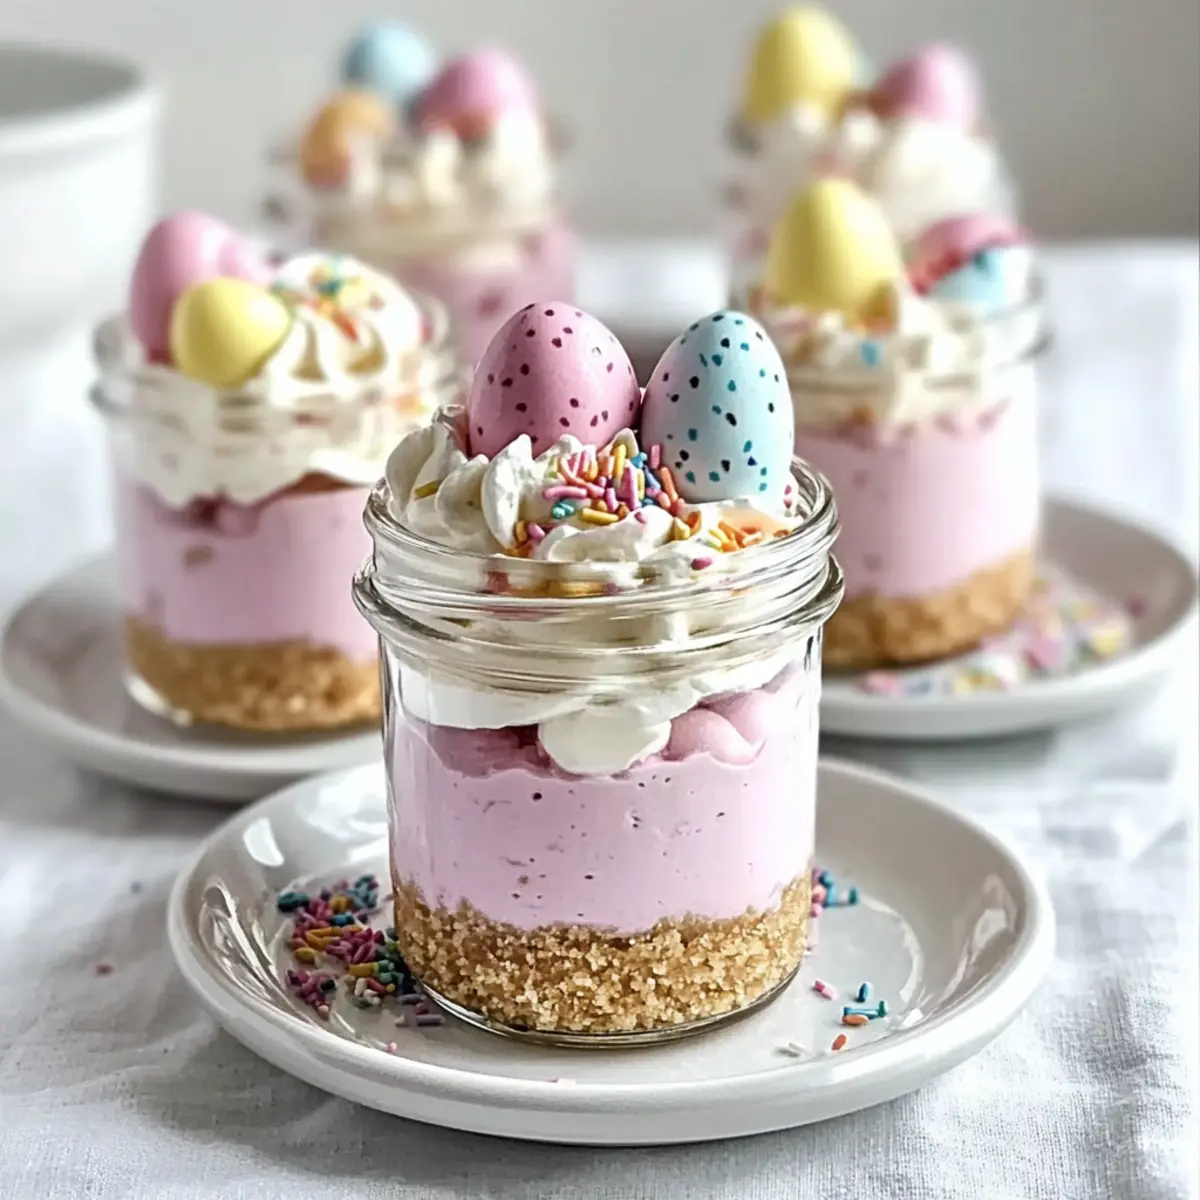
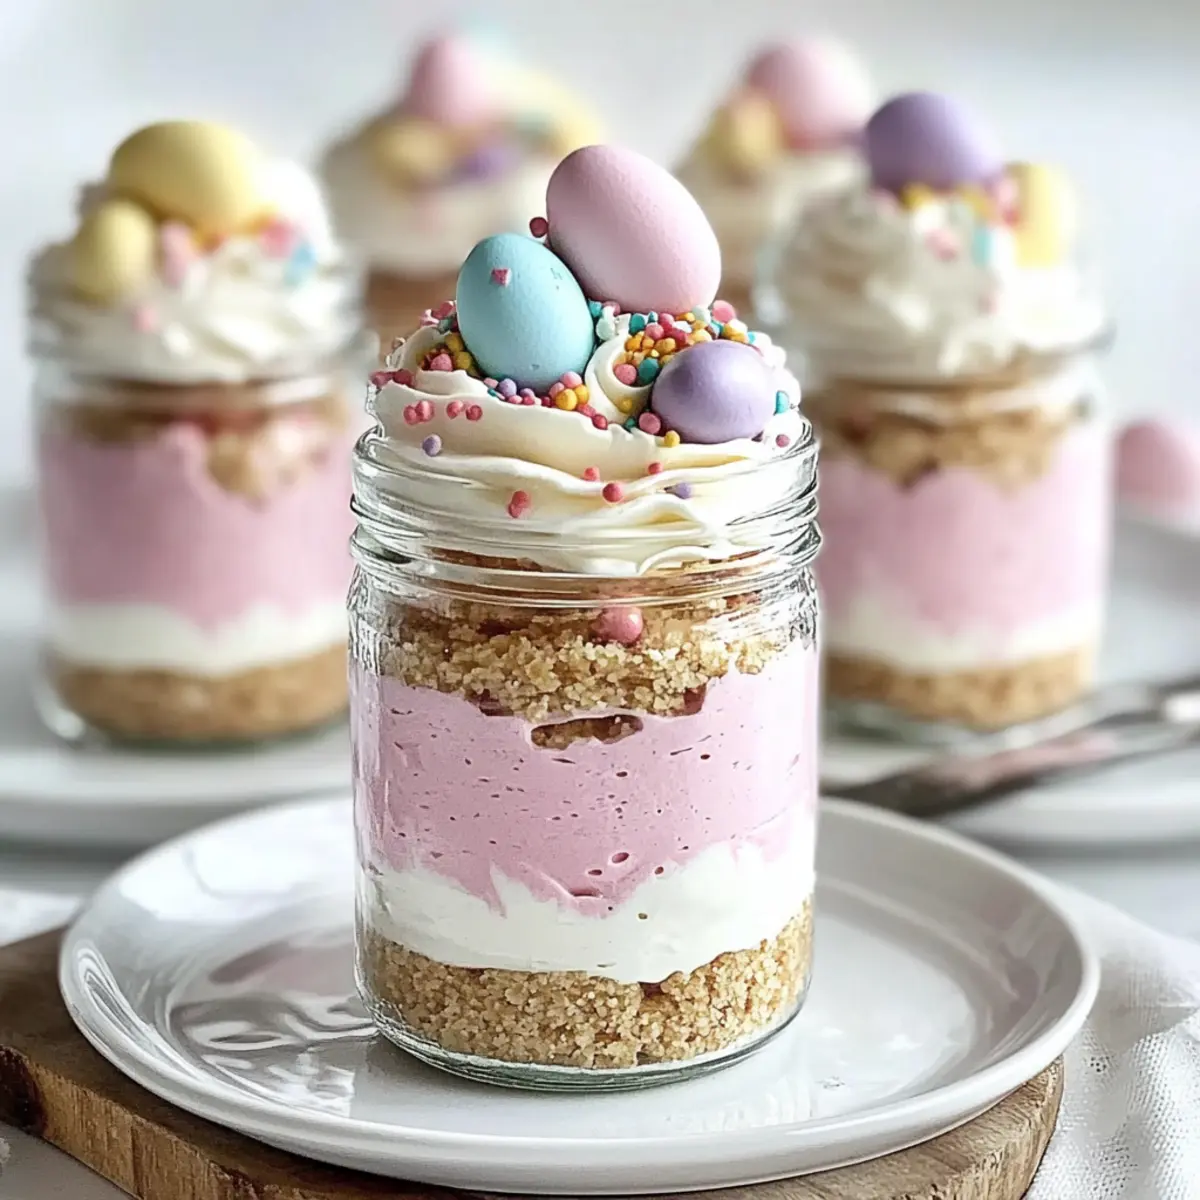
As I whisked together the silky cream cheese and sugar, a delightful surprise blossomed in my kitchen—Easter Egg Cheesecake Jars! This no-bake dessert is not just a treat for the taste buds; it’s a feast for the eyes, too. With layers of pastel-colored cheesecake nestled atop a buttery graham cracker crust, these jars embody the spirit of spring and elevate any gathering with effortless elegance. The best part? They come together in a flash, allowing me to reclaim precious moments on busy holidays. With customizable options to suit every palate, it’s no wonder these Egg Cheesecake Jars have become a beloved staple in my Easter celebrations. Curious to discover how to craft your own festive jars? Let’s dive in!
Why are Egg Cheesecake Jars a must-try?
Festive and Fun: These Egg Cheesecake Jars are not only delicious but also bring a playful touch to your Easter celebrations. No-Bake Delight: Whip them up easily without turning on the oven, making clean-up a breeze. Customizable Layers: Personalize with flavors or colors that suit your taste, like lemon zest or vibrant pink with food coloring. Perfect for Gatherings: Their charming presentation makes them a standout centerpiece for brunch or family gatherings. Plus, for something equally delightful, check out these Brownie Cheesecake Bars or the Creamy No-Bake Nutella Cheesecake for a backdrop of indulgence. Prepare to impress your guests with these delightful treats!
Egg Cheesecake Jars Ingredients
• Create your own delightful no-bake dessert with these essential ingredients!
For the Crust
- Graham Cracker Crumbs – Adds sweetness and structure to the crust. Substitution: Crushed Oreos or shortbread cookies for a unique flavor.
- Granulated Sugar – Sweetens the crust. No direct substitutions.
- Unsalted Butter – Binds the crust together and adds richness. Use salted butter if unsalted is unavailable.
For the Cheesecake Filling
- Cream Cheese – Forms the base of the cheesecake filling; provides creaminess. Ensure it’s softened for easy mixing.
- Powdered Sugar – Sweetens the cheesecake filling and gives a smooth texture. May be substituted with a sugar alternative as needed.
- Vanilla Extract – Enhances flavors in the cheesecake. No direct substitutions.
- Heavy Cream – Key for the light and fluffy texture of the cheesecake. Can substitute with whipped topping for a quicker option.
- Pink Gel Food Coloring or Freeze-Dried Strawberry Powder – Adds a festive pink color to the cheesecake. Optional; can skip for an all-white version.
For the Topping
- Whipped Cream – Used for topping; adds a light finish. Make your own or use store-bought.
- Pastel Candy Eggs – Decorative topping that makes the jars festive. Substitute with chocolate eggs or other decorations as desired.
- Rainbow or Pastel Sprinkles – For added color and fun on top. Alternatives include coconut flakes or nuts for a different texture.
Step‑by‑Step Instructions for Egg Cheesecake Jars
Step 1: Prepare the Crust
Start by preemptively melting 4 tablespoons of unsalted butter. In a mixing bowl, combine 1 cup of graham cracker crumbs and 2 tablespoons of granulated sugar. Pour in the melted butter and mix until the texture resembles damp sand. Using a spoon or your fingers, press this mixture firmly into the bottom of individual jars to form a sturdy crust.
Step 2: Make Cheesecake Filling
In a large bowl, beat 8 ounces of softened cream cheese with an electric mixer on medium speed until smooth and creamy, about 2 minutes. Gradually add in ½ cup of powdered sugar and 1 teaspoon of vanilla extract, mixing until well combined and airy. You’ll know it’s ready when it’s velvety and free of lumps, giving the filling a light texture.
Step 3: Whip Cream
In a separate bowl, pour in 1 cup of heavy cream. Using a whisk or electric mixer, whip the cream on high speed until stiff peaks form, which should take about 3–5 minutes. This step is crucial for achieving that fluffy cheesecake texture in your Egg Cheesecake Jars, so keep an eye on it to avoid over-whipping.
Step 4: Divide and Color
Once your cream is whipped, gently fold the fluffy cream into the cream cheese mixture until just combined. Next, divide the filling into two equal bowls. In one bowl, add pink gel food coloring or freeze-dried strawberry powder, stirring gently until uniformly tinted to achieve a lovely pastel hue.
Step 5: Layer Cheesecake
Grab your prepared jars and start layering! Use a piping bag or a spoon to carefully pipe or spoon a layer of the pink cheesecake filling over the crust in each jar. Then, follow up with the white cheesecake filling, layering it neatly on top of the pink. Aim for smooth, even layers to create a beautiful presentation.
Step 6: Chill
Once layered, cover the jars with plastic wrap and place them in the refrigerator. Chill for at least 2 hours, which allows the cheesecake to set perfectly. As the filling firms up, it will enhance the flavors and make the layers more defined, resulting in delightful Egg Cheesecake Jars.
Step 7: Top and Serve
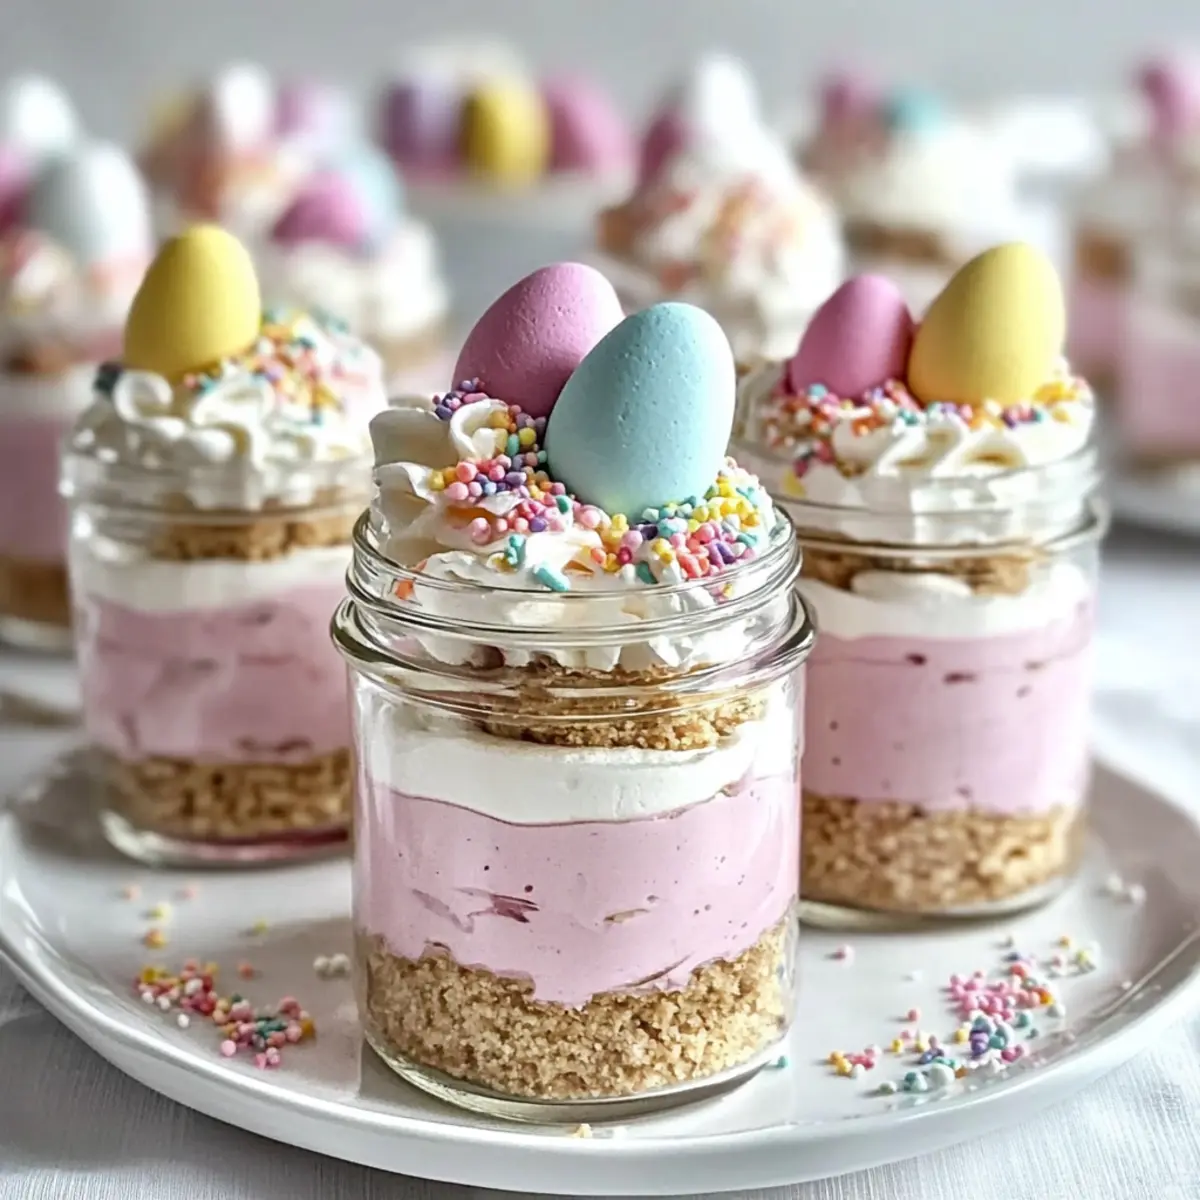
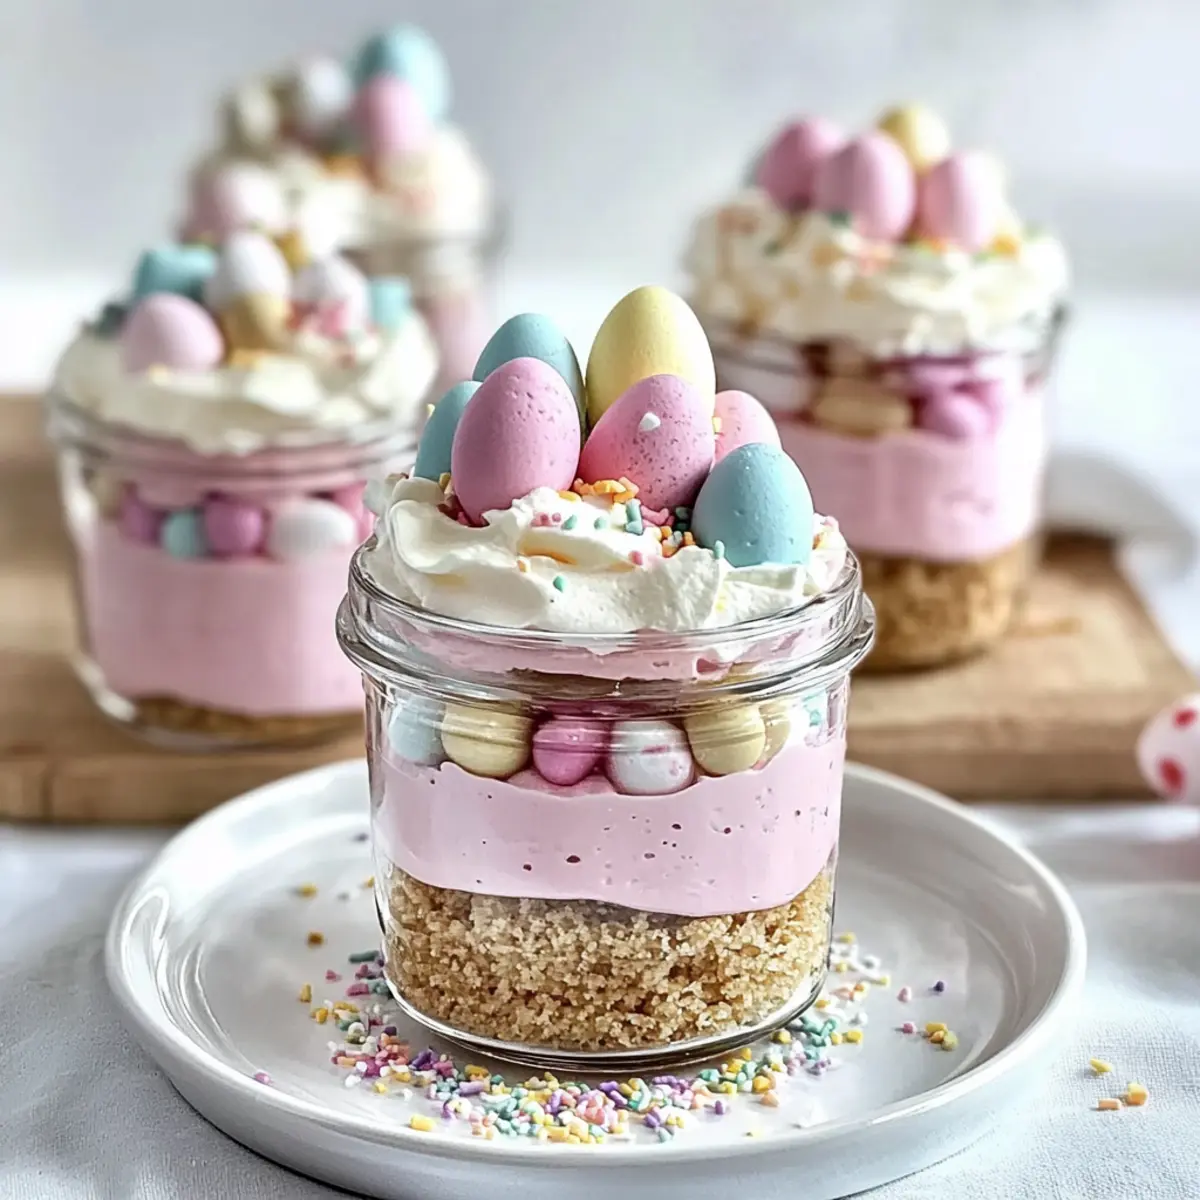
When ready to serve, remove the jars from the fridge. Pipe a generous swirl of whipped cream on top of each cheesecake jar, then decorate with pastel candy eggs and colorful sprinkles. This festive touch will make your Egg Cheesecake Jars look as delightful as they taste—perfect for any Easter gathering!
Expert Tips for Egg Cheesecake Jars
-
Cream Cheese Care: Ensure your cream cheese is at room temperature; this prevents lumps and guarantees a silky filling.
-
Peak Performance: Whip heavy cream until stiff peaks form but monitor closely; over-whipped cream can turn grainy.
-
Layering Love: Use a piping bag for more precise layering. It not only enhances the visual appeal but also creates an even balance between flavors.
-
Chill Wisely: Don’t rush the chilling process! Allow at least 2 hours for the Egg Cheesecake Jars to set properly for optimal texture and taste.
-
Go Creative: Feel free to experiment with flavors by adding lemon zest or different extracts. This customization allows everyone to enjoy their uniquely flavored jars!
What to Serve with Easter Egg Cheesecake Jars?
Looking to create a memorable feast alongside your charming cheesecake jars?
-
Fresh Berries: The tartness of fresh strawberries and blueberries contrasts beautifully with the sweet, creamy cheesecake, adding a pop of color.
-
Minted Fruit Salad: A refreshing mix of seasonal fruits with a hint of mint brightens up the table and complements the dessert’s richness.
-
Spring Green Salad: Crisp greens tossed with a light vinaigrette cuts through the cheesecake’s sweetness, enhancing every bite of your festive jars.
-
Chocolate-Covered Strawberries: Indulgent chocolate pairs perfectly with the creamy cheesecake, creating a decadent dessert experience that feels extra special.
-
Sparkling Lemonade: This effervescent drink adds a zesty touch that enlivens your palate and refreshes the senses against the sweetness of the cheesecake jars.
-
Mini Carrot Cakes: These delightful little cakes resonate with the season’s spirit and offer another layer of flavor that guests will love.
-
Pistachio Crumble Cookies: Nutty and buttery, these cookies add texture and flavor to your spread, nicely complementing the creaminess of the cheesecake.
-
Elderflower Spritz: Light and floral, this drink elevates the festive spirit and acts as a fresh counterpoint to the sweet dessert.
Variations & Substitutions for Egg Cheesecake Jars
Customize your Egg Cheesecake Jars with these delightful options that will tantalize your taste buds and elevate your festive experience!
-
Flavor Boost: Add lemon zest or orange zest for a refreshing citrus twist in your cheesecake layers. The bright notes will bring a new level of zing to your jars!
-
Dairy-Free: Substitute cream cheese with a dairy-free alternative such as almond or cashew cream. This swap keeps it creamy while catering to lactose sensitivities, without sacrificing taste.
-
Gluten-Free: Use gluten-free graham crackers for the crust, or try almond flour mixed with melted butter for a nutty flavor that’s sure to delight all guests.
-
Chocolatey Delight: Mix in cocoa powder or melted chocolate into the cheesecake filling for a rich chocolate version. This decadent twist makes for an indulgent treat!
-
Fruit Flavored: Incorporate pureed raspberries or blueberries into the cheesecake mixture for natural sweetness and an eye-catching swirl of color. It’s like spring in every bite!
-
Spicy Touch: Add a dash of cinnamon or nutmeg to the crust for a warm, spiced flavor that beautifully complements the sweet cheesecake.
-
Low Sugar: Replace powdered sugar with a sugar substitute like erythritol or monk fruit to create a guilt-free dessert that everyone can enjoy. Enjoy the sweet taste without the calories!
-
Vegan Option: Use silken tofu blended with coconut cream as a cream cheese substitute. This variation will keep the cheesecake texture while making it entirely plant-based.
These options will ensure every potential guest has a version to love! Want more inspiration? Be sure to check out the Apple Crumble Cheesecake and Apple Cider Cheesecake for even more customizable deliciousness!
How to Store and Freeze Egg Cheesecake Jars
Fridge: Store your Egg Cheesecake Jars in the refrigerator for up to 3 days. Cover them with plastic wrap or a lid to maintain freshness and prevent odors from affecting the dessert.
Freezer: While these jars are best enjoyed fresh, you can freeze them for up to 2 months. Wrap each jar tightly in plastic wrap and aluminum foil to prevent freezer burn.
Thawing: To enjoy frozen Egg Cheesecake Jars, transfer them to the fridge overnight. Avoid microwaving as it can affect the texture of the cheesecake.
Serving Tip: Remember to add whipped cream and any decorative toppings just before serving to keep them looking fresh and delightful!
Make Ahead Options
These Egg Cheesecake Jars are a fantastic choice for meal prep, allowing you to save valuable time during the busy holiday season! You can prepare the cheesecake filling and graham cracker crust up to 24 hours in advance; simply layer the crust in the jars and refrigerate them. For optimal quality, keep the jars covered to prevent drying out. When you’re ready to serve, fill the jars with the cheesecake mixture, chill for at least 2 hours, and top with whipped cream, pastel candy eggs, and sprinkles just before serving. This way, you’ll still enjoy those delicious, fresh flavors without the last-minute rush!
Egg Cheesecake Jars Recipe FAQs
What type of cream cheese should I use?
I recommend using full-fat cream cheese for the best creamy texture and flavor. Make sure it’s softened to room temperature before mixing, as this helps achieve a smooth and lump-free cheesecake filling.
How should I store Egg Cheesecake Jars?
Store your Egg Cheesecake Jars in the refrigerator for up to 3 days. Cover them with plastic wrap or a tight-fitting lid to keep them fresh and protect against any odors. This way, they will stay delicious and ready to serve!
Can I freeze Egg Cheesecake Jars?
Absolutely! You can freeze them for up to 2 months. Just wrap each jar tightly in plastic wrap and aluminum foil to prevent freezer burn. When you’re ready to enjoy them, thaw your cheesecake jars in the fridge overnight instead of using a microwave, as this preserves the texture.
What should I do if my whipped cream doesn’t form stiff peaks?
If your whipped cream isn’t forming stiff peaks, it may be due to under-whipping. Keep whipping on high speed, but be careful not to over-whip it into butter. If you’re concerned, adding a tablespoon of cornstarch can help stabilize your whipped cream and make achieving stiff peaks easier!
Can I make these jars gluten-free?
Yes, you can! Simply substitute graham cracker crumbs with gluten-free alternatives like crushed gluten-free cookies, or use almond flour mixed with a bit of sugar for the crust. Plus, check your powdered sugar and vanilla extract to ensure they are gluten-free as well.
What decorations can I use on top instead of candy eggs?
For a unique twist, you might try using chocolate shavings, fresh berries, or even edible flowers to decorate your Egg Cheesecake Jars. Coconut flakes can also add a delightful texture, while colorful sprinkles bring that festive flair. Get creative with whatever you have on hand!
Egg Cheesecake Jars That Make Easter Extra Special
Ingredients
Equipment
Method
- Start by preemptively melting 4 tablespoons of unsalted butter. In a mixing bowl, combine 1 cup of graham cracker crumbs and 2 tablespoons of granulated sugar. Pour in the melted butter and mix until the texture resembles damp sand. Press this mixture firmly into the bottom of individual jars to form a sturdy crust.
- In a large bowl, beat 8 ounces of softened cream cheese with an electric mixer on medium speed until smooth and creamy, about 2 minutes. Gradually add in ½ cup of powdered sugar and 1 teaspoon of vanilla extract, mixing until well combined and airy.
- In a separate bowl, pour in 1 cup of heavy cream. Using a whisk or electric mixer, whip the cream on high speed until stiff peaks form, which should take about 3–5 minutes.
- Once your cream is whipped, gently fold the fluffy cream into the cream cheese mixture until just combined. Divide the filling into two equal bowls. In one bowl, add pink gel food coloring or freeze-dried strawberry powder, stirring gently until uniformly tinted.
- Grab your prepared jars and start layering! Use a piping bag or a spoon to carefully pipe or spoon a layer of the pink cheesecake filling over the crust. Follow up with the white cheesecake filling, layering it neatly on top.
- Cover the jars with plastic wrap and place them in the refrigerator. Chill for at least 2 hours.
- When ready to serve, remove the jars from the fridge. Pipe a swirl of whipped cream on top, then decorate with pastel candy eggs and colorful sprinkles.
Leave a Reply