
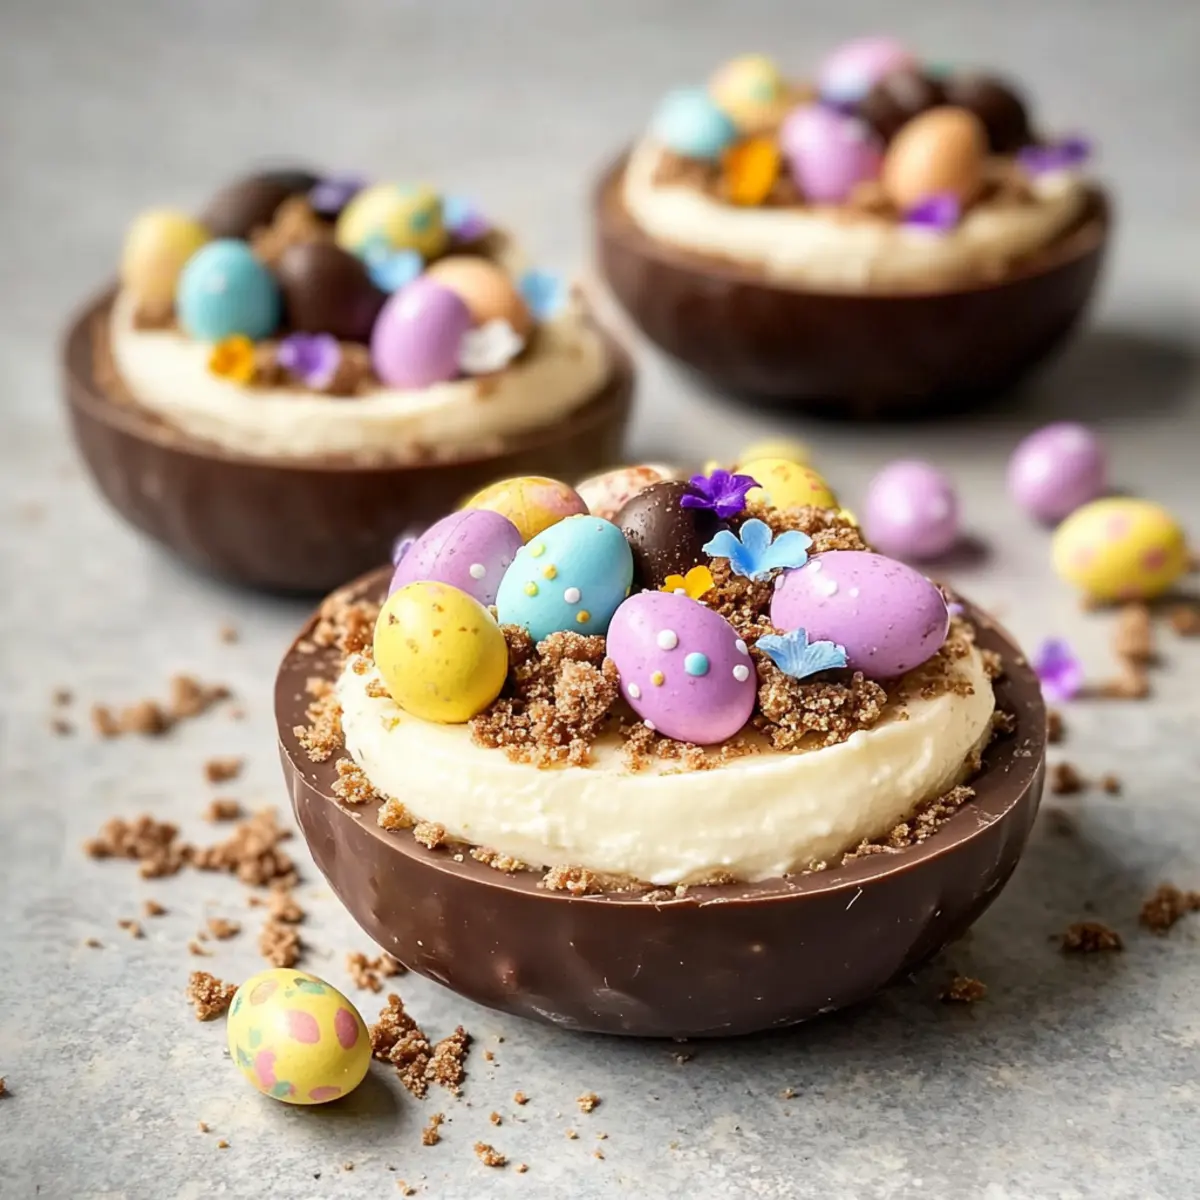
With the soft blush of spring blooming around us, a delightful twist on tradition beckons—my No-Bake Easter Egg Cheesecake! This playful dessert is crafted inside crunchy chocolate shells, creating a vibrant centerpiece that’s sure to dazzle at your holiday table. Not only is this recipe a crowd-pleaser for both kids and adults alike, but its no-bake nature means you can whip it up without the fuss of baking. Imagine effortlessly assembling a creamy, dreamy cheesecake filling that stays light and airy while hiding within those delectable chocolate eggs. Curiosity piqued yet? Let’s hop right into the full recipe and bring a sprinkle of excitement to your Easter festivities!
Why is This Cheesecake So Special?
No-Bake Convenience: Don’t worry about turning on that oven—this delightful cheesecake comes together with ease, making it perfect for any busy kitchen.
Creative Presentation: Serving cheesecake in hollow chocolate eggs adds a playful twist, making your dessert not just tasty but stunning to look at!
Crowd-pleaser Appeal: Loved by both kids and adults, it’s a guaranteed hit at Easter gatherings. Imagine the smiles when they crack open those chocolate shells!
Versatile Ingredients: You can customize your filling or toppings easily—think of swirling in some Nutella or adding lemon zest for a fresh kick.
Quick Assembly: With minimal prep time, you can focus on enjoying the holiday festivities rather than being stuck in the kitchen. Enjoy this seasonal treat alongside my other favorites like Apple Cider Cheesecake or Brownie Cheesecake Bars.
Easter Egg Cheesecake Ingredients
• For the Chocolate Shells
- Hollow Chocolate Eggs – Choose high-quality ones to ensure a satisfying crunch and avoid cracking.
• For the Crust
- Crushed Graham Crackers/Digestive Biscuits – These create a buttery base that’s easy to mold; opt for gluten-free crumbs for a dietary twist.
- Melted Butter – Helps bind the crumbs and provides a rich flavor that complements the cheesecake.
• For the Filling
- Full Fat Cream Cheese (Softened) – Provides the creamy base for the filling; make sure it’s at room temperature for a smooth texture.
- Powdered Sugar – Sweetens the filling effortlessly, ensuring a delightful sweetness without graininess.
- Cold Heavy Cream – Whipped to stiff peaks adds airiness to the filling; don’t overwhip to avoid a grainy texture.
- Vanilla Extract – Infuses the cheesecake with a warm, aromatic depth that elevates the flavor.
• For the Toppings (Optional)
- Melted Chocolate – Perfect for drizzling on top, this enhances both look and flavor.
- Mini Chocolate Eggs – Use as decorative toppings for a festive touch and fun color.
- Extra Cookie Crumbs – Sprinkled on top for added texture and an appealing finish.
This Easter Egg Cheesecake will surely bring joy to your Easter celebrations!
Step‑by‑Step Instructions for Easter Egg Cheesecake
Step 1: Prepare the Chocolate Shells
Using a warm knife, carefully slice the hollow chocolate eggs in half to create two delicate bowls. Be gentle to avoid cracking the shells, and lay them cut-side up on a serving tray. This step forms the edible cups that will hold your delightful Easter Egg Cheesecake filling.
Step 2: Make the Crust
In a mixing bowl, combine the crushed graham crackers with the melted butter until the mixture resembles damp sand. Press this crumb mixture firmly into the base of each chocolate shell to create a sturdy crust. Chill the egg halves in the refrigerator for about 15 minutes, allowing them to firm up before adding the filling.
Step 3: Prepare the Cheesecake Filling
In a separate bowl, beat the softened cream cheese with the powdered sugar and vanilla extract using an electric mixer until the mixture is smooth and creamy, about 2-3 minutes. This forms the base of your luscious Easter Egg Cheesecake filling. Scrape down the sides of the bowl to ensure everything is well combined.
Step 4: Whip the Cream
In another chilled bowl, whip the cold heavy cream until stiff peaks form, taking care not to overwhip. This should take around 3-5 minutes on high speed. The whipped cream adds a light, airy texture to your cheesecake filling, enhancing its overall creaminess. Be gentle as you fold it in to keep that delightful fluffiness.
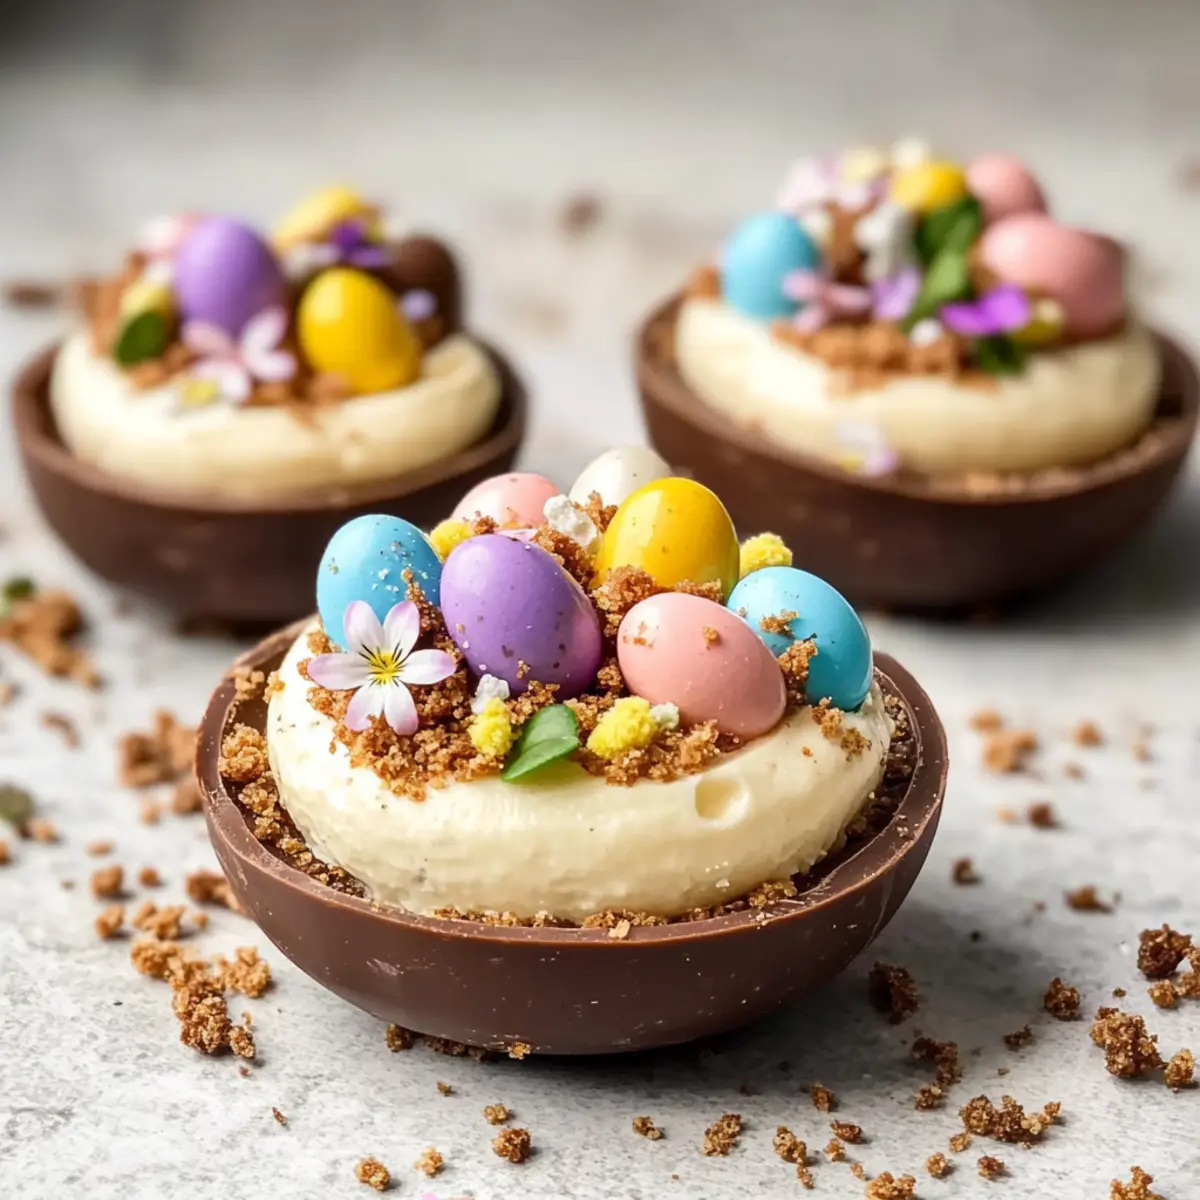
Step 5: Assemble the Cheesecake
Spoon generous amounts of the cheesecake filling into each chilled chocolate egg half, smoothing the tops with a small spatula or your spoon. Fill each shell just to the top for a beautifully rounded look. This layer of creamy filling transforms your chocolate shells into an irresistible Easter Egg Cheesecake.
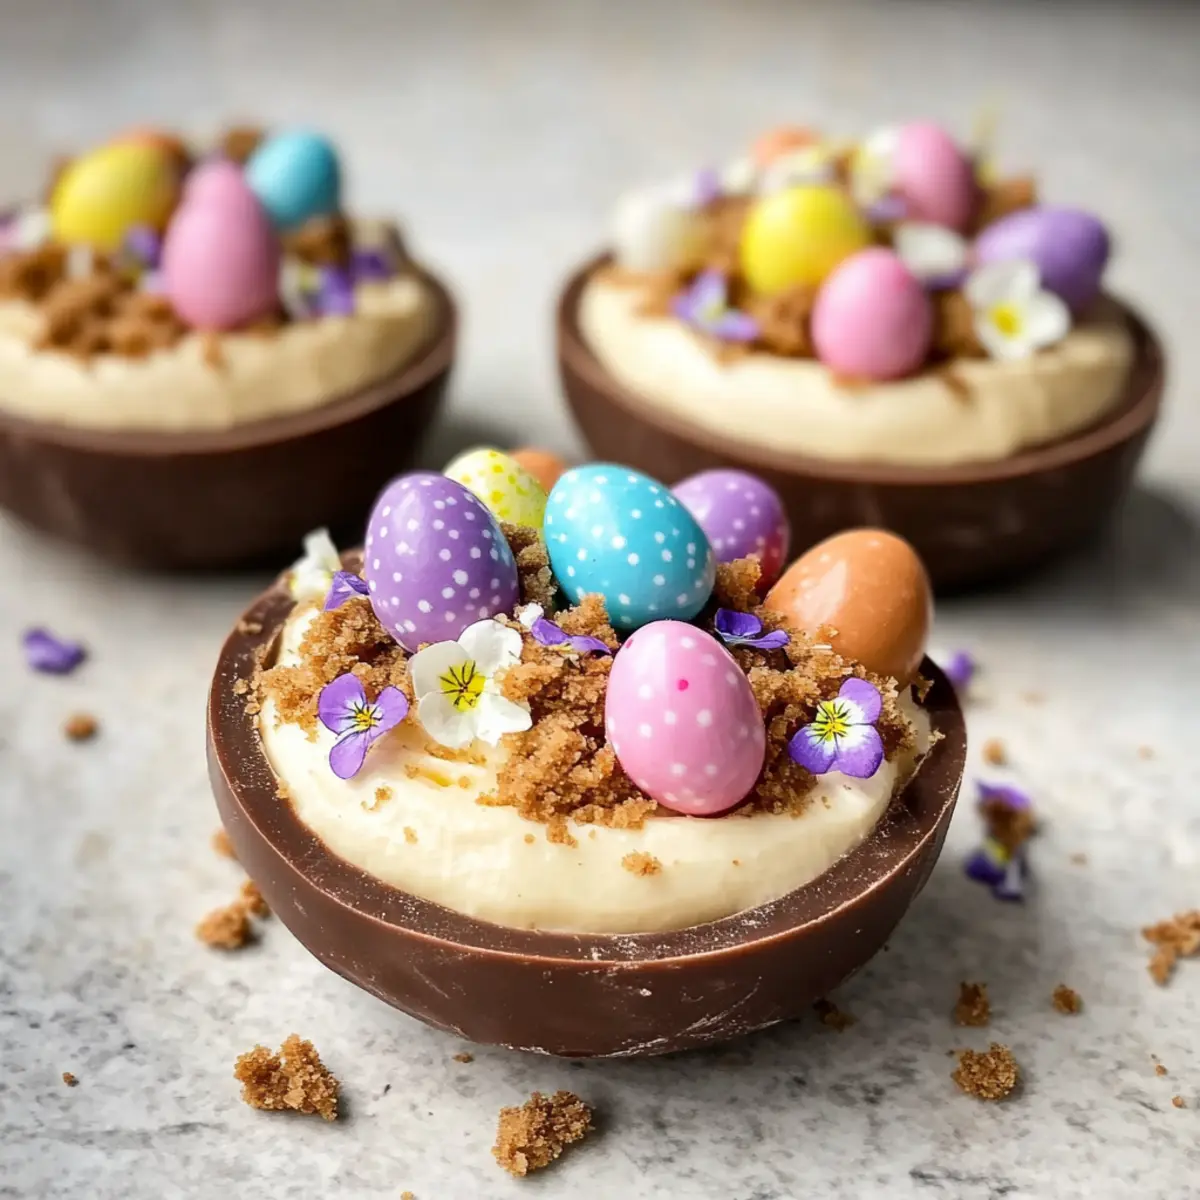
Step 6: Add Your Toppings
Once the filling is evenly distributed, add your desired toppings. Drizzle melted chocolate over the filled shells, sprinkle extra cookie crumbs, or place mini chocolate eggs for a festive touch. These additions not only enhance the flavor but also make your Easter Egg Cheesecake visually striking.
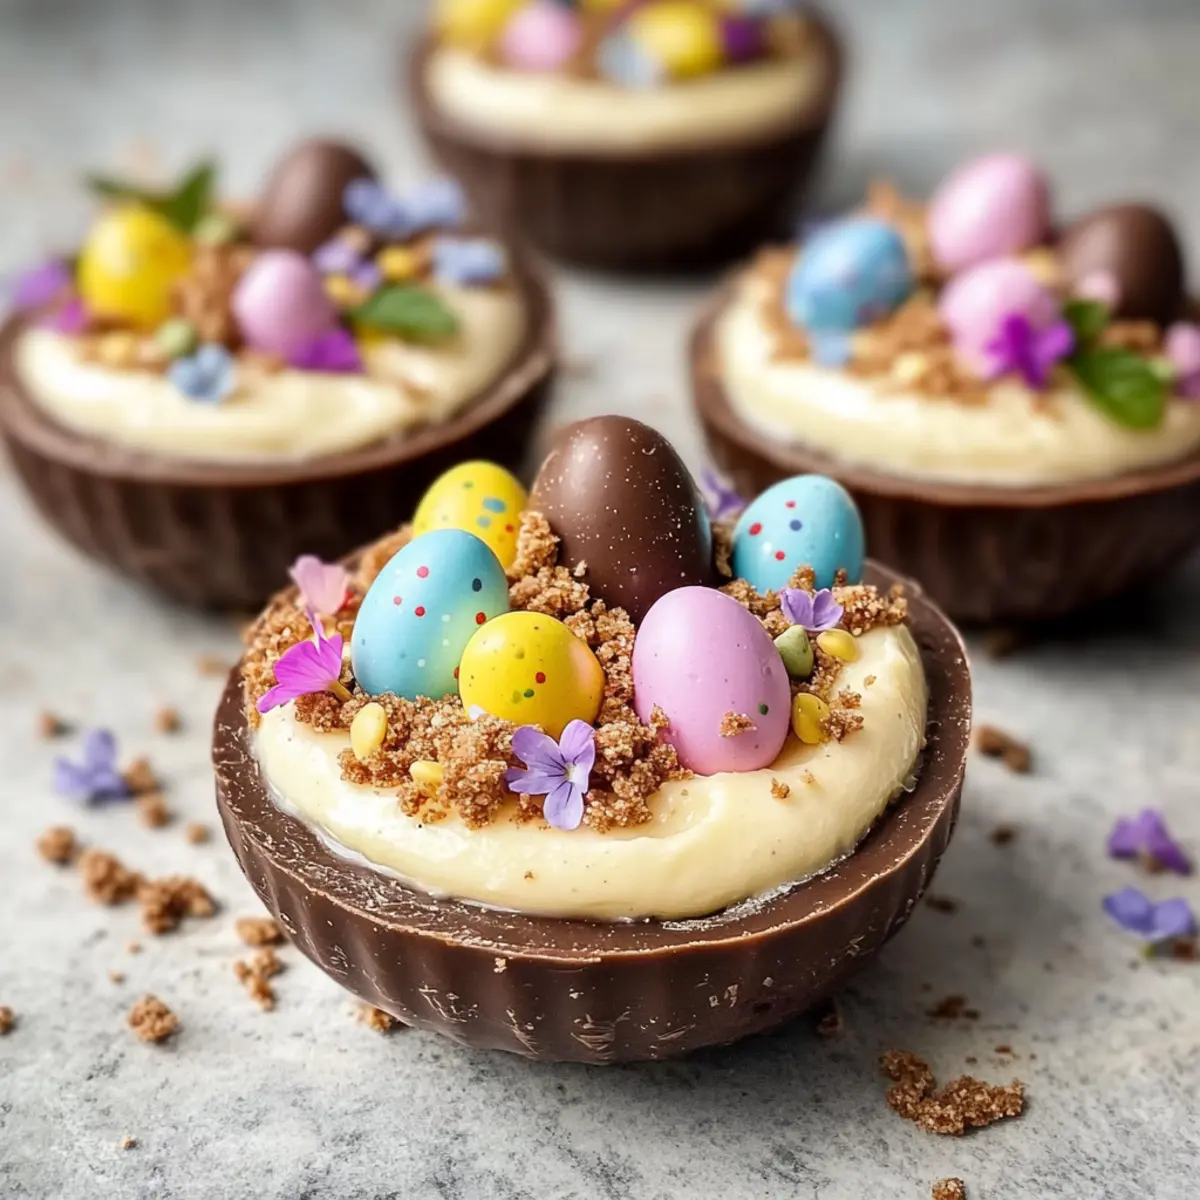
Step 7: Chill and Serve
Refrigerate the assembled Easter Egg Cheesecake for at least 2 hours, allowing the filling to set beautifully. This cooling time ensures that each bite is perfectly creamy while the chocolate shells remain crisp. When ready to serve, present your delightful creations on a platter and watch them disappear!
Easter Egg Cheesecake Variations
Get ready to personalize your dessert and make this Easter Egg Cheesecake uniquely yours with delightful twists!
-
Chocolate Swirl: Swirl melted chocolate into the filling for an indulgent cocoa flavor. It adds a rich depth that will make every bite even more decadent.
-
Nutella Delight: Substitute cream cheese with Nutella for a hazelnut-infused cheesecake. It’ll transform your treat into a heavenly experience—perfect for chocolate lovers!
-
Zesty Lemon: Add lemon zest to the filling for a refreshing springtime twist. This hint of citrus brightens the cheesecake and complements the chocolate beautifully.
-
Gluten-Free Base: Use gluten-free cookie crumbs in place of regular graham crackers for a gluten-free cheesecakes option. Everyone can enjoy this festive dessert without missing out!
-
Candy Crush: Top your cheesecake with an assortment of candies like crushed caramel chips or colorful sprinkles. This not only enhances appearance but adds texture for a fun surprise.
-
Berry Bliss: Incorporate fresh raspberries or strawberries into the cream cheese filling for a fruity twist. The added tartness pairs wonderfully with the sweet chocolate shells.
-
Peanut Butter Burst: Mix in some creamy peanut butter with the cheesecake filling for a nutty flavor explosion. It’s a delightful combination that will impress family and friends.
-
Spiced Up: Infuse the filling with a touch of cinnamon or nutmeg for subtle warmth. These spices add a cozy feel, perfect for Easter gatherings.
Feel free to explore these variations as you create your Easter Egg Cheesecake and perhaps even check out my favorite Fried Strawberry Cheesecake for more inspiration!
What to Serve with No-Bake Easter Egg Cheesecake?
Indulging in a festive dessert can transform any meal into a celebration, so let’s elevate your Easter table with the perfect pairings.
-
Fresh Berries: The tartness of strawberries, raspberries, or blueberries balances the sweetness of the cheesecake, adding a burst of color and freshness.
-
Lightly Whipped Cream: A dollop of whipped cream enhances the creamy texture, making every bite even more luxurious and delightful.
-
Chocolate Dipped Strawberries: The rich, juicy strawberries add a complementary sweetness and a touch of decadence, enhancing the chocolate theme beautifully.
-
Spring Salad: A vibrant salad with mixed greens, citrus segments, and a light vinaigrette offers a refreshing contrast to the rich cheesecake.
-
Coffee or Espresso: A warm mug of coffee or espresso pairs wonderfully, cutting through the richness while enhancing the dessert’s flavors.
-
Mint Infused Water: Serve refreshing mint water to cleanse the palate. The herbaceous notes will brighten your meal and provide a refreshing zing.
-
Carrot Cake Slices: For an additional dessert, carrot cake captures spring flavors and spices, creating a delightful dessert tableau that complements the cheesecake.
-
Champagne or Sparkling Wine: Celebratory bubbles elevate the occasion. Their effervescence lightens up the meal, adding a festive spirit to your gathering.
-
Chocolate Easter Bunnies: For a whimsical touch, place chocolate bunnies alongside the cheesecake for an adorable finish that adds to the holiday atmosphere!
Expert Tips for Easter Egg Cheesecake
-
Softened Cream Cheese: Ensure your cream cheese is at room temperature to prevent lumps; this step is crucial for a smooth filling in your Easter Egg Cheesecake.
-
Gentle Handling: When splitting the chocolate eggs, use a warm knife and apply gentle pressure to avoid cracking those delicate shells during preparation.
-
Whip Carefully: Whip your heavy cream just until stiff peaks form; overwhipping can lead to a grainy texture, ruining the lightness of your cheesecake filling.
-
Pre-Chill Base: Chill the crumb crust in the chocolate eggs for a firm structure before adding the filling—this will help maintain the shape and texture of your Easter Egg Cheesecake.
-
Serve at Room Temperature: Let the cheesecake sit out for a few minutes before serving; this allows the filling to soften slightly for a creamier experience.
Make Ahead Options
These delightful Easter Egg Cheesecakes are perfect for busy home cooks looking to save time during the holiday rush! You can prepare the chocolate shells and crust up to 24 hours in advance. Simply make the crust, press it into the chocolate eggs, and refrigerate them to maintain structure. For the filling, you can mix the cream cheese and sugar up to 3 days ahead and store it in an airtight container in the fridge. When you’re ready to serve, just whip the heavy cream and fold it into the cheesecake mixture before spooning it into the chilled chocolate shells. This way, you’ll ensure each bite of your Easter Egg Cheesecake is just as delicious!
How to Store and Freeze Easter Egg Cheesecake
Fridge: Store in an airtight container in the refrigerator for up to 3 days. This keeps the cheesecake fresh and prevents it from absorbing other odors.
Freezer: For longer storage, you can freeze the assembled Easter Egg Cheesecake for up to 1 month. Wrap each chocolate shell individually in plastic wrap, then place them in a heavy-duty freezer bag.
Thawing: To enjoy, thaw the cheesecake in the fridge overnight before serving. This will help maintain the texture of the creamy filling and crunchy shell.
Reheating: There is no need to reheat this no-bake Easter Egg Cheesecake; serve it cold for the best flavor and texture!
Easter Egg Cheesecake Recipe FAQs
What is the best way to select hollow chocolate eggs?
Absolutely! When choosing hollow chocolate eggs for your Easter Egg Cheesecake, look for high-quality brands that use real chocolate. Check the eggs for any visible cracks or imperfections, as these can lead to breakage during assembly. Ideally, select eggs that are sturdy enough to hold the filling without cracking but still have that satisfying crunch you want when you bite into them.
How should I store the Easter Egg Cheesecake?
You’ll want to keep your Easter Egg Cheesecake in an airtight container in the refrigerator for up to 3 days. Make sure the cheesecake is fully chilled before sealing it to preserve its lovely texture. If you notice any dark spots or unpleasant odors, it’s best to discard it. Keeping it well-contained will help maintain its freshness and delicious flavor!
Can I freeze leftover Easter Egg Cheesecake?
Yes, you can freeze your Easter Egg Cheesecake for up to 1 month. To do this, wrap each filled chocolate shell tightly in plastic wrap, ensuring no air can get in, which helps prevent freezer burn. Place the wrapped eggs in a heavy-duty freezer bag. To enjoy later, simply transfer them to the fridge for a defrosting overnight. This way, your cheesecake retains its delightful texture and flavor!
What if my heavy cream doesn’t whip to stiff peaks?
Very! If your heavy cream isn’t whipping up to stiff peaks, it might be too warm or not cold enough. It’s best to start with chilled heavy cream and a cold mixing bowl. If it’s not whipping, try chilling everything for 10-15 minutes and re-whipping. Be careful not to overwhip, as doing so can turn the cream grainy. If all else fails, use store-bought whipped cream as a topping alternative!
Are there any dietary considerations for this recipe?
Definitely! For those with gluten sensitivities, you can easily substitute regular crushed graham crackers with gluten-free options. Additionally, if you’re concerned about allergies, check the labels on the chocolate eggs and other ingredients to avoid any potential allergens. If you’re making this for little ones or pets at home, keep in mind that chocolate can be harmful to pets, so it’s best to keep them at bay from this playful dessert!
Creamy Easter Egg Cheesecake in Crunchy Chocolate Shells
Ingredients
Equipment
Method
- Step 1: Prepare the Chocolate Shells. Carefully slice the hollow chocolate eggs in half to create bowls and lay them cut-side up on a serving tray.
- Step 2: Make the Crust. Combine crushed graham crackers with melted butter and press into the base of each chocolate shell. Chill for 15 minutes.
- Step 3: Prepare the Cheesecake Filling. Beat softened cream cheese with powdered sugar and vanilla until smooth, about 2-3 minutes.
- Step 4: Whip the Cream. In a chilled bowl, whip cold heavy cream until stiff peaks form (3-5 minutes). Fold into cheesecake mixture.
- Step 5: Assemble the Cheesecake. Spoon the filling into each chilled chocolate egg half, smoothing the tops.
- Step 6: Add Your Toppings. Drizzle melted chocolate, sprinkle cookie crumbs, or place mini chocolate eggs on top.
- Step 7: Chill and Serve. Refrigerate for at least 2 hours before serving.
Leave a Reply