
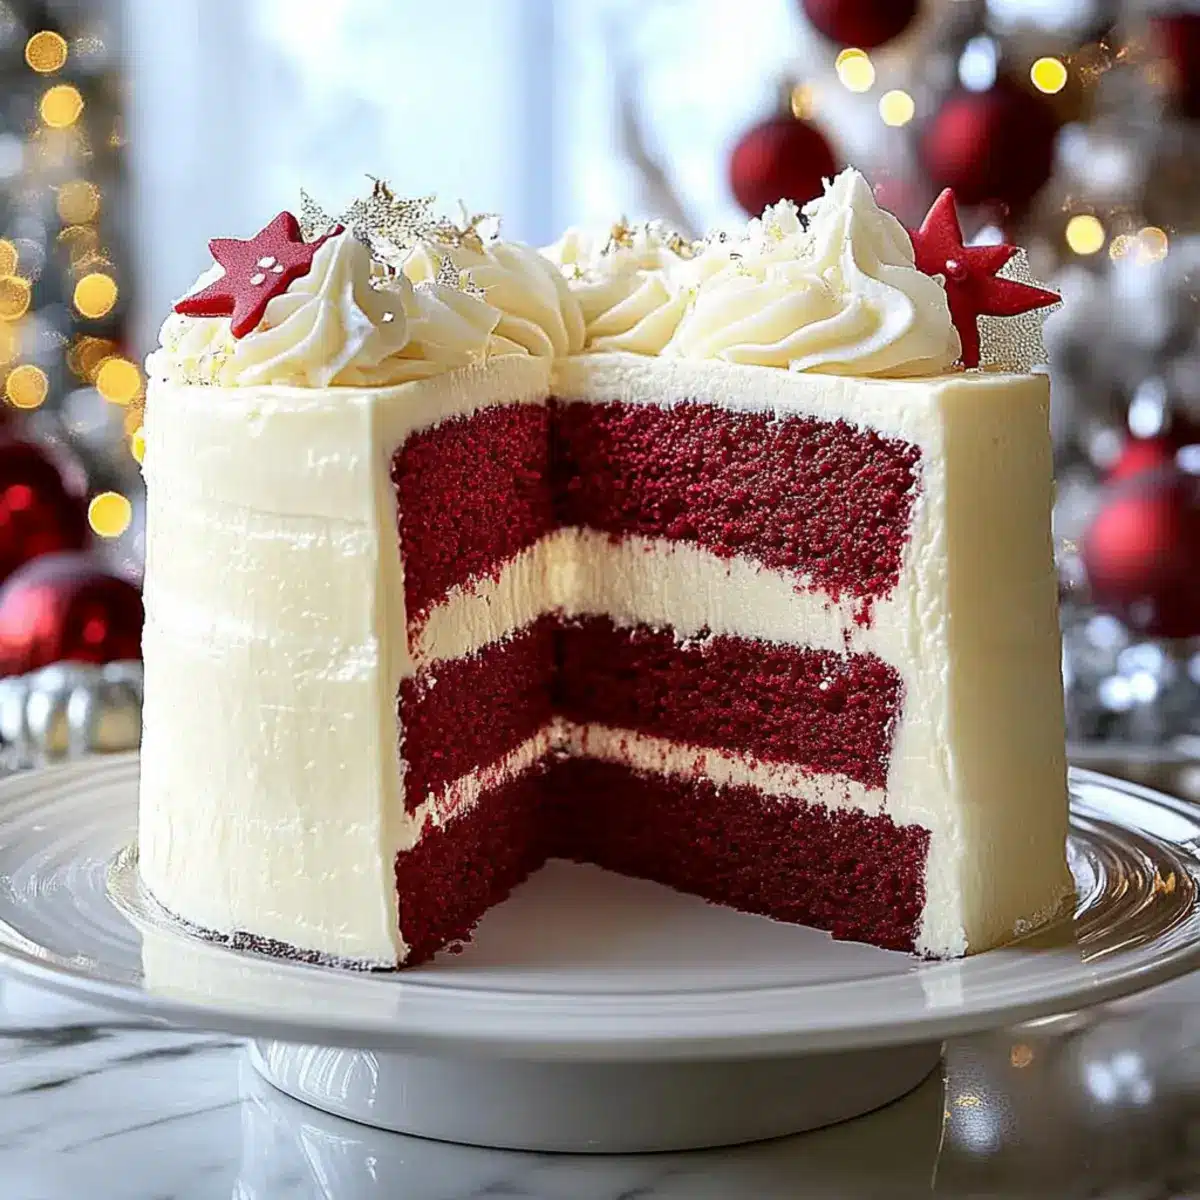
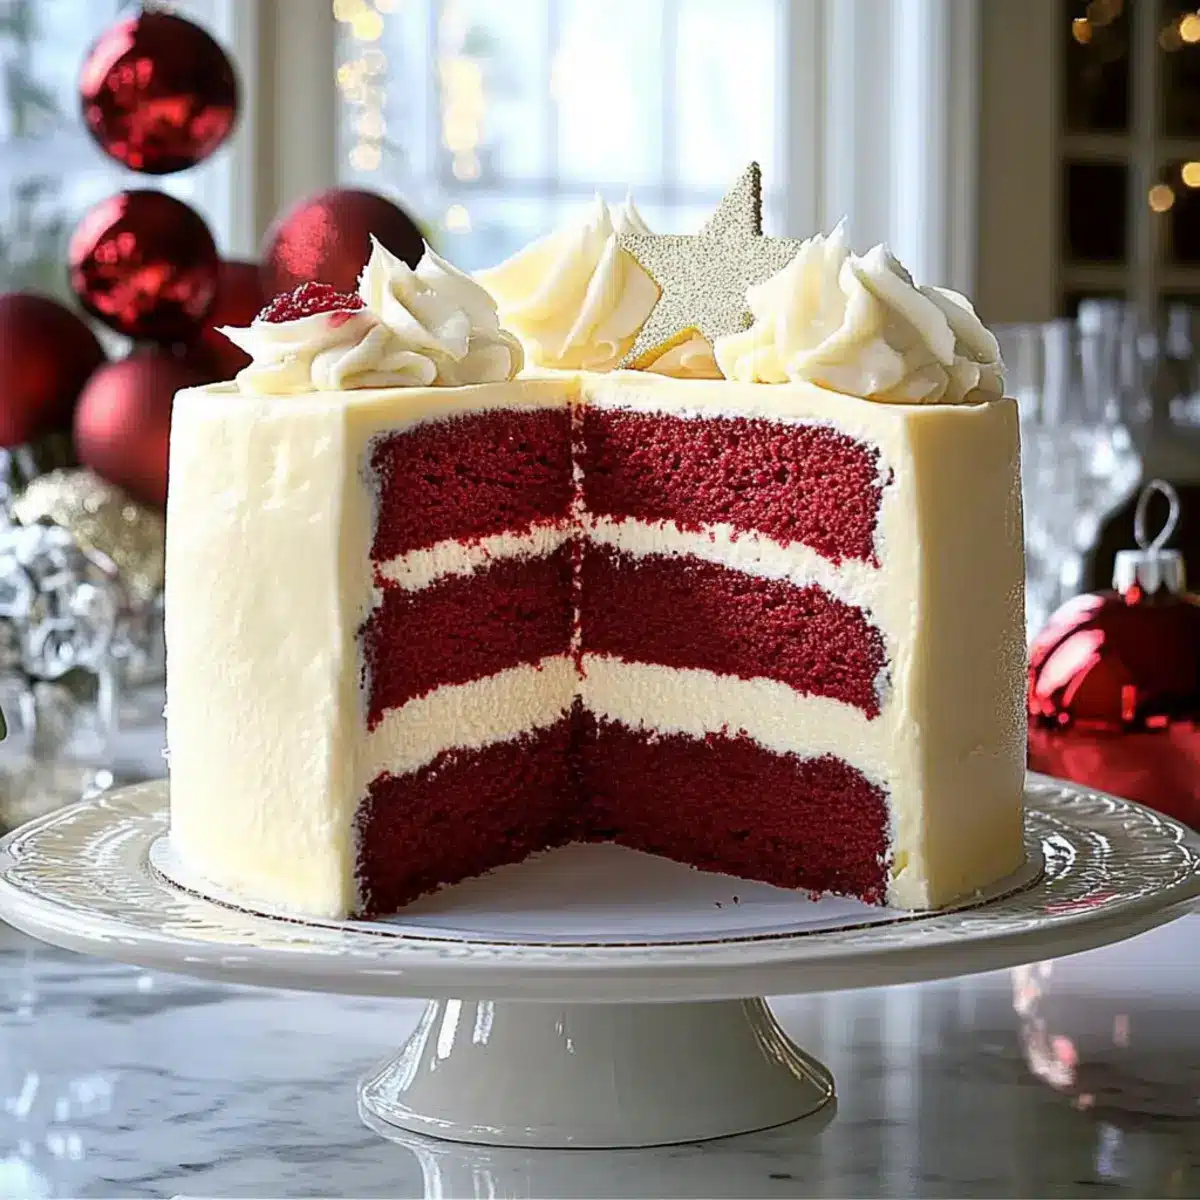
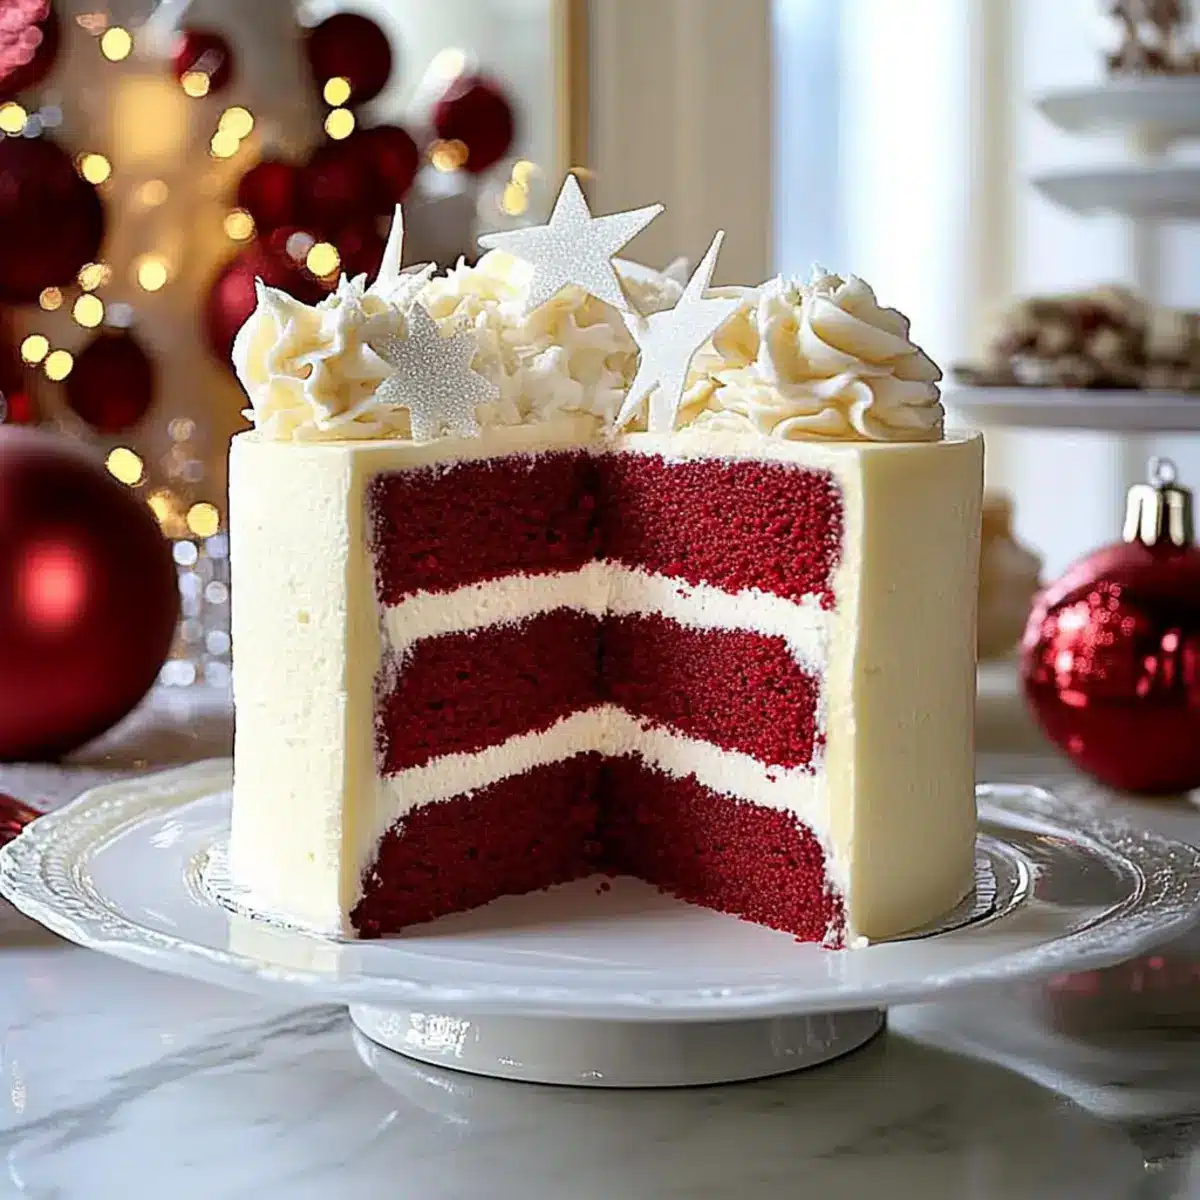
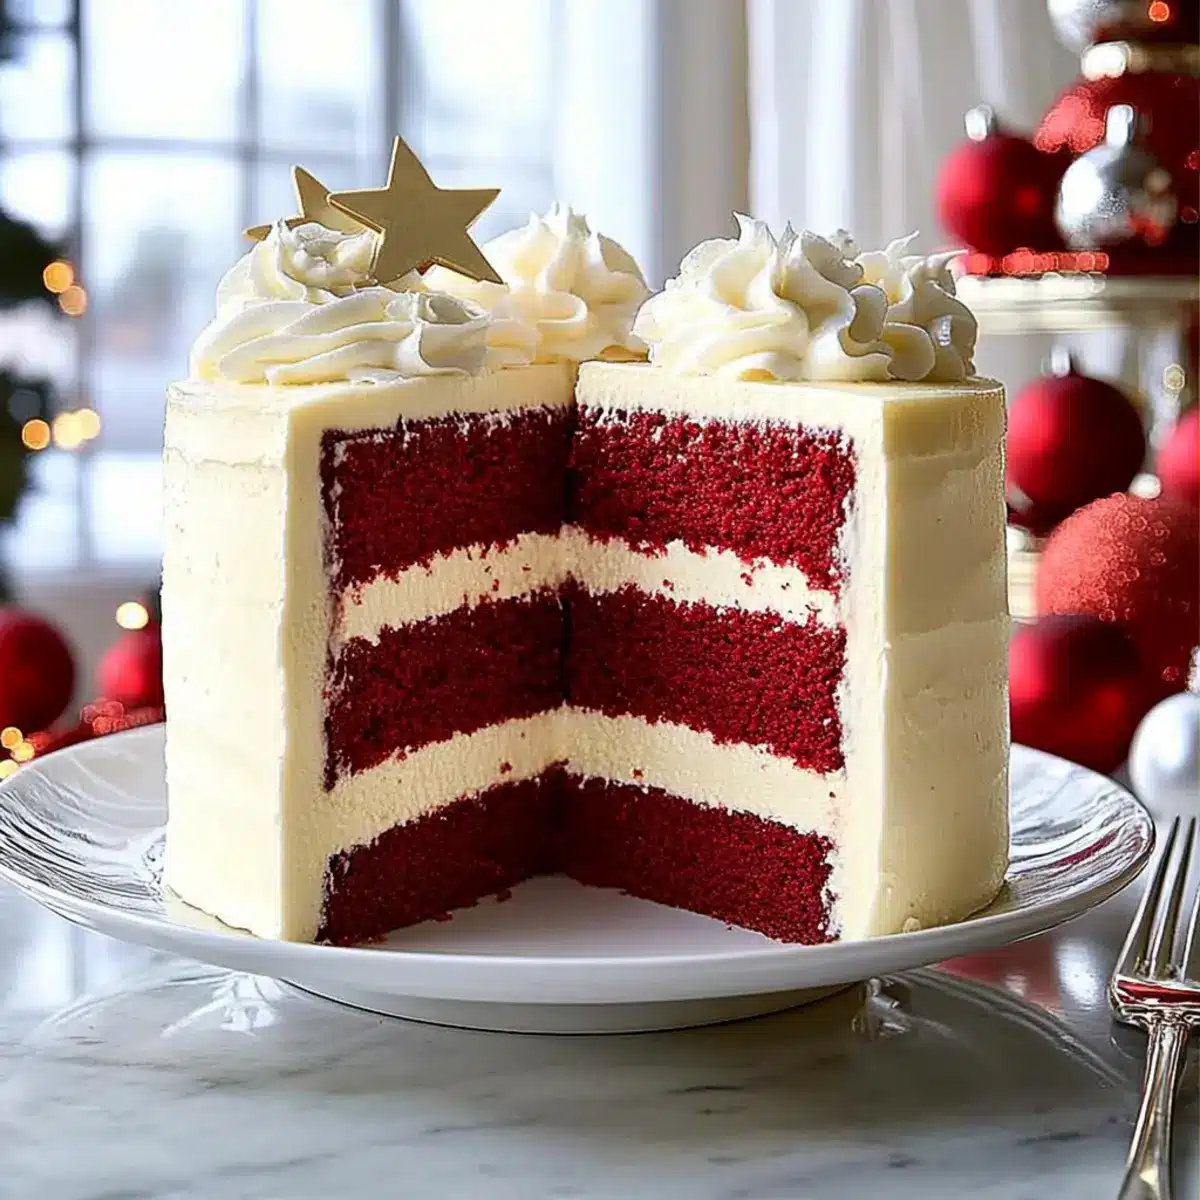
As the holiday season approaches, the allure of festive baking fills the air, whispering promises of warmth and joy. That’s when I decided to whip up something truly special: a Christmas Red Velvet Cheesecake. This stunning dessert captures the essence of celebration with its vibrant red layers contrasting beautifully against rich, creamy cheesecake. Not only does it serve as a captivating centerpiece for your holiday gatherings, but its indulgent creaminess makes it a luxurious treat that leaves everyone wanting more. Plus, this recipe offers the perfect blend of quick prep and impressive results, making it an absolute must for any passionate home chef. Are you ready to elevate your holiday dessert game? Let’s dive into this delightful experience together!
Why is this cheesecake unforgettable?
Irresistible Presentation: This cheesecake’s stunning red and white layers make it a show-stopper at any holiday gathering. Decadent Flavor: The rich cream cheese layer paired with the moist red velvet cake creates a mouthwatering combination. Easy to Make: With simple ingredients and straightforward steps, even beginner bakers can succeed. Make Ahead: Prepare it a day early for a stress-free holiday and allow flavors to meld beautifully. Versatile Pairings: It pairs perfectly with festive drinks, like hot cocoa or sparkling wine, elevating your entertaining game. Transform your dessert table with this crowd-pleaser and keep the holiday spirit alive!
Christmas Red Velvet Cheesecake Ingredients
Dive into the delightful components that make this festive treat so special!
For the Cake
- All-purpose flour – Provides structure to the cake layers; substitute with gluten-free flour if needed.
- Unsweetened cocoa powder – Adds a rich chocolate flavor; use high-quality cocoa for the best taste.
- Baking powder – Helps the cake rise; ensure it’s fresh for optimal results.
- Baking soda – Works in harmony with vinegar for perfect leavening.
- Salt – Enhances flavor and balances the sweetness.
- Granulated sugar – Provides moisture and sweetness; consider brown sugar for a deeper flavor.
- Vegetable oil – Keeps the cake moist; can be replaced with melted coconut oil for a different taste.
- Buttermilk – Adds tanginess and moisture; substitute with milk mixed with vinegar if necessary.
- Eggs – Provide both structure and moisture; best if at room temperature for easier mixing.
- Red food coloring – Gives the cake its signature hue; gel food coloring is recommended for vibrancy without texture changes.
- Vanilla extract – Infuses flavor; opt for pure vanilla for the best results.
- White vinegar – Reacts with baking soda for leavening; can be swapped with lemon juice for a citrus kick.
For the Cheesecake Layer
- Cream cheese – Essential for a creamy texture; ensure it’s at room temperature for smooth mixing.
- Sour cream – Adds creaminess and tang; substitute with Greek yogurt if desired.
For the Frosting
- Unsalted butter – Provides flavor and texture in frosting; use softened butter for easy mixing.
- Powdered sugar – Sweetens and thickens the frosting; sift before use for a smooth consistency.
Add these ingredients to your shopping list and get ready to create the most enchanting Christmas Red Velvet Cheesecake that will be the talk of your holiday celebrations!
Step‑by‑Step Instructions for Christmas Red Velvet Cheesecake
Step 1: Prepare the Red Velvet Cake Batter
Begin by preheating your oven to 350°F (175°C). In a medium bowl, whisk together the all-purpose flour, cocoa powder, baking powder, baking soda, and salt. In a large mixing bowl, combine the granulated sugar, vegetable oil, buttermilk, eggs, red food coloring, vanilla extract, and white vinegar. Gradually add the dry ingredients to the wet mixture, stirring until fully combined and the batter is smooth and velvety.
Step 2: Bake the Cake Layers
Divide the red velvet cake batter evenly between two greased 9-inch round cake pans. Bake in the preheated oven for 25-30 minutes or until a toothpick inserted into the center comes out clean. Once baked, remove the cake layers from the oven and let them cool in the pans for about 10 minutes. Then, turn the layers out onto wire racks to cool completely to room temperature.
Step 3: Create the Cheesecake Layer
While the cake layers cool, prepare the cheesecake layer. Preheat the oven again to 325°F (163°C). In a mixing bowl, beat the softened cream cheese and granulated sugar until the mixture is creamy and smooth. Incorporate the sour cream, eggs, and vanilla extract until fully integrated. Pour the cheesecake mixture into a greased 9-inch springform pan and bake for 45-50 minutes, or until the edges are set and the center has a slight jiggle. Allow to cool completely.
Step 4: Assemble the Layers
Once the red velvet cake and cheesecake layers are completely cool, it’s time to assemble the Christmas Red Velvet Cheesecake. Place one red velvet cake layer on a serving platter, followed by the cooled cheesecake layer. Carefully top with the second red velvet cake layer, ensuring it is centered and even.
Step 5: Prepare the Frosting
For the frosting, beat together the softened unsalted butter, cream cheese, and vanilla extract in a medium bowl until light and fluffy. Gradually add the powdered sugar, mixing until the frosting is smooth and creamy. If the frosting is too thick, add a splash of milk to achieve your desired consistency.
Step 6: Frost and Chill the Cheesecake
Using a spatula, generously frost the top and sides of the layered cheesecake with the cream cheese frosting. Smooth it out for an even finish and create decorative swirls if you’d like. Refrigerate the entire cheesecake for at least 4 hours or preferably overnight, allowing the layers to set and the flavors to meld beautifully before serving.
How to Store and Freeze Christmas Red Velvet Cheesecake
-
Fridge: Store your cheesecake in an airtight container for up to 5 days. This keeps it fresh and maintains its creamy texture, ensuring every slice is indulgent.
-
Freezer: If you wish to keep your cheesecake longer, wrap individual slices tightly in plastic wrap and place them in a freezer-safe bag. It can last up to 3 months in the freezer—perfect for those future holiday cravings!
-
Thawing: To enjoy your frozen Christmas Red Velvet Cheesecake, transfer it to the fridge for 6–8 hours or overnight to thaw gently before serving.
-
Reheating: While cheesecake doesn’t require reheating, if desired, let it come to room temperature for about 30 minutes after taking it out of the fridge for the best flavor experience.
Expert Tips for Christmas Red Velvet Cheesecake
-
Use Gel Coloring: Opt for gel food coloring instead of liquid to achieve a vibrant hue without affecting the cake’s texture.
-
Room Temperature Ingredients: Ensure all ingredients, especially cream cheese and eggs, are at room temperature for a smoother batter and cheesecake texture.
-
Cool Properly: Allow the cheesecake layer to cool completely to prevent cracks and achieve a smooth, beautiful finish on your Christmas Red Velvet Cheesecake.
-
Chill Overnight: For the best flavor, chill the cheesecake overnight. This allows the layers to set and the flavors to meld, making each slice irresistible.
-
Avoid Overmixing: When combining the cake batter, mix just until ingredients are incorporated; overmixing can lead to a denser texture.
-
Layering Tip: Use a serrated knife to level the tops of the cake layers if they dome during baking, ensuring a stable, even stack for presentation.
Christmas Red Velvet Cheesecake Variations
Feel free to unleash your creativity and explore these delightful twists to make this cheesecake even more special!
-
Natural Coloring: Swap red food coloring for beet juice to achieve a beautiful, earthy hue while keeping it natural. This change also adds a hint of sweetness that complements the chocolate flavor.
-
Minty Freshness: Add crushed peppermint candy to the frosting for a refreshing, festive twist. This adds a crunch and a burst of flavor that will have everyone asking for seconds!
-
Chocolate Ganache Layer: For an extra decadent flair, pour a chocolate ganache over the cheesecake layer before adding the frosting. The luscious chocolate can elevate the dessert to a whole new level of indulgence.
-
Nutty Crust: Switch up the graham cracker crust with crushed almonds or pecans for a nutty flavor and added texture. This variation brings a delightful crunch that contrasts beautifully with the creamy layers.
-
Spice It Up: Enhance the flavor profile by incorporating a teaspoon of cinnamon or nutmeg into the cake batter. These warm spices will wrap the cheesecake in a cozy holiday spirit, reminiscent of gingerbread.
-
Cheesecake Swirl: Create a marbled effect by swirling some of the red velvet batter into the cheesecake layer before baking. This not only looks stunning but also adds a unique texture to each slice.
-
Citrus Zest: Brighten up the flavors with a bit of orange or lemon zest in the cheesecake layer. The citrus notes beautifully balance the richness of the cheese and add a pop of freshness.
For even more inspiration, consider checking out the enticing Apple Cider Cheesecake or creating a delicious layer with Brownie Cheesecake Bars. Your culinary creativity knows no bounds!
Make Ahead Options
These Christmas Red Velvet Cheesecake layers are a fantastic choice for busy holiday bakers looking to save time! You can prepare the red velvet cake layers up to 24 hours in advance; simply bake, cool, and then store them tightly wrapped in plastic wrap in the refrigerator to keep them moist. The cheesecake layer can also be made a day ahead—allow it to cool, then cover and refrigerate. When you’re ready to assemble, just stack the layers and frost with the cream cheese frosting. Chilling the entire cheesecake for at least 4 hours (or overnight) allows the flavors to meld beautifully, ensuring your dessert is just as delicious when served!
What to Serve with Christmas Red Velvet Cheesecake
As you prepare to impress your guests with this stunning holiday dessert, consider these delightful pairings to elevate your festive meal.
-
Creamy Mashed Potatoes: These buttery potatoes provide a comforting contrast to the rich cheesecake, creating a balanced plate. Their velvety texture is a warm hug for your taste buds.
-
Fresh Spinach Salad: Bright and refreshing, a spinach salad with cranberries and walnuts adds a nice crunch and a hint of tartness, perfectly complementing the sweetness of the cheesecake.
-
Roasted Brussels Sprouts: The nutty, caramelized flavor of roasted Brussels sprouts adds an earthy note to your meal, striking a beautiful harmony with the decadent cheesecake.
-
Peppermint Hot Cocoa: A warm, chocolatey drink layered with whipped cream and crushed peppermint will echo the flavors of the red velvet cake, making it a festive and cozy accompaniment.
-
Sparkling Wine: Celebrate life’s moments with the effervescence of sparkling wine. Its bright acidity offers a lovely contrast to the cheesecake’s richness, esuring each bite feels special.
-
Chocolate Dipped Strawberries: These elegant treats provide a refreshing finish. The sweetness of the strawberries balances the cheesecake, making your dessert table even more inviting.
-
Gingerbread Cookies: Tapping into the holiday spirit, these spiced cookies bring warmth and nostalgia, serving as the perfect sweet interlude alongside the cheesecake.
-
Vanilla Ice Cream: A scoop of smooth vanilla ice cream melting over your cheesecake introduces a delightful creaminess, enhancing the overall indulgence while keeping it classic.
Embrace these pairings to create a truly memorable holiday gathering that enhances the festive spirit of your Christmas Red Velvet Cheesecake!
Christmas Red Velvet Cheesecake Recipe FAQs
What type of red food coloring should I use for the Christmas Red Velvet Cheesecake?
I recommend using gel food coloring instead of liquid. Gel coloring provides a more vibrant red hue without altering the texture of the cake. A small amount goes a long way, so you won’t need to use much—typically, around 1 tablespoon should give you a beautiful color!
How should I store the Christmas Red Velvet Cheesecake?
Store your cheesecake in an airtight container in the refrigerator, where it will stay fresh for up to 5 days. This method helps maintain its creamy texture and flavor. If you have leftovers, make sure to cover it well; I often use plastic wrap or aluminum foil for added protection!
Can I freeze the Christmas Red Velvet Cheesecake?
Absolutely! To freeze, wrap individual slices tightly in plastic wrap and then place them in a freezer-safe bag. It can be kept in the freezer for up to 3 months. When you’re ready to enjoy, just transfer a slice to the refrigerator for 6-8 hours or overnight to thaw gently.
What should I do if my cream cheese layer cracks after baking?
If your cheesecake layer cracks, don’t worry! This can happen to the best of us. To avoid this in the future, ensure your cream cheese is at room temperature before mixing and bake it at a lower temperature (about 325°F/163°C). If cracks do appear, you can cover them up with frosting when assembling, giving your cheesecake a charmingly rustic look!
Can I substitute ingredients for dietary concerns?
Yes, you can! For a gluten-free version, simply swap the all-purpose flour with a gluten-free blend. You can also use Greek yogurt instead of sour cream for a lighter option. If you’re avoiding dairy, there are vegan cream cheese and butter alternatives available that work well, though they may alter the taste slightly!
How long should I chill the cheesecake before serving?
To achieve the best flavors and texture, I recommend chilling the Christmas Red Velvet Cheesecake for at least 4 hours, but for optimal results, chill it overnight. This not only helps the layers set but also allows the flavors to meld beautifully, making every bite an indulgent delight!
Decadent Christmas Red Velvet Cheesecake to Impress Everyone
Ingredients
Equipment
Method
- Preheat the oven to 350°F (175°C). In a medium bowl, whisk together the flour, cocoa powder, baking powder, baking soda, and salt. In a large mixing bowl, combine sugar, vegetable oil, buttermilk, eggs, food coloring, vanilla extract, and vinegar. Gradually add dry ingredients to wet mixture, stirring until smooth.
- Divide the batter between two greased 9-inch round cake pans. Bake for 25-30 minutes or until a toothpick comes out clean. Cool in pans for 10 minutes, then turn out onto wire racks to cool completely.
- For the cheesecake layer, preheat the oven to 325°F (163°C). Beat cream cheese and sugar until creamy. Add sour cream, eggs, and vanilla until fully integrated. Pour into a greased springform pan and bake for 45-50 minutes until edges are set.
- Once the layers have cooled completely, place one red velvet cake layer on a platter, top with the cheesecake layer, then add the second red velvet layer.
- For the frosting, beat together softened butter, cream cheese, and vanilla until light. Gradually mix in powdered sugar until smooth, adding milk if needed for consistency.
- Frost the top and sides of the cheesecake and refrigerate for at least 4 hours or overnight before serving.
Leave a Reply