
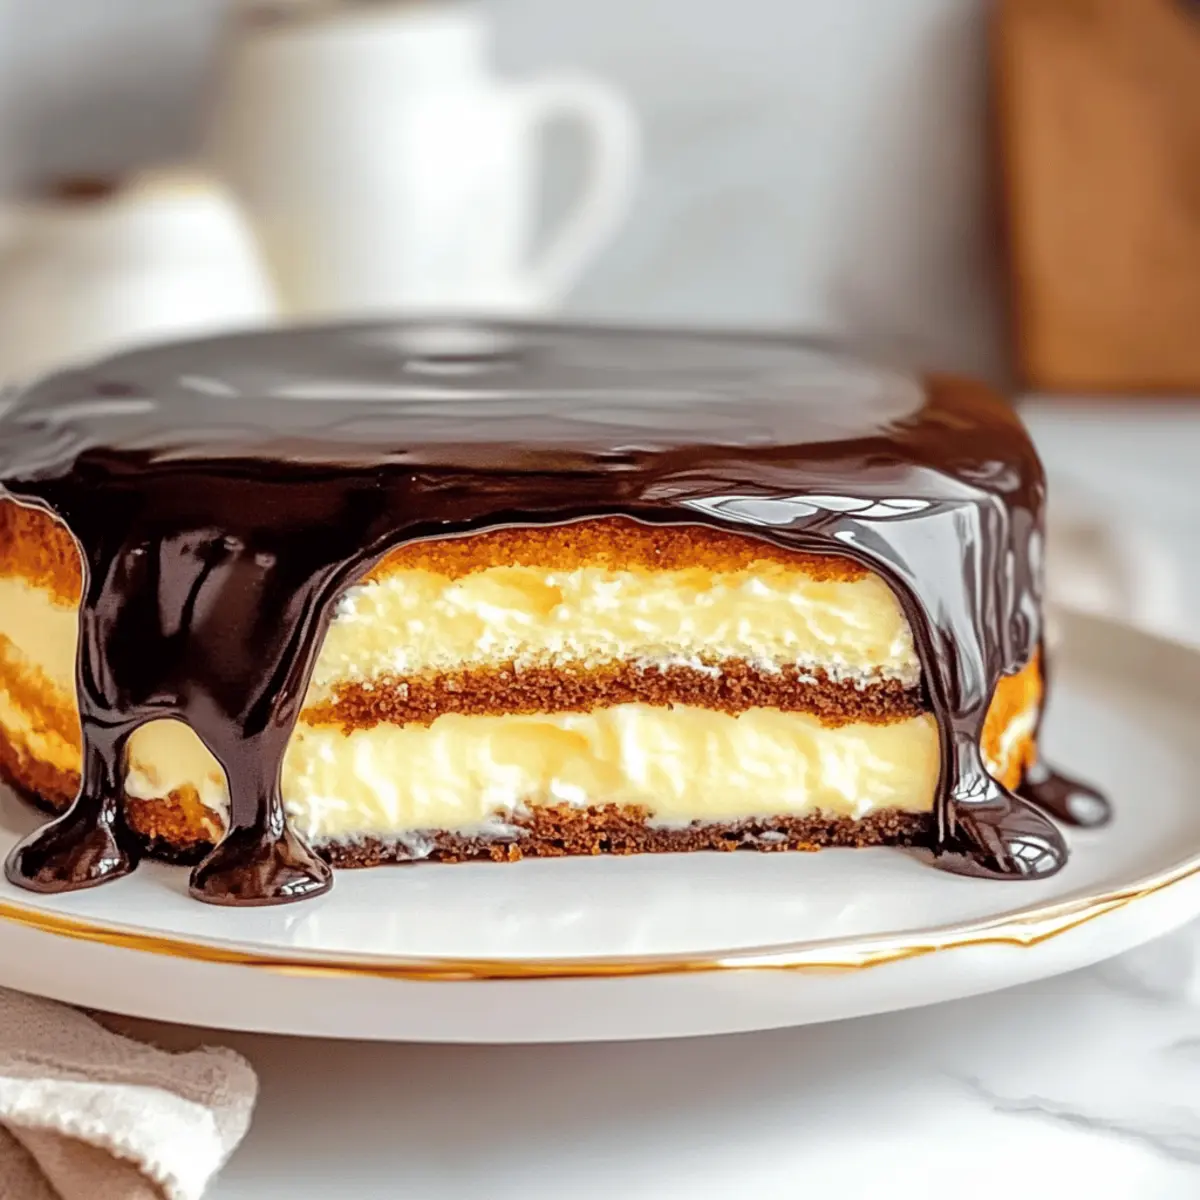
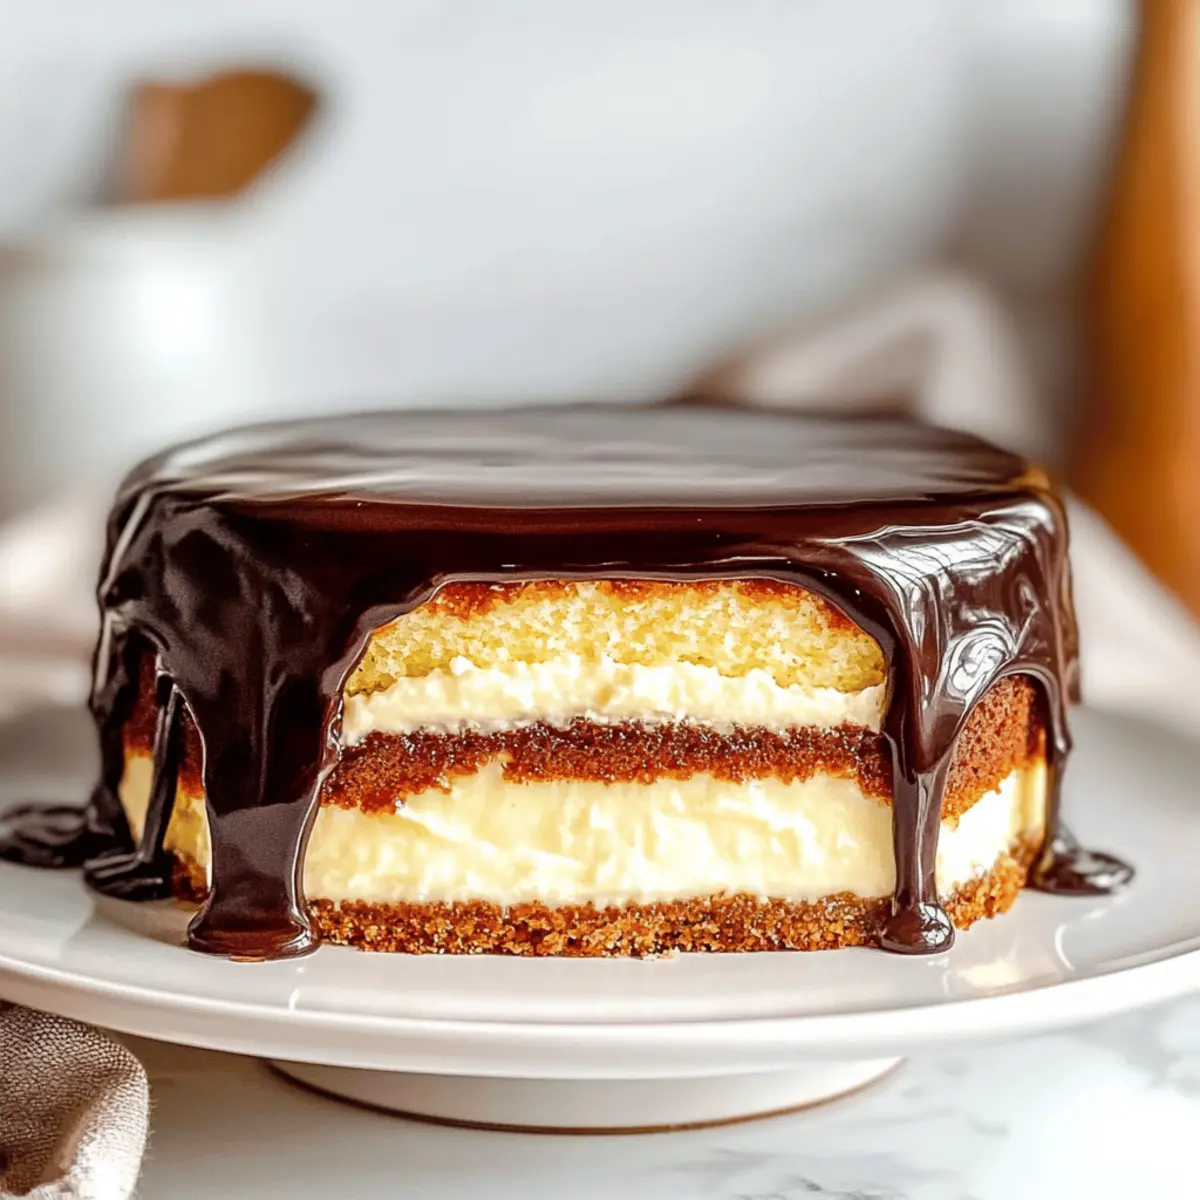
As I stood in my kitchen, the warm aroma of vanilla filled the air, sweeping me back to family gatherings from my childhood. Today, I’m excited to share my recipe for Classic Boston Cream Pie—a dessert that’s truly a slice of nostalgia. With its tender vanilla cake layered with silky custard and topped with a luscious chocolate ganache, this dessert is not just a treat; it’s comfort food at its finest. Whether you’re hosting a cozy dinner party or simply treating yourself after a long week, this pie is impressively simple to make, yet delivers on every taste sensation you crave. Why settle for ordinary when you can indulge in this delightful classic? I can’t wait to show you how to create your own masterpiece!
Why is Boston Cream Pie so beloved?
Nostalgic Flavors: The combination of tender vanilla cake, creamy custard, and rich chocolate ganache brings back warm memories for many.
Impressive Yet Simple: This dessert is easy to prepare, making it perfect for novice bakers and seasoned chefs alike.
Versatile Options: Enjoy it as is or customize with flavors like lemon zest or fresh strawberries for a unique twist. You can also check how to make Pineapple Carrot Cream or Garlic Butter Steak for delicious variations!
Crowd-Pleaser: Whether it’s for a holiday gathering or a weeknight treat, Boston Cream Pie is sure to impress everyone at your table.
Time-Saving: Whip it up quickly for last-minute occasions and still wow your guests with gourmet vibes!
Boston Cream Pie Ingredients
For the Cake
• All-Purpose Flour – Provides structure; substitute with a gluten-free blend for a gluten-free option.
• Baking Powder – Ensures the cake rises; make sure it’s fresh for optimal results.
• Salt – Enhances flavor; essential for balancing the sweetness.
• Eggs – Contributes to richness and structure; room temperature eggs yield a fluffier cake.
• Milk – Adds moisture to the batter; any milk, dairy or non-dairy, works well.
• Vanilla Extract – Infuses flavor into the cake; use pure extract for the best taste.
• Granulated Sugar – Sweetens the cake; can use a sugar alternative for a low-carb version.
For the Custard Filling
• Heavy Cream – Used in the chocolate ganache; can replace with coconut cream for dairy-free.
• Egg Yolks – Key for a rich custard; make sure they’re fresh for the best flavor.
• Granulated Sugar – Sweetens the custard; adjust to your preferred sweetness.
• Milk – The base for the custard; allows for a rich flavor profile.
For the Ganache
• Chocolate (Chopped or Chips) – Creates the chocolate ganache; opt for high-quality chocolate for greater richness.
• Heavy Cream – Essential for a smooth ganache; can use a dairy-free version if needed.
Step‑by‑Step Instructions for Boston Cream Pie
Step 1: Prepare the Cake Batter
Start by preheating your oven to 350°F (175°C). In a large mixing bowl, whisk together the all-purpose flour, baking powder, and salt. In another bowl, beat the eggs, milk, vanilla extract, and granulated sugar until well combined. Gradually fold the dry ingredients into the wet ingredients until just blended, ensuring no lumps remain. Pour the luscious batter evenly into two greased cake pans.
Step 2: Bake the Cake
Place the cake pans in the preheated oven and bake for 25-30 minutes. You’ll know it’s ready when the tops are golden brown, and a toothpick inserted into the center comes out clean. Once baked, carefully remove the pans from the oven and let them cool on a wire rack for about 10 minutes before gently removing the cakes from the pans to cool completely.
Step 3: Make the Custard Filling
In a saucepan, heat the milk over medium heat until it just begins to bubble. While the milk warms, whisk the egg yolks and granulated sugar together in a separate bowl until the mixture becomes pale and creamy. Slowly pour the hot milk into the egg yolk mixture, whisking constantly to temper the eggs. Return the mixture to the saucepan and cook over low heat, stirring continuously until it thickens, about 5-7 minutes. Allow the custard to cool to room temperature.
Step 4: Prepare the Chocolate Ganache
In a small saucepan, heat the heavy cream over medium heat until it begins to simmer. Remove it from the heat and immediately pour it over the chopped chocolate in a mixing bowl. Let it sit for one minute to melt the chocolate, then stir it gently until you achieve a smooth and glossy ganache. Allow it to cool slightly before using.
Step 5: Assemble the Boston Cream Pie
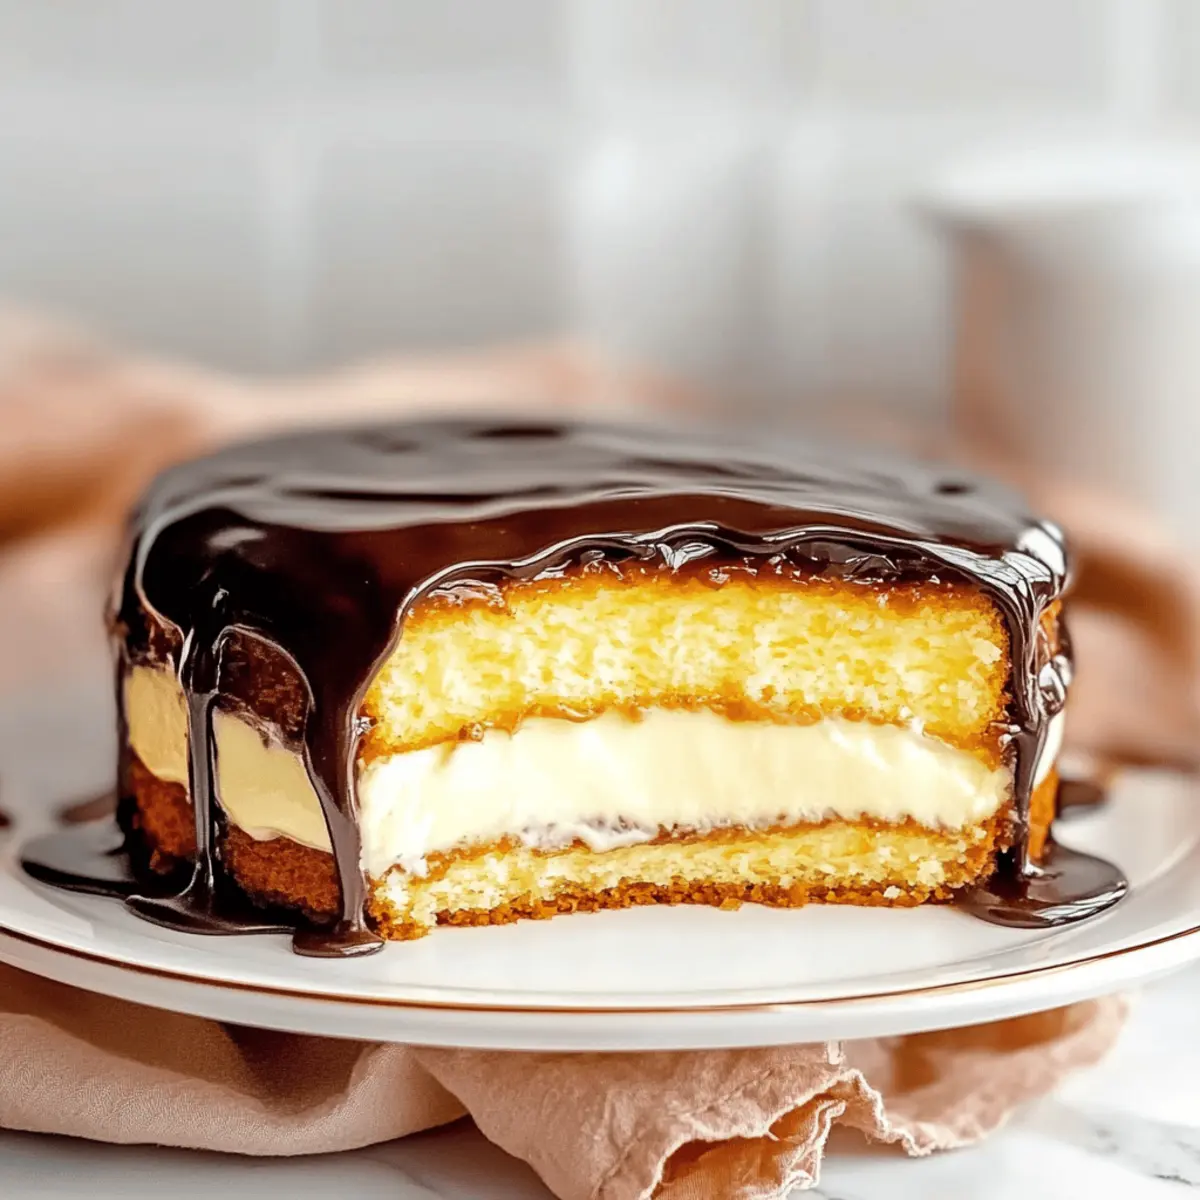
On a serving plate, place one layer of cake and spread the cooled custard filling generously over the top. Carefully place the second cake layer on top, creating a delightful sandwich. Finally, pour the rich chocolate ganache over the entire cake, ensuring an even coating. For best results, chill the assembled Boston Cream Pie in the refrigerator for at least two hours to let the flavors meld and set beautifully.
How to Store and Freeze Boston Cream Pie
Fridge: Store wrapped in plastic wrap or in an airtight container for up to 3 days to maintain freshness and avoid odors from other foods.
Freezer: Freeze slices of Boston Cream Pie individually wrapped in plastic and then in foil for up to 2 months. Thaw in the refrigerator overnight before serving.
Reheating: Enjoy chilled, but if you prefer it slightly warm, microwave individual slices for 10-15 seconds to soften the custard without melting the ganache.
Assembly Tip: If freezing, assemble the pie without the ganache, freeze, then add the ganache after thawing for the best presentation and texture.
Expert Tips for the Best Boston Cream Pie
- Cool Completely: Allow the cake layers to cool fully before assembly; this prevents melting the custard and helps maintain layers.
- Perfect Custard: Whisk egg yolks until pale and fluffy for a smooth custard texture; overcooking can lead to curdling, so stir constantly.
- Quality Chocolate: Use high-quality chocolate for the ganache; it makes a significant difference in flavor and smoothness of the chocolate layer.
- Add Zest: Infuse your custard with lemon zest for a refreshing twist to the classic Boston Cream Pie; it elevates the overall flavor profile.
- Chill Time: Don’t skip the chilling step; letting the pie sit for at least two hours in the fridge enhances the flavors and helps it set perfectly.
Make Ahead Options
These Classic Boston Cream Pies are perfect for busy home cooks looking to save time while still impressing guests! You can prepare the vanilla cake layers up to 24 hours in advance; cool them completely, then wrap tightly in plastic wrap to maintain moisture. The custard filling can also be made up to 3 days ahead—just ensure it’s covered with plastic wrap directly on the surface to prevent a skin from forming. When you’re ready to assemble, layer the cake, add the custard, and finish with the ganache. Let it chill for at least 2 hours before serving, and you’ll enjoy all the delicious flavors with less last-minute stress!
What to Serve with Classic Boston Cream Pie
Imagine the delightful blend of flavors and textures that will create a memorable meal around your beloved dessert.
-
Fresh Berries: Juicy strawberries or raspberries add a vibrant contrast to the creamy layers, enhancing both flavor and presentation.
-
Whipped Cream: A dollop of freshly whipped cream offers lightness, complementing the rich ganache beautifully. It’s a classic pairing that elevates every bite.
-
Coffee or Espresso: A cup of rich coffee or a shot of espresso intensifies the chocolate flavor, creating a delightful harmony that warms the soul.
-
Vanilla Ice Cream: The cool, velvety scoop of vanilla ice cream beside the pie provides a refreshing contrast, rounding out the dessert experience beautifully.
-
Chocolate Sauce Drizzle: For the chocolate lovers, an extra drizzle of chocolate sauce over the pie enhances the decadent experience while adding a gourmet touch.
-
Toasted Almonds: The crunchy texture of toasted almonds brings a delightful nuttiness that pairs wonderfully with the sweet richness of the pie.
-
Mint Tea: A light mint tea serves as a refreshing palate cleanser that balances the sweetness of the pie, perfect for a cozy tea-time treat.
-
Citrus Salad: A refreshing citrus salad with oranges and grapefruit cuts through the richness, adding a zesty flair that brightens the overall meal.
Boston Cream Pie Variations & Substitutions
Feel free to get creative with this classic dessert and customize it to suit your taste buds!
- Chocolate Cake: Swap the vanilla cake for a rich chocolate cake to take indulgence up a notch. The combination of chocolate cake and ganache will satisfy any chocoholic.
- Fruit Delight: Top with fresh strawberries or bananas for a pop of color and natural sweetness. Each bite bursts with freshness that perfectly complements the rich ganache.
- Lemon Zest: Infuse the custard with a hint of lemon zest for a refreshing citrus twist. This brightens the flavor, making it a great choice for spring and summer gatherings.
- Coconut Cream: Change the heavy cream to coconut cream in the ganache for a delightful, tropical flair. This adds a lovely subtle coconut flavor, perfect for a warm-weather dessert.
- Dairy-Free: Use almond or oat milk in the cake and custard for a dairy-free version without compromising on taste. You’ll still get that comforting, nostalgic feel in every slice.
- Flavorful Custards: Instead of classic vanilla custard, try instant coffee or even chocolate custard for an exciting flavor twist. It’s an exciting way to surprise your guests!
- Caramel Drizzle: Add a drizzle of homemade caramel sauce on top for an extra layer of sweetness and a touch of sophistication. The gooey caramel pairs beautifully with the chocolate ganache.
- Nutty Crunch: Top the ganache with chopped nuts such as almonds or hazelnuts for added texture and a delightful crunch. It creates an interesting contrast to the soft layers of cake and custard!
With these variations, you can explore a multitude of flavors while keeping that beloved Boston Cream Pie essence. Don’t forget to check out the dreamy Garlic Shrimp Pasta for your next dinner party, or treat yourself with Peach Pie Cruffins for a sweet snack!
Boston Cream Pie Recipe FAQs
What type of flour is best for Boston Cream Pie?
All-purpose flour is the go-to for this recipe as it provides the right structure for the cake. If you’re looking for a gluten-free option, a gluten-free flour blend works beautifully, ensuring everyone can enjoy this delicious dessert!
How long can I store Boston Cream Pie in the refrigerator?
You can store your Boston Cream Pie in the refrigerator for up to 3 days. Just cover it with plastic wrap or place it in an airtight container to keep it fresh and prevent it from absorbing any fridge odors.
Can I freeze Boston Cream Pie?
Absolutely! To freeze, slice the Boston Cream Pie and wrap each piece in plastic wrap followed by aluminum foil. This will keep it fresh for up to 2 months. When you’re ready to enjoy a slice, simply thaw it in the refrigerator overnight for the best texture and flavor.
My custard turned out grainy; what went wrong?
Grainy custard usually means the eggs were overcooked, which can happen if you don’t stir continuously while cooking. Next time, keep the heat low and whisk constantly until the custard thickens. If it does get grainy, you can try blending it in a blender to smooth it out before using it.
What can I do if I don’t have heavy cream for the ganache?
If you don’t have heavy cream, you can substitute it with coconut cream for a dairy-free version. Just make sure to use it the same way as you would use heavy cream in the ganache recipe for a luscious chocolate topping!
Is Boston Cream Pie suitable for people with egg allergies?
This classic dessert does contain eggs, primarily in the cake and custard. If you need a version without eggs, you could use a commercial egg replacer in the cake and explore options for custard substitutes, such as silken tofu or plant-based custard alternatives. Always ensure to check ingredient labels to avoid any allergens!

Delightful Boston Cream Pie to Satisfy Your Sweet Tooth
Ingredients
Equipment
Method
- Preheat your oven to 350°F (175°C). In a large mixing bowl, whisk together the all-purpose flour, baking powder, and salt. In another bowl, beat the eggs, milk, vanilla extract, and granulated sugar until well combined. Gradually fold the dry ingredients into the wet ingredients until just blended, ensuring no lumps remain. Pour the luscious batter evenly into two greased cake pans.
- Place the cake pans in the preheated oven and bake for 25-30 minutes. You'll know it's ready when the tops are golden brown, and a toothpick inserted into the center comes out clean. Once baked, carefully remove the pans from the oven and let them cool on a wire rack for about 10 minutes before gently removing the cakes from the pans to cool completely.
- In a saucepan, heat the milk over medium heat until it just begins to bubble. While the milk warms, whisk the egg yolks and granulated sugar together in a separate bowl until the mixture becomes pale and creamy. Slowly pour the hot milk into the egg yolk mixture, whisking constantly to temper the eggs. Return the mixture to the saucepan and cook over low heat, stirring continuously until it thickens, about 5-7 minutes. Allow the custard to cool to room temperature.
- In a small saucepan, heat the heavy cream over medium heat until it begins to simmer. Remove it from the heat and immediately pour it over the chopped chocolate in a mixing bowl. Let it sit for one minute to melt the chocolate, then stir it gently until you achieve a smooth and glossy ganache. Allow it to cool slightly before using.
- On a serving plate, place one layer of cake and spread the cooled custard filling generously over the top. Carefully place the second cake layer on top, creating a delightful sandwich. Finally, pour the rich chocolate ganache over the entire cake, ensuring an even coating. Chill the assembled Boston Cream Pie in the refrigerator for at least two hours to let the flavors meld and set beautifully.
Leave a Reply