
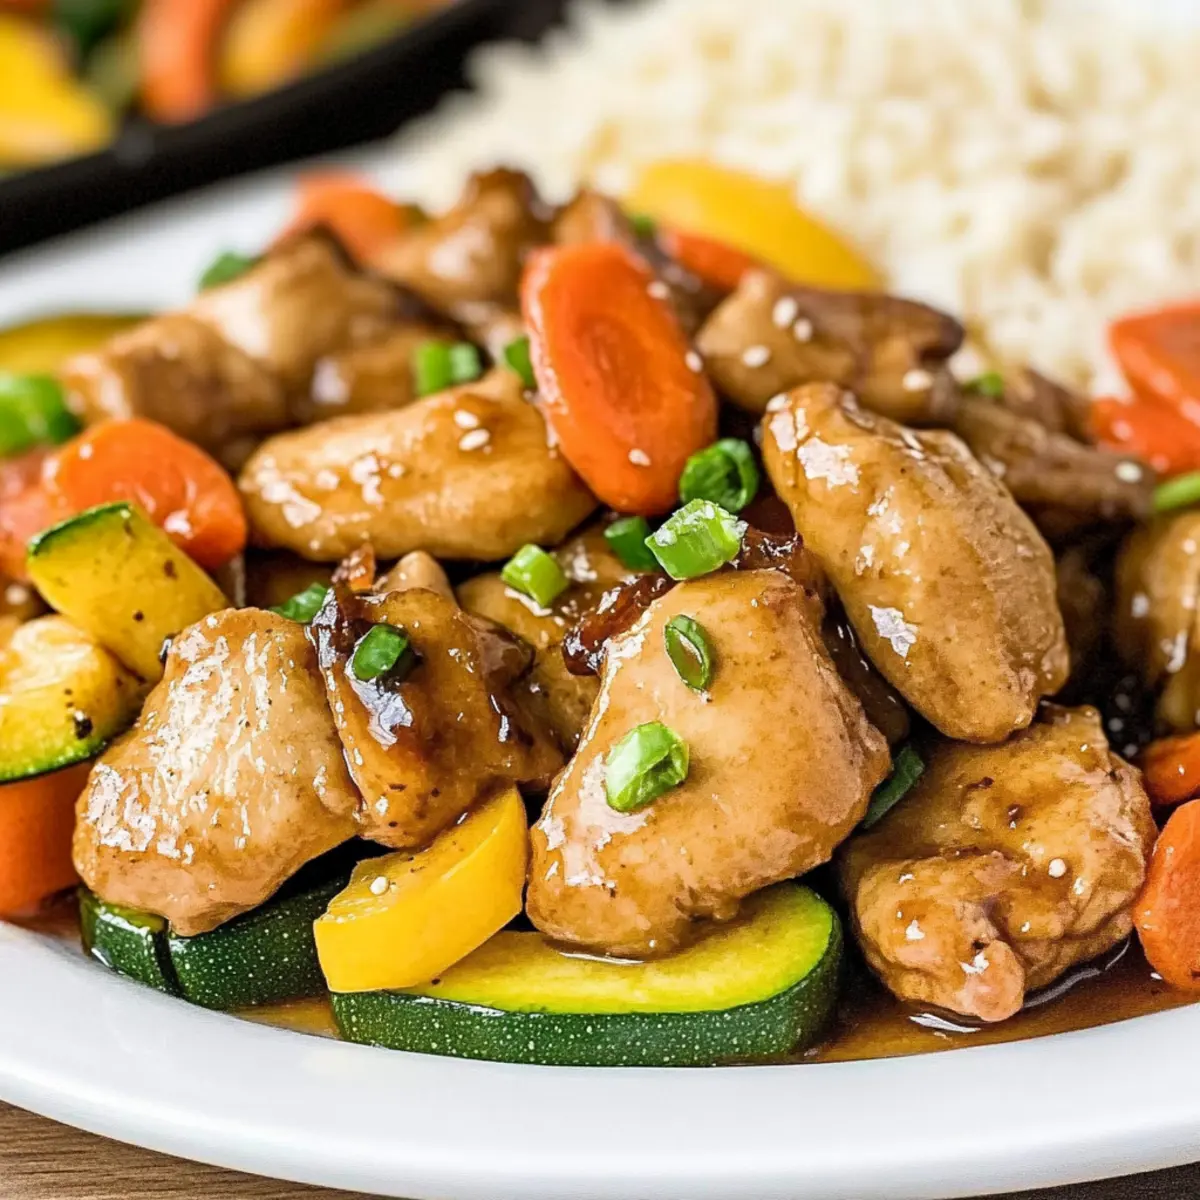
As I lifted the sizzling lid off my skillet, the rich aromas of garlic and ginger filled the air, instantly transporting me to my favorite hibachi restaurant. Here, in my own kitchen, I was about to whip up a restaurant-quality Benihana-style hibachi chicken that would rival any takeout option. This dish is not only family-friendly, perfect for a quick weeknight dinner, but it’s also bursting with flavor and colorful veggies that add a delightful crunch. With no special equipment needed, you can enjoy this juicy, seared chicken and its glossy glaze—ushering in that hibachi magic without the fuss. Are you ready to dive into this culinary adventure? Let’s get cooking!
Why You’ll Love Hibachi Chicken
Quick, Weeknight Solution: This hibachi chicken recipe is perfect for busy nights, allowing you to create a stunning meal in under 30 minutes.
Restaurant-Quality at Home: Experience the flavors of Benihana right from your kitchen, impressing your family with every juicy bite.
No Special Equipment Needed: Forget about fancy tools; a simple skillet is all you need for this flavorful dish, making it accessible for any home cook.
Customizable and Versatile: Feel free to swap veggies or use gluten-free soy sauce for dietary needs—this recipe adapts effortlessly to your preferences.
Crowd-Pleasing Appeal: With its vibrant colors and tantalizing flavors, this hibachi chicken is sure to impress everyone at the table, making it a family favorite.
Get ready to savor the bliss of a home-cooked hibachi feast that’s both delicious and simple, ideal for your next family dinner!
Hibachi Chicken Ingredients
Everything you need for delicious hibachi.
For the Chicken
• Boneless, Skinless Chicken Thighs – Juicier than chicken breasts, they retain moisture under high heat for perfect searing.
• Kosher Salt + Black Pepper – Essential for seasoning, enhancing the natural flavors of your hibachi chicken.
• Neutral Oil (Canola or Vegetable) – Ideal for high-heat cooking, ensuring a beautiful sear without smoking.
For the Glaze
• Low-Sodium Soy Sauce – Adds umami flavor while keeping the dish from becoming overly salty, perfect for hibachi chicken.
• Light Brown Sugar – Balances savory flavors and contributes to the glaze’s irresistible glossy finish.
• Garlic (2 Tbsp) – Provides the bold and aromatic flavor characteristic of hibachi cooking.
• Fresh Ginger – Adds aromatic heat and a refreshing zing to your glaze.
• Rice Vinegar – Cuts through richness with a touch of acidity, brightening up the dish.
• Toasted Sesame Oil – Added off heat to keep its nutty aroma intact for that authentic flavor.
For the Vegetables
• Vegetables (Carrot, Onion, Bell Pepper, Mushrooms, Zucchini) – Colorful additions that provide texture and nutrients; cook in stages for optimal tenderness and crispness.
For the Finishing Touch
• Butter + Soy Sauce (for finishing) – Creates a shiny finish, elevating your dish to restaurant-quality.
• Light Mayo, Dijon, Soy Sauce, Rice Vinegar (for mustard sauce) – Adds a creamy element with a tangy kick that perfectly complements your hibachi chicken.
Now that we have our ingredients ready, gather your apron and let’s get cooking! Your taste buds are in for a treat!
Step‑by‑Step Instructions for Hibachi Chicken
Step 1: Prep Sauces
Begin by mixing together all hibachi glaze ingredients except the toasted sesame oil in a small bowl. This will create a flavor-packed base for your chicken. Next, prepare the mustard sauce by whisking together the light mayo, Dijon, soy sauce, and rice vinegar in another bowl. Set this aside in the refrigerator to let the flavors meld while you cook.
Step 2: Cook Vegetables
Heat a large skillet over medium-high heat and add 1 tablespoon of neutral oil. Once shimmering, add the sliced carrots and cook for 2 minutes until crisp-tender. Next, add the onion, bell pepper, and mushrooms, cooking each for about 2 minutes to enhance their flavors while maintaining a vibrant color. Finish with the zucchini, allowing it to soften for 2-3 minutes. Towards the end, season with a splash of soy sauce, salt, and pepper, then transfer the vegetables to a plate.
Step 3: Sear Chicken
In the same skillet, add another tablespoon of oil and raise the heat to high. Add the boneless, skinless chicken thighs in a single layer, ensuring they are not overcrowded. Sear the chicken for about 2-3 minutes undisturbed to achieve a beautiful golden-brown crust. After flipping, cook for another 2-3 minutes until the chicken is mostly cooked through, then remove it from the skillet and set it aside.
Step 4: Glaze Chicken
Return the seared chicken to the skillet and pour in the prepared hibachi glaze. Allow it to bubble and coat the chicken for about 1-3 minutes until it becomes glossy and caramelized. If the sauce thickens too much, add a splash of water to maintain a luscious consistency. This zingy glaze will infuse every bite of your hibachi chicken with flavor.
Step 5: Finish with Butter
Lower the heat to medium and add a tablespoon of butter and a dash of soy sauce to the skillet. Toss the chicken until the butter is melted and creates a shiny finish on the chicken. Stir in the toasted sesame oil off heat, letting its nutty aroma elevate the dish just before serving. Your hibachi chicken is now bursting with flavors and ready for its grand finale!
Step 6: Combine & Serve
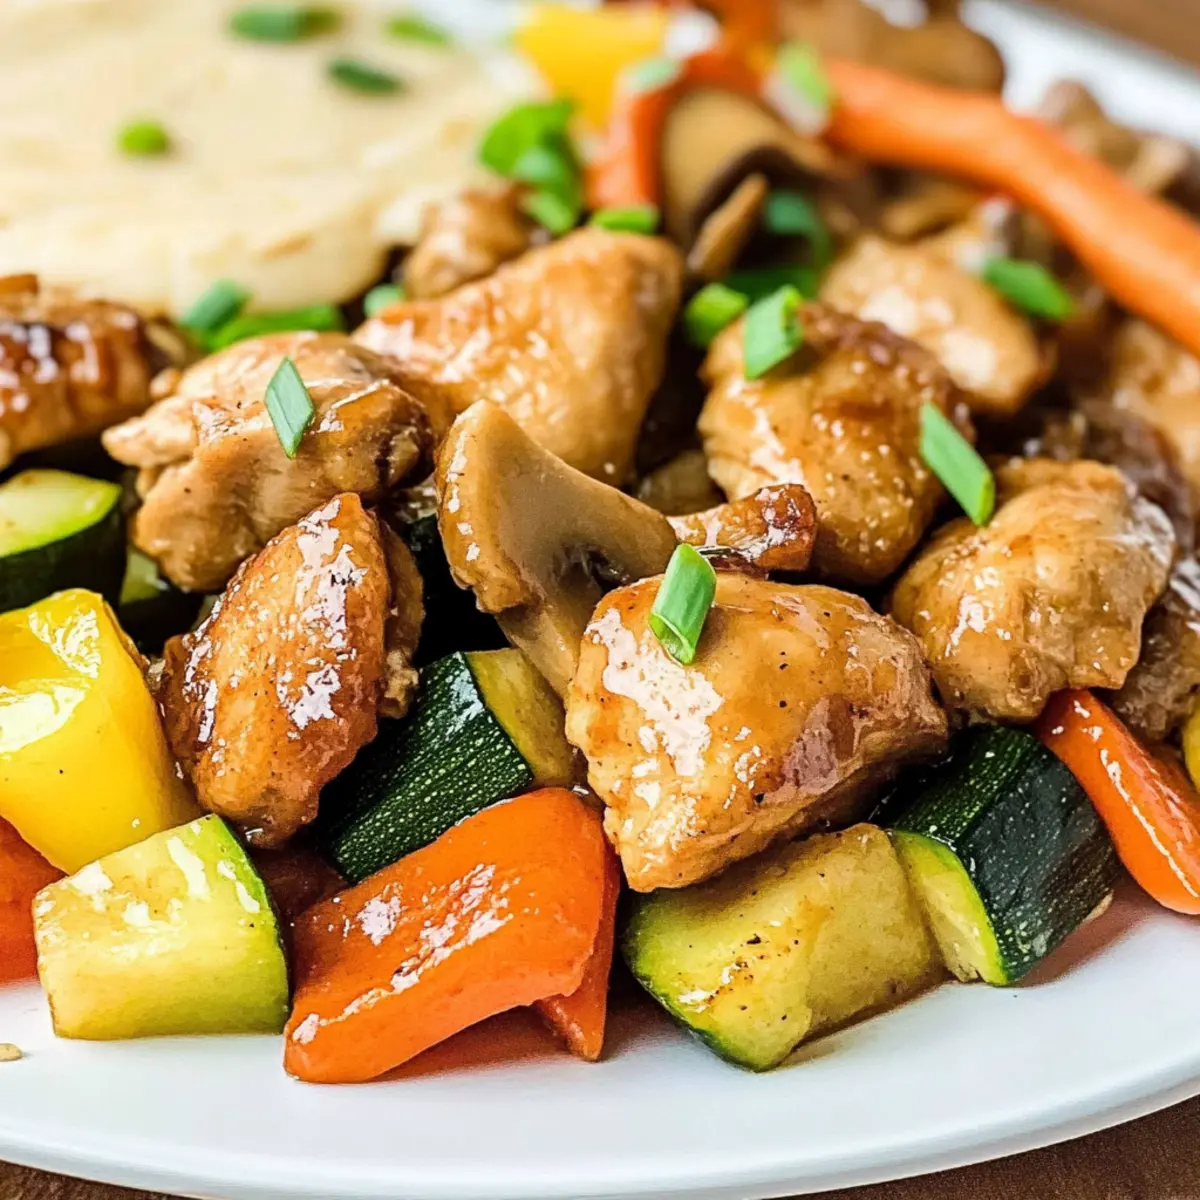
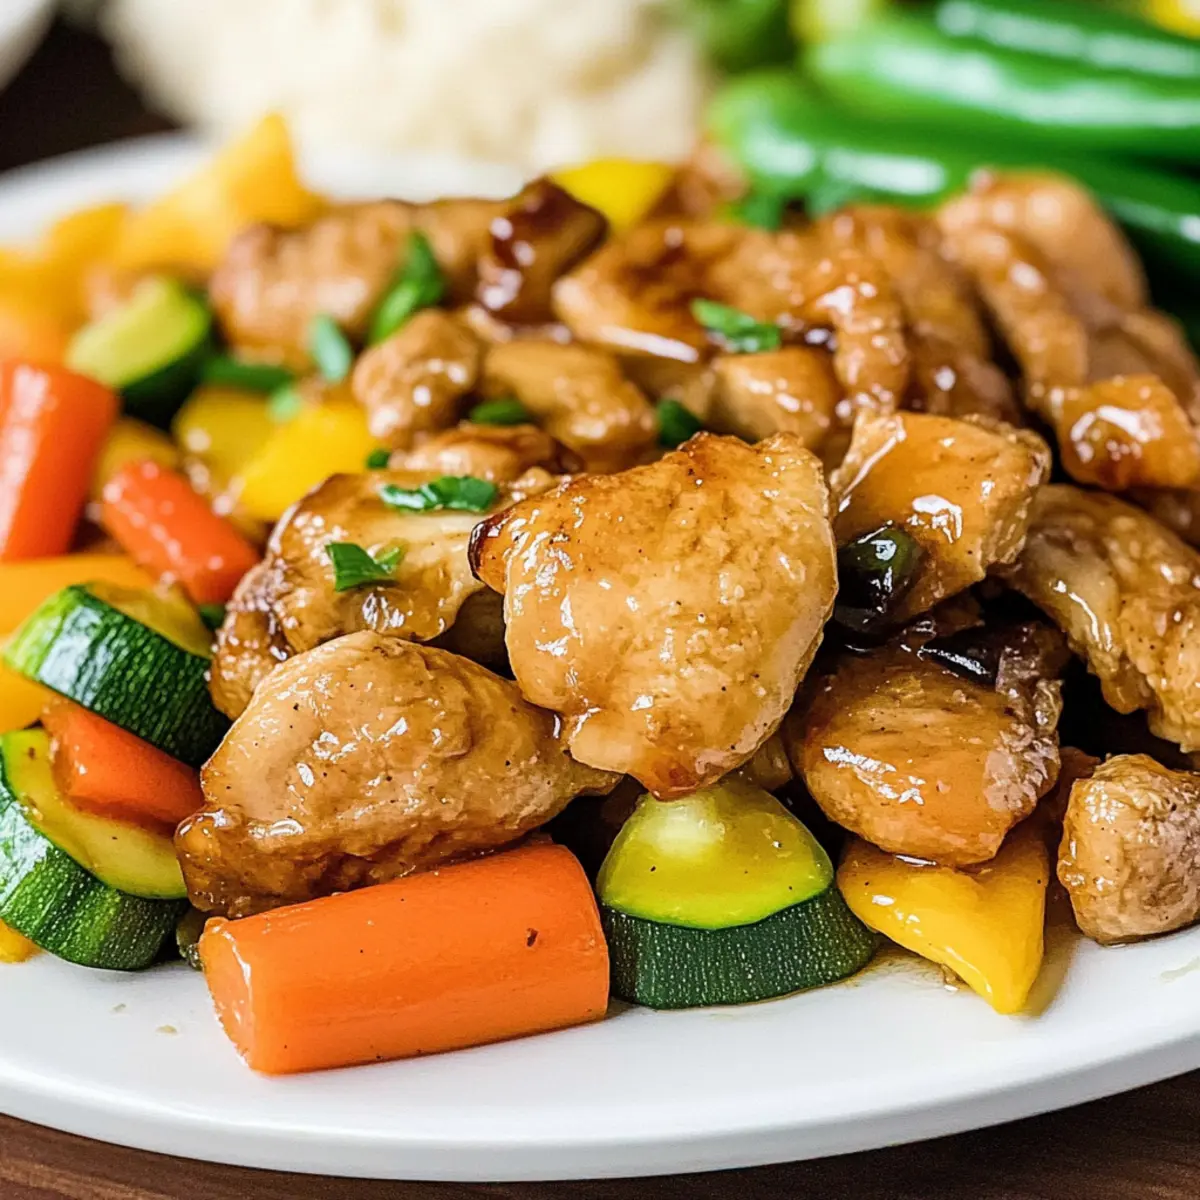
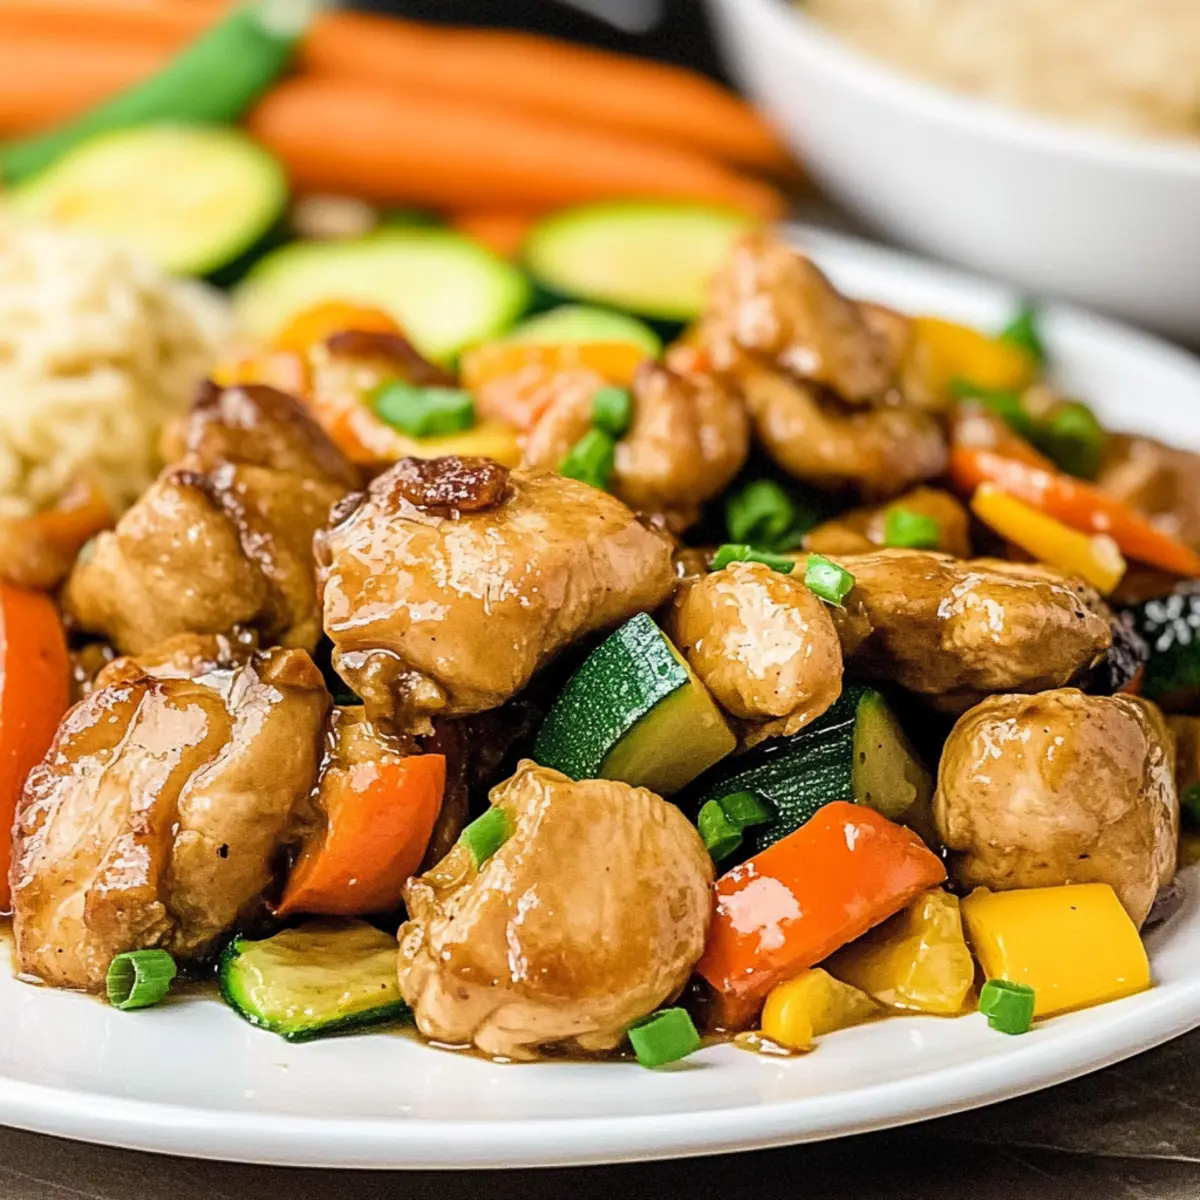
Add the cooked vegetables back to the skillet to reheat briefly, mixing them with the glossy chicken. Serve this delightful hibachi chicken over a bed of steamed rice to soak up all the savory goodness. Drizzle the tangy mustard sauce on top and garnish with sliced green onions for a vibrant finish. Enjoy your homemade hibachi meal that’s sure to impress the entire family!
Hibachi Chicken Variations & Substitutions
Feel free to tailor your hibachi chicken to suit your family’s tastes and dietary needs. Let your creativity soar as you explore these delightful twists!
-
Chicken Breasts: Switch chicken thighs for skinless breasts for a leaner option, adjusting the cooking time as needed.
-
Gluten-Free: Use gluten-free soy sauce or tamari to keep this dish safe for those avoiding gluten, making it just as delicious!
-
Veggie Variety: Substitute the veggies with your favorites, like broccoli, snap peas, or bell peppers. The versatility of this recipe means you can mix and match according to what’s in your fridge.
-
Add Heat: Spice things up by adding a pinch of red pepper flakes or a dash of sriracha to the glaze. It’ll bring a kick that adds warmth to every bite!
-
Coconut Aminos: For a lighter, slightly sweeter alternative to soy sauce, try coconut aminos. This swap gives a unique flavor that works beautifully in this recipe.
-
Sweeten Up: If you love a sweeter glaze, incorporate some honey or maple syrup in place of light brown sugar. This will create a delicious caramelization while enhancing the flavor profile.
-
Protein Swap: Feel like switching it up? Use shrimp or scallops instead of chicken for a seafood twist that’s equally tantalizing. Just be mindful of the cooking times!
-
Whole Grain Option: Serve over brown rice or quinoa for a healthier take that adds fiber and nuttiness, transforming your meal into a wholesome feast.
Explore these delicious variations, and don’t miss the chance to whip up the flavors of Benihana-style hibachi chicken right at home! If you’re seeking other chicken delights, check out my recipes for Garlic Parmesan Chicken or indulge in some Chicken Teriyaki Noodles for more exciting meals. Enjoy your culinary adventure!
Expert Tips for Hibachi Chicken
-
Prep Ahead: Preparing all ingredients and sauces before you start cooking is crucial. Hibachi chicken is fast-paced, and having everything ready will ensure nothing burns.
-
Right Heat Level: Use medium-high heat for searing chicken and vegetables. Too low, and they’ll steam instead of sear—aim for that golden-brown finish!
-
Cook in Batches: Avoid overcrowding your skillet while searing the chicken. Cook in smaller batches to achieve perfect browning and to prevent steaming.
-
Watch the Sauce: If your hibachi glaze thickens too much, don’t fret! A splash of water will restore that glossy texture, making your hibachi chicken shine.
-
Final Touches: Stir in toasted sesame oil off heat to preserve its fragrant aroma. This final touch elevates the flavor of your hibachi chicken to restaurant-quality!
What to Serve with Benihana-style Hibachi Chicken
As the flavors of garlic and ginger dance in the air, it’s time to elevate your meal with delightful accompaniments that balance and complement your hibachi chicken.
-
Steamed White Rice: A classic side that soaks up the flavorful glaze, providing the perfect base to enjoy each juicy bite of chicken.
-
Fried Rice: Take it up a notch with savory fried rice infused with soy sauce and vegetables, matching the vibrant flavors of your hibachi delight.
-
Asian Coleslaw: Crisp, refreshing, and tangy, this coleslaw adds crunch and a zesty contrast that lightens the richness of the chicken.
-
Cucumber Tomato Salad: A refreshing medley of cucumbers and tomatoes drizzled with rice vinegar brings a cooling element that perfectly complements the meal.
-
Garlic Butter Noodles: These silky noodles tossed in garlic butter add a comforting touch and a delightful chew to your dinner spread, enhancing every bite.
-
Edamame: Lightly salted, these bite-sized soybeans offer a fun, healthy snack that pairs beautifully with the savory notes of hibachi chicken.
-
Green Tea: A soothing drink that balances the meal’s richness, enhancing your dining experience with its warm and aromatic flavor.
By incorporating these delicious options, you’ll create a full hibachi feast that will have your family returning for more!
Make Ahead Options
These Benihana-style hibachi chicken preparations are perfect for busy home cooks looking to streamline dinner! You can prepare the hibachi glaze (excluding the toasted sesame oil) and the mustard sauce up to 3 days in advance; simply refrigerate both sauces in airtight containers. Additionally, you can chop the vegetables and store them in the fridge for up to 24 hours so they’re ready to toss in the skillet whenever you’re ready to cook. When you’re set to serve, just sear the chicken, glaze it, reheat the vegetables, and finish with butter and sesame oil for that restaurant-quality touch—guaranteeing your meal is just as delicious as if it was made fresh!
How to Store and Freeze Hibachi Chicken
Fridge: Store in an airtight container for up to 3 days to keep your delicious hibachi chicken fresh and flavorful.
Freezer: For long-term storage, freeze in an airtight container or freezer bag for up to 3 months. Thaw in the fridge before reheating.
Reheating: To reheat, warm in a skillet over medium heat with a splash of water to restore moisture and glaze’s shine. Avoid microwaving to prevent a rubbery texture.
Make-Ahead Tips: You can prepare the hibachi glaze a day ahead. Store it in the fridge until ready to use for a quick, flavorful finish on your chicken.
Benihana-Style Hibachi Chicken Recipe FAQs
How do I choose the best chicken for hibachi chicken?
Absolutely! When selecting chicken, look for boneless, skinless chicken thighs; they are juicier and more forgiving under high heat compared to chicken breasts. Ensure the thighs are plump with a nice sheen and avoid those with dark spots or discoloration. Freshness is key, so buy from a reputable source if possible!
What’s the best way to store leftover hibachi chicken?
Very! To keep your hibachi chicken fresh, store it in an airtight container in the fridge for up to 3 days. Allow it to cool before sealing to prevent moisture buildup inside the container. If you’re planning to enjoy it later, follow these steps to ensure quality when reheating.
Can I freeze hibachi chicken? If so, how?
Absolutely! To freeze, allow the chicken to cool completely and place it in an airtight freezer bag or container, ensuring to remove as much air as possible to prevent freezer burn. It can be stored for up to 3 months. When ready to eat, thaw in the fridge overnight before reheating gently in a skillet with a splash of water for moisture.
What if my hibachi glaze is too thick or too thin?
Not a problem! If your glaze becomes too thick while cooking, add a splash of water to the skillet and stir well—this restores the glossy, luscious texture. Conversely, if it’s too thin, let it bubble longer to reduce and thicken. Just keep an eye on it so it doesn’t overcook or burn!
Are there any dietary considerations I should be aware of for hibachi chicken?
Very! If cooking for someone with dietary restrictions, you can easily adapt this recipe. For gluten-free options, simply use gluten-free soy sauce or tamari in the glaze. Also, be mindful of any allergies to garlic or soy products; you can experiment with other seasonings for flavor while maintaining a delicious end result!
Sizzling Hibachi Chicken: Easy Homemade Delight for Dinner
Ingredients
Equipment
Method
- Mix all hibachi glaze ingredients except toasted sesame oil in a small bowl. Prepare mustard sauce by whisking mayo, Dijon, soy sauce, and rice vinegar in another bowl. Set aside.
- Heat a large skillet over medium-high heat with 1 tablespoon of neutral oil.
- Add sliced carrots and cook for 2 minutes until crisp-tender.
- Add onions, bell peppers, and mushrooms, cooking each for about 2 minutes.
- Finish with zucchini for 2-3 minutes, season with soy sauce, salt, and pepper, then transfer to a plate.
- In the same skillet, add another tablespoon of oil and raise the heat to high.
- Add chicken thighs in a single layer, sear for 2-3 minutes undisturbed.
- Flip and cook for another 2-3 minutes until mostly cooked through, then set aside.
- Return chicken to the skillet and pour in the prepared glaze. Allow to bubble for 1-3 minutes until glossy.
- If the sauce thickens too much, add a splash of water.
- Lower the heat, add butter and dash of soy sauce, toss until butter melts.
- Stir in toasted sesame oil off heat just before serving.
- Add cooked vegetables back to skillet, serve over steamed rice, drizzle with mustard sauce, and garnish.
Leave a Reply