
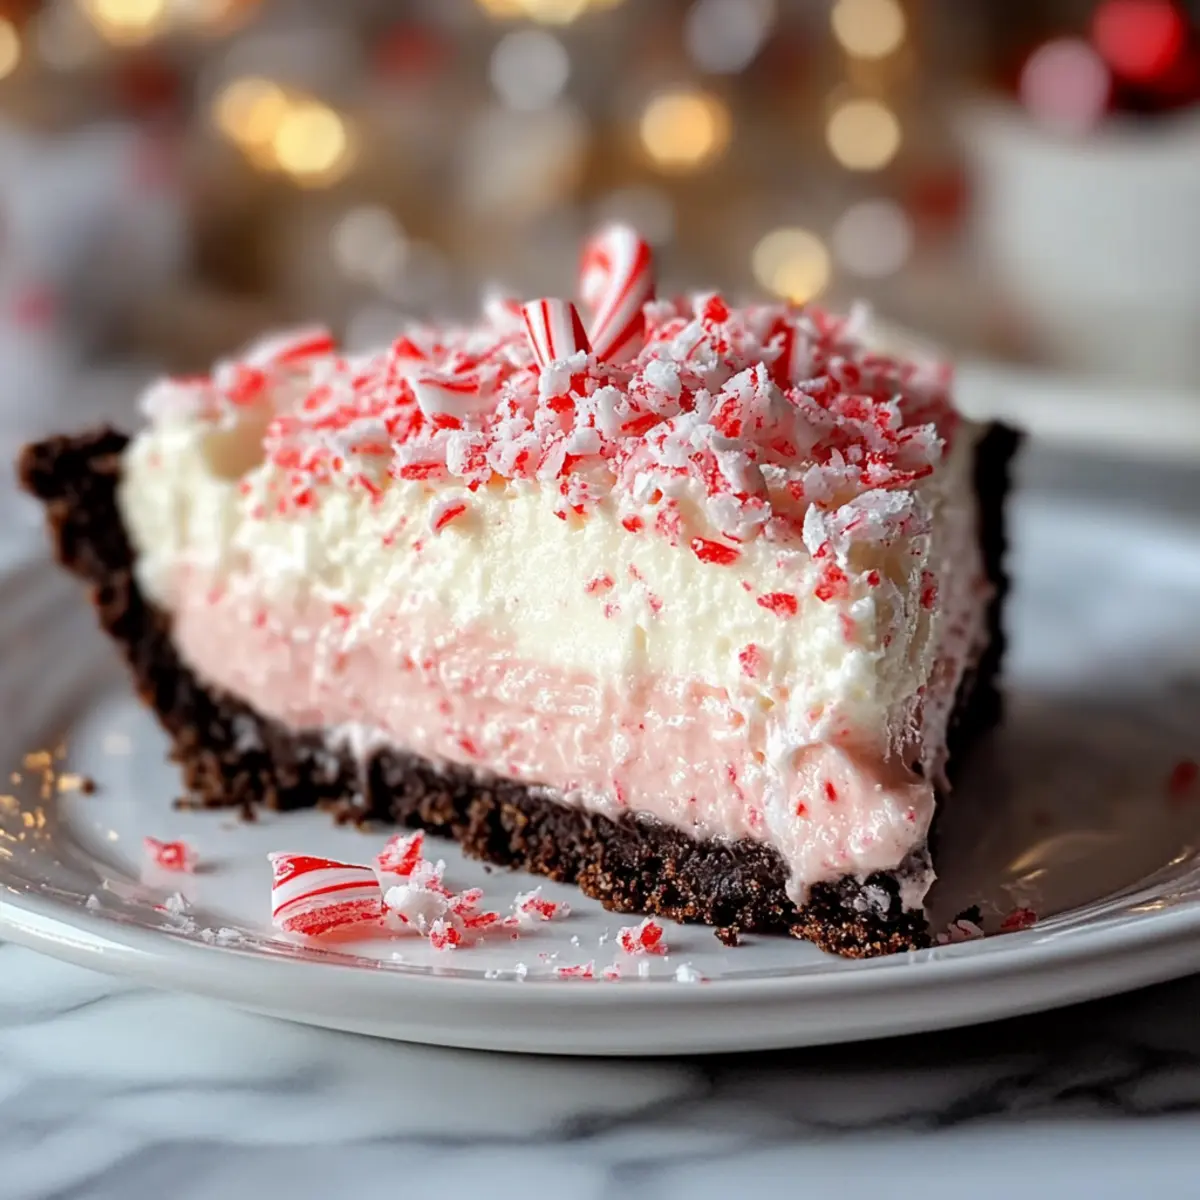
The scent of crushed candy canes and rich chocolate wafts through the kitchen, instantly transporting me to cherished holiday memories. Today, I’m excited to share my Easy Christmas Peppermint Pie recipe, a delightful no-bake dessert that combines a creamy peppermint filling with a rich chocolate cookie crust. This refreshing dessert not only offers a light and airy texture, making it a welcome deviation from the heavier holiday sweets, but it also comes together in a snap, perfect for busy home chefs. Whether it’s a festive gathering or a cozy dinner, this pie serves as a stunning centerpiece that will have your guests coming back for seconds. Curious about how this crowd-pleaser comes together? Let’s get started!
Why is Christmas Peppermint Pie a must-make?
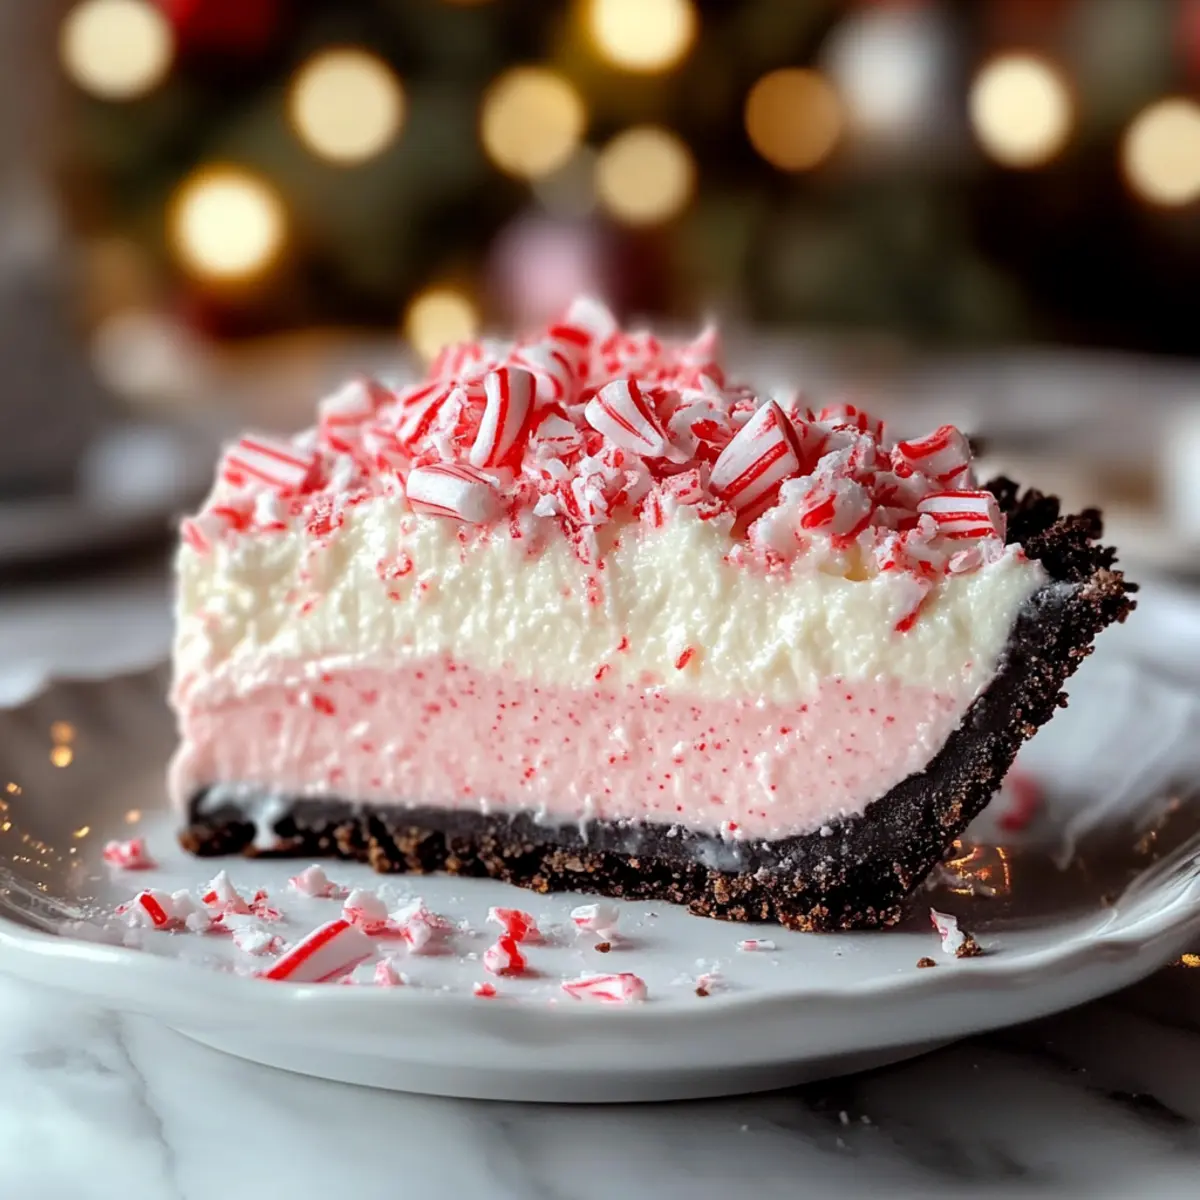
Irresistible flavor: The combination of creamy peppermint filling and a rich chocolate cookie crust creates a festive treat that feels indulgent yet refreshing.
No-bake convenience: Perfect for busy holiday schedules, this pie comes together with minimal effort and no baking required.
Customizable delight: Try different variations, like using a graham cracker crust or adding chocolate chips to the filling for a personal touch.
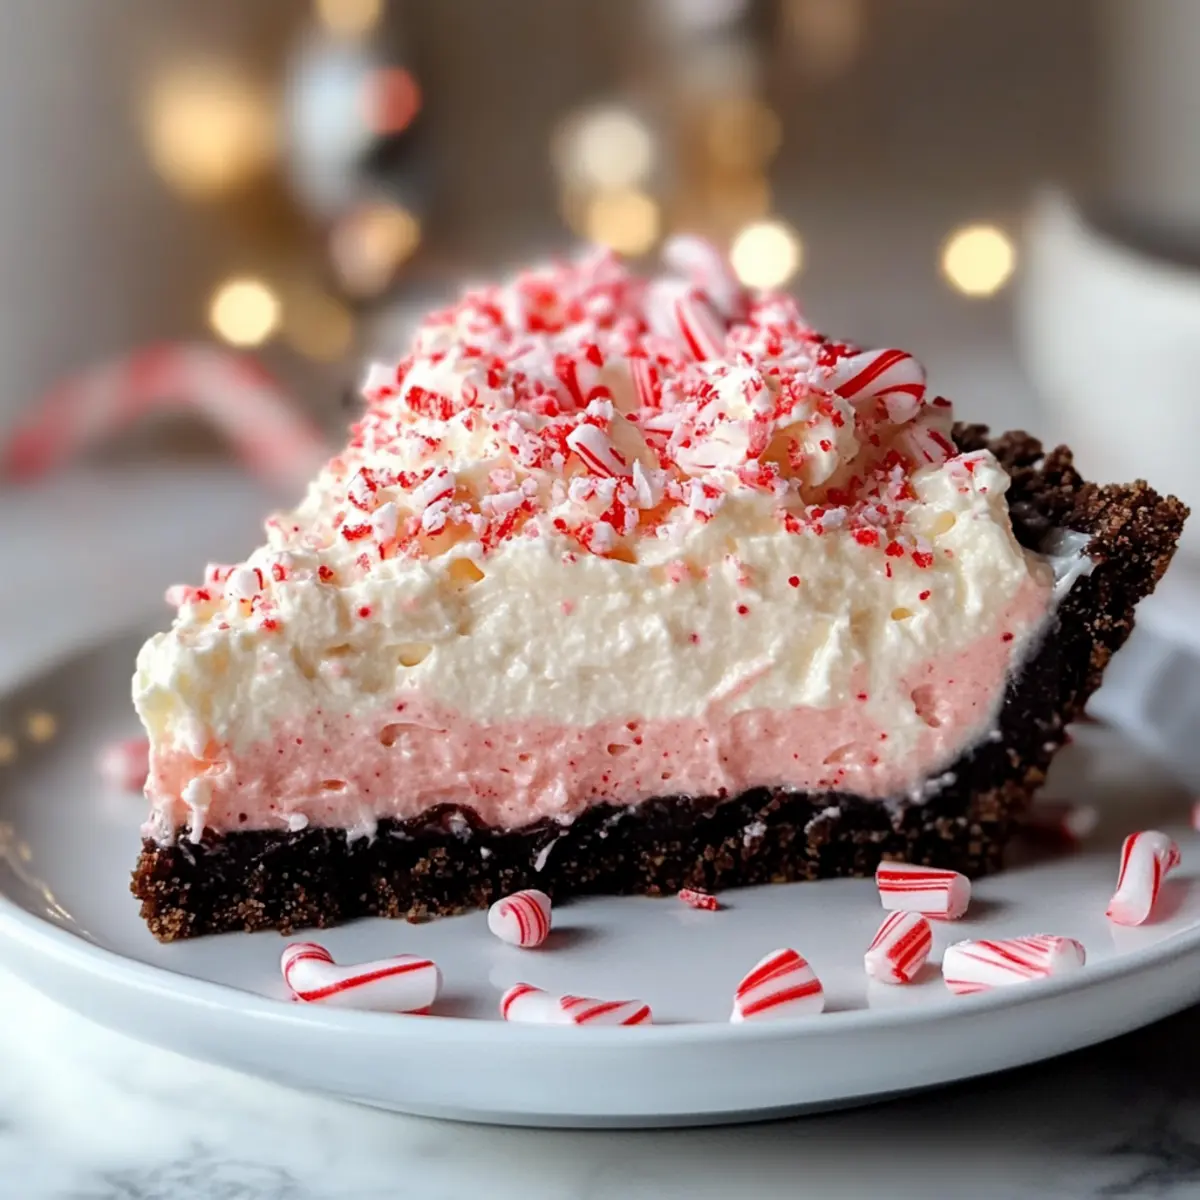
Visual appeal: The vibrant crushed candy canes on top not only add a pop of color but also a delightful crunch that your guests will love.
Family favorite: With its light texture and festive flavors, this pie is sure to become a beloved holiday tradition in your home. For more delightful desserts, don’t forget to check out my Peach Pie Cruffins for another crowd-pleaser!
Christmas Peppermint Pie Ingredients
For the Crust
• Finely crushed chocolate sandwich cookies – Provides a delicious base; try graham crackers for a different flavor.
• Unsalted butter – Binds the crumbs together; ensure it’s melted for easy mixing.
For the Filling
• Full-fat cream cheese – Creates a smooth and creamy texture; make sure it’s softened to avoid lumps.
• Powdered sugar – Sweetens the filling for the perfect balance; sift it to prevent clumps.
• Pure peppermint extract – Adds that signature holiday mint flavor; adjust to taste for more intensity.
• Red or pink gel food coloring (optional) – Enhances the pie’s visual appeal; use a little for a festive tint.
• Very cold heavy cream – Whipped to create light and airy filling; chill it beforehand for the best results.
For the Topping
• Crushed candy canes – Adds a festive crunch and color; substitute with chocolate chips for a delightful twist.
• Optional garnishes (whipped cream or fresh mint sprigs) – Elevate presentation and flavor with these finishing touches.
This Christmas Peppermint Pie is simple to whip up and absolutely irresistible, making it a must-have for your holiday dessert table!
Step‑by‑Step Instructions for Easy Christmas Peppermint Pie
Step 1: Prepare the Crust
Start by finely crushing the chocolate sandwich cookies in a food processor until they resemble sand. Transfer the crumbs to a mixing bowl, and pour in the melted unsalted butter. Mix until the crumbs are evenly coated, then press the mixture firmly into a pie plate to form an even crust. Chill the crust in the refrigerator for 30 minutes to set.
Step 2: Cream Cheese Base
In a large mixing bowl, beat the softened full-fat cream cheese with an electric mixer on medium speed until it’s completely smooth and creamy. Gradually add the sifted powdered sugar and pure peppermint extract, continuing to mix until well combined and fluffy. This creamy mixture is the foundation of your Christmas Peppermint Pie filling.
Step 3: Whip Heavy Cream
Take another large mixing bowl and refrigerate it along with the whisk and beaters for a few minutes. Once chilled, pour the very cold heavy cream into the bowl and whip on high speed until stiff peaks form, which should take about 3-5 minutes. Be careful not to overbeat, as this can cause the cream to become grainy.
Step 4: Combine Fillings
Gently fold the whipped cream into the cream cheese mixture in thirds, using a spatula to combine without deflating the cream. The goal is to maintain airiness in the filling. This step is crucial to ensure your Easy Christmas Peppermint Pie has a light and fluffy texture that will delight your family and friends.
Step 5: Fill and Chill
Once combined, spoon the fluffy filling into the chilled chocolate cookie crust, spreading it evenly with a spatula. Cover the pie with plastic wrap and refrigerate it for at least 4 hours, allowing it to set properly. Chilling overnight is ideal for achieving the best texture and flavor for your Christmas Peppermint Pie.
Step 6: Garnish and Serve
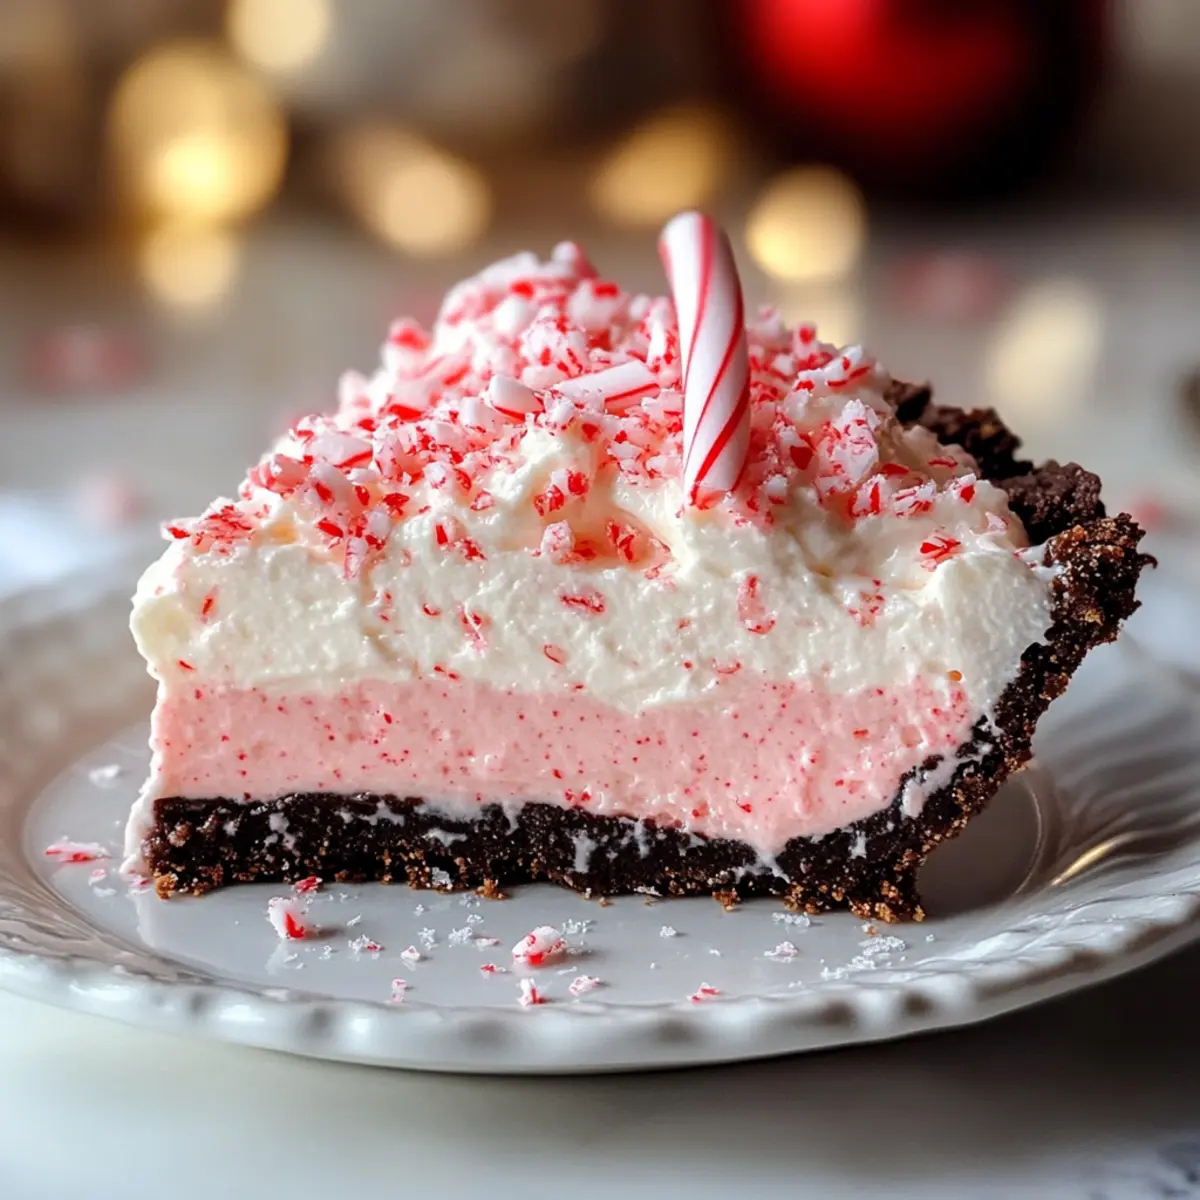
When ready to serve, remove the pie from the refrigerator. Top it generously with crushed candy canes for a festive finish. Optionally, add dollops of whipped cream or fresh mint sprigs for an extra touch of presentation. Slice your Easy Christmas Peppermint Pie and enjoy the delightful blend of flavors and textures with loved ones.
Make Ahead Options
These Easy Christmas Peppermint Pie options are perfect for busy home cooks looking to save time during the holiday rush! You can prepare the chocolate cookie crust up to 24 hours in advance and refrigerate it, which helps it stay firm and ready for the filling. Additionally, the creamy peppermint filling can be made up to 3 days ahead; just combine the cream cheese and sugar, then refrigerate it in an airtight container. When you’re ready to serve, whip the heavy cream and fold it into the chilled mixture, then fill the crust, cover, and chill for at least 4 hours or preferably overnight to maintain that delightful airy texture. This way, you’ll have a spectacular dessert with minimal last-minute effort!
Expert Tips for Christmas Peppermint Pie
Don’t Rush Shcool: Make sure to chill the crust for at least 30 minutes. This helps set the butter and ensures your pie maintains its shape when slicing.
Soften Cream Cheese: Always use room temperature cream cheese to avoid lumps in your filling. This creates a smooth, delightful texture in your Christmas Peppermint Pie.
Whip Carefully: Watch your whipped cream closely; over-whipping can turn it grainy. Aim for stiff peaks but stop before it starts to clump.
Chill Thoroughly: Refrigerate your pie for at least 4 hours but overnight for best results. Proper chilling allows the filling to set perfectly, making slicing easier.
Add a Twist: Feel free to get creative! Adding a pinch of cinnamon or drizzling melted chocolate can elevate your Christmas Peppermint Pie to new levels of deliciousness.
What to Serve with Easy Christmas Peppermint Pie
The magic of this festive favorite extends beyond just the pie itself; let’s create a full meal experience!
- Creamy Mashed Potatoes: These fluffy potatoes add a comforting touch to your holiday feast, balancing the pie’s cool texture.
- Savory Green Bean Almondine: The crunch of toasted almonds paired with tender green beans freshens the palate after enjoying dessert.
- Garlicky Roasted Brussels Sprouts: Their earthy flavor contrasts beautifully against the sweet peppermint, making for a well-rounded meal.
- Hot Chocolate Bar: Set up an inviting station with different toppings like whipped cream and marshmallows for a festive drink pairing perfect with the pie.
- Christmas Salad: Combine mixed greens, cranberries, and nuts for a bright, colorful dish that adds freshness to the meal.
- Peppermint Mocha: Serve this delicious coffee beverage as a warm complement, energizing your guests to savor the pie!
- Gingerbread Cookies: Another festive treat, these warm spiced cookies can be a delightful follow-up, perfect for nibbling alongside the pie.
- Homemade Eggnog: Embrace the season with a creamy and spiced eggnog that rounds out your holiday gathering in style.
Christmas Peppermint Pie Variations & Substitutions
Feel free to get creative with these delightful swaps and twists that will make your Christmas Peppermint Pie truly your own!
-
Graham Cracker Crust: Swap chocolate cookie crust for graham crackers to give a nostalgic flavor twist.
-
Mini Chocolate Chips: Fold in mini chocolate chips into the filling for an added burst of sweetness and texture.
-
Drizzle of Chocolate: Melt some chocolate and drizzle it over the pie before serving for a decadent touch that enhances both flavor and appearance.
-
Cinnamon Addition: Add a pinch of cinnamon to the filling for a warm, spiced flavor that contrasts beautifully with the peppermint.
-
Berry Twist: Experiment with adding crushed raspberries or a raspberry swirl to the filling for a fruity contrast to the peppermint.
-
Almond Essence: Replace peppermint extract with almond extract for a uniquely flavorful variation that deviates from traditional mint.
-
Nut Allergy-Friendly: For those avoiding nuts, ensure the cookie crust and chocolate chips are nut-free, making it safe for everyone to enjoy.
-
Cream Cheese Alternative: For a lighter option, substitute cream cheese with Greek yogurt or a vegan cream cheese alternative to maintain creaminess while reducing calories.
These variations will not only keep your holiday dessert table interesting but also will resonate with those who might prefer a different twist. If you loved this pie, don’t miss out on my delicious Peach Pie Cruffins for another sweet treat that’s guaranteed to impress!
How to Store and Freeze Christmas Peppermint Pie
Fridge: Store the pie covered in the refrigerator for up to 3–4 days. Its flavors actually deepen and enhance after a day or two, making it even more delightful.
Freezer: For longer storage, wrap the pie tightly in plastic wrap and then aluminum foil before placing it in the freezer. It can be frozen for up to 1 month.
Thawing: To enjoy your frozen Christmas Peppermint Pie, transfer it to the fridge overnight to thaw gradually. This ensures the texture remains creamy and delightful.
Serving after Storage: If desired, garnish with fresh crushed candy canes and whipped cream just before serving to refresh its festive charm!
Christmas Peppermint Pie Recipe FAQs
What type of cookies work best for the crust?
I recommend using finely crushed chocolate sandwich cookies for the crust, as they provide a delicious flavor and firm base. However, you can try using graham crackers or even a pretzel crust for a unique twist!
How should I store the Christmas Peppermint Pie?
Store the pie covered in the refrigerator for up to 3–4 days. The flavors actually deepen after a day or two, making it even more delightful. If you want to keep it longer, wrap it tightly in plastic wrap and then aluminum foil before freezing it for up to 1 month.
Can I freeze Christmas Peppermint Pie?
Absolutely! To freeze, wrap the pie tightly in plastic wrap and aluminum foil to protect it from freezer burn. When you’re ready to enjoy, simply transfer it to the refrigerator overnight to thaw gradually. This method preserves its creamy texture beautifully.
What if my heavy cream doesn’t whip to stiff peaks?
If your heavy cream isn’t reaching stiff peaks, it may not be cold enough or you might be using light cream rather than heavy cream. Ensure both the bowl and the beaters are chilled, and try whipping again, taking care not to overbeat as it can turn grainy.
Is it safe for my pets?
No, this Christmas Peppermint Pie is not safe for pets due to ingredients like chocolate and cream cheese, which can be harmful. Make sure to keep it out of reach of your furry friends!
Can I adjust the mint flavor?
Certainly! If you prefer a stronger mint flavor, simply add a little more pure peppermint extract. Start with an extra 1/4 teaspoon, and taste the filling before adding more, as peppermint extract can be quite potent.
Irresistibly Easy Christmas Peppermint Pie You’ll Love
Ingredients
Equipment
Method
- Finely crush the chocolate sandwich cookies in a food processor until they resemble sand. Transfer the crumbs to a mixing bowl, and pour in the melted unsalted butter. Mix until the crumbs are evenly coated, then press into a pie plate to form an even crust. Chill in the refrigerator for 30 minutes.
- In a large bowl, beat the softened cream cheese with an electric mixer on medium speed until smooth. Gradually add the powdered sugar and peppermint extract, mixing until fluffy.
- Refrigerate another mixing bowl along with the whisk. Once chilled, pour the heavy cream into the bowl and whip on high speed until stiff peaks form, about 3-5 minutes. Be careful not to overbeat.
- Gently fold the whipped cream into the cream cheese mixture in thirds, using a spatula to combine without deflating the cream.
- Spoon the fluffy filling into the chilled chocolate cookie crust, spreading evenly. Cover with plastic wrap and refrigerate for at least 4 hours.
- When ready to serve, remove from the refrigerator and top with crushed candy canes. Optionally add whipped cream or mint sprigs.
Leave a Reply