
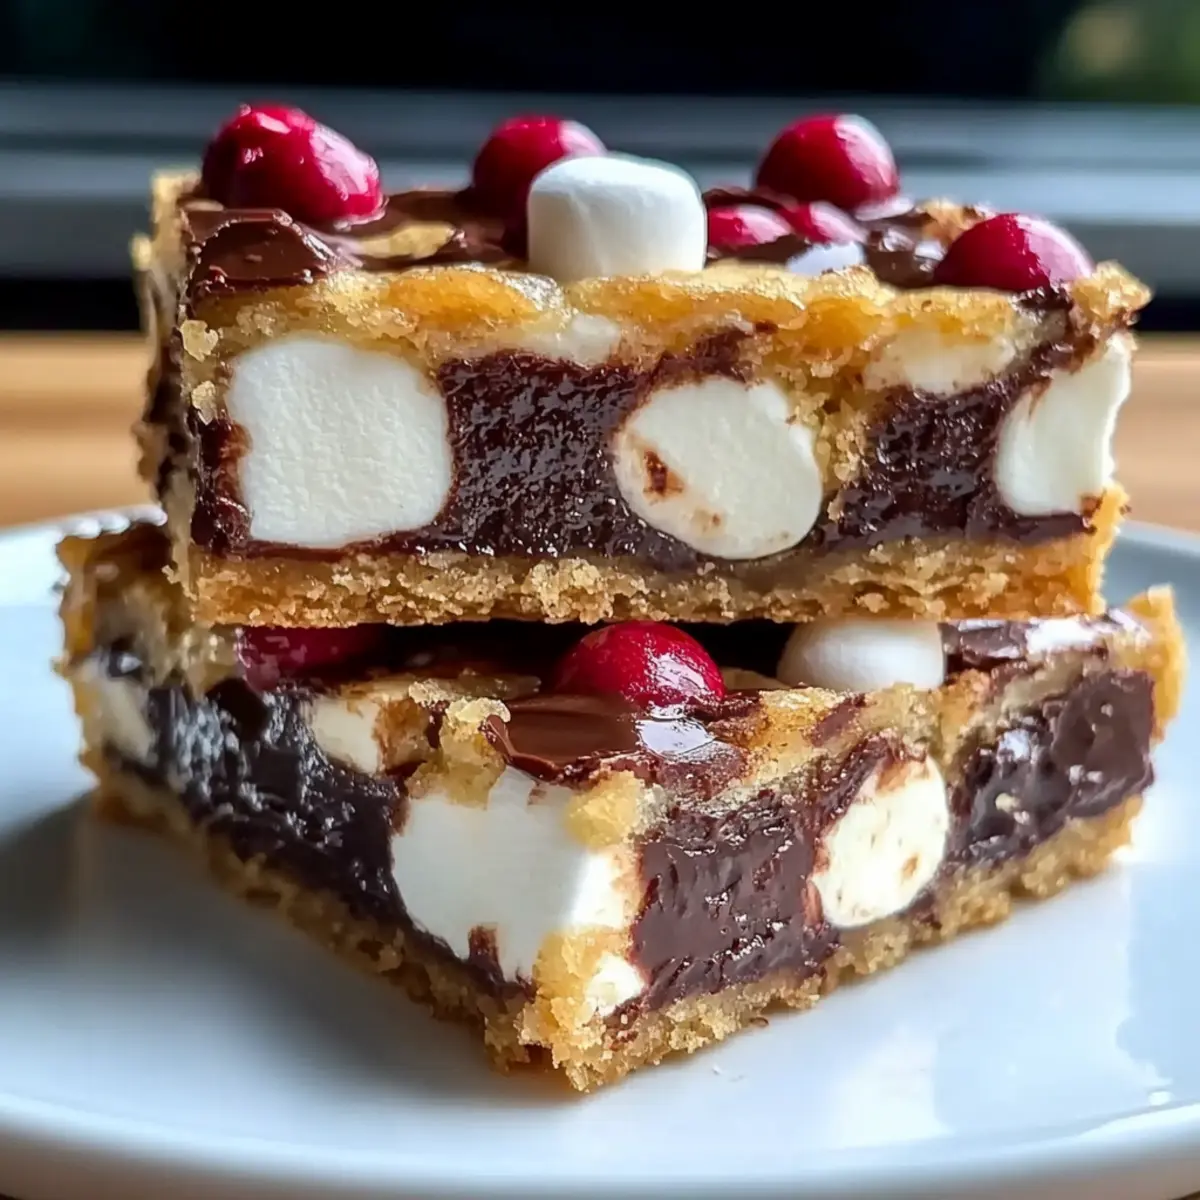
The aroma of melting chocolate and marshmallows wafts through the air, instantly transporting me to festive gatherings filled with laughter and holiday cheer. These Easy Christmas Bars are the perfect solution for anyone craving a quick, delightful holiday treat that brings everyone together. In just 45 minutes, you’ll create a customizable dessert that is not only delectable but accommodating for various dietary preferences—think nut-free, gluten-free, or even vegan adaptations! Whether you’re a seasoned home-chef or just looking to swap out fast food for something more wholesome, these bars promise a chewy, chocolatey experience that’s simply irresistible. Ready to spread some cheer with these festive delights? Let’s dive into the recipe!
Why Are These Christmas Bars So Irresistible?
Decadent and festive, these Easy Christmas Bars create a warm and inviting atmosphere perfect for holiday gatherings. Customizable to cater to dietary needs like nut-free or vegan, everyone can indulge. Quick to prepare, they come together in just 45 minutes, making them an ideal last-minute treat. Chewy and chocolatey, each bite is packed with deliciousness, leaving your guests craving more. For even more delightful options, try my Brownie Cheesecake Bars or the Gluten Free Chocolate cookies!
Christmas Bars Ingredients
-
For the Base
-
Graham Cracker Crumbs – Provides a sweet, crunchy base. Substitution: Whole graham crackers can be crushed if preferred.
-
Unsweetened Cocoa Powder – Adds rich chocolate flavor. Note: Opt for high-quality cocoa for best taste.
-
Powdered Sugar – Sweetens bars and contributes to a smooth texture. Essential for a melt-in-your-mouth experience.
-
Unsalted Butter (melted) – Binds ingredients and adds richness. Substitution: Use melted coconut oil for a dairy-free option.
-
For the Mixture
-
Sweetened Condensed Milk – Adds moisture and sweetness, key for chewy texture.
-
Mini Marshmallows – Provide a fun, chewy element. Note: Regular marshmallows can be used but mini distribute better.
-
Chocolate Chips – Extra chocolatey goodness. Substitution: Can use dark, milk, or white chocolate chips.
-
Chopped Nuts (optional) – Adds crunchy texture. Leave out for nut allergies.
Step‑by‑Step Instructions for Christmas Bars
Step 1: Preheat Oven
Start by preheating your oven to 350°F (175°C). This ensures a perfectly baked texture for your Christmas bars. While the oven heats, prepare a 9×13 inch pan by greasing it with non-stick spray or lining it with parchment paper for easy removal later.
Step 2: Mix Dry Ingredients
In a large mixing bowl, combine the graham cracker crumbs, unsweetened cocoa powder, and powdered sugar. Use a whisk to blend the dry ingredients thoroughly, ensuring there are no lumps. The mixture should look even and fine, giving the base of your Christmas bars a delightful sweetness and rich chocolate flavor.
Step 3: Incorporate Wet Ingredients
Add the melted unsalted butter and sweetened condensed milk to the dry mixture. Stir vigorously with a spatula or wooden spoon until everything is well combined. The mixture will be thick and slightly sticky, which is perfect for the chewy texture we want in these delicious Christmas bars.
Step 4: Fold in Mix-Ins
Gently fold in the mini marshmallows and chocolate chips, taking care not to crush the marshmallows. This keeps the fluffy texture intact and ensures each bite of your Christmas bars is gooey and chocolatey. If you’re using nuts, this is the time to add them in for that extra crunch.
Step 5: Bake Mixture
Pour the mixture into the prepared pan, spreading it out evenly with a spatula. Smooth the top to create an even layer. Bake in the preheated oven for 25–30 minutes. You’ll know they’re done when the edges are set and the center is slightly firm to the touch, giving you that perfect chewy consistency.
Step 6: Cool and Cut
Once baked, remove the pan from the oven and let it cool completely on a wire rack. After cooling, release the bars from the pan and cut them into squares. This prevents crumbling, allowing you to serve beautiful, uniform pieces of your delightful Christmas bars that are ready to be shared!
What to Serve with Easy Christmas Bars
Indulge in the joy of hosting this holiday season as you create a spread sure to delight your loved ones and complement your festive treats.
-
Warm Spiced Apple Cider: The comforting spices of apple cider create a cozy pairing, perfect for holiday gatherings.
-
Vanilla Ice Cream: Creamy ice cream melts beautifully over warm Christmas bars, enhancing their chewy texture with a cool, rich contrast.
-
Holiday Fruit Platter: Fresh fruits like pomegranates and oranges add a vibrant, refreshing touch that balances the sweetness of the bars.
-
Chocolate Mint Drizzle: A drizzle of chocolate mint sauce enhances the chocolatey goodness, perfect for chocolate lovers craving extra decadence.
-
Chopped Mixed Nuts: Sprinkle over the bars for a crunchy, flavorful accent. This adds a wonderful texture contrast to the chewy Christmas bars.
-
Espresso or Coffee: A rich cup of coffee amplifies the chocolate flavor, bringing a delightful warmth that’s ideal for enjoying with sweet treats.
-
Peppermint Hot Chocolate: A festive beverage that complements the bars beautifully while adding a cozy, seasonal flavor element.
-
Powdered Sugar Dusting: A simple sprinkle of powdered sugar over the bars creates a festive look and adds a touch of sweetness without overwhelming flavors.
-
Marshmallow Fluff Dip: Serve with a side of marshmallow fluff for an indulgent dipping experience, enhancing the fun, chewy elements of your Christmas bars.
Your holiday table is now set for smiles, laughter, and sweet memories!
Expert Tips for Christmas Bars
-
Butter Matters: Make sure your butter is fully melted to ensure a smooth mixing process, as this will greatly affect the consistency of your Christmas bars.
-
Don’t Rush Cooling: Let your Christmas bars cool completely in the pan before cutting. This prevents crumbling and helps maintain their chewy texture.
-
Mix-Ins Galore: Feel free to get creative! Adding unique mix-ins like dried fruit or coconut can elevate your Christmas bars to the next level.
-
Baking Time: Keep an eye on the edges; they should be set while the center remains slightly soft. This ensures a perfectly chewy texture that everyone loves.
-
Storage Savvy: Store any leftovers in an airtight container. They’ll stay fresh for several days, making them perfect for holiday snacking!
Christmas Bars: Delicious Variations Await
Get ready to awaken your creativity in the kitchen! These bars offer a fantastic opportunity to personalize your dessert with exciting flavors and dietary alternatives.
- Nut-Free Version: Omit nuts and add a few extra chocolate chips for delightful texture without the risk of allergies.
- Gluten-Free Option: Swap graham cracker crumbs with gluten-free alternatives like almond flour for a similar taste without the gluten.
- Vegan Adaptation: Replace melted butter with coconut oil and use vegan sweetened condensed milk to make these bars suitable for plant-based diets.
- Mint Chocolate Twist: Stir in a teaspoon of peppermint extract or crushed mint candies to elevate these bars with a refreshing wintery flavor.
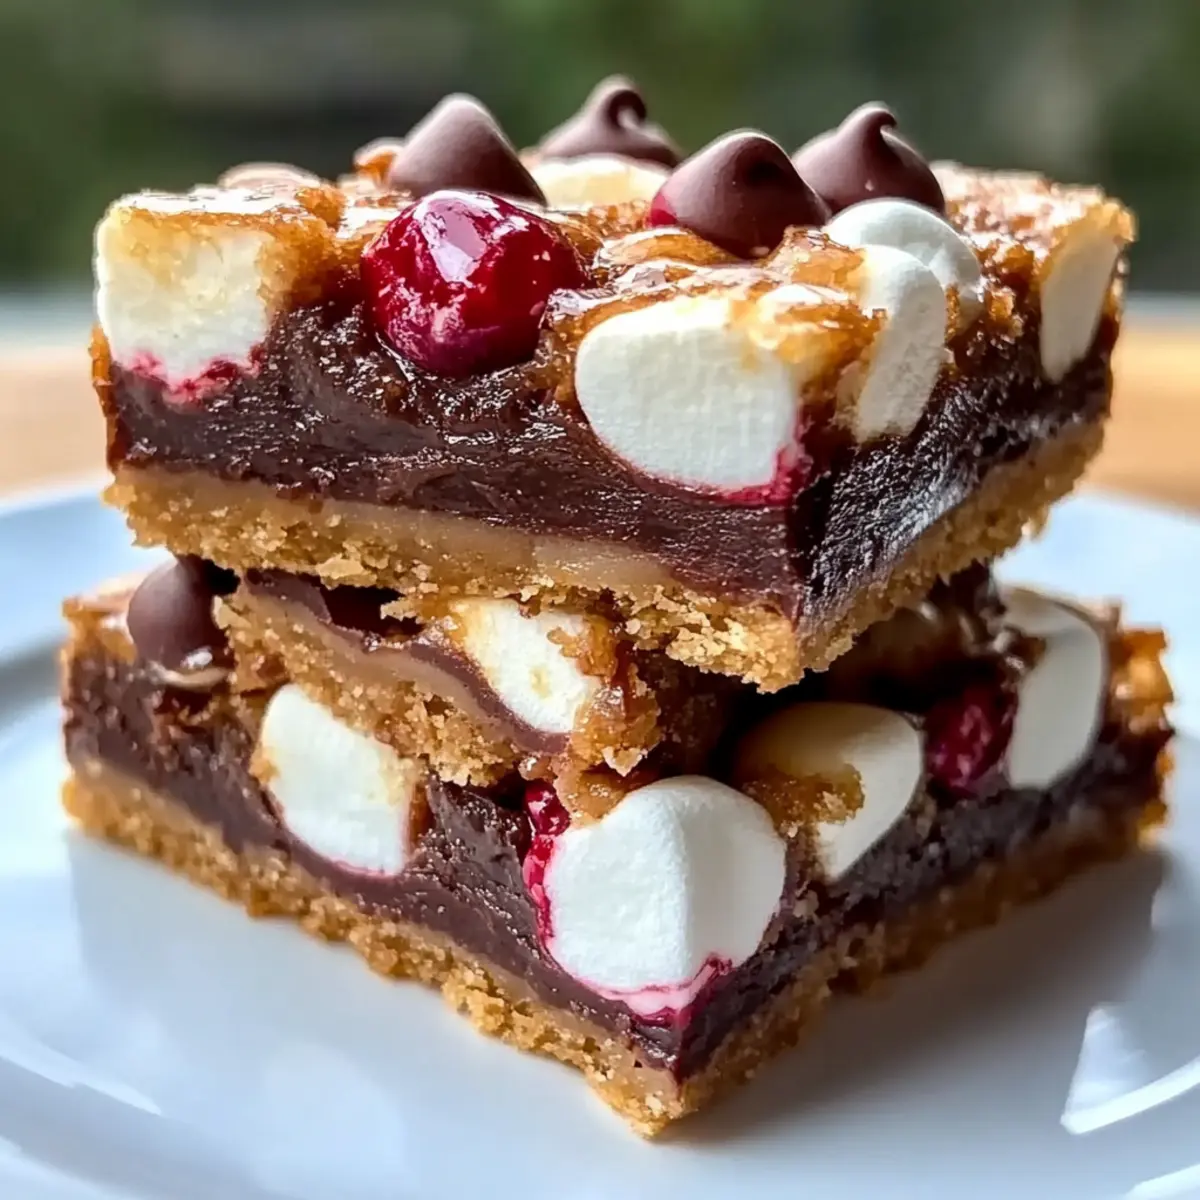
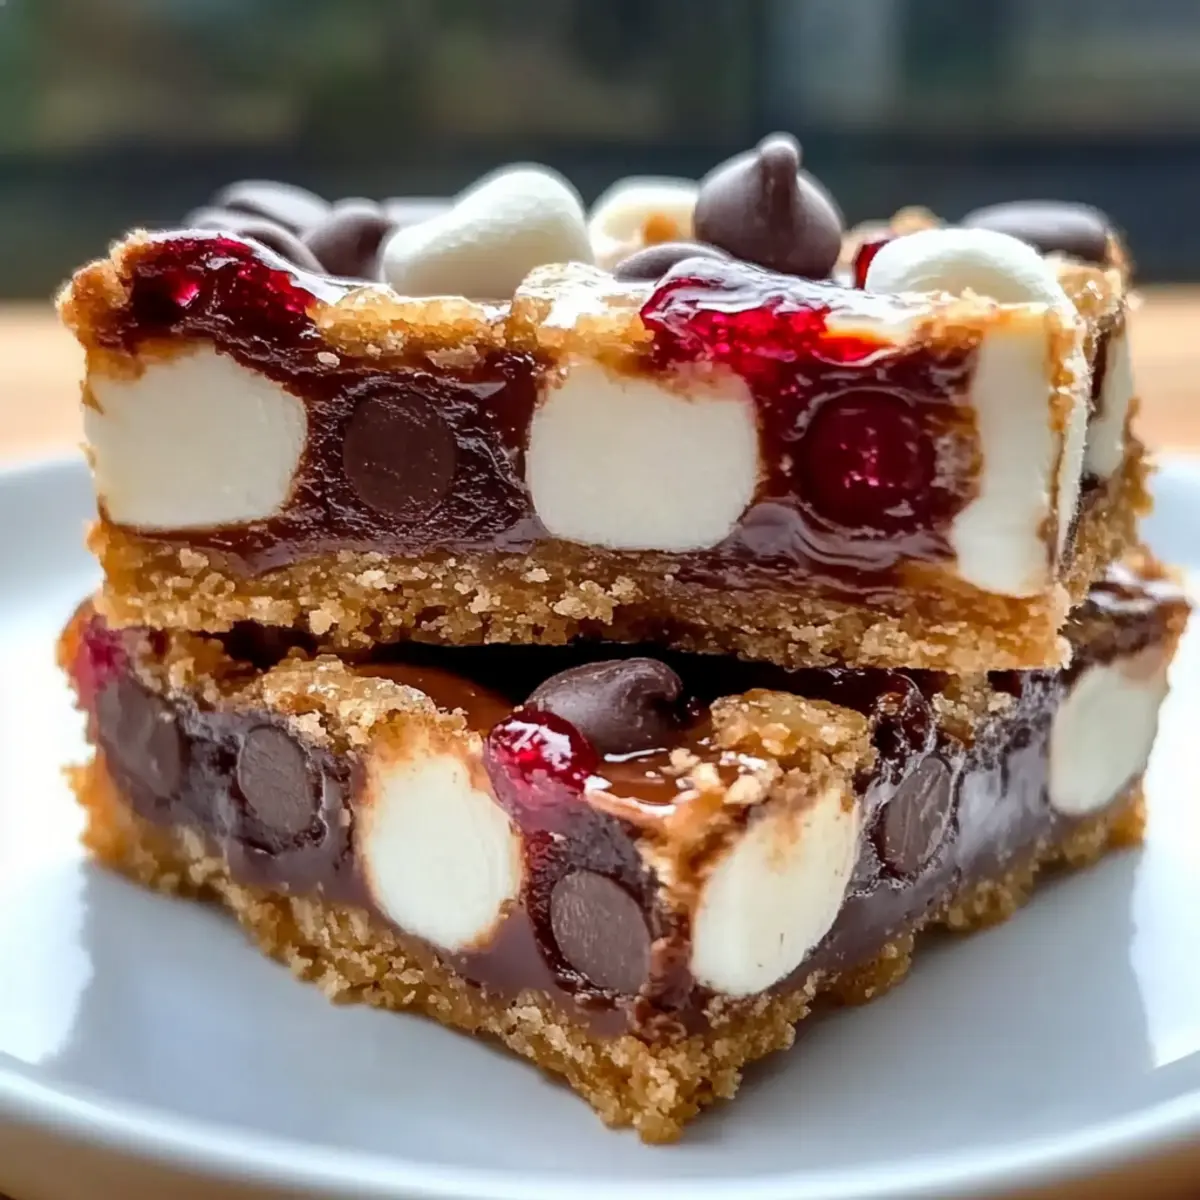
- Fruit and Nut Medley: Add dried cranberries or cherries with a mix of nuts to complement the chocolate and bring a festive zing to your bars.
- Spicy Kick: Toss in a pinch of cayenne pepper or cinnamon for a subtly spicy twist that contrasts beautifully with the sweet chocolate.
- Cookie Dough Layer: Fold in a few spoonfuls of your favorite edible cookie dough into the mixture before baking for a delightful surprise.
- S’mores Style: Top with crushed graham crackers and mini marshmallows before finishing in the oven for a tasty take on the classic campfire treat.
By switching things up, you can keep your Christmas bars fresh and exciting! For more inspirations, dive into my enchanting Brownie Cheesecake Bars or indulge in the delightful Gluten Free Chocolate cookies!
How to Store and Freeze Christmas Bars
-
Room Temperature: Store cut Christmas bars in an airtight container at room temperature for up to 3 days, keeping them chewy and delicious.
-
Fridge: If you’d like them to last longer, place bars in the refrigerator for up to 1 week. Ensure they are well-wrapped to prevent moisture loss.
-
Freezer: For longer storage, freeze wrapped Christmas bars in plastic wrap and then in foil or a freezer-safe container for up to 3 months. Thaw at room temperature before serving.
-
Reheating: If you enjoy them warm, briefly microwave thawed bars for 10-15 seconds until warm; always check to avoid overheating.
Make Ahead Options
These Christmas bars are perfect for busy home cooks looking to save time during the holiday rush! You can prep the base mixture up to 24 hours in advance; simply combine all the dry ingredients (graham cracker crumbs, cocoa powder, and powdered sugar) and store them in an airtight container. When you’re ready to bake, mix in the wet ingredients, fold in the marshmallows and chocolate chips, and bake as usual. For optimal freshness, allow the bars to cool completely before cutting and store them in an airtight container at room temperature for up to 3 days. This way, you’ll have a scrumptious, ready-to-share treat that tastes just as delightful as if made fresh in the moment!
Christmas Bars Recipe FAQs
How do I select ripe ingredients for my Christmas bars?
Absolutely! When choosing ingredients, focus on quality. For graham cracker crumbs, ensure they are fresh and not stale. If you’re using chocolate chips, opt for high-quality brands like Ghirardelli or Guittard for richer flavor. Mini marshmallows should be soft, without any hard or crystallized pieces. Always check the expiration dates on sweetened condensed milk, as freshness greatly enhances the taste.
How do I store my Christmas bars effectively?
Very! To keep your Christmas bars at their best, store them in an airtight container at room temperature for up to 3 days. If you want them to last longer, place them in the fridge where they can stay fresh for around a week. Just be sure they are well-wrapped to maintain their chewy texture and flavor.
Can I freeze my Christmas bars for later use?
Absolutely! You can freeze your Christmas bars for up to 3 months. To do this, wrap each bar in plastic wrap, ensuring it’s tightly sealed to prevent freezer burn. Next, place the wrapped bars in a freezer-safe container or bag. When you’re ready to enjoy them, just thaw them at room temperature. If you prefer them warm, microwave for about 10-15 seconds to bring back their chewy goodness.
What if my Christmas bars turn out dry or crumbly?
Don’t worry! If your bars end up dry, it could be due to overbaking or not enough wet ingredients. Make sure to watch the baking time closely; ideally, the edges should be set, and the center should be slightly soft when you take them out. To remedy crumbly bars, ensure your butter is fully melted before mixing. Adding a bit more sweetened condensed milk or even a splash of milk can also help maintain moisture in future batches.
Are these Christmas bars safe for individuals with nut allergies?
Definitely! These Christmas bars can easily accommodate nut allergies. Simply omit the chopped nuts completely, and you’re good to go. If you want to maintain that crunchy texture, consider adding an extra handful of chocolate chips, or try using seeds (like sunflower or pumpkin seeds) as a delicious alternative!
Can I make these Christmas bars vegan-friendly?
Very much so! To create a vegan version, substitute the unsalted butter with melted coconut oil and opt for a vegan sweetened condensed milk. These small adjustments ensure that your Christmas bars remain rich and delicious, allowing everyone to join in on the festive fun without compromising their dietary choices.

Decadent Christmas Bars That Will Wow Your Holiday Guests
Ingredients
Equipment
Method
- Preheat your oven to 350°F (175°C). Prepare a 9x13 inch pan by greasing it with non-stick spray or lining it with parchment paper.
- In a large mixing bowl, combine the graham cracker crumbs, unsweetened cocoa powder, and powdered sugar. Whisk to blend thoroughly.
- Add the melted unsalted butter and sweetened condensed milk to the dry mixture. Stir vigorously until well combined.
- Gently fold in the mini marshmallows and chocolate chips, taking care not to crush the marshmallows.
- Pour the mixture into the prepared pan, spreading it evenly with a spatula. Bake for 25–30 minutes.
- Let it cool completely on a wire rack, then cut into squares.
Leave a Reply