
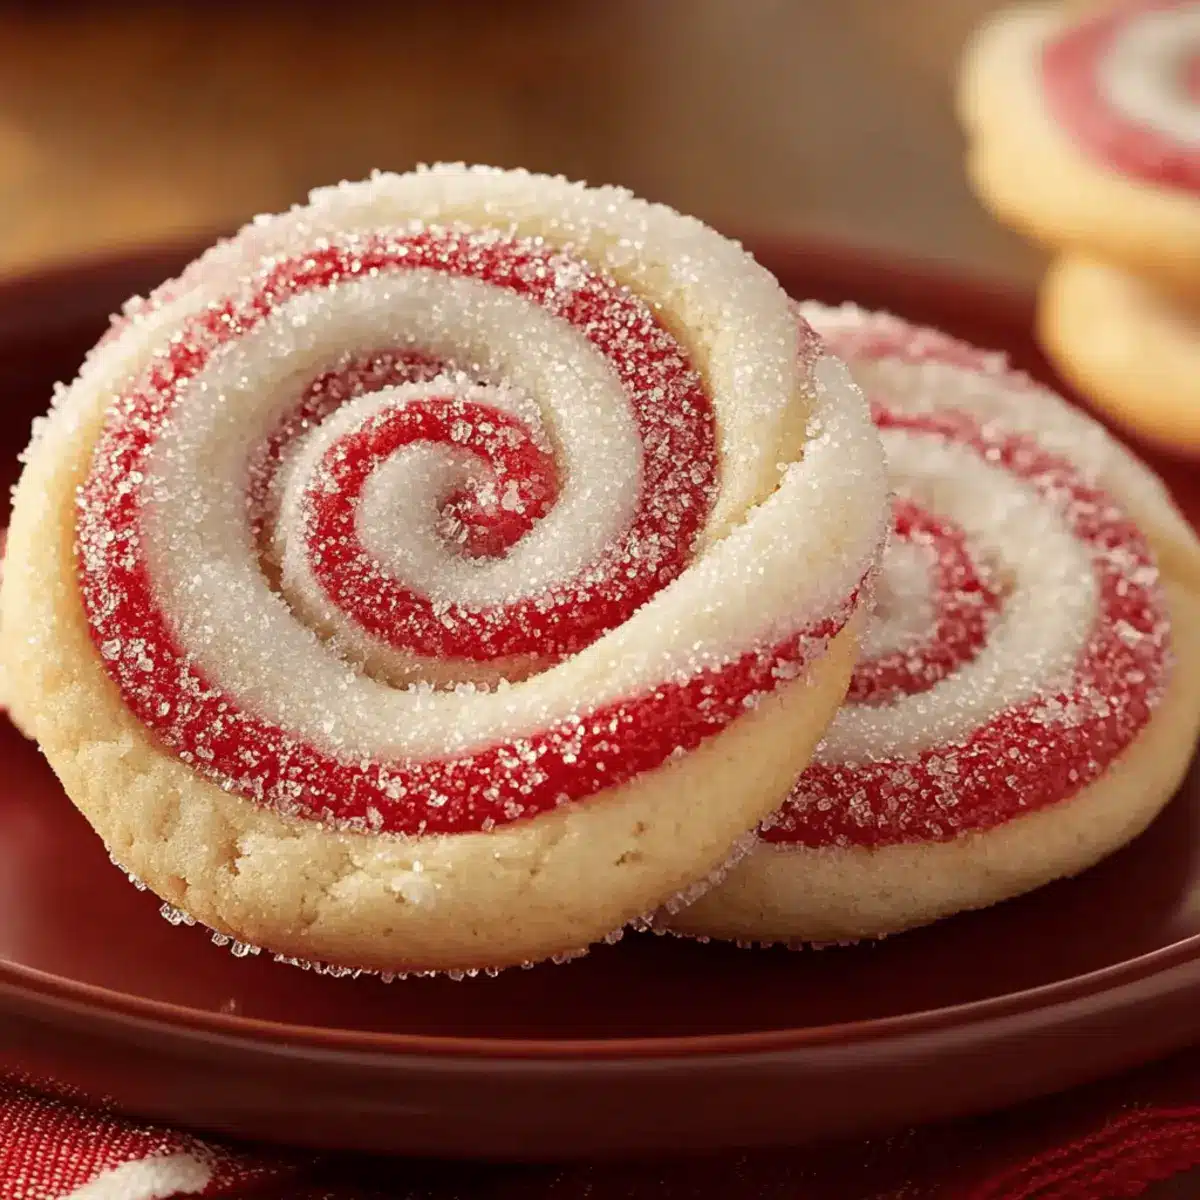
As I unwrapped a gift of cookies from my neighbor, I was greeted by the sweet, familiar aroma of peppermint—a scent that instantly ignites holiday memories. These Bakery-Perfect Peppermint Swirl Cookies not only elevate your seasonal gatherings with their stunning swirls but are also enjoyable to make, turning your kitchen into a festive wonderland. This recipe features an easy double-chilling method designed to keep those vibrant colors beautifully defined, ensuring your cookies don’t just taste good but look fabulous too! Not only are these peppermint cookies a delightful treat to share, but they also make for thoughtful gifts that warm the hearts of loved ones. Ready to impress your friends and family this holiday season? Let’s dive into the cheerful world of swirling cookie magic!
Why are Peppermint Swirl Cookies a must?
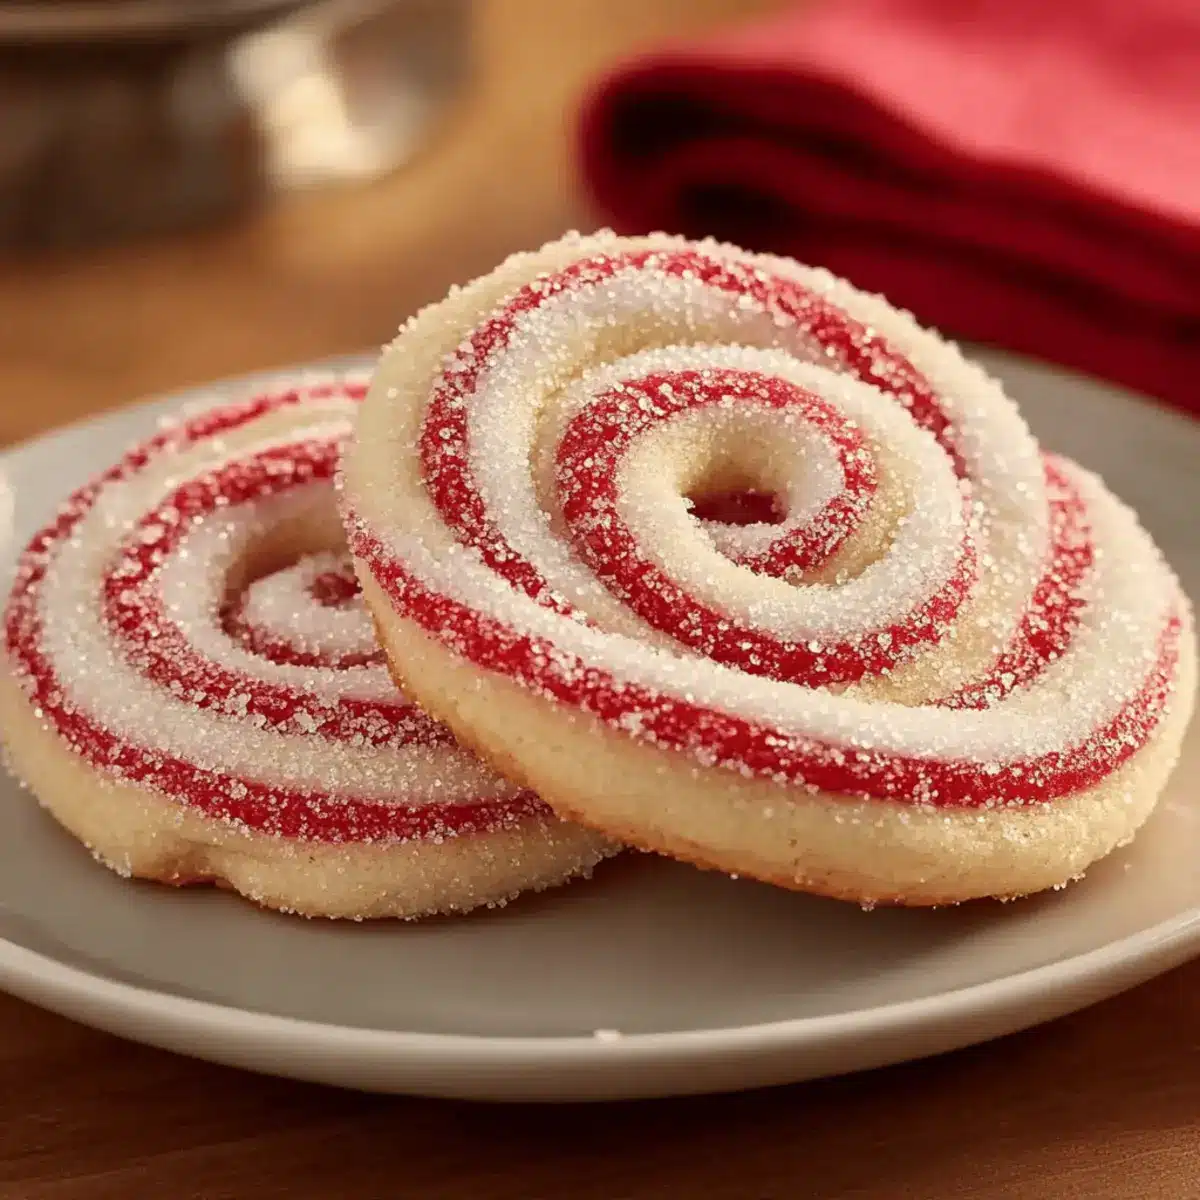
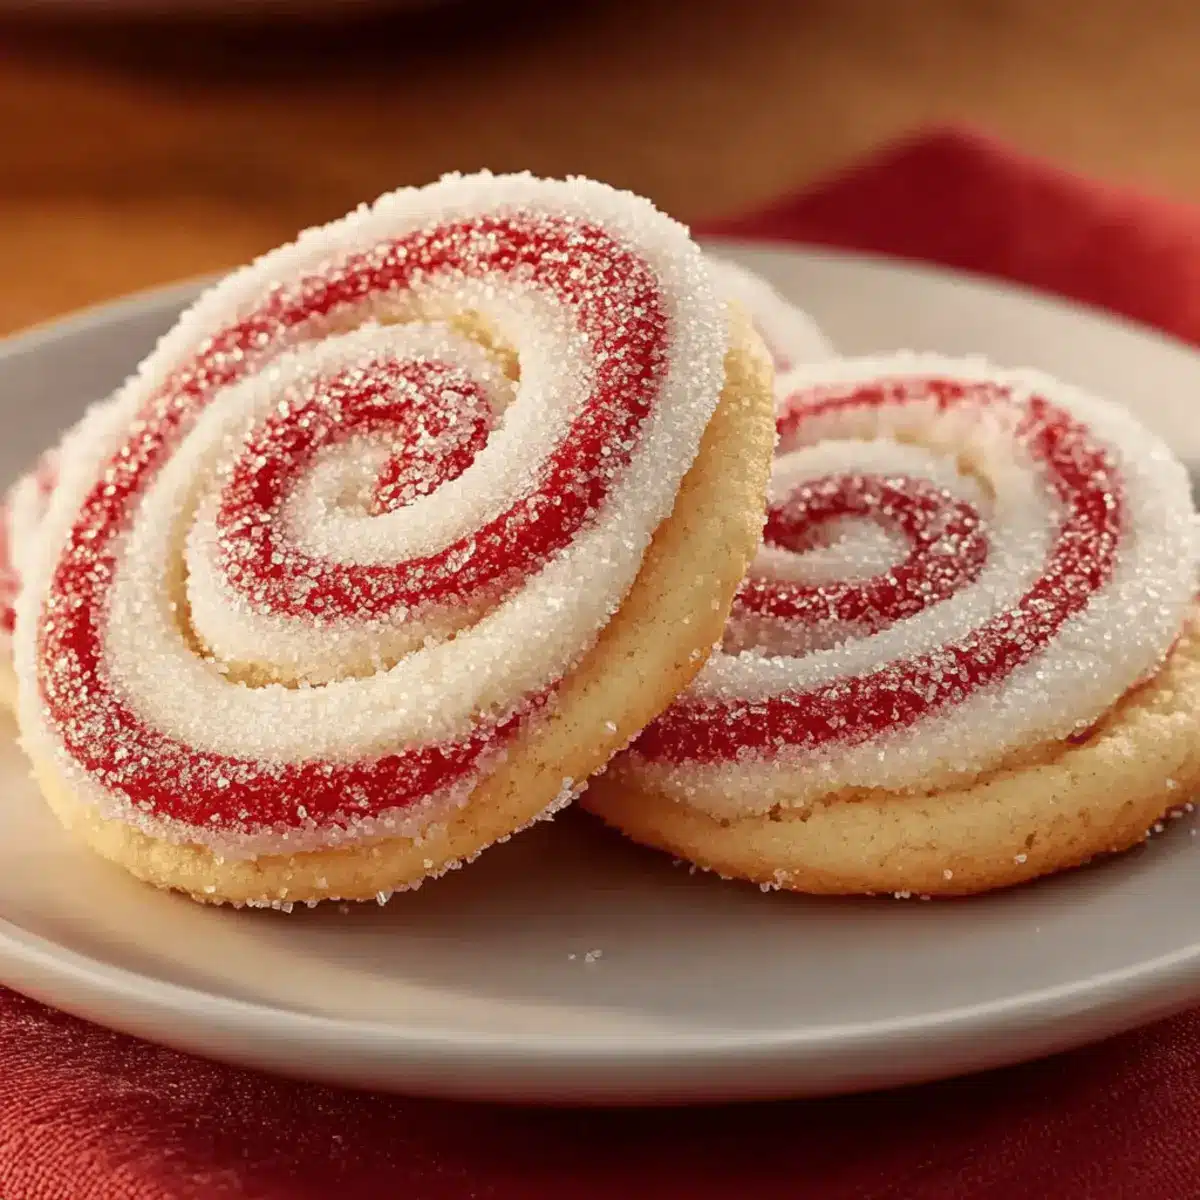
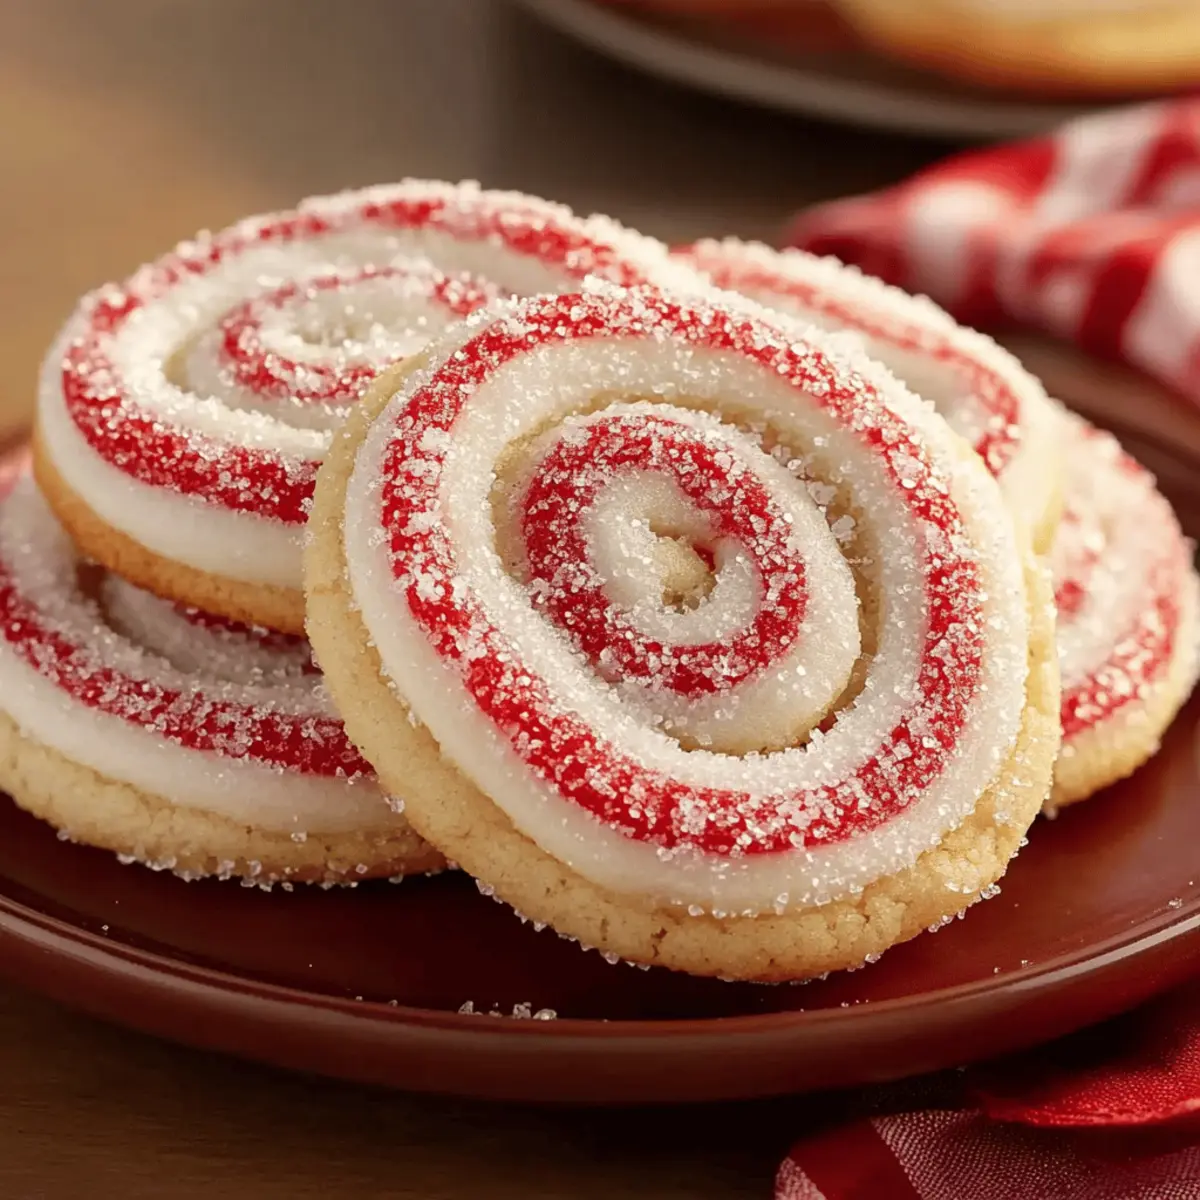
Festive Appeal: These cookies are a true holiday showstopper! The vibrant swirls and delightful peppermint flavor make them a visual and tasty treat for any gathering.
Easy to Make: With a straightforward double-chilling method, you’ll create bakery-perfect results without stress!
Versatile Options: Try variations like adding orange zest or almond extract for a unique twist!
Crowd Favorite: They pair beautifully with hot cocoa or coffee, making them a hit at holiday parties. For more delightful options, check out my Chocolate Chip Cookies or Pumpkin Chocolate Chip Cookies.
Thoughtful Gift Idea: Share the love by packaging these cookies as gifts; they’re sure to brighten anyone’s day!
Peppermint Swirl Cookies Ingredients
For the Dough
- All-purpose flour – Provides structure for the cookies; ensure accurate measurement for the best results.
- Baking powder – Acts as a leavening agent, adding a delicate lift; all-purpose gluten-free blends can be substituted.
- Salt – Enhances flavor across all ingredients.
- Unsalted butter (softened) – Crucial for a tender crumb and rich flavor; ensure it is truly softened for efficient creaming.
- Granulated sugar – Adds sweetness and contributes to fluffiness when creamed with butter.
- Large egg – Binds the dough together, contributing to the texture.
- Vanilla extract – Adds warm, aromatic depth to balance the peppermint’s intensity.
- Peppermint extract – Delivers the signature cool mint flavor characteristic of these cookies.
For Coloring
- Red gel food coloring – Provides vibrant color without affecting the dough’s consistency; avoid liquid food coloring to prevent excess moisture.
For Coating
- Coarse sugar or crushed peppermint candies – Adds sparkle and crunch to the cookie’s exterior, enhancing the festive appeal of your Peppermint Swirl Cookies.
Step‑by‑Step Instructions for Peppermint Swirl Cookies
Step 1: Prepare Dough
In a medium mixing bowl, whisk together 2 cups of all-purpose flour, 1 teaspoon of baking powder, and 1/4 teaspoon of salt. In a larger bowl, cream together 1 cup of softened unsalted butter and 1 cup of granulated sugar until light and fluffy—about 3-5 minutes. Beat in 1 large egg along with 1 teaspoon each of vanilla extract and peppermint extract, then gradually mix in the dry ingredients until just combined.
Step 2: Color Dough
Divide the prepared dough into two equal halves. Keep one half plain and in the other half, mix in a few drops of red gel food coloring, kneading the dough until the color is uniformly distributed. Aim for a vibrant red shade while ensuring the dough maintains its texture. This colorful dough will be the star feature of your Peppermint Swirl Cookies!
Step 3: Chill the Dough
Wrap each half of the dough in plastic wrap, sealing them tightly. Chill the wrapped dough in the refrigerator for at least 30 minutes. This chilling step is essential to firm up the dough and prevent any stickiness while rolling out, ensuring those striking swirls hold their shape beautifully.
Step 4: Roll Out
After chilling, flour a clean surface and roll out each dough half separately into rectangles measuring about 10 by 12 inches and 1/4 inch thick. Aim for an even thickness to ensure uniform baking. As you roll, lift the dough occasionally to prevent sticking, adding more flour as needed.
Step 5: Layer and Roll
Stack the red dough on top of the plain dough, gently pressing them together to adhere. Starting from one long side, roll the layered dough tightly into a log shape. Be sure to keep it snug without squishing the dough. Once rolled, wrap the log tightly in plastic wrap and chill it for at least 2 hours to firm it up.
Step 6: Bake Cookies
Preheat your oven to 375°F (190°C). Remove the chilled log from the refrigerator and slice it into 1/4-inch rounds using a sharp knife, being careful to avoid squishing the dough. Place the sliced cookies onto lined baking sheets and bake them for 8-10 minutes, or until the edges are lightly golden. Allow them to cool briefly on the sheets before transferring them to a wire rack to cool completely.
Make Ahead Options
These delightful Peppermint Swirl Cookies are perfect for busy home cooks looking to save time! You can prepare the dough up to 24 hours in advance by mixing and chilling it as directed. Once chilled, wrap the dough log tightly in plastic wrap and store it in the refrigerator. Additionally, for even longer prep, you can freeze the unbaked log for up to 2-3 months; just be sure to thaw it overnight in the fridge before slicing and baking. When you’re ready to enjoy these festive cookies, simply slice the chilled dough and bake as instructed. This way, you’ll have delicious, freshly baked cookies with minimal effort, making your holiday gatherings even sweeter!
Storage Tips for Peppermint Swirl Cookies
- Room Temperature: Store your Peppermint Swirl Cookies in an airtight container at room temperature for up to 5-7 days. To keep them soft, consider adding a slice of bread to the container.
- Fridge: If your home is particularly warm, you can refrigerate the cookies for added freshness. They will last about 1-2 weeks but may dry out slightly compared to room temperature storage.
- Freezer: For longer storage, freeze your baked cookies in a single layer on a baking sheet until firm. Then transfer to an airtight container or zip-top bag, where they can last up to 1 month.
- Reheating: To enjoy them warm, reheat cookies directly from the freezer in a microwave for about 10-15 seconds or in a preheated oven at 350°F (175°C) for 5-7 minutes.
Expert Tips for Peppermint Swirl Cookies
- Chill Thoroughly: Ensure each dough half is well-chilled for at least 30 minutes. This prevents stickiness and helps maintain the vibrant swirls during baking.
- Avoid Overworking: Combine the dough and flour mixture gently; overmixing can lead to tough cookies, diminishing the melt-in-your-mouth experience.
- Sharp Knife Needed: Use a sharp knife for slicing the log. This helps achieve clean, defined edges that keep the cookie swirls intact.
- Rotate Baking Sheet: Midway through baking, rotate your baking sheet for even cooking. This ensures all cookies come out perfectly golden and delicious.
- Storage Savvy: Keep leftover Peppermint Swirl Cookies in an airtight container at room temperature to maintain their freshness and delightful texture.
What to Serve with Peppermint Swirl Cookies
Looking to create the perfect dessert spread that complements these festive delights? Let’s explore what pairs beautifully with these colorful cookies!
-
Hot Cocoa: The rich, creamy flavors of hot cocoa are a match made in heaven, enhancing the peppermint essence of the cookies. Enjoying them together will wrap you in a cozy blanket of warmth.
-
Coffee: A classic choice, brewed coffee’s bold flavors contrast beautifully with the sweetness of the cookies, making each bite even more delightful.
-
Vanilla Ice Cream: The creamy and cool texture of vanilla ice cream creates a heavenly mouthfeel when paired with the chewy cookies, elevating your dessert experience.
-
Peppermint Bark: For those who can’t get enough peppermint, serve up some chocolatey peppermint bark as a crunchy counterpoint to the cookies’ soft texture.
-
Fruit Salad: A fresh fruit salad can brighten the palette with its tart and sweet notes, offering a refreshing balance to the sweet, rich flavors of the cookies.
-
Eggnog: Whether it’s spiked or non-alcoholic, the creamy spice of eggnog is a festive drink that complements the cookie’s minty burst, perfect for holiday gatherings.
Peppermint Swirl Cookies Variations
Unlock new flavors and designs with these delightful twists, guaranteed to excite your taste buds!
-
Chocolate Peppermint: Add 1/2 cup of cocoa powder to one half of the dough for a chocolatey delight. The rich cocoa and mint create a heavenly blend!
-
Citrus Twist: Zest one orange or lemon into the dough for a refreshing citrus note. This brightens the flavor profile and adds a fragrant aroma.
-
Nuts Galore: Incorporate 1/2 cup of finely chopped nuts like walnuts or pecans into the plain dough. They’ll give each bite a deliciously crunchy texture.
-
Adjust Cookie Size: Make bite-sized treats by rolling smaller dough balls. Remember to adjust the baking time for these adorable little bites!
-
Spicy Heat: For a little warmth, add 1/4 teaspoon of cayenne pepper or chili powder to the dough. The surprising heat complements the cool peppermint beautifully!
-
White Chocolate Drizzle: After cooling, drizzle melted white chocolate over the cookies for an extra dash of sweetness and a stunning presentation.
-
Candy Cane Crunch: Instead of crushed peppermint candies, blitz a few candy canes for a delightful nod to the holiday season. The added texture provides that perfect little crunch.
For more delightful cookie creations, don’t miss my Brown Sugar Cookies or my favorite festive Tiramisu Sandwich Cookies!
Peppermint Swirl Cookies Recipe FAQs
What is the best way to select peppermint extract?
Absolutely! When choosing peppermint extract, look for pure extracts rather than imitation ones, as they provide a stronger, more authentic flavor. Check the ingredients list to ensure it’s alcohol-free if that’s a concern for you. I personally prefer using brands that emphasize natural ingredients.
How should I store leftover Peppermint Swirl Cookies?
To maintain their freshness, store your Peppermint Swirl Cookies in an airtight container at room temperature for up to 5-7 days. To keep them soft, add a slice of bread inside the container; this method helps maintain moisture without affecting the cookie texture.
Can I freeze the unbaked dough for Peppermint Swirl Cookies?
Yes, you can! To freeze the unbaked dough, wrap the log tightly in plastic wrap and then in aluminum foil to protect against freezer burn. This way, it can be stored for up to 2-3 months. When you’re ready to bake, simply thaw it in the refrigerator overnight before slicing and baking as directed.
What should I do if the dough is too sticky to roll out?
Very! If you find that your dough is too sticky, don’t fret! Chill it for another 15-30 minutes in the refrigerator. This extra time in the cold will help firm it up, making it easier to roll. If it remains sticky, dust your work surface and rolling pin with a little extra flour to assist in rolling out the dough.
Can I make these cookies gluten-free?
Absolutely! You can substitute the all-purpose flour with a good-quality all-purpose gluten-free blend, ensuring the blend contains xanthan gum for texture. Keep in mind that results might vary slightly, but these cookies can still turn out delicious!
Delicious Peppermint Swirl Cookies to Brighten Your Holidays
Ingredients
Equipment
Method
- Prepare Dough: In a medium mixing bowl, whisk together the flour, baking powder, and salt. In a larger bowl, cream the butter and sugar until light and fluffy. Beat in the egg, vanilla extract, and peppermint extract, then gradually mix in the dry ingredients.
- Color Dough: Divide the prepared dough into two halves. Keep one half plain and color the other with red gel food coloring.
- Chill the Dough: Wrap each half in plastic wrap and chill for at least 30 minutes.
- Roll Out: Flour a surface and roll out each dough half into rectangles. Aim for an even thickness.
- Layer and Roll: Stack the red dough on the plain dough, roll tightly into a log, and chill for 2 hours.
- Bake Cookies: Preheat the oven, slice the log into rounds, place onto baking sheets, and bake for 8-10 minutes.
Leave a Reply