
As I stirred the creamy mixture of non-dairy vanilla pudding, the enticing aroma of freshly baked cookies filled my kitchen. It wasn’t long before I had the perfect luxurious Banana Pudding, a crowd-pleasing dessert that doesn’t hold back on flavor or healthiness! This Gluten Free and Dairy Free Banana Pudding features layers of rich vanilla pudding and sweet, ripe bananas, all cradled by crunchy, homemade gluten-free wafers. I love how easy this recipe is—perfect for those busy weekdays or a last-minute gathering. Plus, it’s a guilt-free treat made with wholesome ingredients, ensuring you can indulge without compromise. Ready to create a dessert that will impress everyone, even those who aren’t gluten or dairy-free? Join me on this delightful baking adventure and let’s transform simple ingredients into a delicious home-cooked classic!
Why is Banana Pudding So Irresistible?
Creamy Layers: Each spoonful offers a velvety texture from the lush non-dairy vanilla pudding, perfectly complemented by sweet, ripe bananas.
Homemade Goodness: With the crunch of gluten-free wafers baked from scratch, you’ll savor the freshness in every layer, eliminating those boxed mix disappointments.
Healthier Indulgence: Guilt-free and made with wholesome ingredients, this dessert proves that you can enjoy a delightful treat without compromising your diet needs.
Versatile Delight: Feel free to experiment by adding layers of berries for an extra fruity twist or consider a chocolate pudding version for chocolate lovers.
Quick and Easy: This quick recipe makes it perfect for busy schedules, allowing you to whip up an impressive dessert without the hassle.
Perfect for family gatherings, this treat will charm guests of all ages, transforming your meal into a memorable experience. If you’re also a fan of unique dessert twists, be sure to check out our Cinnamon Roll Banana or Pumpkin Chocolate Chip recipes!
Ingredients for Banana Pudding
For the Wafer Cookies
- Vegan Butter – Provides richness and creaminess; substitute with coconut oil for a dairy-free alternative.
- Maple Sugar (Powdered) – Adds sweetness with a hint of caramel flavor; can be swapped with coconut sugar or agave syrup if desired.
- Eggs (Whole and Whites) – Provide structure and stability to the cookies; for vegan options, replace with ground flaxseed or chia seeds mixed with water.
- Gluten Free Pastry Flour Mix – Gives structure to the cookies; any gluten-free flour blend can be used.
- Coconut Milk Powder – Enhances creaminess and adds coconut flavor; can be replaced with more non-dairy milk if needed.
- Salt and Baking Soda – Enhance flavors and support baking; no substitutes needed.
For the Vanilla Pudding
- Non-Dairy Milk – Acts as the base for the pudding; almond or soy milk can serve as substitutes.
- Vanilla Extract and Vanilla Bean Powder – Impart deep vanilla flavor; use pure vanilla extract for the best taste.
- Arrowroot Flour – Used as a thickener for the pudding; cornstarch can be used as an alternative.
- Sliced Bananas – Provide natural sweetness and texture; ensure they are ripe for optimal flavor.
Every bite of this delicious banana pudding will remind you just how decadent and satisfying homemade desserts can be!
Step‑by‑Step Instructions for Creamy Gluten Free Dairy Free Banana Pudding
Step 1: Prepare Gluten Free Wafer Cookies
Preheat your oven to 325°F (160°C). In a mixing bowl, cream together the vegan butter and half of the powdered maple sugar until smooth and fluffy. In a separate bowl, whisk the eggs with the remaining sugar until combined. Gradually add the egg mixture to the butter mixture, stirring until well blended. Mix in the vanilla extract, coconut milk powder, gluten-free pastry flour, salt, and baking soda until a thick batter forms.
Step 2: Bake the Cookies
Scoop small dollops of the cookie batter onto a baking sheet lined with parchment paper, spacing them about two inches apart. Bake in your preheated oven for 15-18 minutes, or until the cookies turn golden brown and firm to the touch. Once done, remove from the oven and allow the cookies to cool completely on a wire rack, which will help them crisp up nicely.
Step 3: Prepare Dairy Free Vanilla Pudding
In a medium saucepan, heat your non-dairy milk over medium heat until it’s just about to boil. While the milk heats, whisk together the egg yolks, remaining maple sugar, vanilla extract, and a pinch of salt in a separate bowl until creamy and light. Carefully pour the hot milk into the egg mixture, whisking continuously to temper the eggs, then return the mixture to the saucepan.
Step 4: Thicken the Pudding
Cook the pudding mixture over medium-low heat, stirring constantly for 5-8 minutes, or until it thickens to a custard-like consistency. Once thickened, remove from heat and stir in the vegan butter until completely melted and combined. Transfer the pudding to a bowl, cover it to prevent a skin from forming, and let it cool completely in the refrigerator or over a bowl of ice water.
Step 5: Assemble Banana Pudding
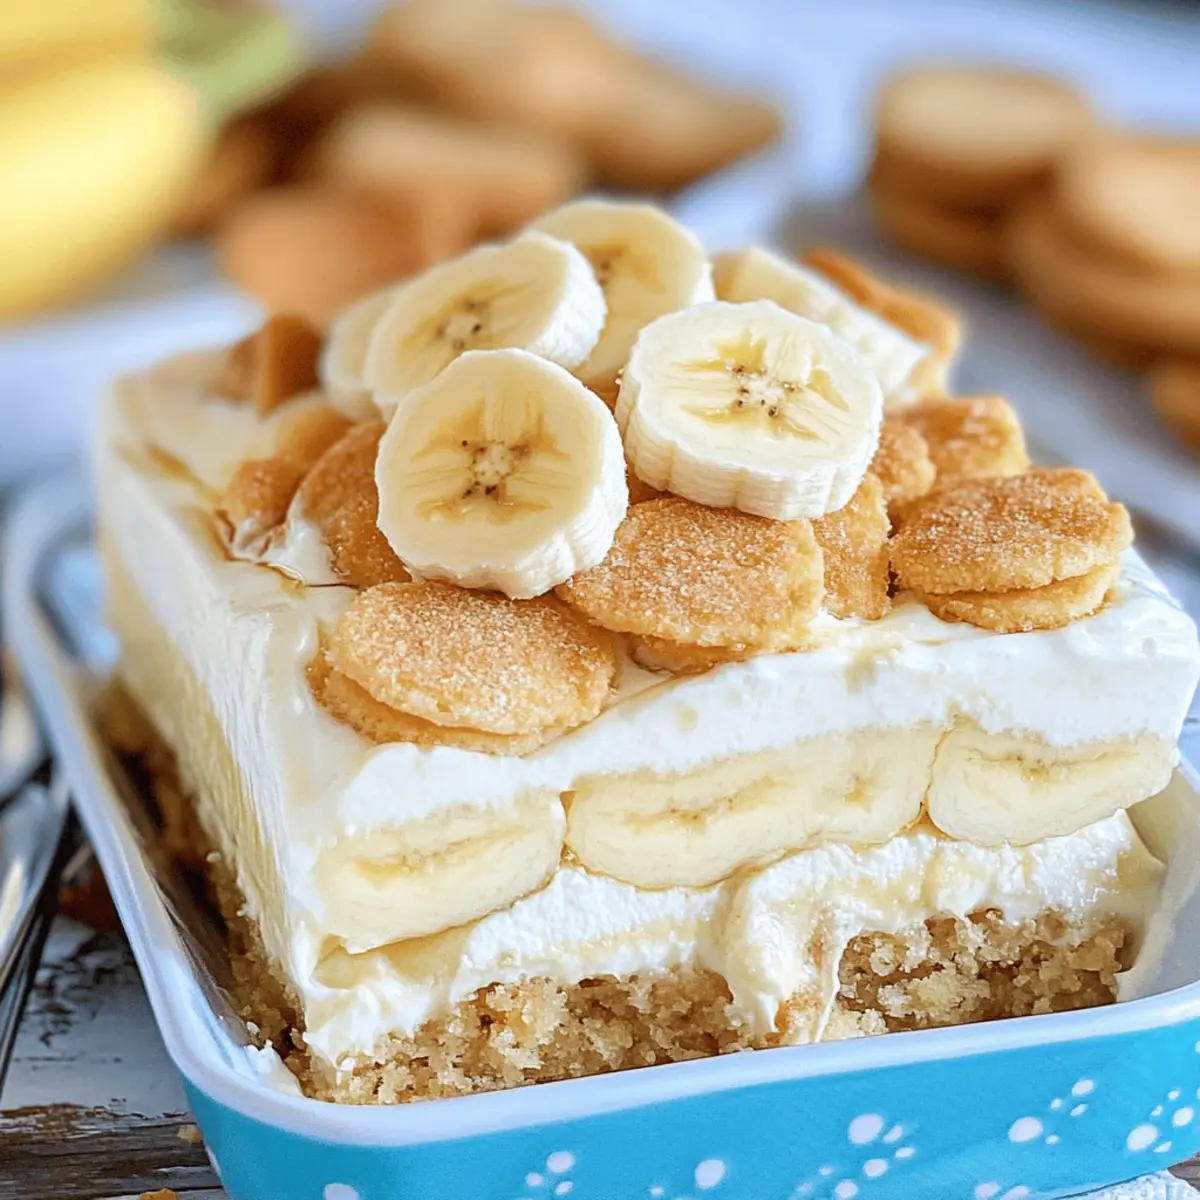
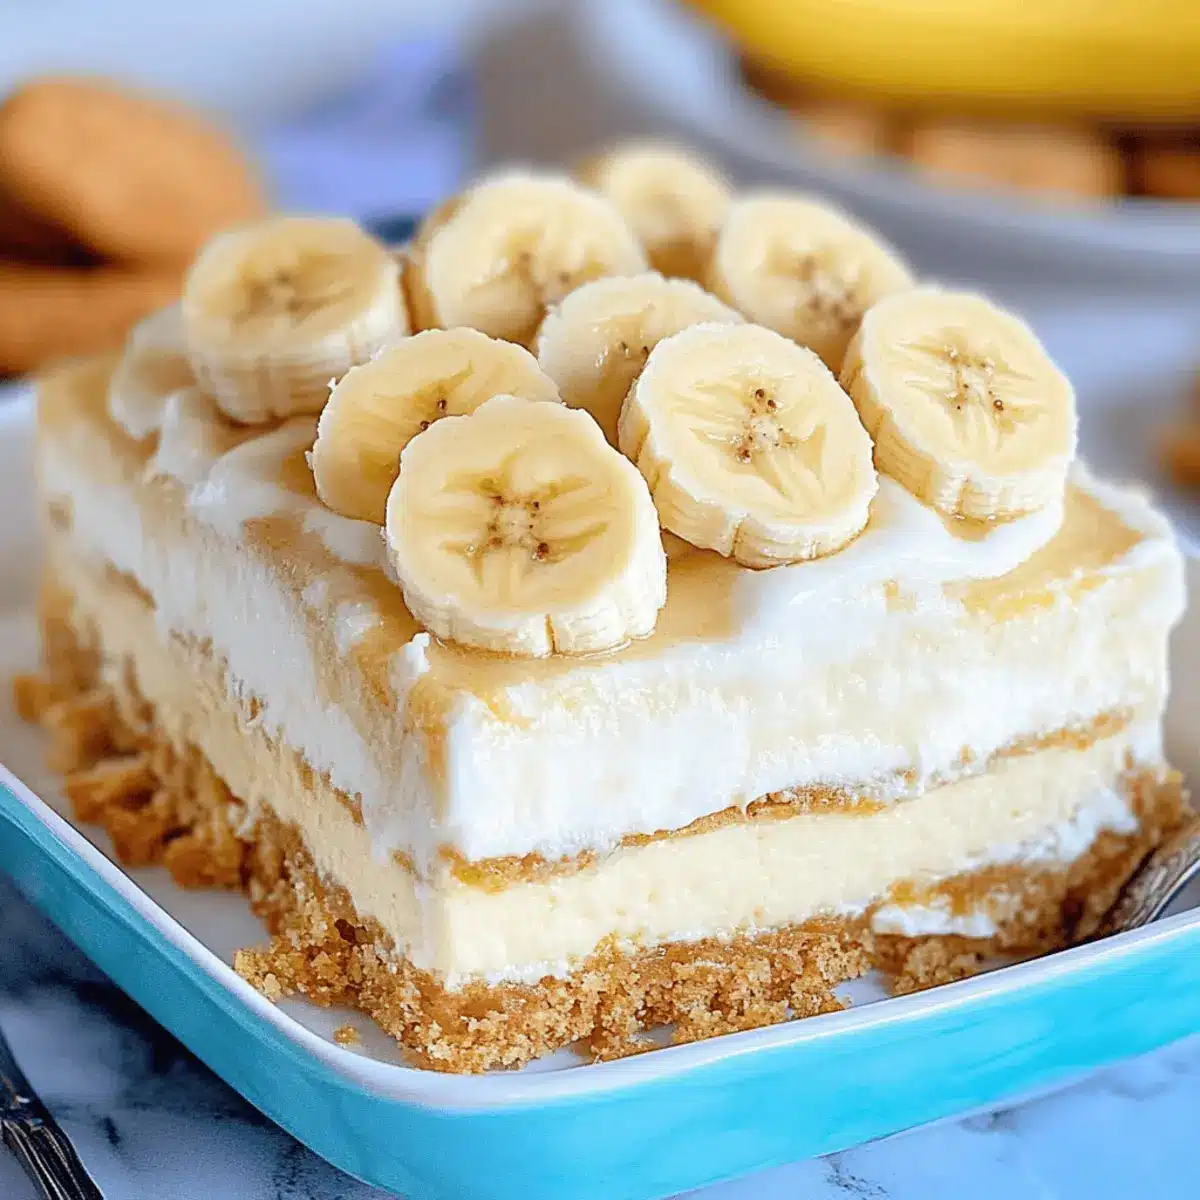
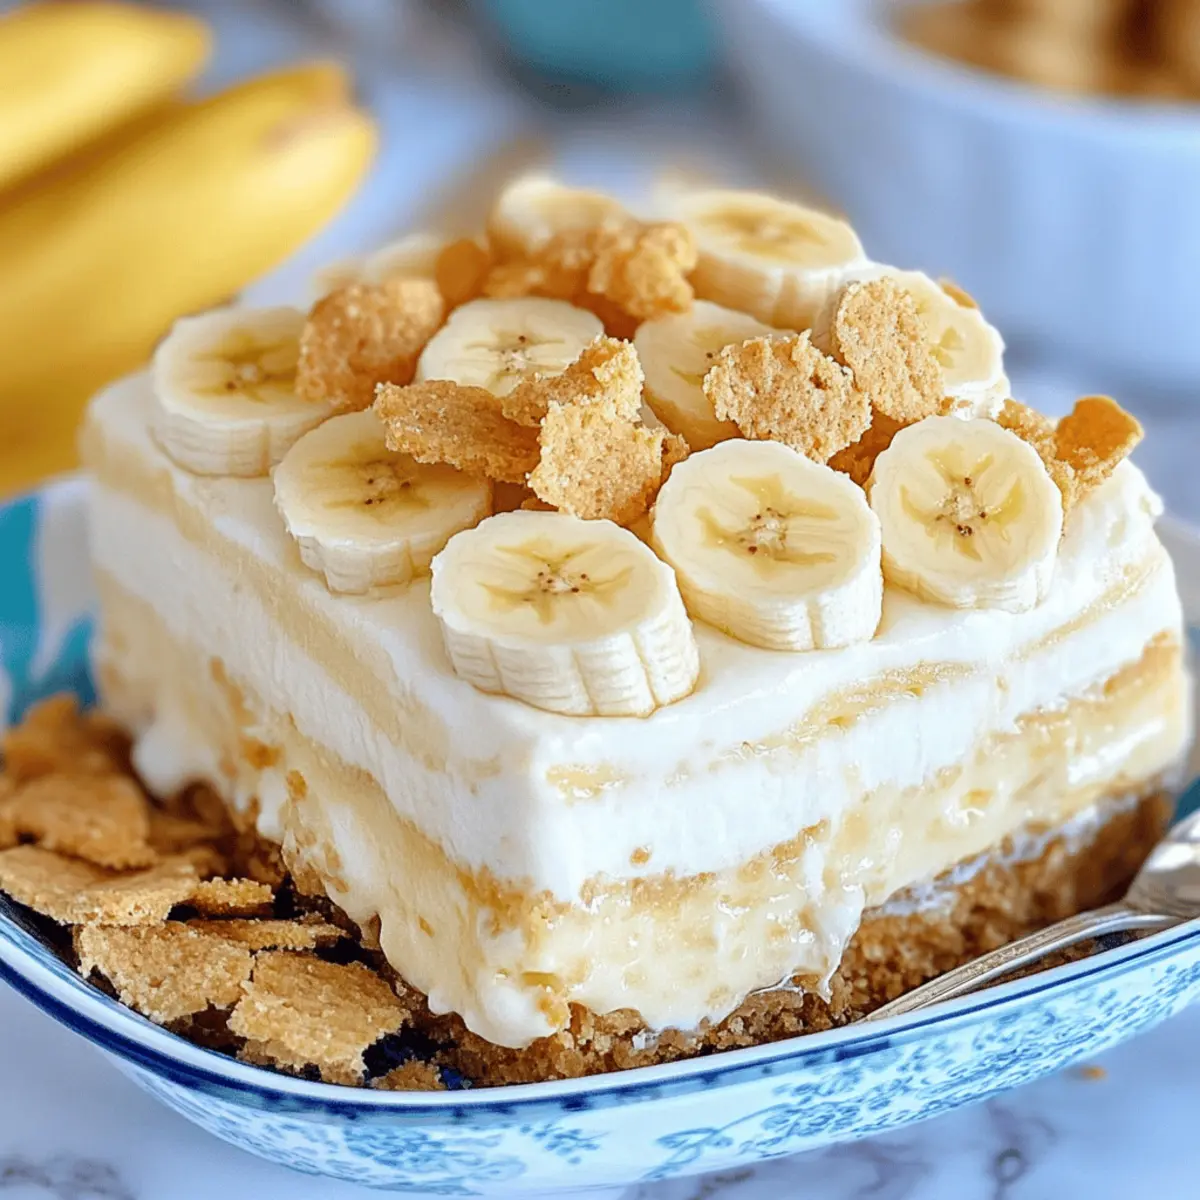
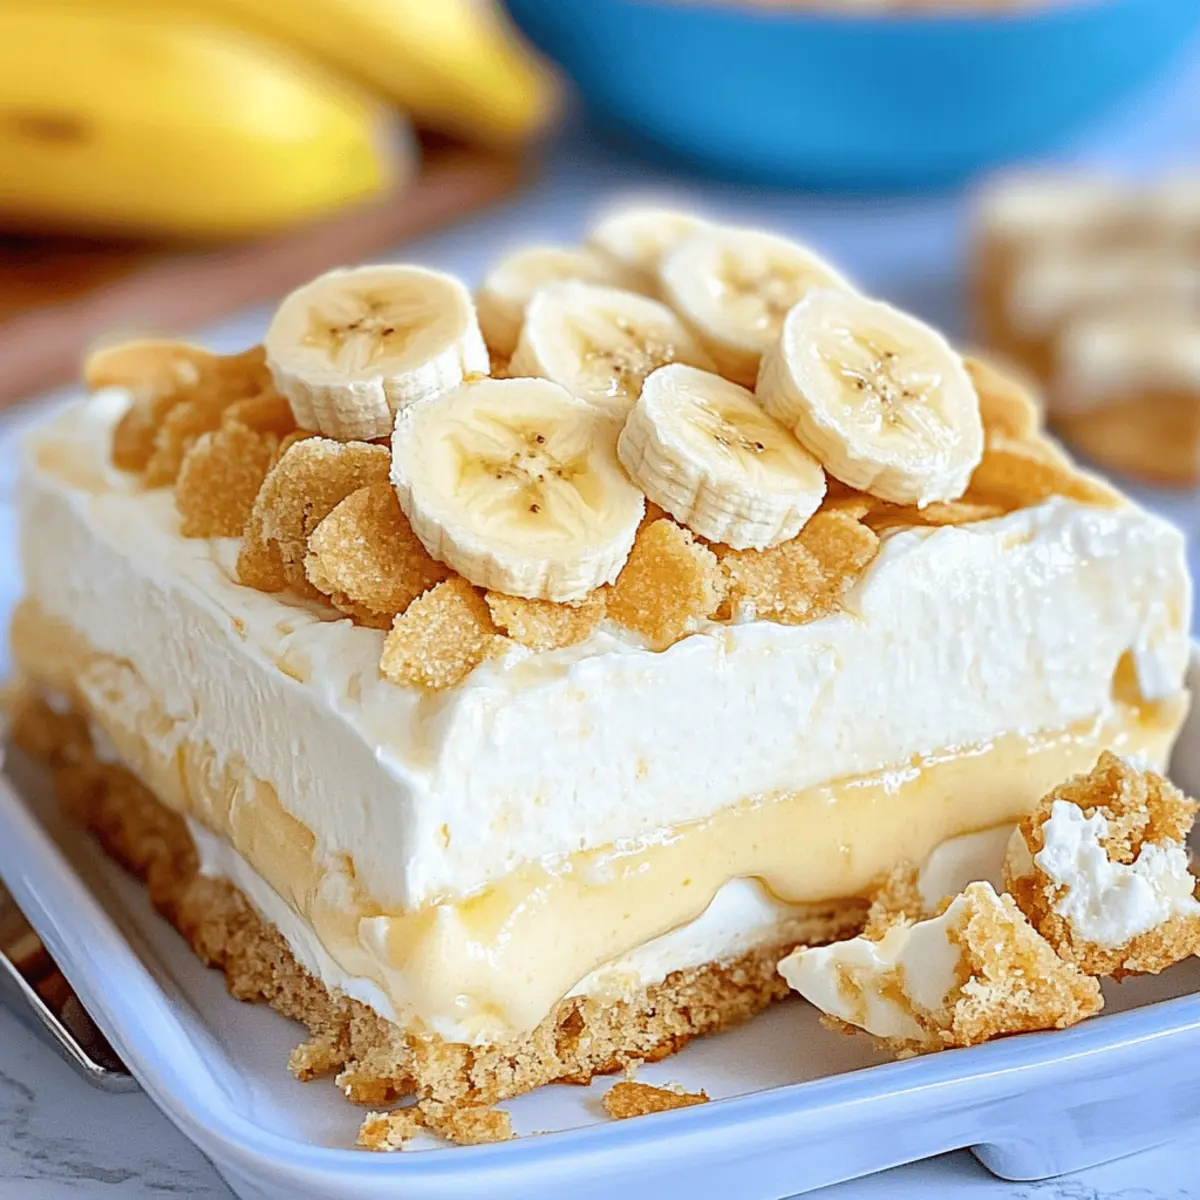
Select a 9×13 inch dish for the assembly of your banana pudding. Start by laying down a single layer of the homemade gluten-free wafer cookies. Top this layer with half of the sliced bananas, followed by half of the cooled vanilla pudding. Repeat the layering process with the remaining cookies, bananas, and pudding, finishing with a layer of pudding on top.
Step 6: Chill and Serve
Cover the assembled banana pudding with plastic wrap, ensuring it is airtight to keep the layers fresh. Refrigerate for at least 4-5 hours or overnight, allowing all the flavors to meld together beautifully. When ready to serve, slice into portions and enjoy a delectable dish of creamy gluten-free and dairy-free banana pudding that’s sure to impress your family and friends!
Expert Tips for Perfecting Banana Pudding
-
Choose Ripe Bananas: Ensure your bananas are very ripe for optimal sweetness and flavor, enhancing the taste of your banana pudding.
-
Tempering Eggs: When adding hot milk to the eggs, do it slowly to prevent cooking the eggs too quickly, avoiding a scrambled texture.
-
Chill Time Matters: Allow your pudding to chill adequately before assembling; this helps achieve a velvety texture that complements the other layers beautifully.
-
Cookie Consistency: Make sure not to overbake your gluten-free wafer cookies; they should be golden brown but still soft to retain the right crunch in your banana pudding.
-
Storage Tips: Cover your banana pudding tightly in the refrigerator to prevent any skin from forming and keep it fresh for up to 4-5 days.
Banana Pudding Variations & Substitutions
Feel free to personalize your banana pudding experience with these delightful twists and alternatives!
- Dairy-Free: Substitute regular milk with almond or coconut milk to maintain the creamy texture without dairy.
- Sweetener Swap: Use agave syrup instead of maple sugar for a different sweet profile, perfect for those who prefer less sugar.
- Gluten-Free Flour: Any gluten-free flour blend will work, so grab what you have on hand for those crispy wafer cookies.
- Fruit Fusion: Add layers of berries, like strawberries or raspberries, for a colorful burst of flavor that complements the banana.
- Chocolate Lover’s Delight: Replace the vanilla pudding with chocolate pudding for an indulgent twist that chocolate lovers will adore.
- Creamy Coconut: Mix in coconut cream with your pudding for an extra layer of tropical flavor; it pairs beautifully with the bananas.
- Nutty Crunch: Sprinkle some chopped nuts, like pecans or walnuts, between layers for added texture and delightful crunch.
- Heat It Up: Add a pinch of cayenne pepper or cinnamon to the pudding mixture for a surprising hint of warmth that elevates the flavor profile.
By incorporating any of these variations, you’ll create a banana pudding that’s uniquely yours! If you’re in the mood for more adventurous dessert ideas, don’t miss our Cinnamon Roll Banana or Pumpkin Chocolate Chip recipes. Enjoy your tasty journey!
Make Ahead Options
These Creamy Gluten Free Dairy Free Banana Pudding layers are a godsend for busy home cooks looking to save time! You can prepare the gluten-free wafer cookies up to 3 days in advance — simply bake them, allow them to cool completely, then store them in an airtight container to maintain their crunch. The vanilla pudding can also be made up to 24 hours ahead; just let it chill in the refrigerator in a covered bowl to prevent a skin from forming. When it’s time to serve, simply layer the cookies, bananas, and pudding as directed, and you’ll have a delightful dessert ready in no time! Enjoy the luxury of a homemade banana pudding that’s just as delicious and time-efficient!
Storage Tips for Banana Pudding
Fridge: Keep your banana pudding stored in an airtight container for up to 4-5 days to maintain its creamy texture and fresh flavor.
Banana Freshness: If using fresh bananas, consume within 2 days for the best taste and to avoid browning, as they can spoil faster in this dessert.
Layer Separation: For optimal freshness, consider layering components separately if storing ahead of time—assemble just before serving to maintain freshness.
Reheating: This dish is best served chilled; however, if you want to enjoy the layers warm, gently reheat individual servings in the microwave for about 10-15 seconds.
What to Serve with Creamy Gluten Free Dairy Free Banana Pudding
As you prepare to indulge in the delightful layers of your homemade banana pudding, consider these complementary dishes that will complete your meal with flavor and warmth.
-
Coconut Rice: This subtly sweet side enhances the rich flavors of the pudding, providing a lovely tropical note.
-
Fresh Berries: A medley of strawberries, blueberries, or raspberries will brighten your plate and add a refreshing tartness to balance the sweet pudding.
-
Chilled Mint Lemonade: The zesty and invigorating flavor of mint lemonade offers a burst of freshness, making it a perfect thirst-quencher alongside the creamy dessert.
-
Roasted Vegetables: The earthy, caramelized flavors of roasted seasonal vegetables add a comforting, savory contrast to the sweetness of the banana pudding. Think carrots and sweet potatoes!
-
Almond Biscotti: Crunchy and slightly nutty, these cookies pair perfectly, complementing the pudding while providing an enjoyable texture contrast.
-
Chocolate Drizzle: A quick drizzle of dairy-free chocolate sauce over the pudding adds rich depth and an extra touch of decadence.
-
Decaf Coffee: For a final touch, serve a cup of warm decaf coffee to round out the dessert experience, creating a delightful harmony of flavors.
Whether it’s a family gathering or a cozy evening, these pairings will enhance the enjoyment of your banana pudding, transforming it into an unforgettable meal.
Creamy Gluten Free Dairy Free Banana Pudding Recipe FAQs
What type of bananas should I use for the best flavor?
Absolutely, for this banana pudding, you want to select very ripe bananas. Look for bananas with a golden-yellow color and some brown speckles or spots; this indicates they are at their peak sweetness and flavor. Avoid green bananas, as they won’t provide the same rich taste and texture.
How should I store the banana pudding once made?
I recommend storing your banana pudding in an airtight container in the refrigerator. It will stay fresh for about 4-5 days; however, consume it within 2 days if you want to enjoy the fresh banana flavor at its best. Just remember that the bananas tend to brown over time, so it’s always a good idea to check for visual cues!
Can I freeze the banana pudding?
Freezing is a bit tricky with banana pudding due to the texture of the bananas. If you’d like to freeze it, I’d suggest prepping the pudding and cookies separately. You can freeze the pudding for up to 3 months in an airtight container, but it’s best to leave the fresh bananas out until you’re ready to serve. Just thaw in the refrigerator overnight when ready to enjoy!
What should I do if my pudding doesn’t thicken?
Very! If your pudding didn’t thicken properly, it may be due to cooking it at too high a temperature or the eggs not being properly tempered. Always gradually add hot milk to the egg mixture while whisking continuously. If it’s too runny, return it to the heat and cook it gently while stirring until it thickens properly.
Are there any allergen concerns with this recipe?
Yes, while this recipe is gluten-free and dairy-free, there are still dietary considerations to keep in mind. Ensure the vegan butter and any other substitutes you use are certified gluten-free. If there are nut allergies among your guests, be cautious with non-dairy milk options, as almond milk may not be suitable for everyone. Always check labels and feel free to swap out ingredients based on dietary needs.
Homemade Banana Pudding That's Gluten and Dairy Free
Ingredients
Equipment
Method
- Preheat your oven to 325°F (160°C). In a mixing bowl, cream together the vegan butter and half of the powdered maple sugar until smooth and fluffy. In a separate bowl, whisk the eggs with the remaining sugar until combined. Gradually add the egg mixture to the butter mixture, stirring until well blended. Mix in the vanilla extract, coconut milk powder, gluten-free pastry flour, salt, and baking soda until a thick batter forms.
- Scoop small dollops of the cookie batter onto a baking sheet lined with parchment paper, spacing them about two inches apart. Bake in your preheated oven for 15-18 minutes, or until the cookies turn golden brown and firm to the touch. Once done, remove from the oven and allow the cookies to cool completely on a wire rack.
- In a medium saucepan, heat your non-dairy milk over medium heat until it’s just about to boil. While the milk heats, whisk together the egg yolks, remaining maple sugar, vanilla extract, and a pinch of salt in a separate bowl until creamy and light. Carefully pour the hot milk into the egg mixture, whisking continuously to temper the eggs, then return the mixture to the saucepan.
- Cook the pudding mixture over medium-low heat, stirring constantly for 5-8 minutes, or until it thickens to a custard-like consistency. Once thickened, remove from heat and stir in the vegan butter until completely melted and combined. Transfer the pudding to a bowl, cover it to prevent a skin from forming, and let it cool completely in the refrigerator or over a bowl of ice water.
- Select a 9x13 inch dish for the assembly of your banana pudding. Start by laying down a single layer of the homemade gluten-free wafer cookies. Top this layer with half of the sliced bananas, followed by half of the cooled vanilla pudding. Repeat the layering process with the remaining cookies, bananas, and pudding, finishing with a layer of pudding on top.
- Cover the assembled banana pudding with plastic wrap, ensuring it is airtight to keep the layers fresh. Refrigerate for at least 4-5 hours or overnight, allowing all the flavors to meld together beautifully. When ready to serve, slice into portions and enjoy.
Leave a Reply