
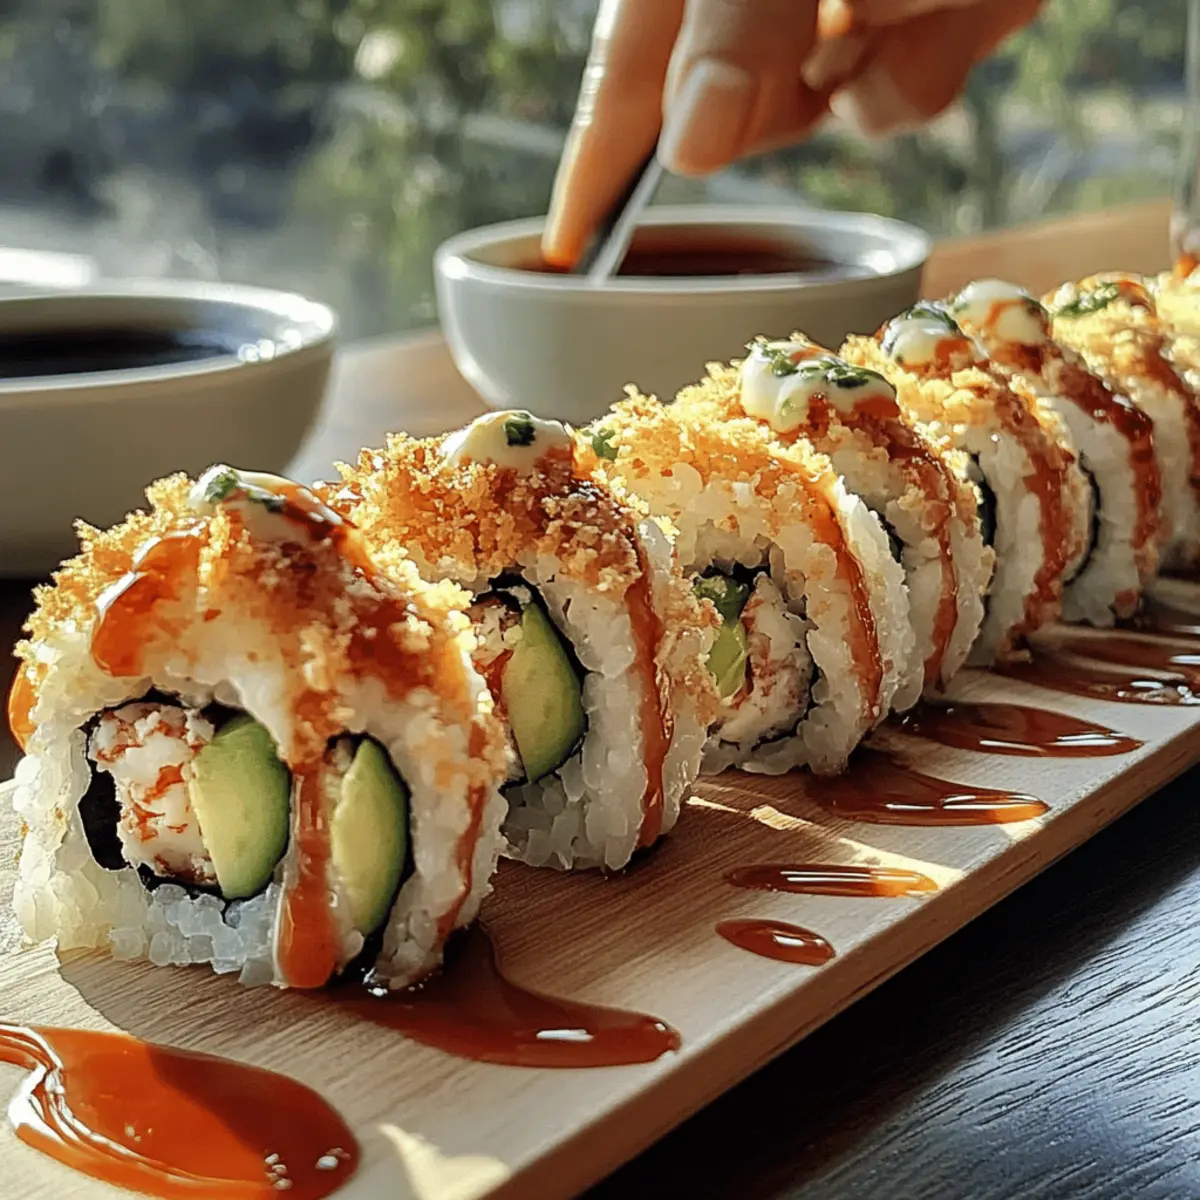
As I laid eyes on that beautiful sushi roll, I felt a wave of excitement wash over me. The moment you bite into a Homemade California Crunch Roll Sushi, you’re treated to a delightful combination of creamy avocado, crisp cucumber, and sweet crab, topped with a satisfying crunch that keeps you coming back for more. This beginner-friendly recipe not only makes sushi-making accessible to everyone but also allows for endless customization to suit your taste or dietary preferences. Whether you’re hosting a sushi night with friends or just craving something homemade instead of takeout, these rolls are a guaranteed crowd-pleaser. Ready to roll up some fun? Let’s dive into this flavorful adventure together!
Why is Homemade Sushi a Must-Try?
Ease of Preparation: Making sushi at home is surprisingly simple, even for beginners!
Flavor Explosion: Each bite delivers a delicious mix of creamy, crunchy, and savory flavors.
Customizable: You can easily adapt ingredients for gluten-free or vegetarian options, just like with other favorites, such as Crescent Roll Taco or Biscoff Cookie Rolls.
Perfect for Gatherings: Impress your friends with a fun, interactive sushi-making night that everyone can enjoy.
Healthy Alternative: Control the ingredients for a fresher, healthier option compared to typical takeout sushi.
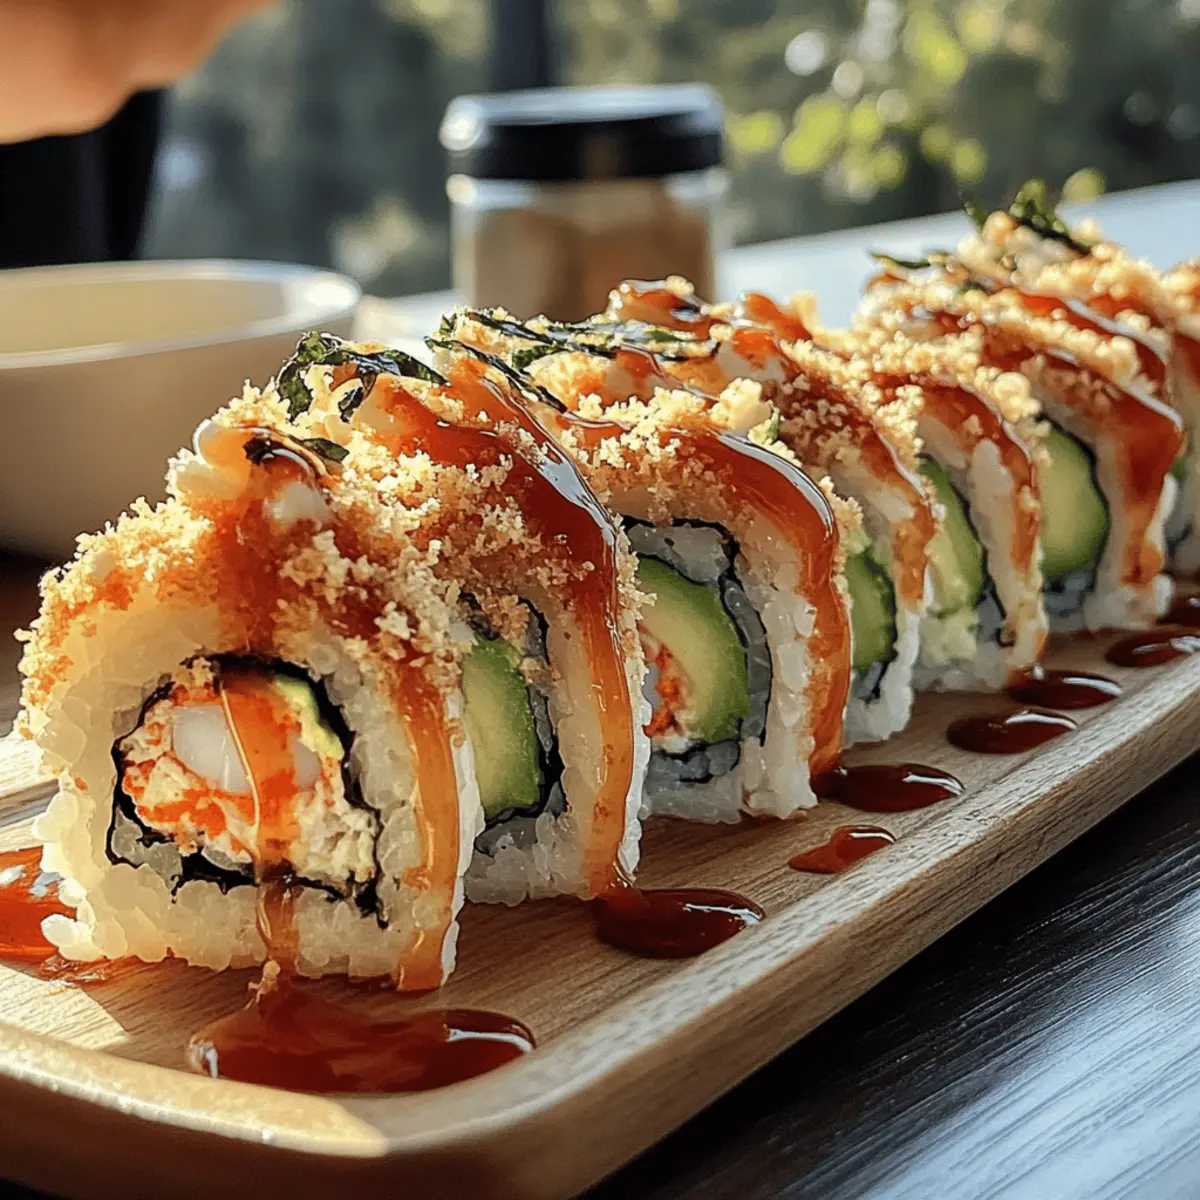
Textural Delight: Enjoy the contrast of soft sushi rice, creamy fillings, and a satisfying crunchy topping!
California Crunch Roll Sushi Ingredients
For the Sushi Rice
• Sushi Rice – This sticky rice is essential for creating the perfect California Crunch Roll Sushi, ensuring that each bite holds together beautifully.
• Rice Vinegar – Mixed in after cooking, it gives the rice a delightful tang.
• Sugar – Adds a hint of sweetness to balance the flavors.
• Salt – Enhances the overall taste of the sushi rice.
For the Filling
• Roasted Nori Sheets – Must be sushi-grade; they’re crucial for holding everything together perfectly.
• Imitation Crab (or Real Crab) – Provides sweetness and protein; feel free to substitute with marinated tofu for a vegetarian twist.
• Avocado – Adds a creamy texture that perfectly complements the other ingredients.
• Cucumber – Offers a refreshing crunch; you can also try bell peppers for a different bite.
For the Sauces
• Spicy Mayo (Mayo + Sriracha) – Adds a creamy kick; adjust the Sriracha for your preferred heat level.
• Eel Sauce – A sweet and savory drizzle that takes the flavors to the next level.
For the Crunchy Topping
• Toasted Panko Breadcrumbs – These provide the signature crunch; toast them lightly before sprinkling on top.
• French Fried Onions – For a different crunch; you can mix these with the panko for a delightful texture contrast.
Enjoy crafting your California Crunch Roll Sushi with these fresh ingredients!
Step‑by‑Step Instructions for California Crunch Roll Sushi
Step 1: Prepare the Sushi Rice
Rinse 2 cups of short-grain sushi rice under cold water until the water runs clear, which removes excess starch. Cook in a rice cooker or on the stovetop with 2 cups of water, bringing to a boil, then reducing to low for 20 minutes. Once cooked, transfer to a large bowl and gently mix in 3 tablespoons of warmed rice vinegar, 1 tablespoon of sugar, and 1 teaspoon of salt. Allow the rice to cool to room temperature.
Step 2: Set Up the Rolling Station
Cover a bamboo sushi mat with plastic wrap to prevent sticking and make cleanup easy. Next, fill a small bowl with water mixed with a splash of rice vinegar for dipping your fingers. This will help keep the sushi rice from sticking to your hands as you work. Gather your fillings close by, including imitation crab, avocado, cucumber, and sauces for easy access.
Step 3: Assemble the Roll
Place a roasted nori sheet, shiny side down, on the sushi mat. With damp fingers, take about a cup of the cooled sushi rice and spread it evenly over the nori, leaving a ½ inch border at the top. Gently press down to create an even layer. Flip the nori so the rice side is facing down, and layer your fillings—crab, avocado, and cucumber—horizontally across the center of the nori for a beautiful California Crunch Roll.
Step 4: Roll the Sushi
To roll the sushi, lift the edge of the mat and begin to roll tightly away from you, using your fingers to tuck the fillings inside as you go. Apply a gentle pressure and ensure the edge seals against the rice at the top of the roll. Once you reach the end, use the mat to shape the roll into a firm cylinder, ensuring it’s compact but not overly squished.
Step 5: Add the Crunchy Topping
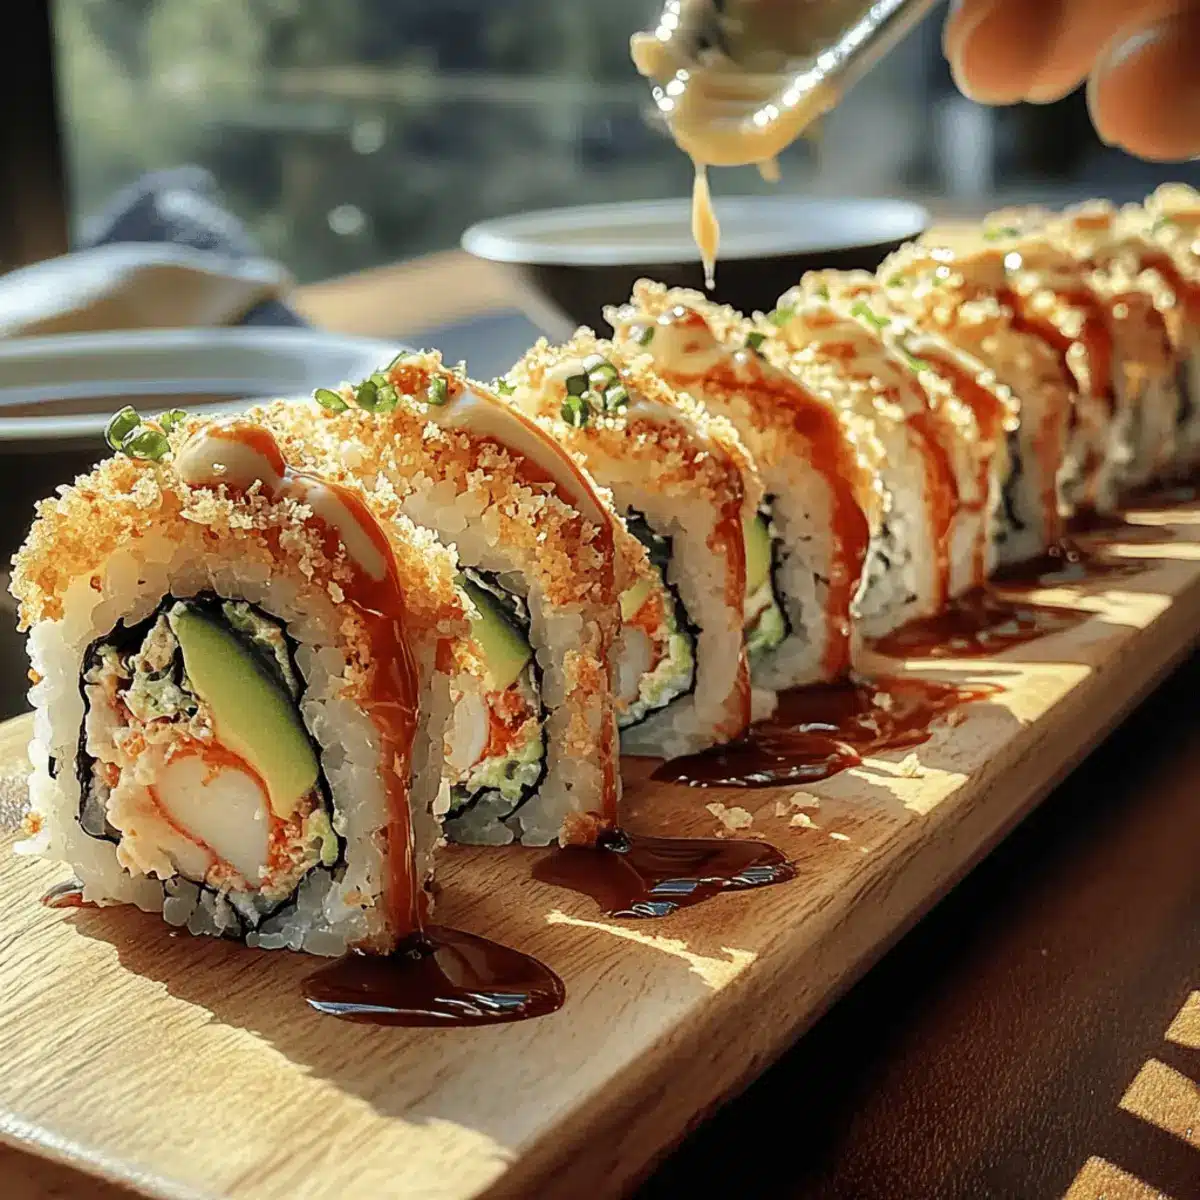
Brush the top of the California Crunch Roll with a drizzle of spicy mayo or eel sauce, allowing the sauce to cling to the roll. Generously sprinkle toasted panko breadcrumbs or French fried onions on top, pressing lightly with the mat to secure them in place. This step ensures you get that signature crunch with each bite!
Step 6: Slice and Serve
With a sharp knife dipped in water, slice the sushi roll into 8 equal pieces, wiping the knife between cuts for clean edges. Arrange the pieces on a serving platter and drizzle with any remaining sauce if desired. Serve your beautiful California Crunch Roll Sushi alongside soy sauce, pickled ginger, and wasabi for a complete sushi experience.

Make Ahead Options
These California Crunch Roll Sushi are perfect for busy home cooks looking to save time without sacrificing flavor! You can prepare the sushi rice up to 24 hours in advance; simply cook and allow it to cool, then store it in an airtight container in the refrigerator to maintain its sticky texture. Additionally, pre-slice your fillings, such as avocado and cucumber, and store them in separate containers to prevent browning. When ready to assemble, use the cooled rice and fillings to roll your sushi as directed. Brush with spicy mayo or eel sauce just before serving for that fresh, delightful crunch, ensuring your rolls are just as delicious as when made from scratch!
Storage Tips for California Crunch Roll Sushi
-
Room Temperature: Sushi is best enjoyed fresh, ideally consumed within 2 hours of making. Leaving it out longer can compromise quality and food safety.
-
Fridge: If you have leftovers, store the sushi in an airtight container in the refrigerator for up to 2 days. The rice may lose some texture but will still taste delightful!
-
Freezer: For best quality, sushi rolls are not recommended for freezing due to the delicate texture of the rice. However, if necessary, wrap tightly in plastic wrap and store in a freezer bag for up to 1 month.
-
Reheating: Avoid reheating California Crunch Roll Sushi, as the texture and flavor can be significantly affected. Enjoy cold or at room temperature for the best experience!
What to Serve with Homemade California Crunch Roll Sushi?
Elevate your sushi night with delightful sides and vibrant flavors that balance this crunchy, creamy roll.
-
Pineapple Cucumber Salad: A refreshing and zesty salad that brightens the palate and complements the sushi’s rich flavors. The sweetness of pineapple paired with cool cucumber creates an inviting contrast.
-
Misoshiru (Miso Soup): A warm, savory miso soup enhances the overall dining experience, grounding the meal with umami flavor. It’s a comforting addition that pairs beautifully with sushi.
-
Edamame with Sea Salt: Lightly salted steamed edamame offers a nutritious and crunchy snack, perfect for a sushi dinner. They add protein and a playful bite to munch on between rolls.
-
Cowboy Caviar: This vibrant mix of black beans, corn, and avocado provides a colorful, crunchy dip that perfectly contrasts with sushi. Serve with tortilla chips for an exciting twist that pleases the crowd.
-
Soy Sauce and Wasabi: A classic accompaniment that enhances the sushi flavors. The saltiness of soy sauce and the heat of wasabi elevate every bite of the California Crunch Roll Sushi.
-
Sake or Green Tea: Enjoy a soothing cup of green tea or a chilled glass of sake. Both drinks complement sushi excellently, adding a sophisticated touch to your meal.
Pairing these delightful side dishes will create an unforgettable dining experience, making your Homemade California Crunch Roll Sushi the star of the show!
California Crunch Roll Sushi Variations
Feel free to let your creativity shine while making these delicious sushi rolls!
-
Brown Rice: Swap traditional sushi rice for brown rice for added fiber and a nuttier flavor that complements the fillings beautifully.
-
Vegetarian Delight: Replace imitation crab with marinated tofu or avocado for a rich, satisfying vegetarian option. Think of the flavors dancing together!
-
Spicy Kick: Boost your roll’s heat by incorporating thinly sliced jalapeños or sriracha directly into the filling. Your taste buds will thank you as the warmth envelops each bite.
-
Flavor-Bursting Cream Cheese: Add a thin layer of cream cheese to your fillings for a rich and tangy twist that amplifies the overall taste. It’s like a creamy surprise with every crunch!
-
Tropical Twist: Experiment by including mango strips or pineapple for a sweet and juicy contrast against the savory flavors. The combination will transport you to a sunny paradise!
-
Crunchy Topping Fusion: Mix panko breadcrumbs with crushed wasabi peas for an extra element of surprise in both flavor and texture. You’ll adore the unexpected crunch!
-
Herb Infusion: Toss in fresh herbs like cilantro or mint, adding a refreshing lift to the flavor profile of your sushi roll. Each bite becomes a fragrant delight!
-
Saucy Variations: Switch out eel sauce for teriyaki or soy sauce, or mix them for a unique flavor blend. This versatility will take your sushi experience to a whole new level, much like enjoying a slice of Caramel Crunch Cake after dinner!
Feel encouraged to try these variations and watch as your homemade sushi transforms into a personalized sensation!
Expert Tips for California Crunch Roll Sushi
-
Prep Ahead: Gather and prepare all your ingredients before starting. This will make the rolling process smoother and more enjoyable!
-
Rinse the Rice: Don’t skip rinsing the sushi rice to remove excess starch; this step is crucial for achieving the perfect texture in your California Crunch Roll Sushi.
-
Moisten Hands and Knife: Keep your hands and knife damp while working to prevent the rice from sticking, ensuring clean slices and easy handling.
-
Avoid Overfilling: Stick to a generous but manageable amount of fillings to prevent bursting the roll. A thin layer allows for better rolling and an appealing presentation.
-
Variation Opportunities: Feel free to get creative! Swap in different vegetables or proteins to make your California Crunch Roll Sushi truly unique and tailored to your taste.
California Crunch Roll Sushi Recipe FAQs
How can I ensure my sushi rice is perfectly cooked?
Start by rinsing the sushi rice thoroughly until the water runs clear. This removes excess starch, which can cause the rice to be gummy. Cook the rice in a rice cooker or on the stovetop using a ratio of 1 cup of rice to 1 cup of water. Once cooked, gently fold in seasoned rice vinegar, sugar, and salt to enhance flavor. Remember to let the rice cool to room temperature before assembling your rolls!
What are the best storage methods for leftover California Crunch Roll Sushi?
If you have any leftover rolls, store them in an airtight container in the refrigerator. While sushi is best enjoyed fresh, it can be kept for up to 2 days. Note that the texture of the rice may diminish slightly, but the flavor will still be delightful. Avoid leaving sushi at room temperature for more than 2 hours to ensure food safety.
Can I freeze California Crunch Roll Sushi?
Freezing sushi isn’t typically recommended, but if you must, wrap each roll tightly in plastic wrap and place them in a freezer-safe bag. You can freeze them for up to 1 month. When ready to eat, thaw in the refrigerator overnight. Keep in mind that the texture of the rice can be compromised after freezing, so fresh is always best!
What should I do if my California rolls fall apart while rolling?
No worries! If your rolls are falling apart, it could be due to overfilling or not enough moisture. Make sure to use damp fingers when handling the sushi rice, as it helps create a cohesive roll. If they’re still not holding together, try using less filling and rolling more tightly. Practice makes perfect!
Are there any allergy considerations with this California Crunch Roll Sushi recipe?
Absolutely! When preparing this sushi, be mindful of potential allergies. The imitation crab contains fish and may not be suitable for those with seafood allergies; consider substituting it with marinated tofu or other proteins. Additionally, check the ingredients in your sauces for any allergens, particularly the mayonnaise used in spicy mayo. For gluten-free options, ensure you use gluten-free soy sauce and check the labeling on your panko breadcrumbs.
California Crunch Roll Sushi: Easy, Crunchy, Flavor-Packed Delight
Ingredients
Equipment
Method
- Rinse the sushi rice under cold water until clear. Cook with water, then mix in vinegar, sugar, and salt after cooking. Let cool.
- Cover sushi mat with plastic wrap. Prepare a bowl of water mixed with rice vinegar and gather fillings.
- Place nori on the mat, spread rice, and flip it. Layer fillings across the center.
- Roll tightly using the mat. Shape into a firm cylinder without squishing too much.
- Brush with sauce and sprinkle with breadcrumbs or onions. Press lightly to secure.
- Slice into 8 pieces with a wet knife and serve on a platter, optionally drizzled with sauce.
Leave a Reply