
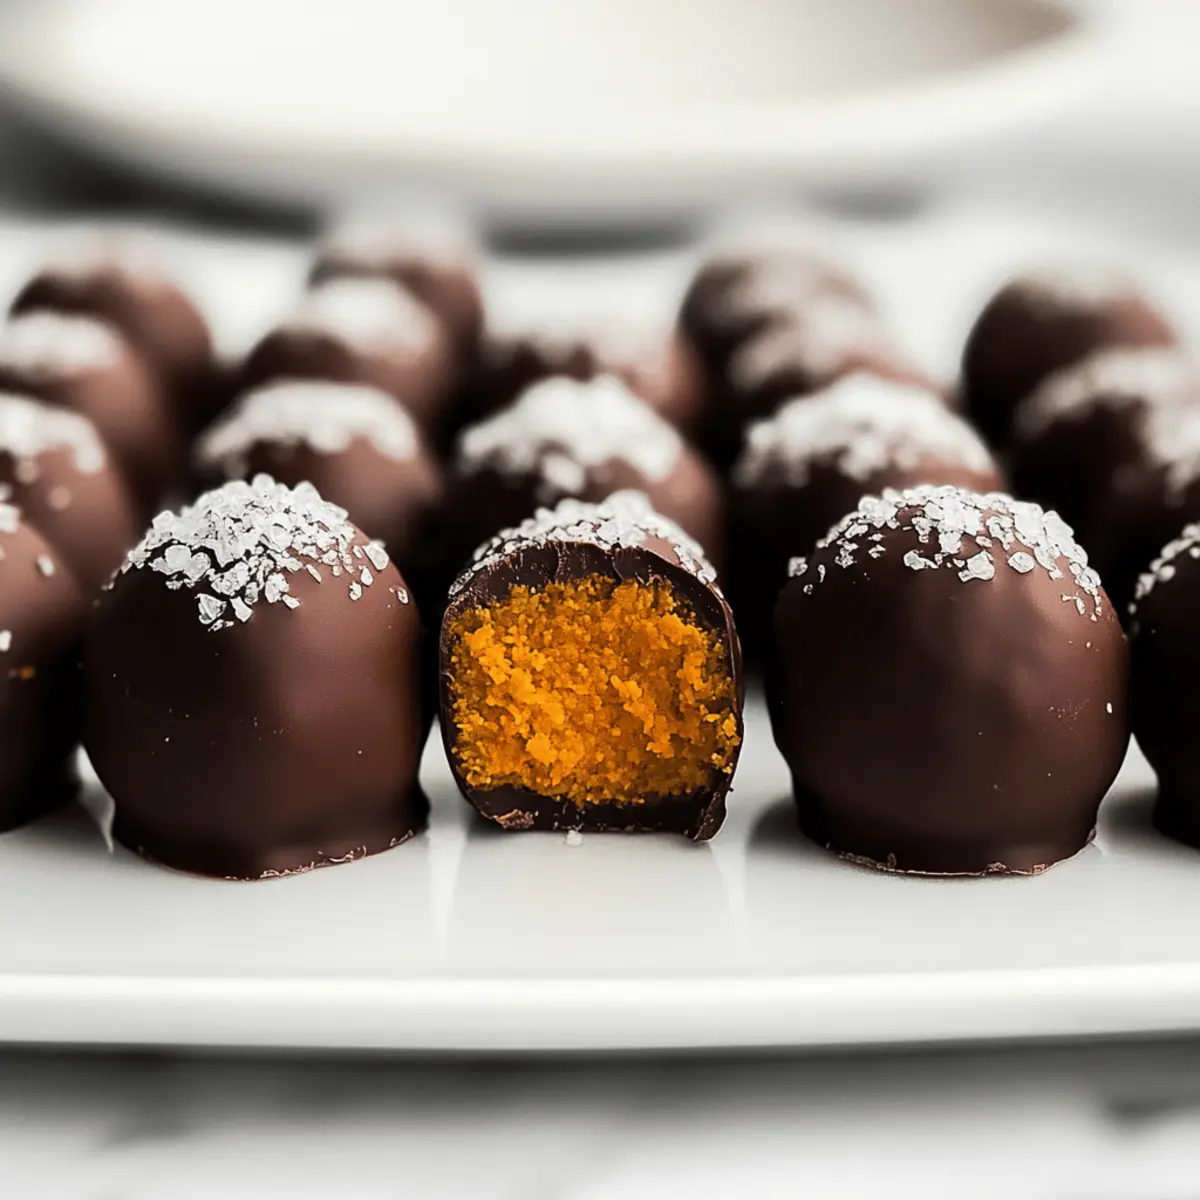
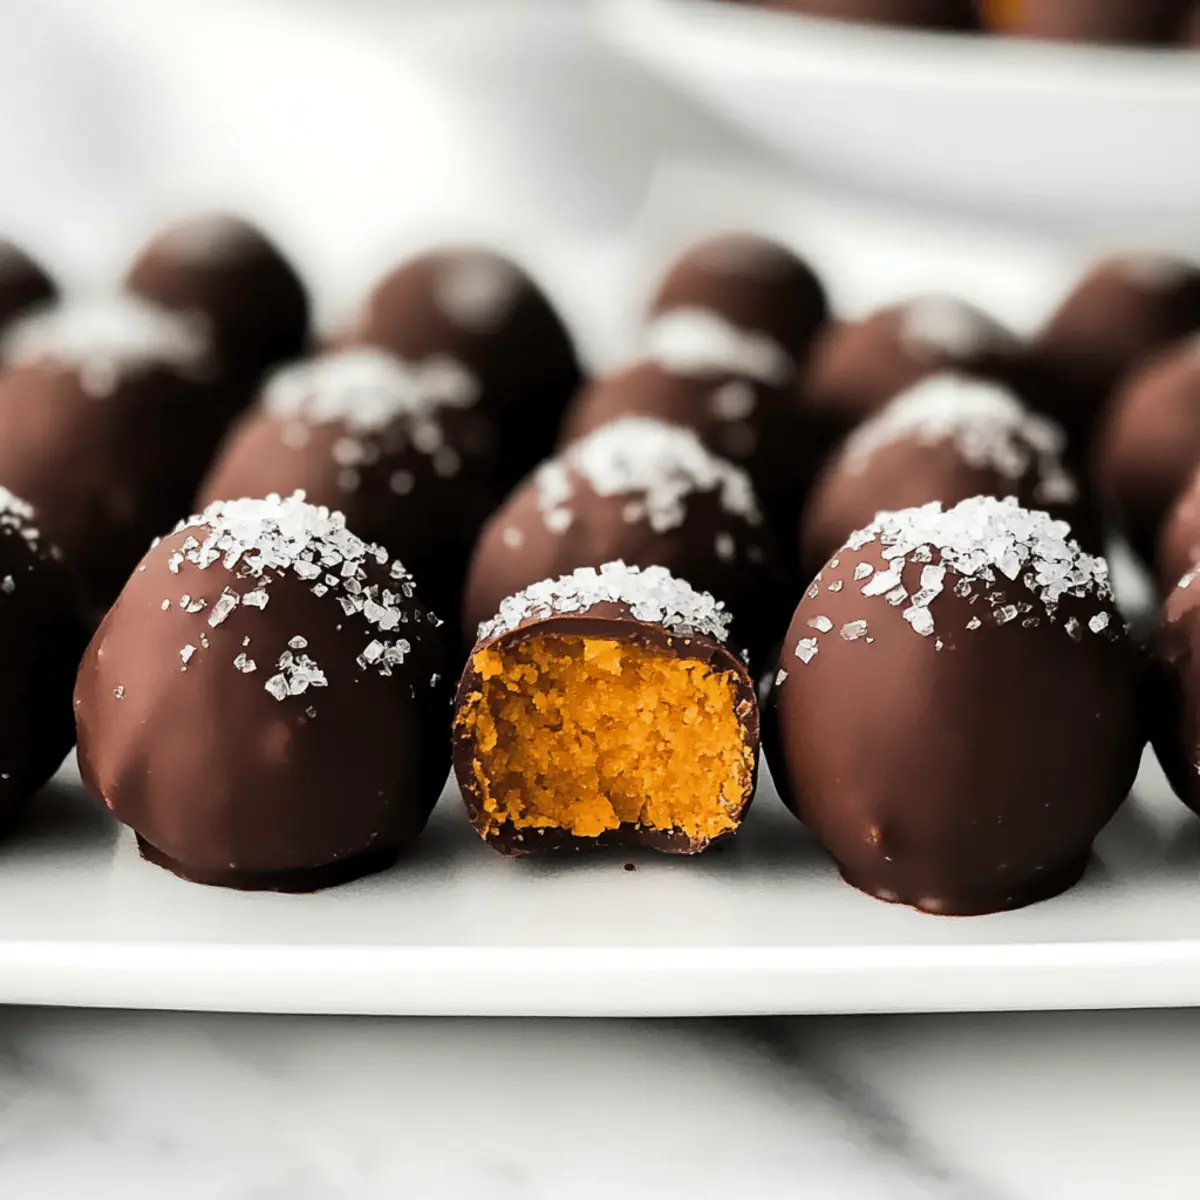
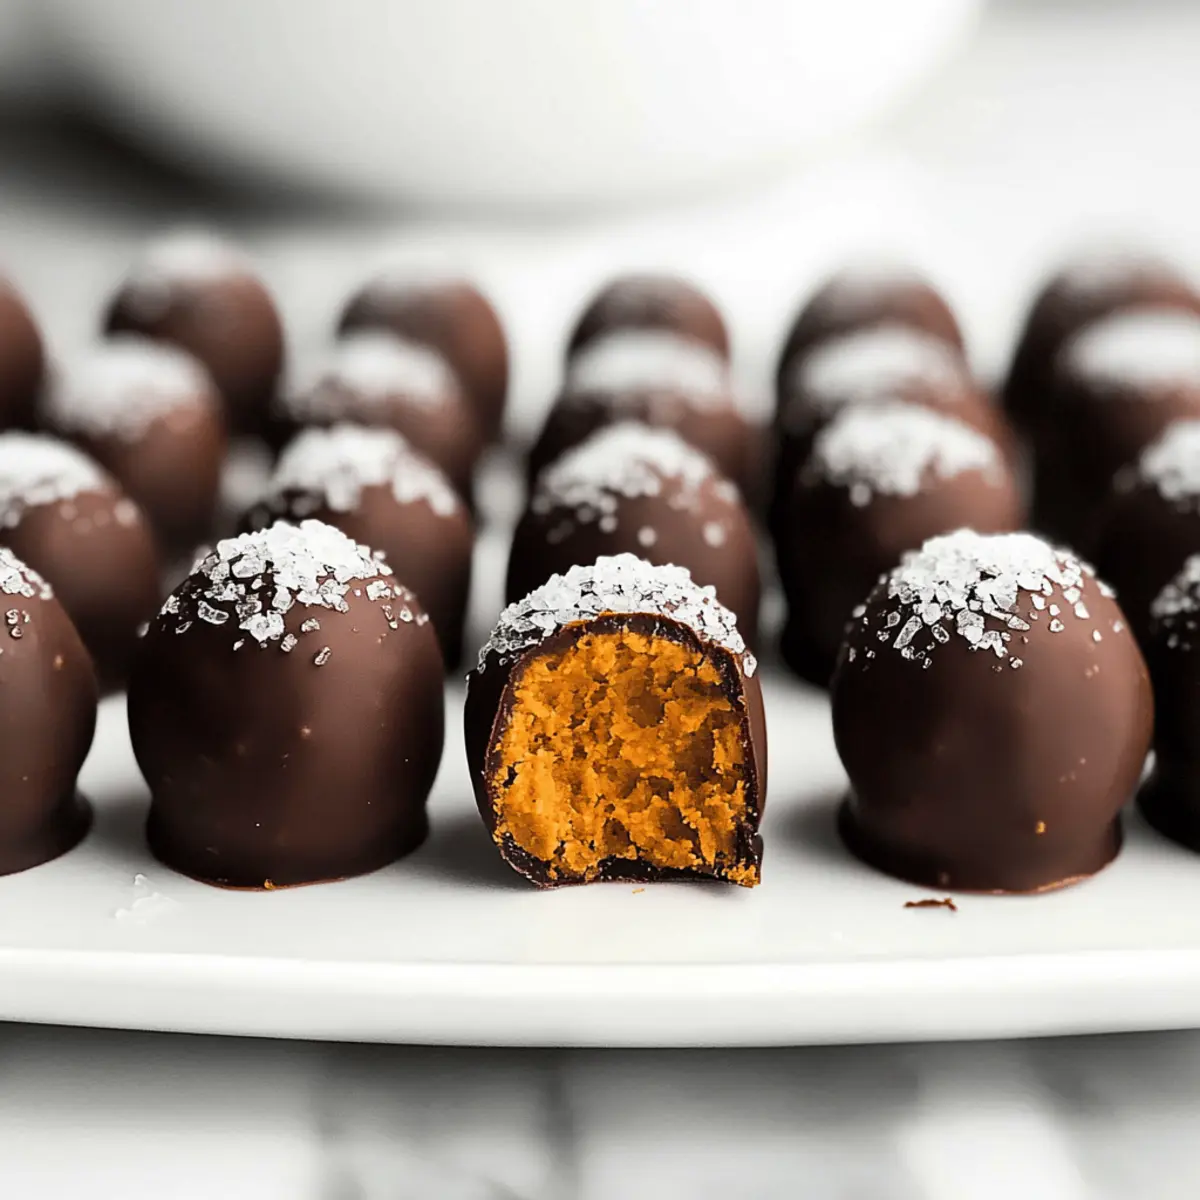
As the leaves start to turn and the air grows crisp, there’s something enchanting about this season that makes me crave warm, comforting flavors. Enter my Healthy Pumpkin Truffles, which capture the essence of pumpkin pie in a delightful, bite-sized treat. With no baking required, they’re perfect for anyone looking for a quick and easy dessert that won’t derail their clean eating efforts. These vegan and gluten-free truffles are a joy to make and share, with each truffle containing only 20 calories! Coated in rich dark chocolate and finished with a sprinkle of flaky sea salt, these treats are a guilt-free indulgence that’s sure to impress friends and family alike. Curious about how to whip up this fabulous autumn delight? Let’s dive into the recipe!
Why Are These Pumpkin Truffles So Irresistible?
Guilt-Free Indulgence: Each truffle is only 20 calories, allowing you to enjoy the flavors of fall without straying from your healthy eating goals.
Vegan & Gluten-Free: These treats cater to various dietary preferences, making them perfect for everyone at your next gathering.
No-Bake Simplicity: With just a few steps, you can create these delectable bites without any baking required—ideal for busy days!
Crowd-Pleasing Flavor: The combination of creamy pumpkin and rich dark chocolate will leave your guests raving about your culinary skills. Experience the best of autumn flavors with these Healthy Pumpkin Truffles, and while you’re at it, why not pair them with a warm cup of coffee or tea? For more pumpkin-inspired treats, try my Pumpkin Cornbread with Cinnamon Honey Butter or indulge in a slice of Fall Pumpkin Spice Roll Cake!
Healthy Pumpkin Truffles Ingredients
For the Truffle Filling
- Pumpkin Purée – A key ingredient that provides moisture and the quintessential pumpkin flavor; opt for regular canned, not pumpkin pie mix.
- Homemade Pumpkin Spice – A delightful mix of spices (1 ¼ tsp total includes cinnamon, allspice, nutmeg, ginger, and cloves) that adds warmth; homemade is best for a balanced flavor.
- Salt – Enhances overall flavor (⅛ tsp); sea salt is recommended for a cleaner taste.
- Liquid Stevia – Serves as a natural sweetener (¾ tsp); substitute with ¼ cup coconut sugar if needed, adjusting oat flour for consistency.
- Oat Flour – Acts as a binding agent making it easy to shape (¾ cup); can be swapped with another flour, but avoid coconut flour for texture consistency.
For the Chocolate Coating
- Dark Chocolate – A rich coating for the truffles (¼ cup, roughly chopped); recommended brands like Ghirardelli or Lindt provide the best melting results—avoid chocolate chips.
- Flaky Sea Salt – An optional finishing touch that adds both flavor and a lovely aesthetic; a pinch goes a long way!
Embrace the joy of creating these Healthy Pumpkin Truffles and enjoy every guilt-free bite. Happy cooking!
Step‑by‑Step Instructions for Healthy Pumpkin Truffles
Step 1: Prepare Baking Sheet
Begin by lining a baking tray with wax or parchment paper to prevent sticking. This will be essential for the Healthy Pumpkin Truffles as they cool. Ensure the surface is smooth and free from creases so your truffles have a perfect resting place.
Step 2: Make Filling
In a medium mixing bowl, combine the pumpkin purée, homemade pumpkin spice, salt, and liquid stevia. Stir vigorously until all ingredients are fully blended. Gradually incorporate the oat flour, mixing until you achieve a thick, cohesive dough that holds together without being overly sticky.
Step 3: Shape Truffles
With clean hands, take small portions of the pumpkin mixture and roll them into bite-sized balls, about the size of a tablespoon. You should yield approximately 24 truffles. If the mixture is sticky, lightly oil your hands to make rolling easier without compromising the texture of the Healthy Pumpkin Truffles.
Step 4: Melt Chocolate
Place the dark chocolate in a microwave-safe bowl. Heat it in 20–30 second intervals, stirring after each increment, until the chocolate is completely smooth and melted. This will usually take about 1-2 minutes total. Make sure the chocolate remains warm for easy coating of the truffles.
Step 5: Coat Truffles
Take each rolled pumpkin ball and carefully dip it into the warm melted chocolate using two forks. Make sure each truffle is fully coated, then allow any excess chocolate to drip off before placing the coated truffles back onto the prepared baking sheet.
Step 6: Finish
Before the chocolate sets, lightly sprinkle the coated truffles with flaky sea salt for added flavor and visual appeal. This step will enhance the overall taste and draw out the sweetness of the Healthy Pumpkin Truffles beautifully.
Step 7: Set Truffles
Refrigerate the coated truffles for about 15-20 minutes or until the chocolate has hardened completely. This chilling time ensures that the chocolate coating firms up nicely, making the truffles easier to handle and enjoy. Store any leftovers in the refrigerator in an airtight container.
Make Ahead Options
These Healthy Pumpkin Truffles are perfect for meal prep enthusiasts! You can prepare the filling and roll the truffles into balls up to 24 hours in advance; simply store them in an airtight container in the refrigerator to maintain freshness. If you want to prep further, you can melt the chocolate and dip the truffles up to 3 days ahead of time, keeping them in the fridge, which helps the chocolate set beautifully. Before serving, just sprinkle the flaky sea salt on top, and you’ll have delicious, ready-to-enjoy truffles that taste just as fresh as if you made them that day. Enjoy the time saved during your busy week!
Expert Tips for Healthy Pumpkin Truffles
- Measurement Matters: Ensure precise measurement of oat flour to prevent a crumbly texture; too much flour can affect rolling consistency.
- Quality Counts: Use high-quality dark chocolate for better flavor and smoother melting; avoid chocolate chips for the best results.
- Keep It Warm: Maintain the melted chocolate at a warm temperature during coating for a smoother finish—use a panini press or electric griddle to help.
- Taste Testing: Adjust the sweetness by changing the amount of stevia based on your preference; check specific brand sweetness levels for best results.
- Chill Out: Allow the truffles to chill completely in the refrigerator, which helps the chocolate coating firm up and enhances the flavor of the Healthy Pumpkin Truffles.
Healthy Pumpkin Truffles Variations & Substitutions
Feel free to customize these Healthy Pumpkin Truffles to match your tastes and dietary needs!
- Sweetener Swap: Substitute liquid stevia with maple syrup for a natural, sweeter flavor. Just reduce oat flour slightly to maintain consistency.
- Flour Alternatives: Use almond flour instead of oat flour for a nutty twist. Just keep in mind, this will change the texture slightly but adds a delightful depth!
- Chocolate Coating: Switch out dark chocolate for white chocolate for a sweeter, creamier coating, which will still look gorgeous with a sprinkle of flaky sea salt.
- Nut Butter Bliss: Add almond or peanut butter to the pumpkin mixture for extra creaminess and flavor. This elevates the truffles with a delicious nutty surprise inside!
- Spice It Up: Try adding a pinch of cayenne or chili powder to the chocolate coating for a subtle heat that perfectly pairs with the sweetness. It’s an adventurous twist that will surprise your guests!
- Coconut Flakes: Roll finished truffles in shredded coconut for extra texture and tropical flavor, creating a delightful contrast to the smooth chocolate.
- Limit the Sugar: For a truly sugar-free alternative, use erythritol in place of stevia, adjusting to taste for sweetness while keeping the truffles clean eating-friendly.
- Pumpkin Varieties: Experiment using different purées like sweet potato or butternut squash to create unique flavors while still maintaining the essence of fall—so versatile and delicious!
With these variations, you can enjoy a new spin on your Healthy Pumpkin Truffles every time. And while you’re enjoying your creative kitchen explorations, don’t forget to check out my delicious Spiced Pumpkin Streusel Muffins or my creamy Pumpkin Spice Milk! Happy cooking!
What to Serve with Healthy Pumpkin Truffles?
Indulging in these delightful truffles opens the door to a world of complementary flavors and textures that can make your meal truly special.
-
Creamy Coconut Yogurt: A dollop of creamy coconut yogurt provides a refreshing contrast to the rich chocolate, adding a tropical flair to your treat.
-
Spiced Chai Tea: The warm spices in chai tea beautifully match the pumpkin flavors, creating a cozy, aromatic experience on chilly afternoons. Snuggle up with a cup!
-
Salted Dark Chocolate Almonds: Pairing these truffles with crunchy, salted almonds deepens the flavor profile and adds a much-needed textural contrast.
-
Apple Slices with Cinnamon: Crisp apple slices sprinkled with cinnamon offer a refreshing, crisp pairing that complements the sweetness of the truffles while enhancing the fall vibe.
-
Pumpkin Spice Latte: This classic autumn drink serves as the perfect sip alongside your truffles, tying together the flavors of pumpkin and spice in a delightful harmony.
-
Homemade Granola: A handful of crunchy homemade granola can enhance the texture of your dessert table, offering a heartier bite to balance the truffles’ softness.
-
Caramel Sauce Dip: For a little added indulgence, serve the truffles with a smooth, light caramel sauce that adds sweetness and depth, perfect for drizzling or dipping.
How to Store and Freeze Healthy Pumpkin Truffles
Fridge: Store truffles in an airtight container for up to 5 days to maintain their freshness and flavor. Leaving them uncovered might dry them out, so airtight is preferred.
Freezer: For longer storage, freeze the truffles in a single layer on a baking sheet until firm, then transfer to an airtight container or freezer bag for up to 3 months.
Reheating: Enjoy the truffles straight from the fridge or freezer. If frozen, allow them to thaw at room temperature for about 15 minutes before serving to enhance the texture.
Tip: Make sure to label your container or bag with the date, so you know when you made your Healthy Pumpkin Truffles!

Healthy Pumpkin Truffles Recipe FAQs
What type of pumpkin purée should I use?
Absolutely use regular canned pumpkin purée, not pumpkin pie filling! The latter contains added sugars and spices, which can alter the flavor of your Healthy Pumpkin Truffles. Regular purée gives you full control over sweetness and spice levels.
How should I store the Healthy Pumpkin Truffles?
To keep your truffles fresh and delicious, store them in an airtight container in the refrigerator for up to 5 days. This will help retain their flavor and prevent them from drying out. For best results, avoid leaving them uncovered, as this may affect their texture.
Can I freeze these truffles, and if so, how?
Yes, you can! To freeze your Healthy Pumpkin Truffles, lay them out in a single layer on a baking sheet and freeze until firm, which takes about an hour. Then, transfer them to an airtight container or freezer bag and store for up to 3 months. When you’re ready to enjoy, simply let them thaw at room temperature for about 15 minutes.
What if my truffles are too sticky to roll?
If you find that your mixture is sticky, don’t worry! Simply dab a bit of oil on your hands before rolling them into balls. This little trick helps with shaping without compromising the truffle mix’s texture.
Are there any dietary restrictions to consider?
These Healthy Pumpkin Truffles are free from gluten and animal products, making them vegan and gluten-free. If you’re concerned about allergies, be mindful when adding chocolate; choose brands that are nut-free if necessary. Always check your specific ingredients for cross-contamination warnings.
How can I enhance the flavor of my truffles?
Feel free to experiment! Adjust sweetness by changing the amount of liquid stevia based on your taste preferences. For extra spice, add more homemade pumpkin spice blend, or consider drizzling a bit of melted chocolate on top for added visual appeal and flavor.
Healthy Pumpkin Truffles for a Guilt-Free Fall Indulgence
Ingredients
Equipment
Method
- Prepare Baking Sheet: Line a baking tray with wax or parchment paper to prevent sticking.
- Make Filling: In a bowl, combine pumpkin purée, homemade pumpkin spice, salt, and liquid stevia. Stir until blended and gradually add oat flour to achieve a thick dough.
- Shape Truffles: Roll small portions of the dough into balls, about tablespoon size.
- Melt Chocolate: Heat dark chocolate in a microwave-safe bowl in 20-30 second intervals until smooth.
- Coat Truffles: Dip each pumpkin ball into the melted chocolate and allow excess to drip off.
- Finish: Sprinkle the coated truffles with flaky sea salt before the chocolate sets.
- Set Truffles: Refrigerate for 15-20 minutes until chocolate hardens.
Leave a Reply