
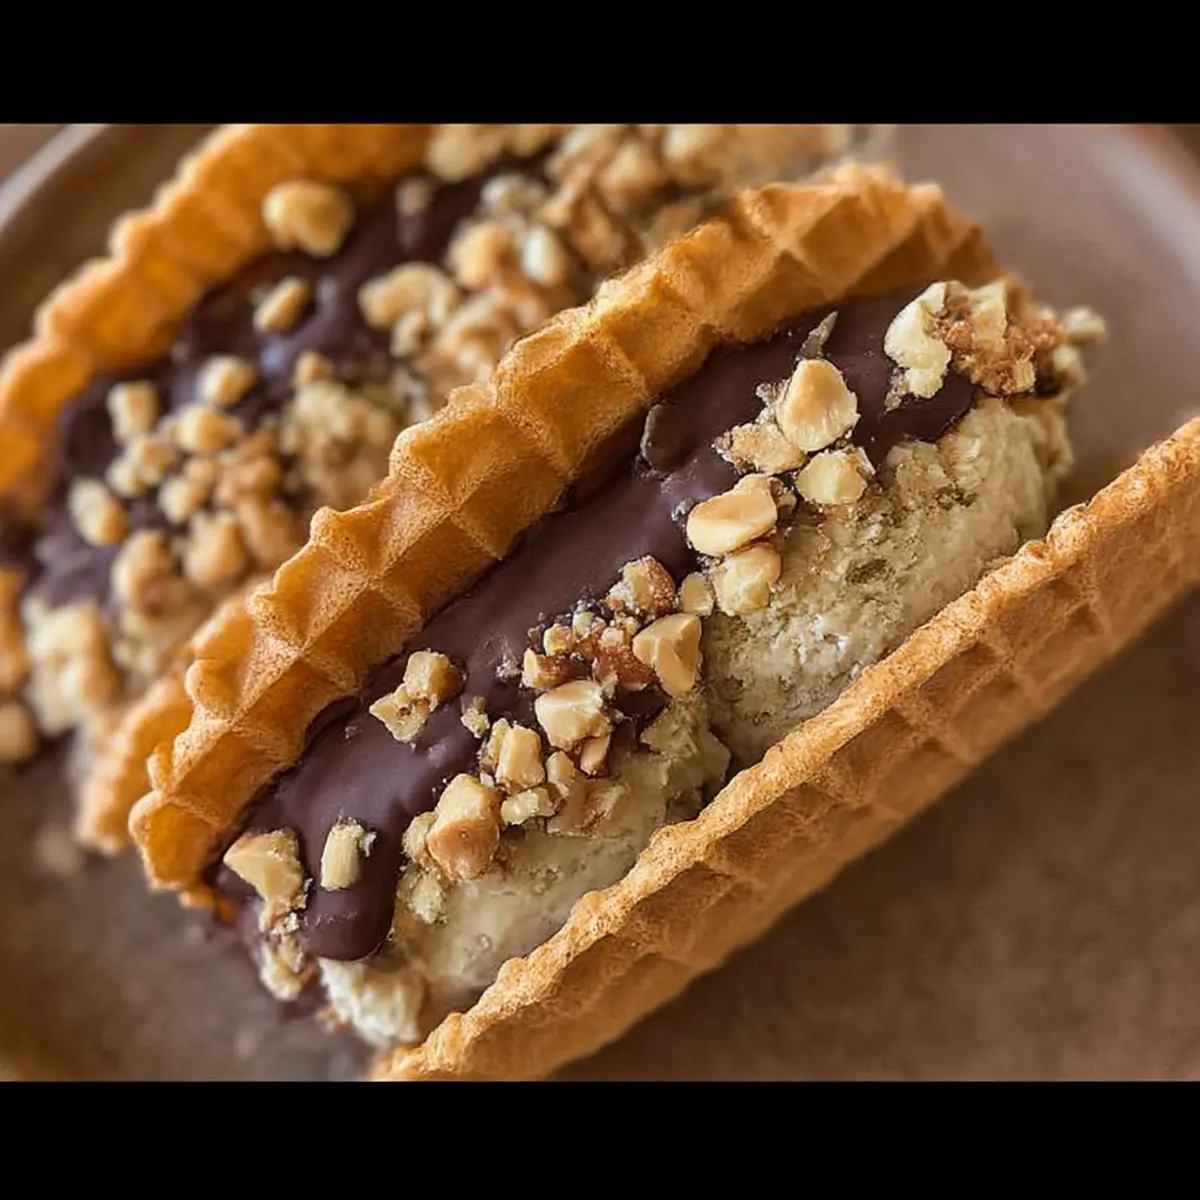
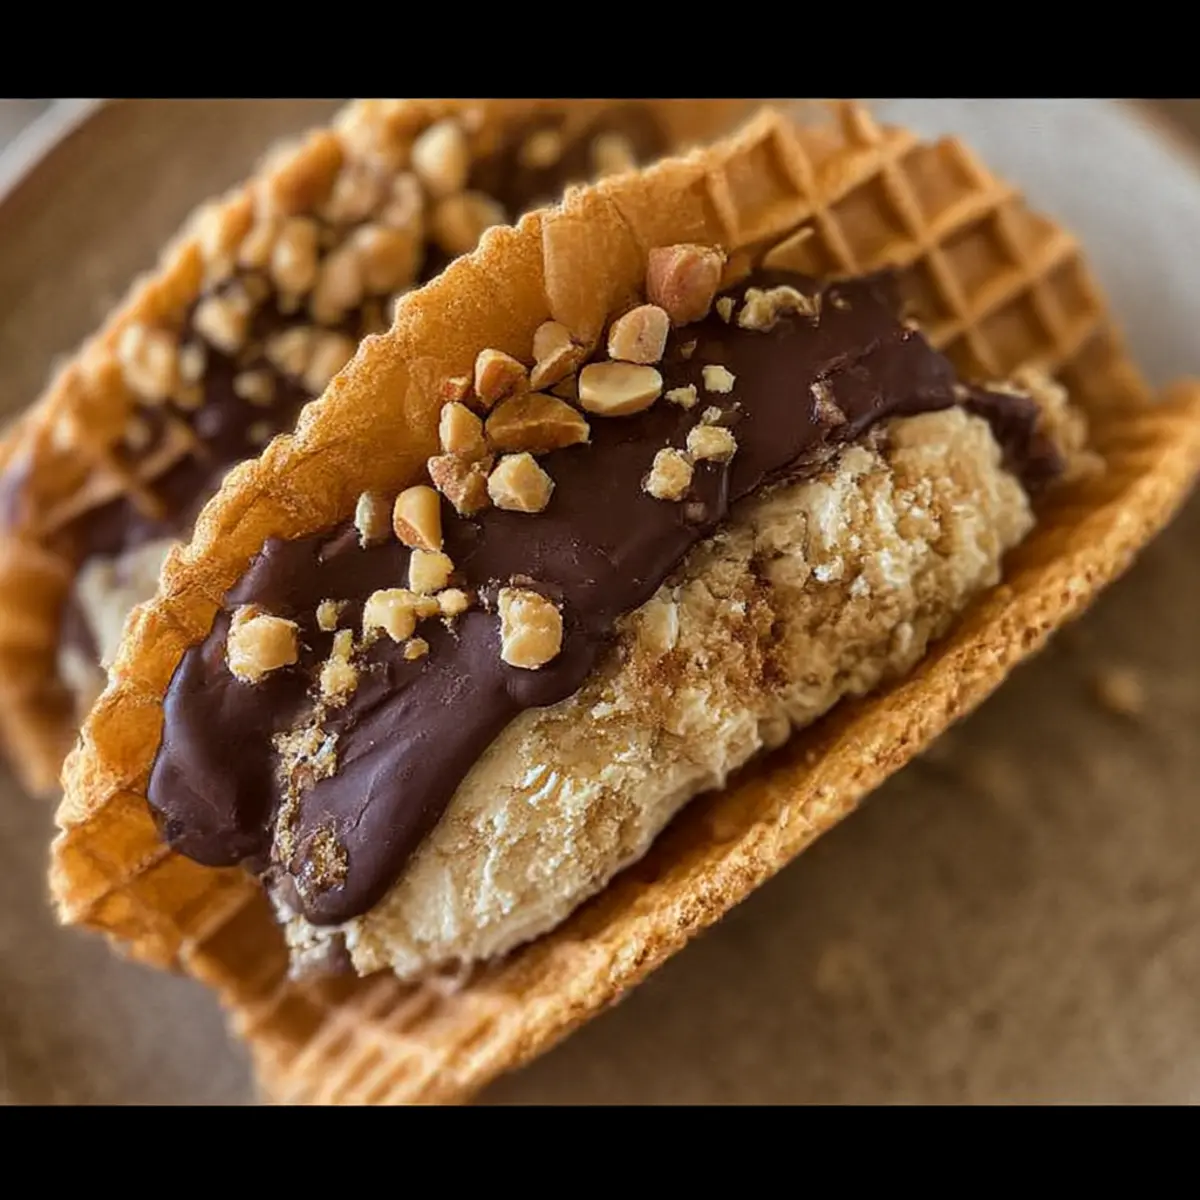
“Is that a taco or a dessert?” I chuckled as my niece held one of my homemade Choco Tacos, eyes wide in delicious disbelief. These delightful treats have a way of transforming the ordinary into something extraordinary, pairing the nostalgia of summer with a modern homemade twist. Imagine crispy waffle cone shells filled with creamy vanilla ice cream, coated in velvety chocolate and sprinkled with crunchy peanuts. Not only is this recipe a fantastic family-friendly dessert that you can whip up in no time, but it also brings a touch of joy that makes homemade treats so special. Plus, they’re easily customizable, ensuring every bite holds a surprise that can please any palate! Ready to dive into a fun kitchen project that sparks laughter and sweet memories? Let’s get started on crafting these irresistible Homemade Choco Tacos!

Why Should You Make Choco Tacos?
Nostalgic Delight: Homemade Choco Tacos bring back sweet childhood memories, transforming a simple dessert into a delightful experience.
Easy and Fun: With just a few ingredients and a simple process, these tacos are a breeze to assemble and perfect for family cooking nights.
Customizable: Tailor each taco to your taste by experimenting with different ice cream flavors, toppings, and drizzles—everyone can have their favorite!
Impressive Presentation: The unique taco shape adds a fun twist that will amaze your guests at summer parties or casual gatherings.
Family-Friendly: Both kids and adults can enjoy these delicious treats, making them the ideal dessert for any occasion.
Whether you pair them with a savory dish like One Pan Tacos or indulge in sweet treats like Chocolate Chip Cookies, these Choco Tacos will have everyone smiling!
Homemade Choco Tacos Ingredients
• Dive into the fun of making your own Choco Tacos with these simple ingredients!
For the Shell
- Waffle Cones – Choose slightly damp cones; they’ll shape better into taco shells without breaking.
For the Filling
- Vanilla Ice Cream – The creamy classic that pairs perfectly, but feel free to switch it up with your favorite ice cream flavor.
For the Coating
- Chocolate Chips – Opt for high-quality chocolate to ensure rich, delectable flavor when coating your tacos.
For the Toppings
- Peanuts – Add crunch and texture, or substitute with sprinkles for a festive touch!
Step‑by‑Step Instructions for Homemade Choco Tacos
Step 1: Prepare the Waffle Cones
Begin by lightly dampening each waffle cone with a little water to make them flexible. This will help you mold them into a taco shell shape without breaking. Once damp, gently press the cones into a taco mold or shape them by hand with your fingers, ensuring they maintain their structure.
Step 2: Fill with Ice Cream
Scoop generous amounts of vanilla ice cream into each taco shell, packing it in tightly to prevent any melting. Use a spatula or the back of a spoon to smooth out the top for a neat finish. Once filled, place the ice cream-stuffed cones upright in the freezer for about 10 minutes to firm up while you prepare the chocolate coating.
Step 3: Melt the Chocolate Chips
In a microwave-safe bowl, add your chocolate chips and heat them in 30-second intervals, stirring in between to prevent burning. Aim for a smooth, glossy texture; this should take about 1 to 2 minutes in total. When ready, remove the bowl from the microwave and let it sit briefly, allowing it to cool slightly before dipping.
Step 4: Dip the Choco Tacos
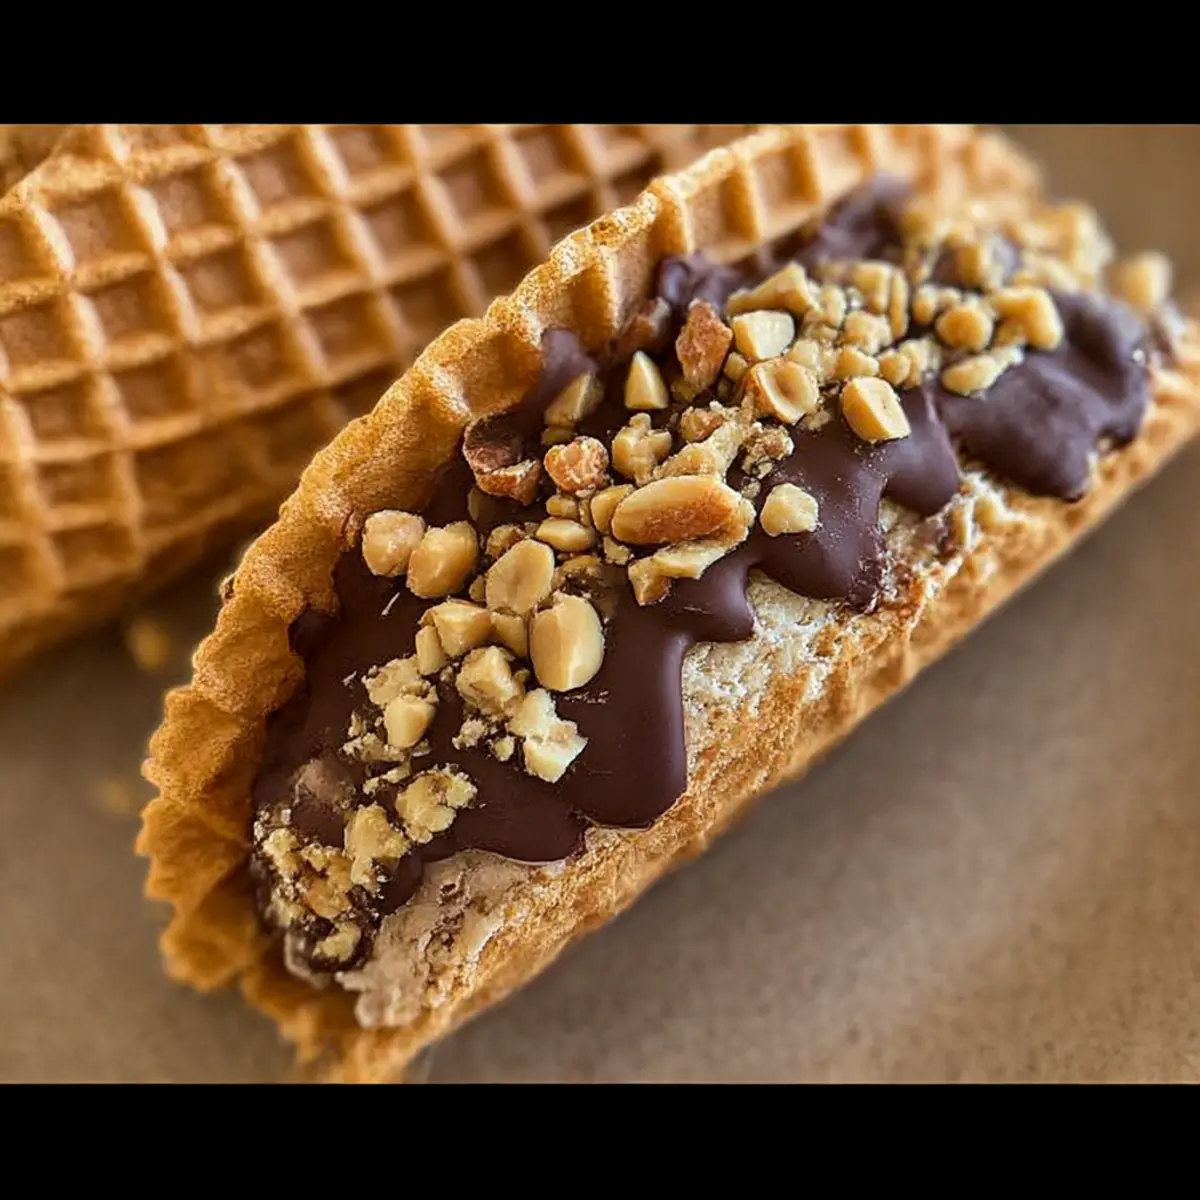
Take each chilled taco from the freezer and hold it by the edge. Dip the open end into the melted chocolate, letting the excess chocolate drip back into the bowl. Ensure a generous coverage; it’s the star of your Homemade Choco Tacos! Place the dipped taco on a parchment-lined tray to prepare for topping.
Step 5: Add Toppings
While the chocolate is still wet, immediately sprinkle chopped peanuts or your choice of toppings over the chocolate coating. This will ensure they stick well. You can also get creative with sprinkles or crushed cookies for added flair! Repeat this step for each taco and enjoy this fun aspect of personalization.
Step 6: Let Set and Serve
After all the tacos are dipped and topped, place the tray in the freezer for an additional 5–10 minutes to allow the chocolate to harden. Once set, your enchanting Homemade Choco Tacos are ready to serve! Consider presenting them on a platter for a delightful touch that will impress family and friends.
Expert Tips for Homemade Choco Tacos
Shaping Cones: Practice shaping the damp waffle cones carefully to avoid breakage; a gentle touch ensures perfect taco shells every time.
Fill Quickly: Work swiftly while scooping the ice cream into the shells to prevent them from melting. A soft ice cream can make filling tricky!
Chill Before Dipping: Place filled taco shells in the freezer for 10 minutes before dipping into chocolate for a firmer finish that holds better.
Use Quality Ingredients: Choose high-quality chocolate chips for coating to enhance the flavor of your Homemade Choco Tacos. They’ll be a hit!
Be Creative with Toppings: Experiment with different toppings like crushed cookies, sprinkles, or even colorful candies to personalize each taco to your liking.
Homemade Choco Tacos: Customization Ideas
Feel free to unleash your creativity and make these tacos truly yours with exciting twists and substitutions!
-
Different Ice Cream: Swap vanilla ice cream for your favorite flavor like chocolate, strawberry, or even matcha—endless possibilities await!
-
Nut-Free: Use sunflower seeds or crushed pretzels instead of peanuts for a tasty crunch without the nuts. A delightful alternative that adds a unique flair!
-
Vegan Treat: Substitute dairy ice cream with a coconut or almond milk-based ice cream, and use dark chocolate chips for a tasty vegan delight.
-
Flavorful Drizzles: Add a drizzle of caramel or chocolate syrup over the top for an extra layer of sweetness—who can resist?
-
Texture Twist: Replace peanuts with crushed cookies, like Oreos or graham crackers, for a crispy and crunchy topping that adds a whole new dimension.
-
Spicy Kick: For a surprising heat, sprinkle a bit of chili powder or cayenne on your chocolate coating—an intriguing combo that’s sure to impress brave eaters!
-
Fruity Surprise: Try layering in fresh fruit like sliced bananas or strawberries with the ice cream for a refreshing and fruity spin on this classic.
Feel inspired and explore more delicious recipes by pairing your Choco Tacos with a refreshing dish like Baked Beef Tacos or indulge in a sweet finish with a slice of Dubai Chocolate Cake. Let your kitchen creativity flow!
How to Store and Freeze Homemade Choco Tacos
Room Temperature: Enjoy your Homemade Choco Tacos fresh for the best taste and texture; they’re best consumed immediately after preparation.
Fridge: If you have leftovers, store them in an airtight container in the fridge for up to 2 days. Keep in mind that the taco shells may soften slightly.
Freezer: To keep them for a longer period, place the tacos in a single layer in an airtight container and freeze for up to 1 week. This helps maintain their deliciousness.
Reheating: When you’re ready to enjoy frozen Choco Tacos, let them thaw in the fridge for about 30 minutes before serving for optimal texture.
What to Serve with Easy Homemade Choco Tacos
Transport your taste buds to a summer carnival with these delightful treats that deserve the perfect companions to shine even brighter.
-
Fresh Fruit Salad: A medley of vibrant fruits adds a refreshing contrast that cuts through the creaminess and richness of the Choco Tacos.
-
Chocolate Sauce Drizzle: Elevate indulgence with a warm chocolate drizzle on top, inviting an ooey-gooey experience that chocolate lovers will adore.
-
Whipped Cream: Light and airy, a dollop of homemade whipped cream balances the crunchy tacos, enhancing the overall texture with creamy sweetness.
-
Coffee or Espresso: A bold cup of coffee complements the dessert beautifully, its warmth contrasting the cold, rich ice cream, making each bite even more satisfying.
-
Milkshakes: Blend up a classic vanilla or chocolate milkshake to create a nostalgic pairing that transforms dessert time into a full-on treat extravaganza.
-
S’mores Dip: Swap the traditional for a delightful chocolatey twist with gooey marshmallows and graham crackers that bring campfire vibes home.
-
Coconut Macaroons: These chewy, sweet bites offer a lovely contrast to the crispiness of the tacos, introducing tropical flavors that evoke sunny retreats.
-
Homemade Flavored Lemonade: The zesty brightness of lemonade cuts through rich flavors, refreshing the palate, making for a delightful, light beverage option.
-
Nostalgic Ice Cream Sundaes: Why not make it a little extra? Serve alongside a classic sundae bar for guests to create their perfect combo of ice cream and toppings!
Make Ahead Options
These Homemade Choco Tacos are perfect for meal prep, allowing you to enjoy a delightful treat without the last-minute rush. You can prepare the waffle cone shells and fill them with ice cream up to 24 hours in advance; just keep them tightly wrapped in cling film or in an airtight container in the freezer to prevent freezer burn. When you’re ready to serve, simply melt the chocolate chips and dip the chilled tacos, then add your choice of toppings before letting them set in the freezer for an additional 5-10 minutes. This way, you can enjoy stress-free dessert-making, ensuring that each bite remains just as delicious as if you had made them fresh!
Homemade Choco Tacos Recipe FAQs
How do I choose the best waffle cones for Choco Tacos?
Absolutely! When selecting waffle cones, go for ones that are slightly damp. This will help them mold better into taco shells without breaking. Look for cones that are fresh and have no dark spots or cracks; they should feel crisp and intact.
What is the best way to store leftover Choco Tacos?
To keep your Homemade Choco Tacos fresh, store them in an airtight container in the freezer for up to 1 week. This will help maintain their deliciousness and texture. If you want to enjoy them within a few days, you can also store them in the fridge for 2 days, but be aware that the shells might soften slightly.
Can I freeze Homemade Choco Tacos?
Most definitely! To freeze your Homemade Choco Tacos, arrange them in a single layer in an airtight container, separated by parchment paper to prevent sticking. They can be frozen for up to 1 week. When you’re ready to indulge, let them thaw in the fridge for about 30 minutes. This helps keep the texture of the waffle cones intact while allowing the ice cream to soften just enough for a delightful bite!
What should I do if my waffle cones break when shaping them?
Very! If you’re having trouble with breaking cones, don’t worry—this happens to the best of us. It’s all about practice! Try lightly dampening the cones a little more. If they break, simply reshape them with your fingers and mold them gently into a taco shape. If you find them too difficult, use a taco mold or the back of a spoon to create the shape.
Are there any dietary considerations for Homemade Choco Tacos?
Absolutely! For gluten sensitivity, look for gluten-free waffle cones and chocolate chips. To make it dairy-free, use ice cream alternatives made from almond, coconut, or soy milk. Additionally, if anyone has nut allergies, feel free to skip the peanuts or replace them with safe toppings like sprinkles or shredded coconut. Always check the packaging to ensure other ingredients meet your dietary needs.
How do I ensure the chocolate coating sticks well?
To ensure the chocolate coating sticks well, it’s important to sprinkle your toppings immediately after dipping each taco in the melted chocolate, while the coating is still wet. This will help them adhere properly. If the chocolate has cooled too much, pop the tacos back into the microwave for a few seconds to re-melt the chocolate before dipping again.
Homemade Choco Tacos: A Nostalgic Treat You’ll Love!
Ingredients
Equipment
Method
- Begin by lightly dampening each waffle cone with a little water to make them flexible. Shape them into taco shells.
- Scoop generous amounts of vanilla ice cream into each taco shell, packing it tightly. Smooth out the top with a spatula.
- In a microwave-safe bowl, melt chocolate chips in 30-second intervals until smooth.
- Dip the open end of each taco into the melted chocolate, letting excess drip back.
- While the chocolate is still wet, sprinkle chopped peanuts or other toppings over.
- Place dipped tacos in the freezer for 5-10 minutes to allow chocolate to harden.
Leave a Reply