
There was a delightful hush in the kitchen as I unveiled my latest creation: a No-Bake Cheesecake that seemed almost magical in its simplicity. This easy cheesecake captures the essence of indulgence without the fuss of baking, allowing you to impress friends and family effortlessly. With its creamy, velvety filling snug in a buttery graham cracker crust, this dessert is perfect for any occasion—be it a family gathering or a cozy weeknight treat. Plus, the no-bake nature means more time for what truly matters: enjoying life’s sweet moments. So, are you ready to dive into this luscious goodness that will leave everyone asking for seconds?
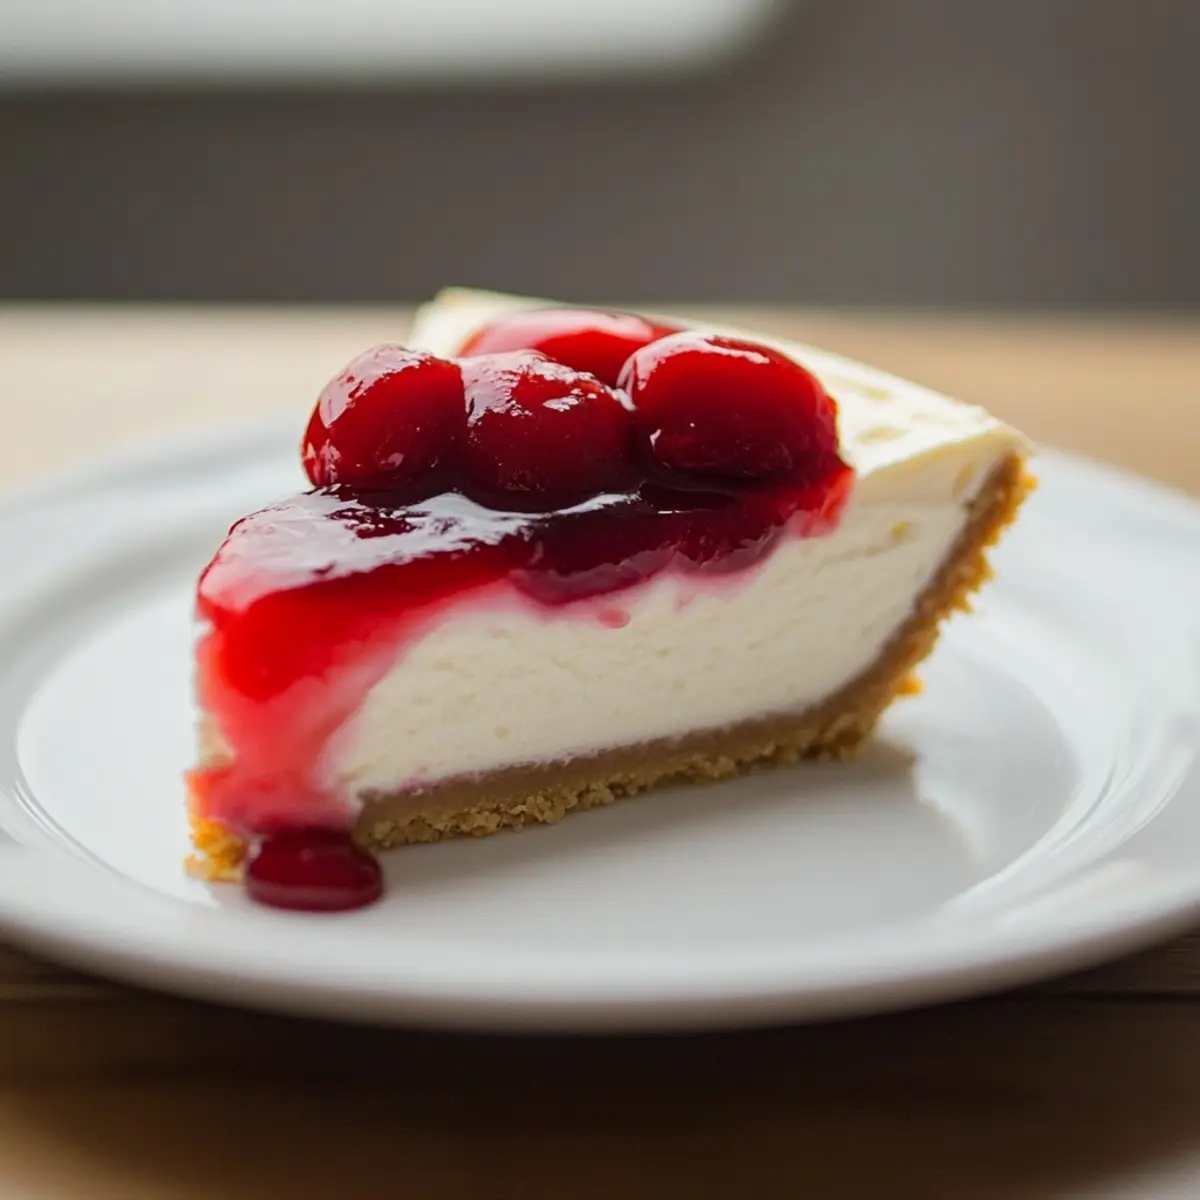
Why Is No-Bake Cheesecake So Popular?
Simplicity: This recipe combines straightforward steps with minimal ingredients, making it accessible for both novice and seasoned cooks alike.
Crowd-Pleasing Delight: Its creamy texture and rich flavor make it an instant favorite at gatherings. Everyone loves a classic dessert!
Versatile Options: You can easily customize your cheesecake with different toppings like fresh fruits or whipped cream, allowing for creativity in every bite.
Perfect for Any Occasion: Whether it’s a holiday feast or a casual weeknight dessert, this cheesecake shines, making any celebration feel special.
Make-Ahead Magic: Since it’s a no-bake treat, you can prepare it in advance, freeing your schedule to enjoy quality time with loved ones.
For more dessert inspirations, check out the delicious Fried Strawberry Cheesecake or perhaps indulge in a flavorful Apple Cider Cheesecake.
No-Bake Cheesecake Ingredients
• Here’s everything you need to create a velvety No-Bake Cheesecake that’s easy to whip up and utterly delicious!
For the Crust
- Graham Cracker Crumbs – Provides a sweet, crunchy base that perfectly complements the creamy filling.
- Butter (melted) – Binds the crust ingredients, giving it a rich flavor and texture; swap with coconut oil for a dairy-free version.
For the Filling
- Cream Cheese (softened) – The star ingredient, delivering a rich and creamy taste that makes the cheesecake irresistible; consider lactose-free cream cheese if needed.
- Granulated Sugar – Sweetens the filling for that delightful dessert flavor; powdered sugar can be used for a smoother result.
- Vanilla Extract – Adds a warm and inviting flavor; feel free to substitute with almond extract for a unique twist.
- Heavy Cream (cold) – Whipped to create airiness in the filling, ensuring a light texture; whip up coconut cream for a dairy-free option.
For Topping (Optional)
- Canned Pie Filling – Perfect for adding a pop of fruity flavor on top; try fresh fruits or whipped cream for a lighter alternative.
Let your culinary creativity soar with this easy cheesecake recipe!
Step‑by‑Step Instructions for Easy No-Bake Cheesecake
Step 1: Prepare the Crust
In a small mixing bowl, combine graham cracker crumbs with melted butter, stirring until well combined. Press this mixture firmly into the bottom of an 8 or 9-inch pie plate, creating an even layer. Make sure the crumbs adhere well for a sturdy crust. Refrigerate for about 15 minutes to allow the crust to set and firm up.
Step 2: Make the Filling
In a large mixing bowl, beat the softened cream cheese and granulated sugar using an electric mixer until smooth and creamy. Scrape down the sides of the bowl as needed to eliminate lumps. Add the vanilla extract and continue mixing until fully incorporated, ensuring the filling is rich and homogenous for your no-bake cheesecake.
Step 3: Whip the Cream
Gradually add the cold heavy cream in four parts to the cream cheese mixture, mixing on low speed initially. Increase to high speed and whip until the mixture thickens and becomes light and airy, which should take about 2-3 minutes. This step is crucial to achieve the silky texture of your no-bake cheesecake filling.
Step 4: Combine the Mixtures
Gently fold the whipped cream into the cream cheese mixture using a spatula. Be careful not to deflate the air you’ve incorporated, which gives the cheesecake its lightness. Once blended, the filling will be luxuriously smooth and creamy, perfectly suited for your prepared crust.
Step 5: Assemble the Cheesecake
Pour the creamy filling into the chilled graham cracker crust, carefully smoothing the top with the spatula. Cover the cheesecake with plastic wrap or aluminum foil to prevent excess moisture. For best results, refrigerate for at least 2 hours, or overnight, allowing the flavors to meld and the cheesecake to set completely.
Step 6: Serve and Enjoy
When ready to serve your easy no-bake cheesecake, remove it from the refrigerator and cut it into slices. Top each slice with your choice of canned pie filling, fresh fruit, or whipped cream for a delightful finishing touch. Each bite promises a rich and creamy experience that’s sure to impress your family and friends.
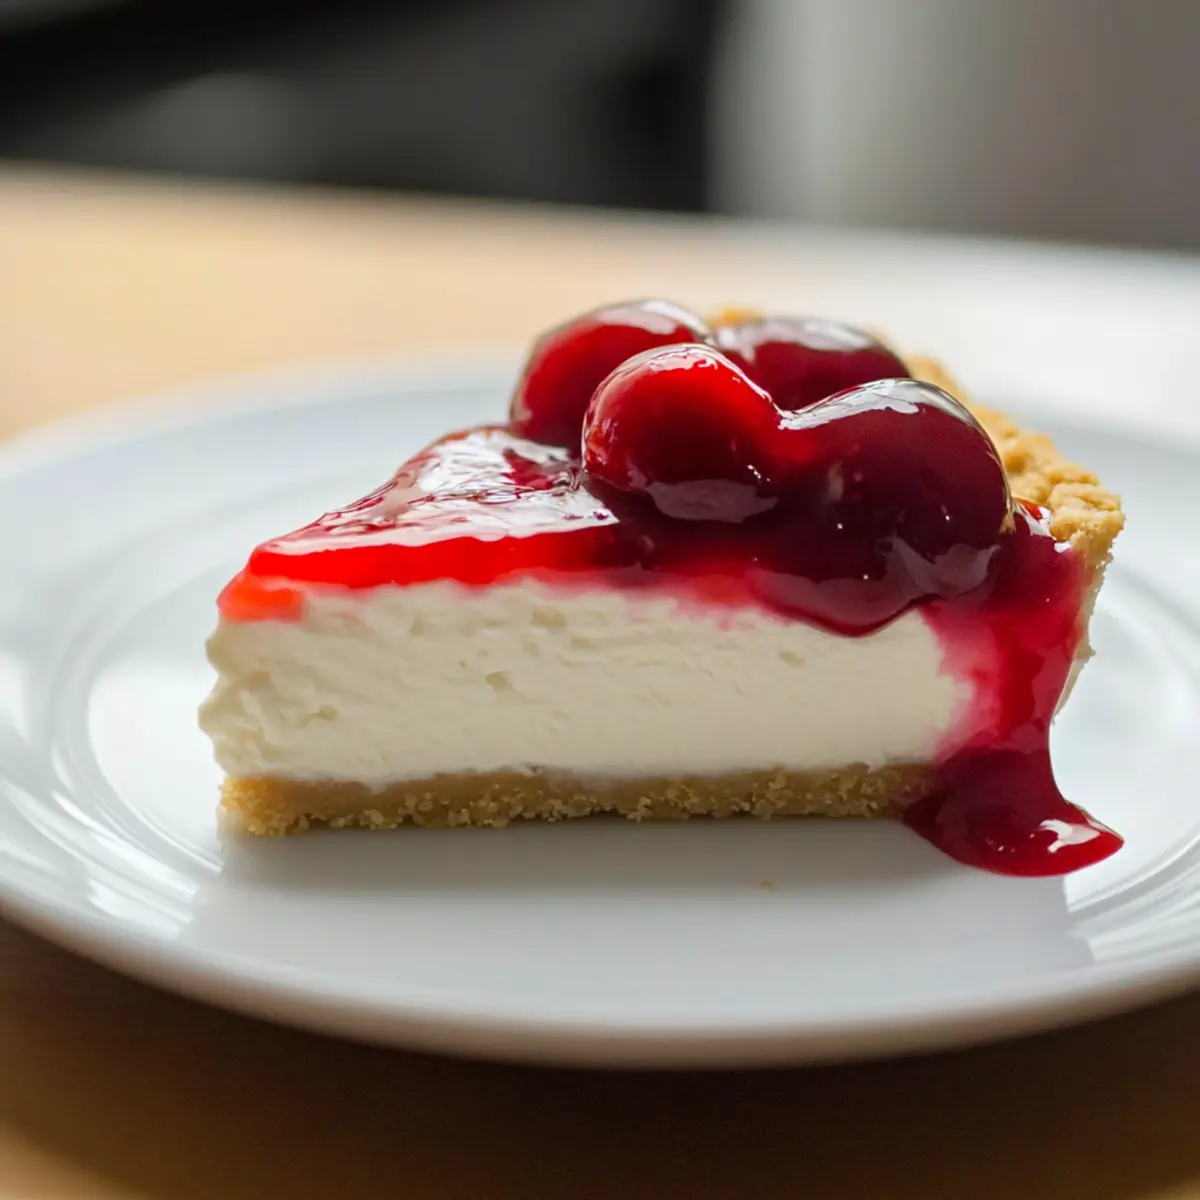
Storage Tips for No-Bake Cheesecake
Fridge: Store your no-bake cheesecake in the refrigerator covered with plastic wrap or in an airtight container for up to 3-5 days, ensuring it stays fresh and creamy.
Freezer: For longer storage, freeze the cheesecake for up to 1 month. Wrap it tightly in plastic wrap followed by aluminum foil to prevent freezer burn.
Thawing: To enjoy frozen no-bake cheesecake, transfer it to the fridge to thaw overnight before serving. This will restore its creamy texture.
Reheating: There’s no need to reheat; simply slice and serve chilled, topping it with fresh fruit or whipped cream for an extra touch of delight.
What to Serve with Easy No-Bake Cheesecake?
Elevate your dessert experience with delightful pairings that enhance every bite of this creamy treat.
-
Fresh Berries: Juicy strawberries or blueberries add a pop of color and a refreshing tartness that complements the cheesecake’s richness.
-
Mint Chocolate Chip Cookies: The cool minty flavor and crunchy texture create a fun contrast to the smoothness of the cheesecake, making every mouthful exciting.
-
Coffee: A rich cup of coffee offers a comforting warmth that balances the sweetness of the cheesecake, making for a cozy dessert experience.
-
Dessert Wine: A glass of late-harvest Riesling or Moscato pairs beautifully, adding floral notes and a hint of sweetness that elevates the cheesecake’s flavors.
-
Whipped Cream: A dollop of fresh whipped cream brings lightness and decadence, adding a touch of luxury that everyone loves.
-
Chocolate Sauce: Drizzling warm chocolate sauce adds a decadent touch, enhancing the dessert with rich, luscious flavors that are simply heavenly.
-
Ice Cream: A scoop of vanilla or strawberry ice cream adds creamy goodness that, paired with the cheesecake, creates a fabulous balance of flavors and textures.
-
Lemon Sorbet: A refreshing lemon sorbet cleanses the palate and provides a zesty contrast, making it a bright companion to the rich cheesecake.
-
Dark Chocolate Shavings: Sprinkling dark chocolate shavings on top gives a bitter-sweet crunch that contrasts delightfully with the cheesecake’s smooth filling.
-
Fruit Compote: A simple fruit compote adds a homemade touch and provides vibrant flavors, enhancing the overall dessert experience with every spoonful.
Make Ahead Options
Preparing this Easy No-Bake Cheesecake ahead of time is a breeze, perfect for busy weeknights or special occasions! You can make the graham cracker crust and refrigerate it up to 24 hours in advance, ensuring it’s ready for filling. The creamy filling can also be prepared ahead and stored in the refrigerator for up to 3 days. Just whip the cream, fold it into the cream cheese mixture, and pour it into the crust; cover it well to maintain its freshness and prevent moisture loss. When it’s time to serve, simply top your cheesecake with your favorite pie filling or fresh fruit, and you’ll have an effortless dessert that’s just as delicious as if it were made on the spot!
Expert Tips for No-Bake Cheesecake
-
Avoid Overmixing: Be cautious not to over-beat the filling. Once the cream thickens to a light and airy state, stop mixing to maintain the desired texture.
-
Chill is Key: Refrigeration time is crucial for a perfect cheesecake. Aim for at least 2 hours, though overnight is best for flavor and texture.
-
Crust Precision: Make sure to press the graham cracker crust mixture firmly. A well-formed crust prevents crumbling and provides a sturdy base for your cheesecake.
-
Flavor Variations: Experiment with different extracts like almond or citrus zest to elevate the flavor profile of your no-bake cheesecake.
-
Sturdy Serving: For clean cuts, use a warm knife. This helps the slices separate easily, showcasing the gorgeous filling without any mess.
No-Bake Cheesecake Variations & Substitutions
Feel free to get creative with this cheesecake recipe and make it your own with these simple twists and substitutions!
- Dairy-Free: Substitute cream cheese with cashew cream or vegan cream cheese for a delicious dairy-free version. Your friends won’t even notice the difference!
- Sugar-Free: Use a sugar substitute like erythritol or monk fruit in place of granulated sugar. This way, you can enjoy a guilt-free treat that satisfies your sweet tooth.
- Chocolate Lovers: Mix in cocoa powder or melted chocolate into the cream cheese filling for a rich mocha flavor. Chocolate lovers will be in heaven with each bite!
- Fruit-Infused: Add pureed fruit such as strawberries or raspberries in the filling for a fruity twist. It not only brightens the flavor but adds a beautiful color too.
- Nutty Crunch: Fold in chopped nuts or crushed cookies for extra texture. Adding a crunchy surprise elevates the dessert to new heights.
- Citrus Zing: Incorporate lemon or lime zest into the filling for a refreshing citrus note. It lifts the cheesecake and gives it a delightful brightness.
- Seasoned Toppings: Use seasonal toppings like pumpkin puree in the fall or fresh berries in the summer. Each season brings a new twist to your cheesecake!
- Decadent Swirls: Swirl some caramel or fudge sauce into the filling before setting for a decadent touch. This creates a mesmerizing marbled effect that tastes as good as it looks!
For even more dessert inspirations, don’t miss out on the creamy Apple Crumble Cheesecake or indulge in the rich Brownie Cheesecake Bars. The possibilities are endless, and the magic of no-bake cheesecake awaits!
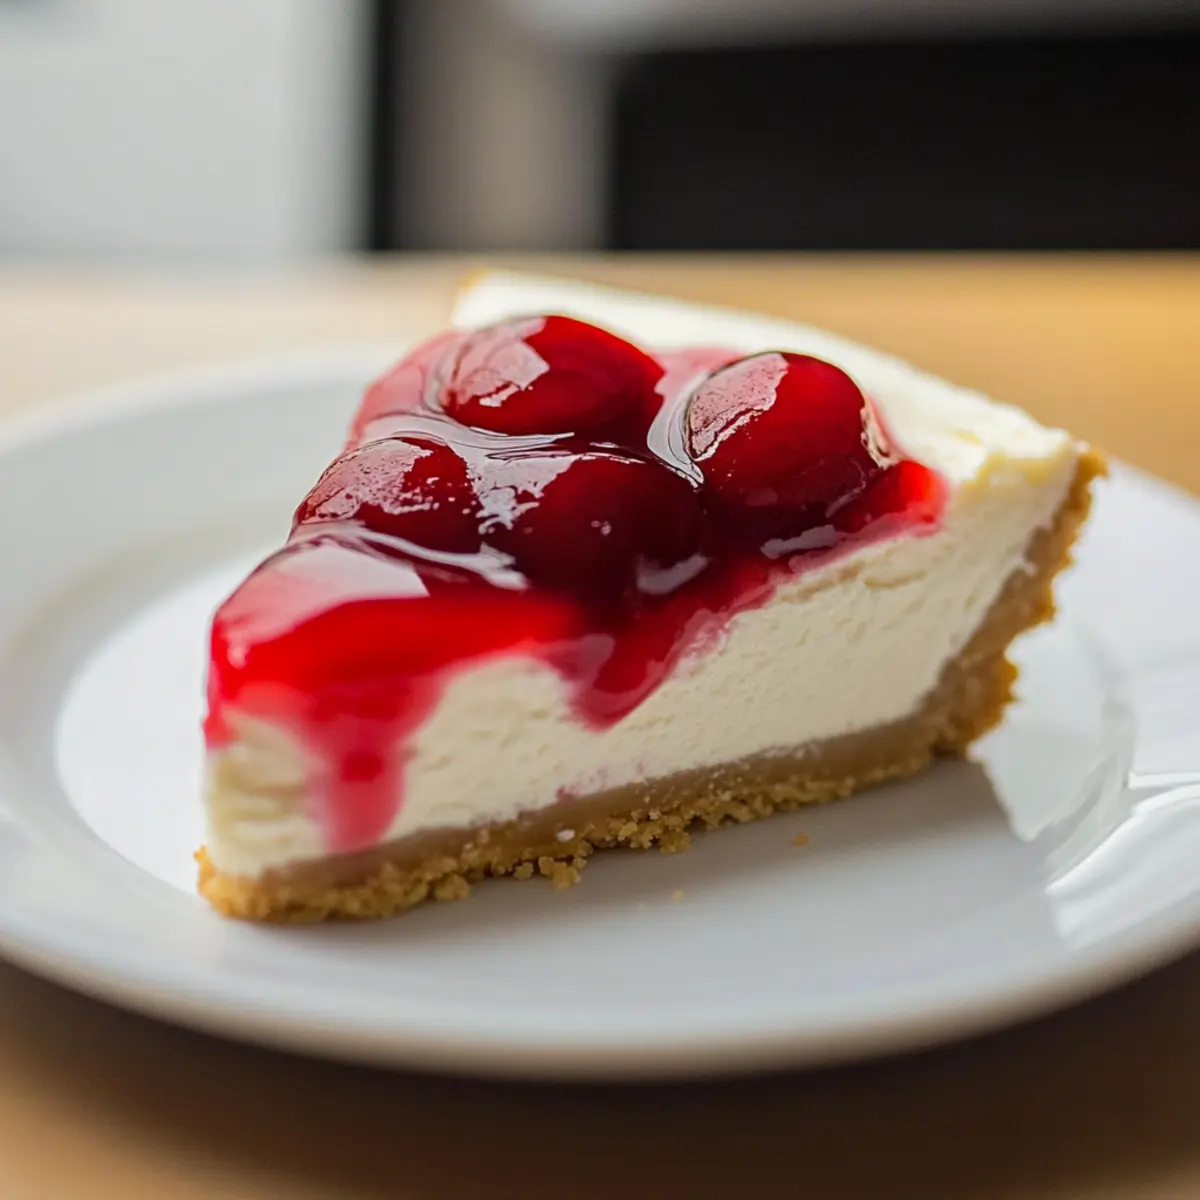
Easy No-Bake Cheesecake Recipe FAQs
What type of cream cheese should I use for the filling?
Absolutely, for the best results, use full-fat cream cheese that’s softened to room temperature. This ensures a smooth, creamy filling without any lumps. If you’re looking for a lighter option, lactose-free cream cheese works wonderfully too!
Can I make this cheesecake ahead of time?
Very much so! I often prepare this no-bake cheesecake a day in advance. Just ensure it’s covered tightly with plastic wrap and refrigerate; this helps develop the flavors further and gives it the perfect texture when ready to serve!
How should I store the cheesecake?
Store your no-bake cheesecake in the refrigerator, covered with plastic wrap or in an airtight container, for up to 3-5 days. If you plan to keep it longer, you can freeze it for up to a month. Just wrap it tightly in plastic wrap and then in aluminum foil to prevent freezer burn.
What’s the best way to freeze no-bake cheesecake?
To freeze your cheesecake, first, let it fully set in the refrigerator, then slice it into individual servings for easier thawing later. Wrap each slice tightly in plastic wrap, followed by aluminum foil, and place them in a freezer-safe container. When you’re ready to enjoy, transfer them to the refrigerator to thaw overnight.
How do I troubleshoot a runny filling?
If your filling turns out runny, it might be due to overmixing the whipped cream or not chilling the cheesecake long enough. To salvage it, re-whip the cream or add a bit more softened cream cheese. Remember to keep mixing to a minimum once the cream is whipped to peak stiffness!
Can my pets eat no-bake cheesecake?
While it’s tempting to share this delightful treat with your furry friends, it’s best to avoid giving them any cheesecake, as cream and sugar aren’t suitable for pets. Stick to pet-safe treats to keep them happy and healthy.
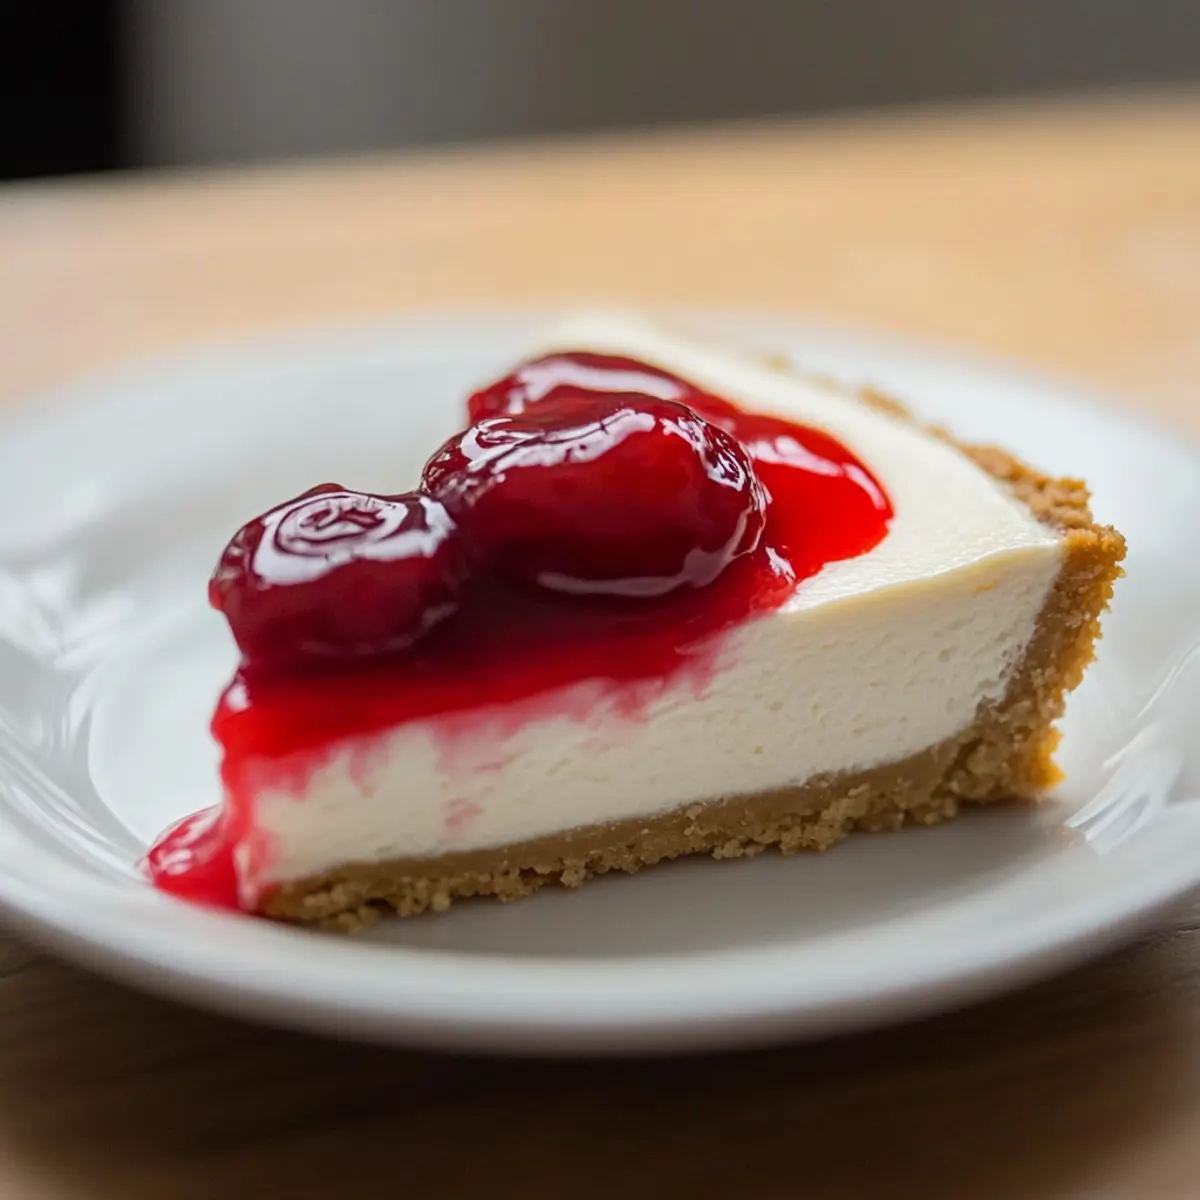
Silky No-Bake Cheesecake You’ll Want to Make Again and Again
Ingredients
Equipment
Method
- In a small mixing bowl, combine graham cracker crumbs with melted butter, stirring until well combined. Press this mixture firmly into the bottom of an 8 or 9-inch pie plate.
- In a large mixing bowl, beat the softened cream cheese and granulated sugar until smooth and creamy. Scrape down the sides of the bowl as needed. Add vanilla extract and mix until incorporated.
- Gradually add cold heavy cream in four parts, mixing on low speed initially, then increase to high speed and whip until thickened, about 2-3 minutes.
- Gently fold the whipped cream into the cream cheese mixture using a spatula.
- Pour the filling into the chilled graham cracker crust, smoothing the top with a spatula. Cover with plastic wrap or aluminum foil and refrigerate for at least 2 hours.
- Remove from the refrigerator, cut into slices, and top with canned pie filling, fresh fruit, or whipped cream before serving.
Leave a Reply